
Dec
13
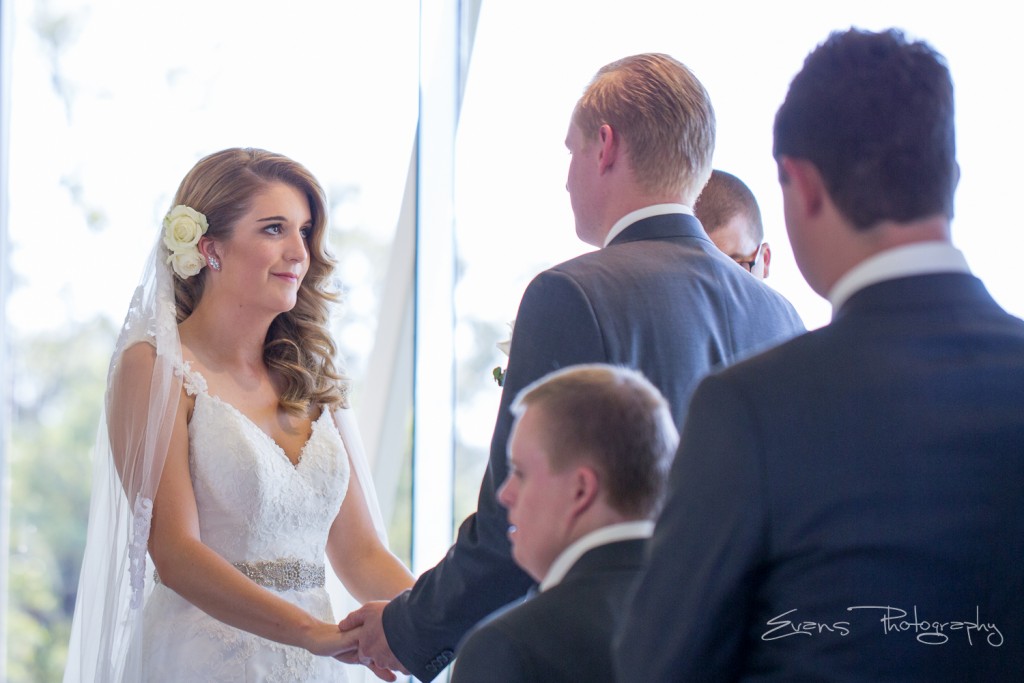
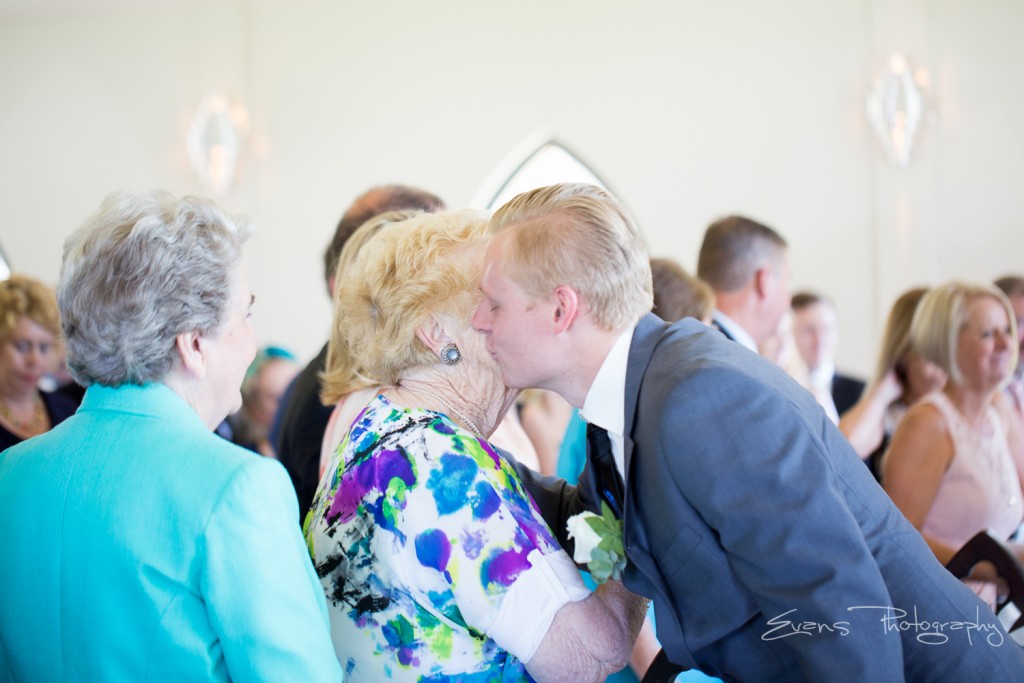
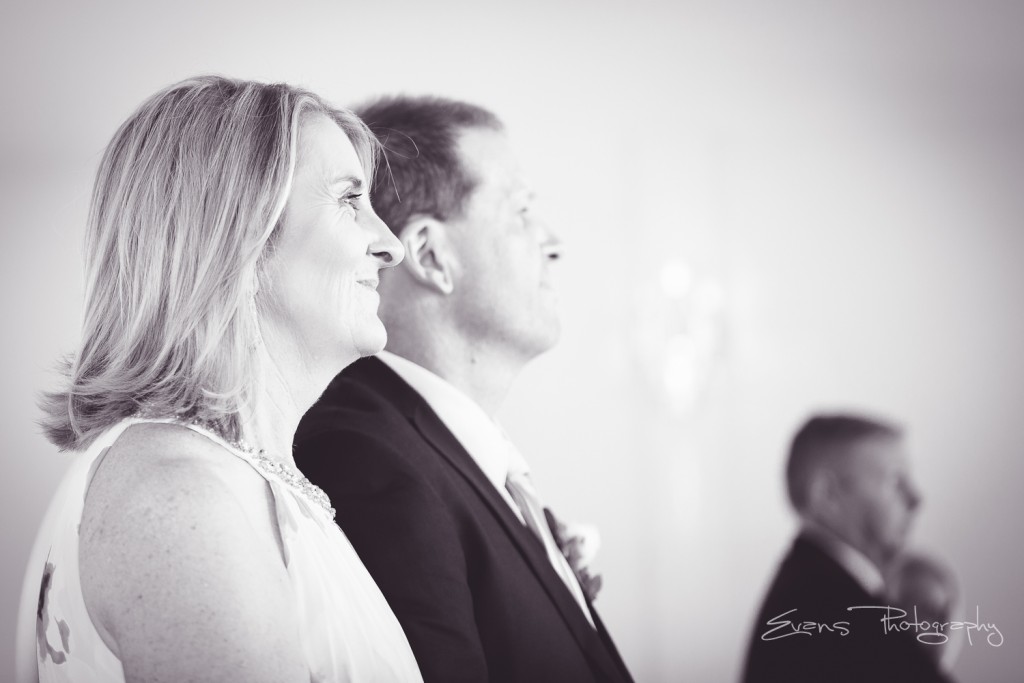
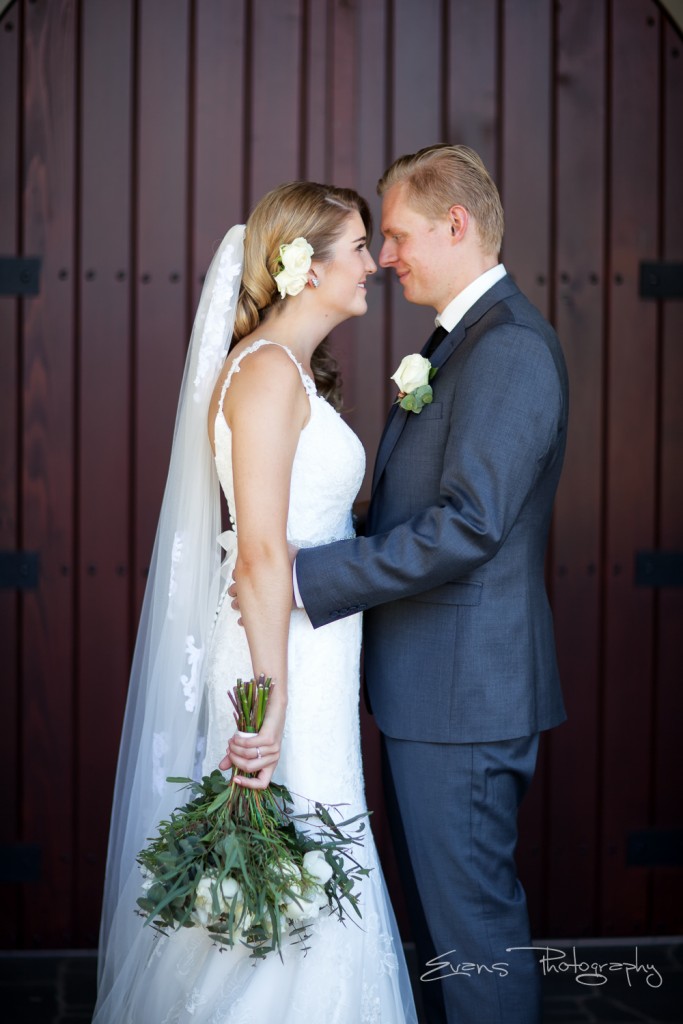
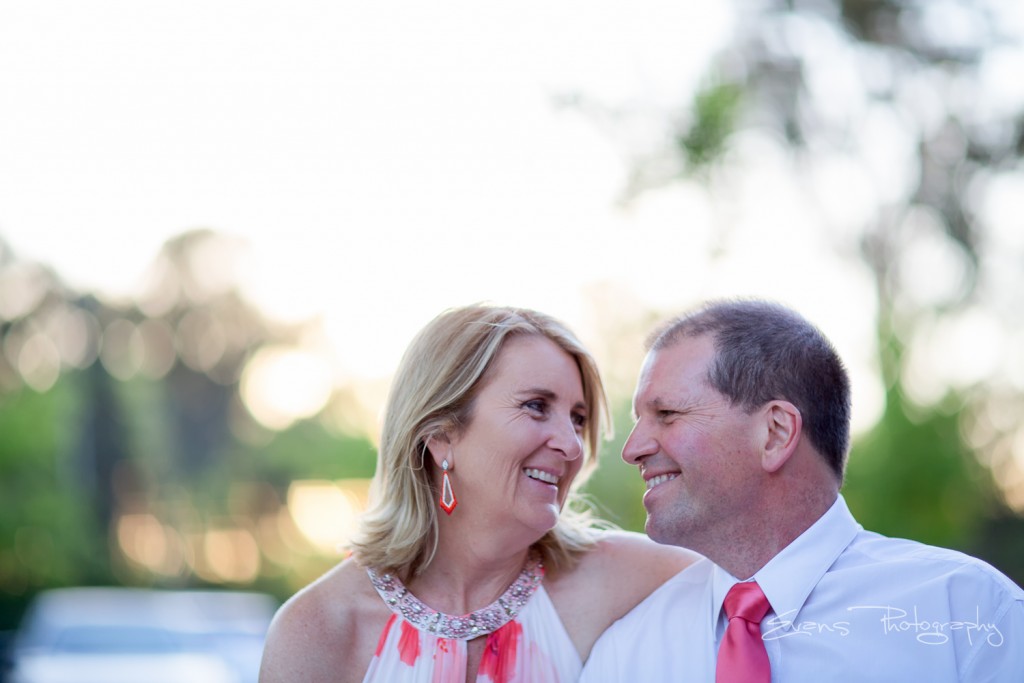
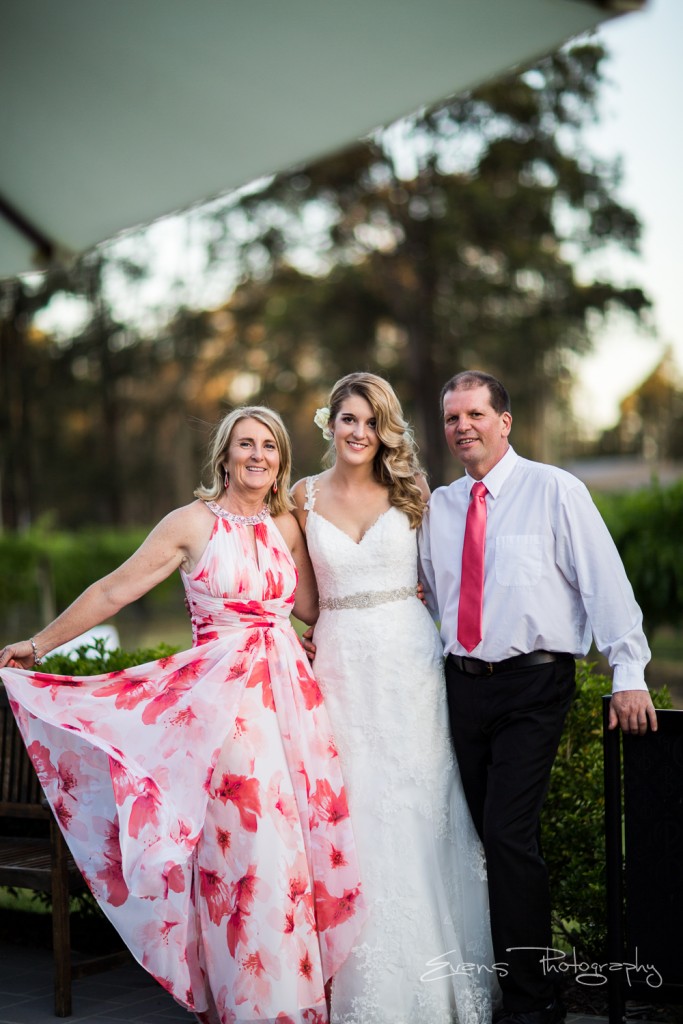
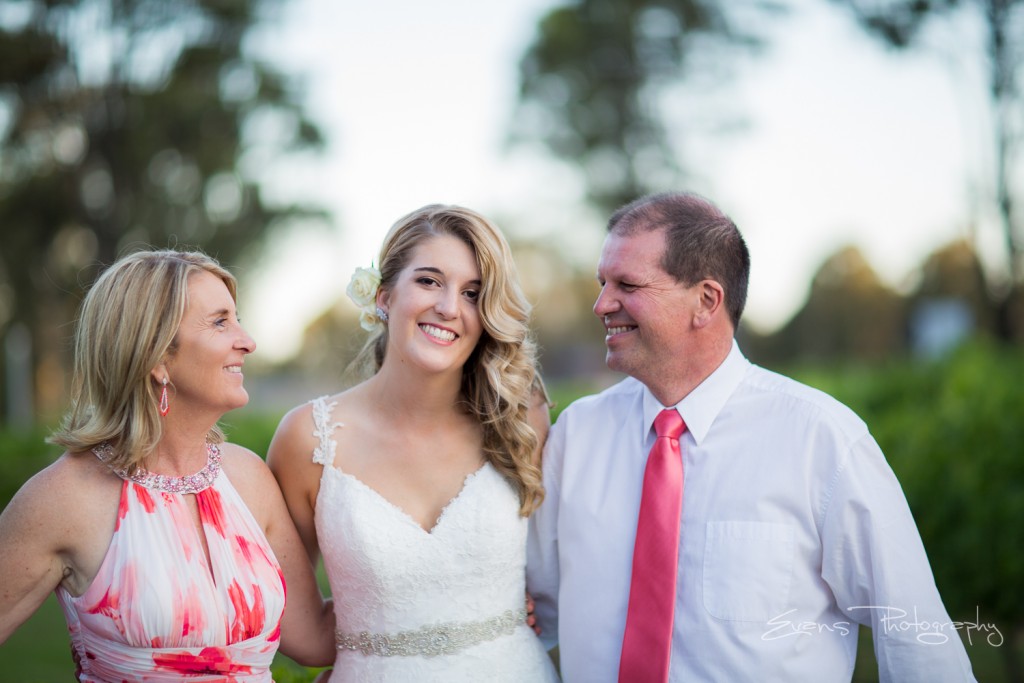
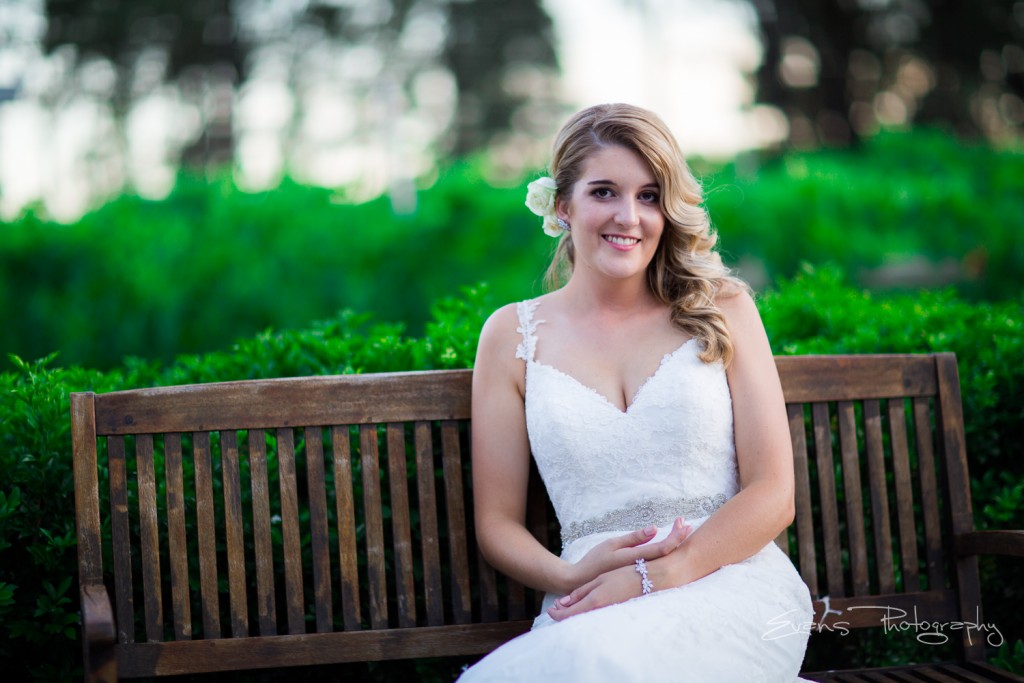
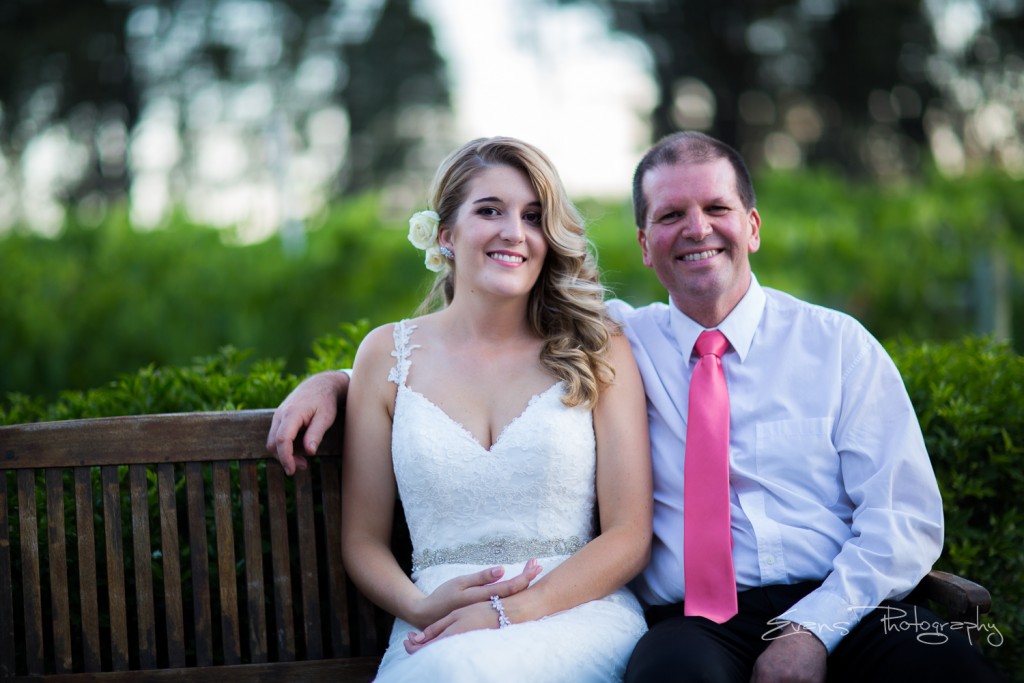
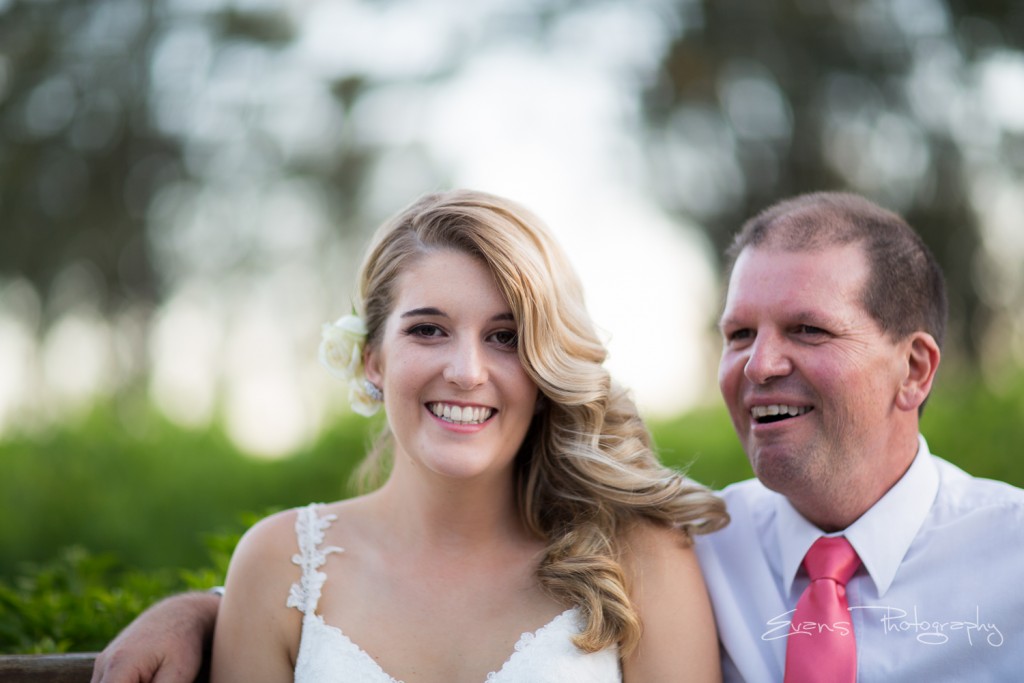
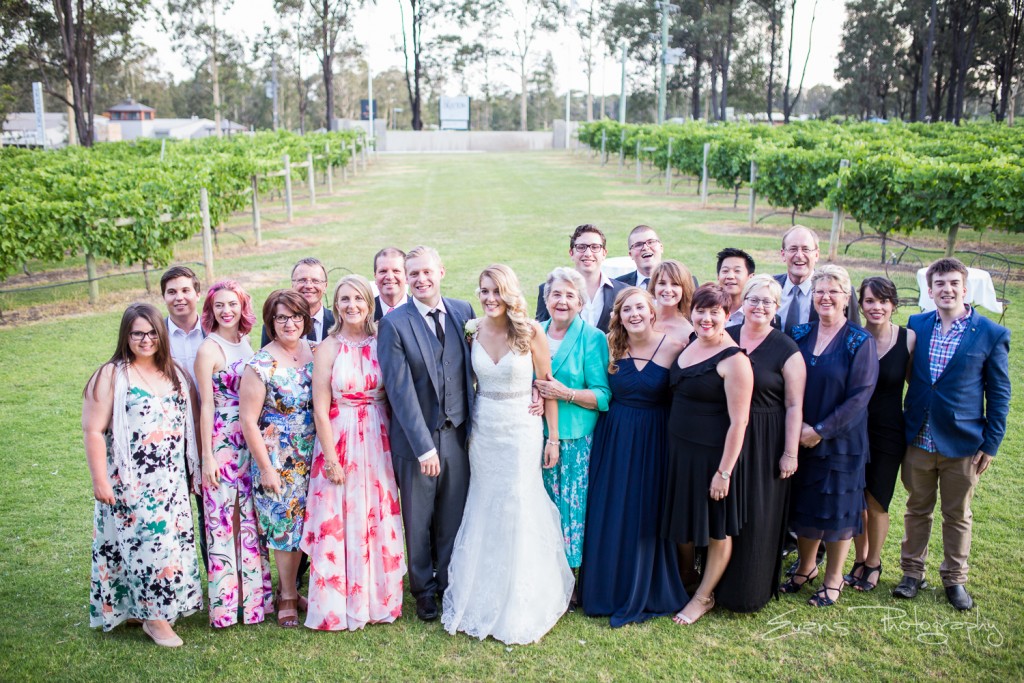
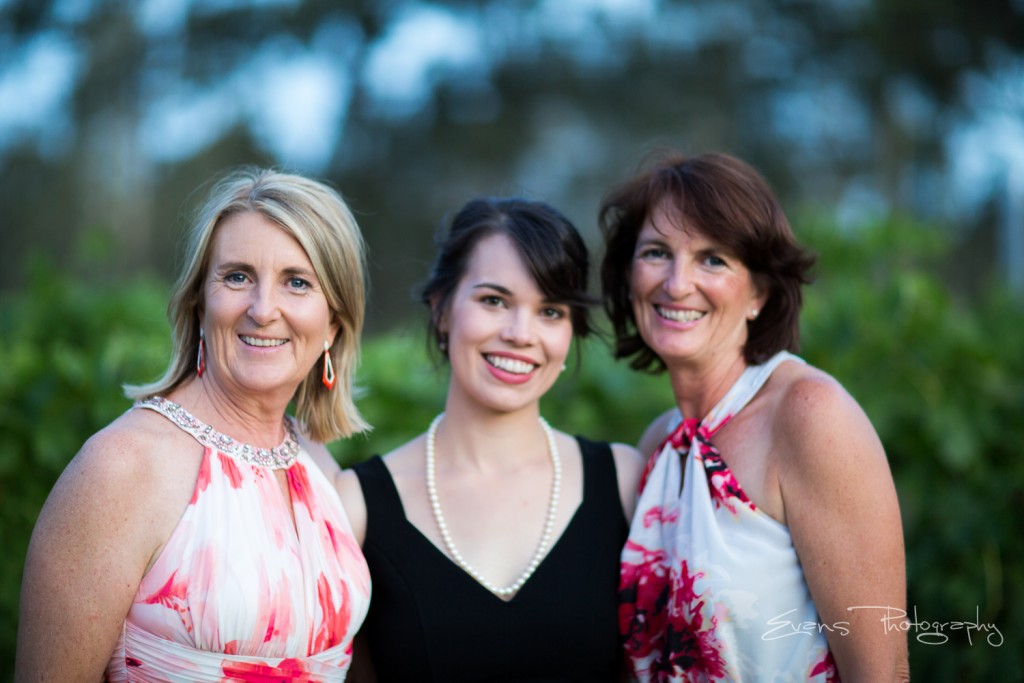
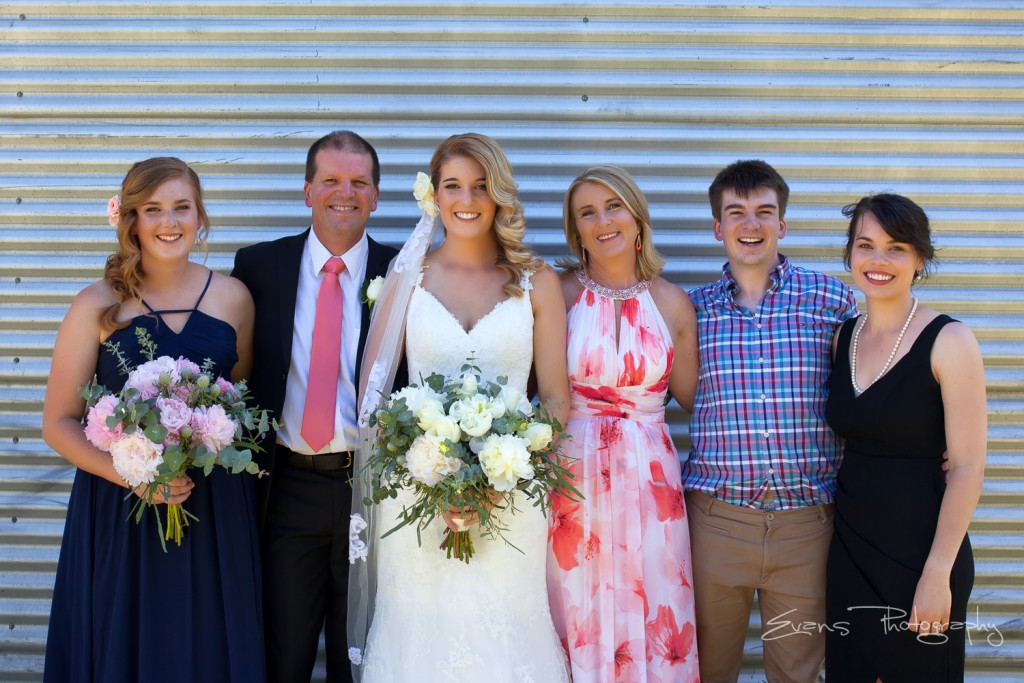
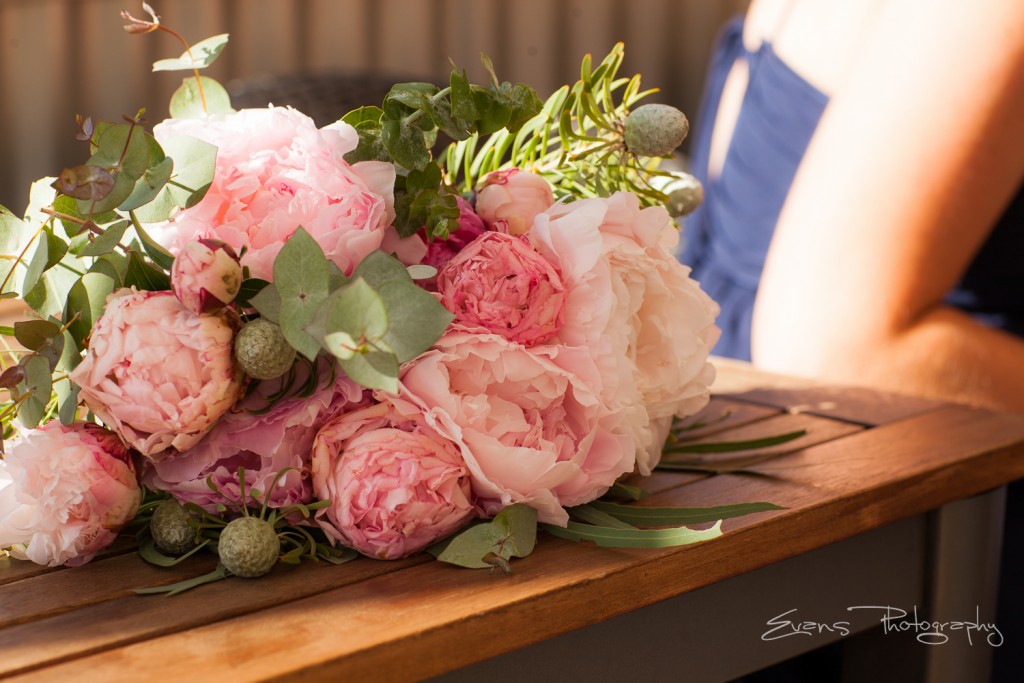
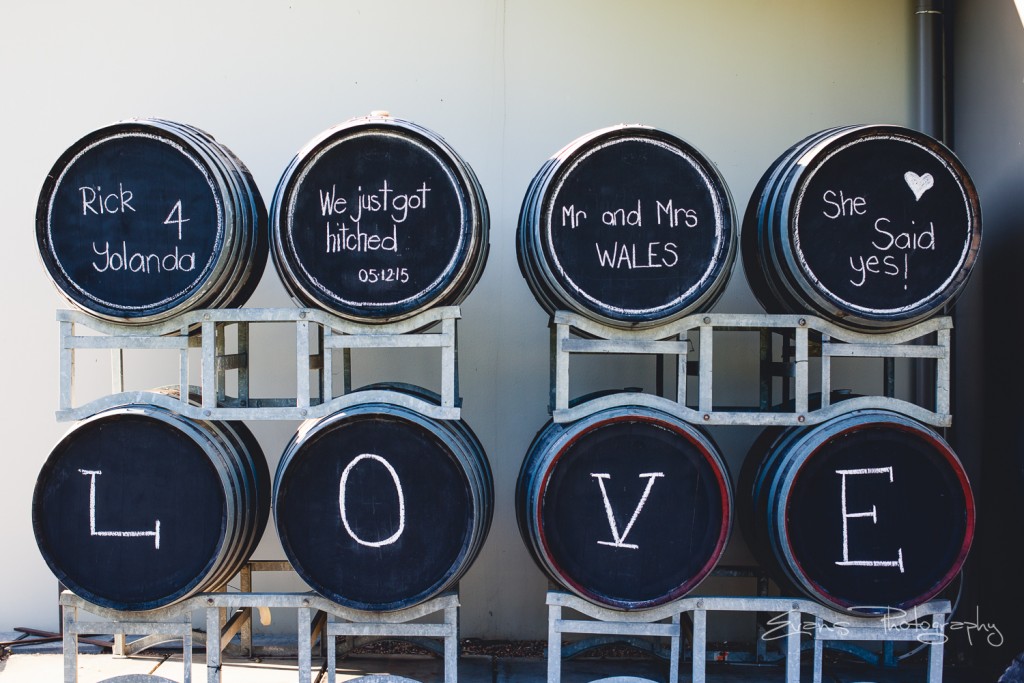
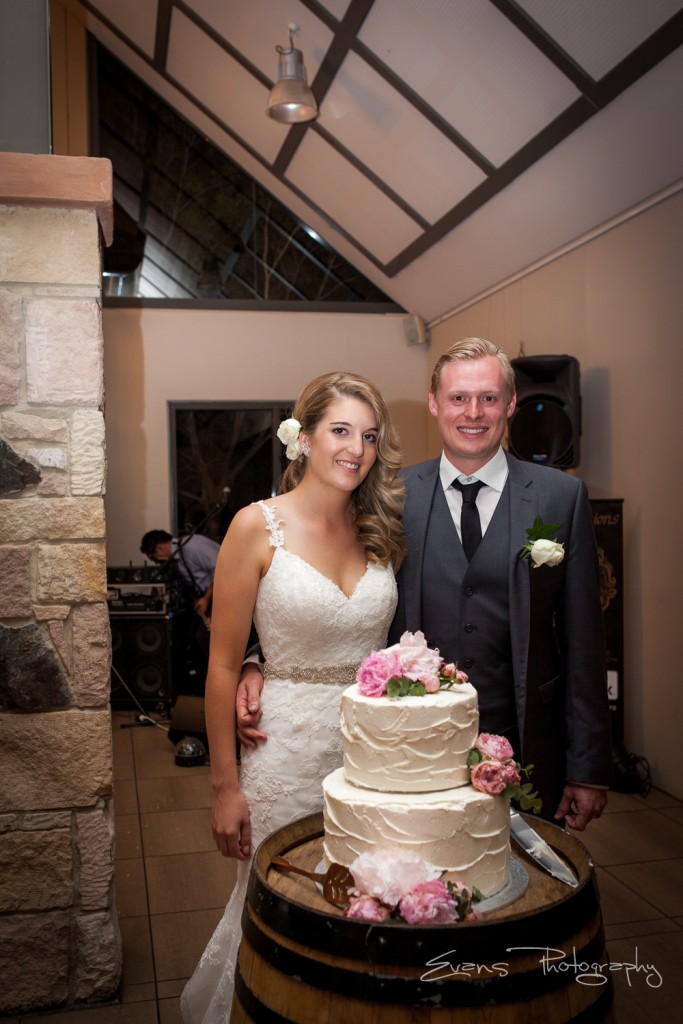
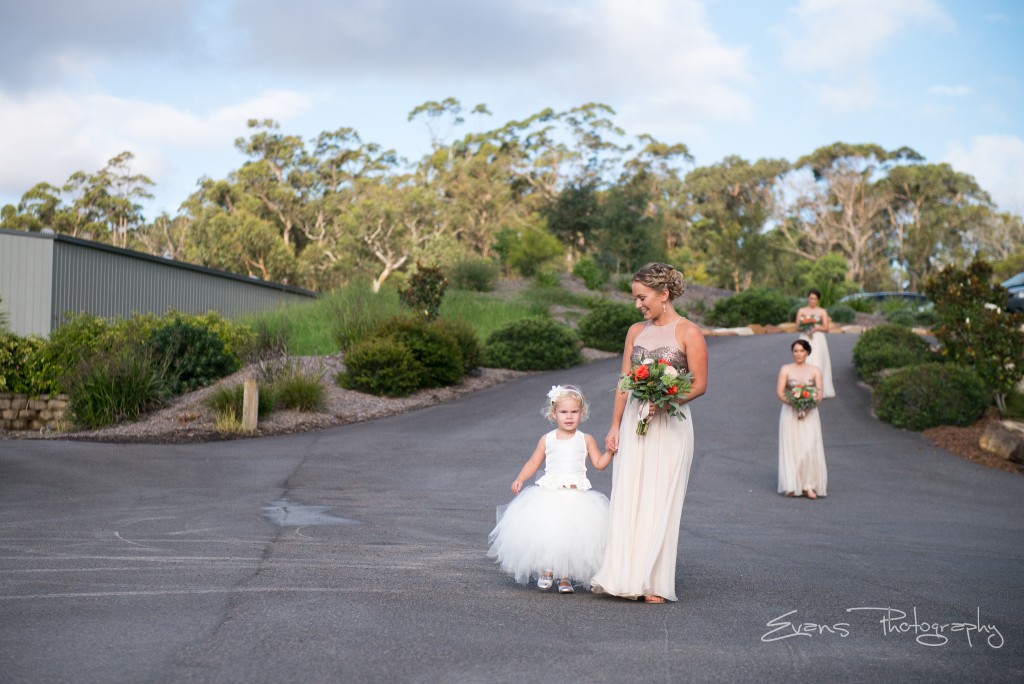
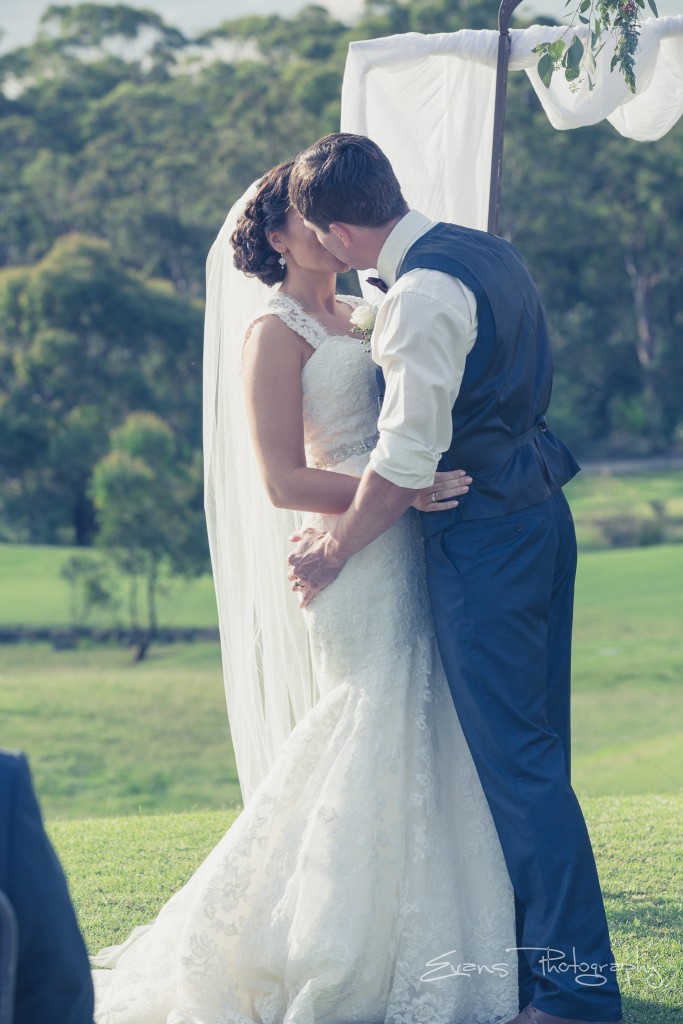
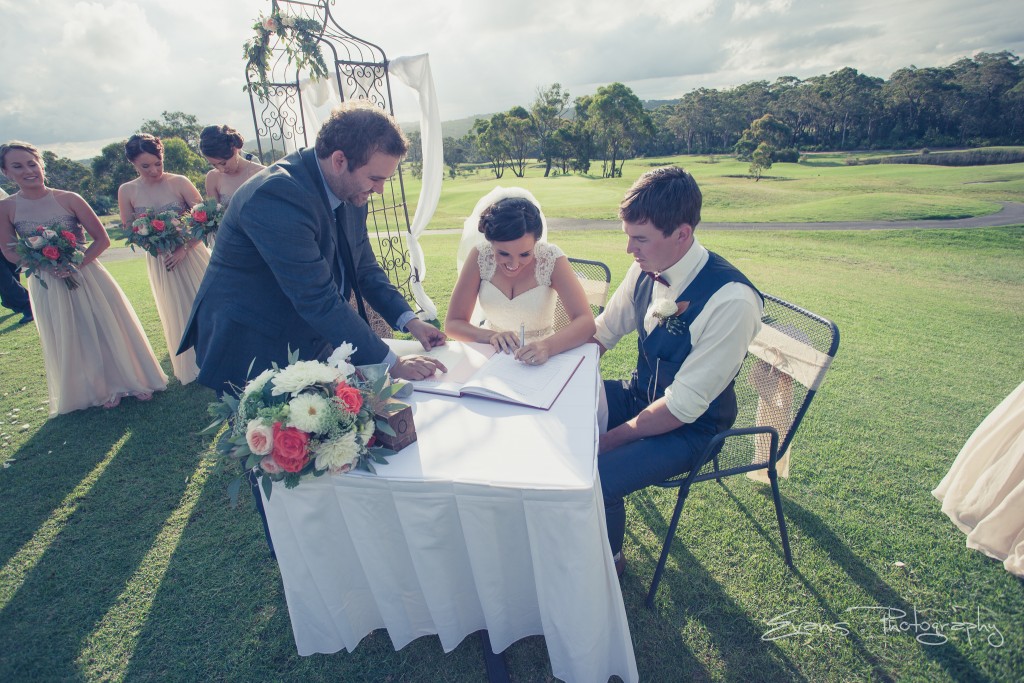
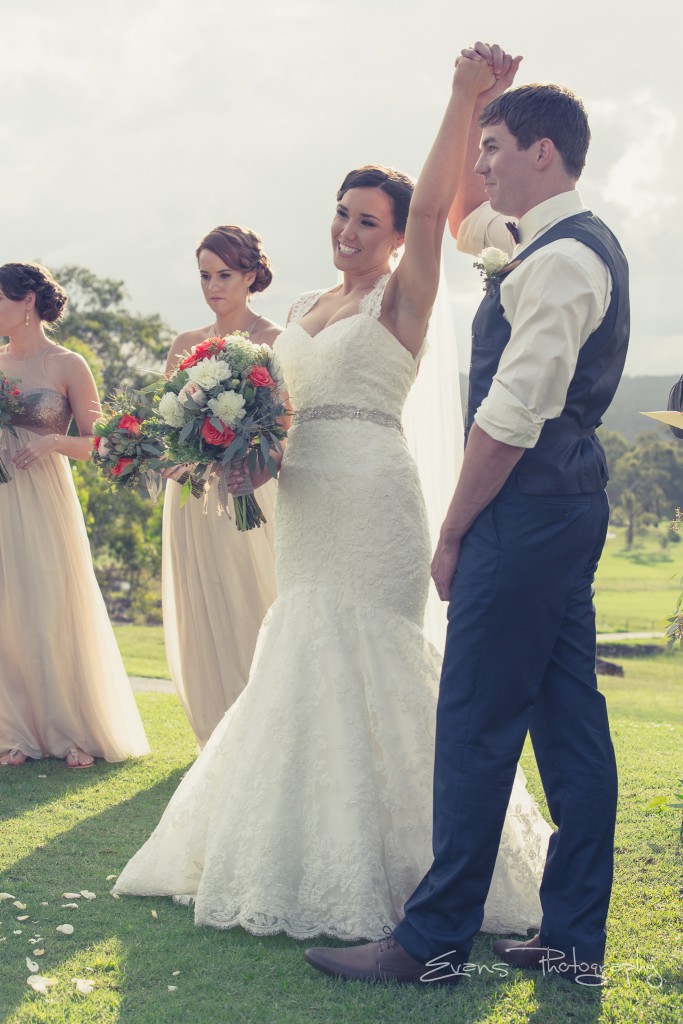
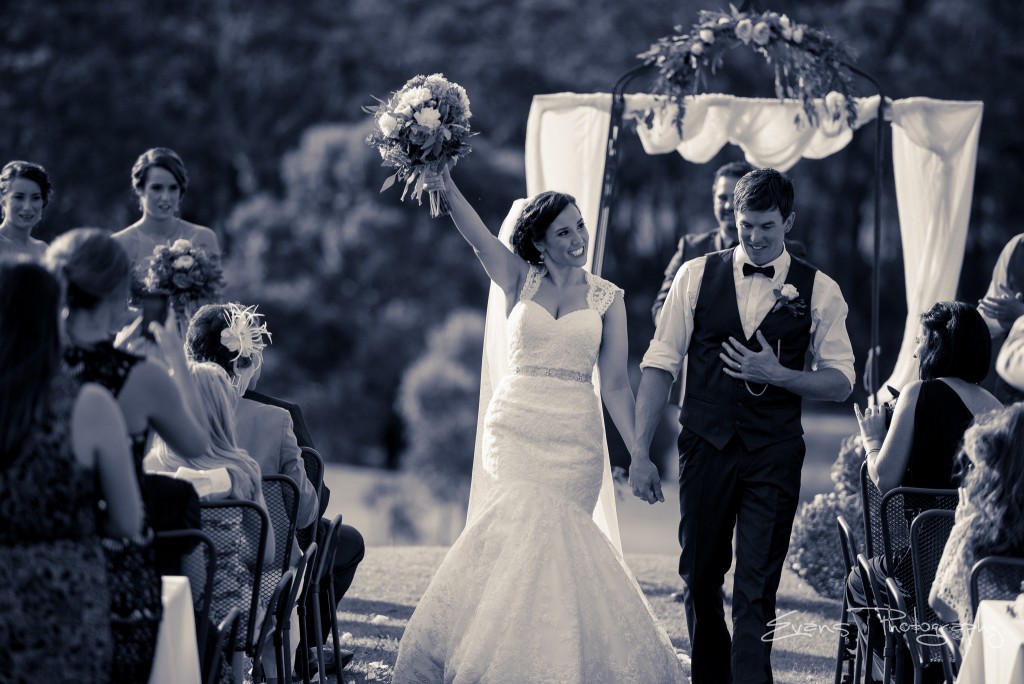
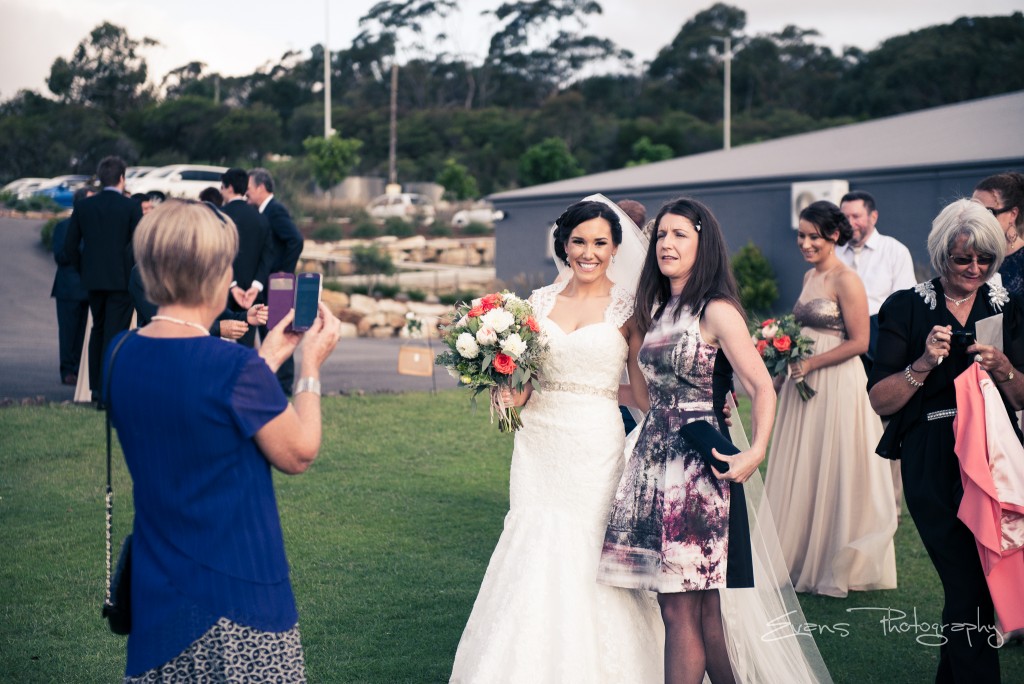
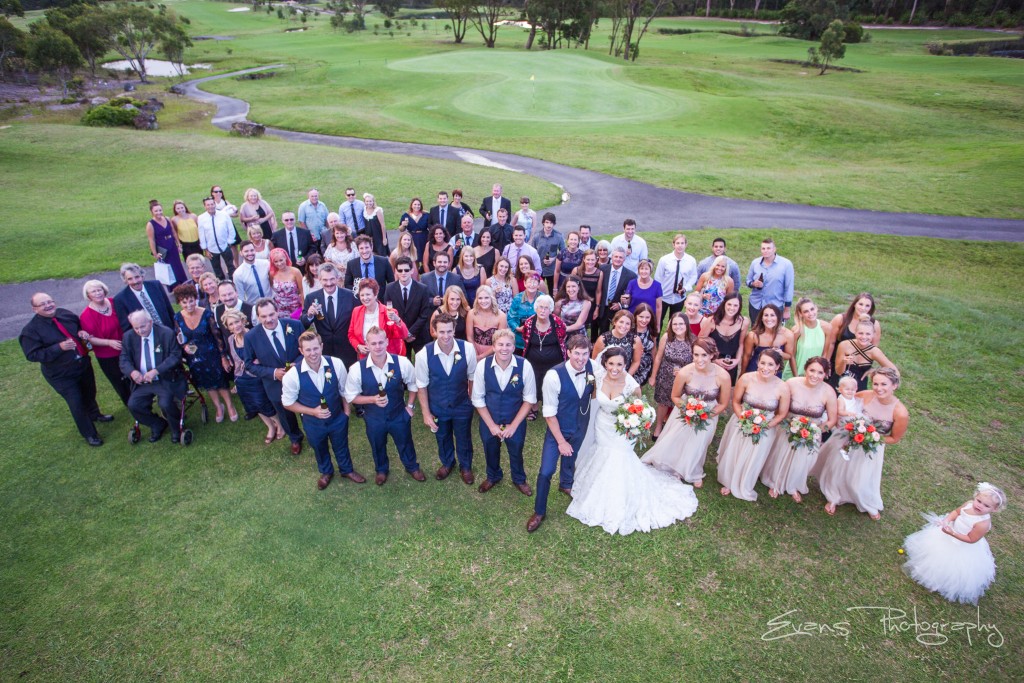
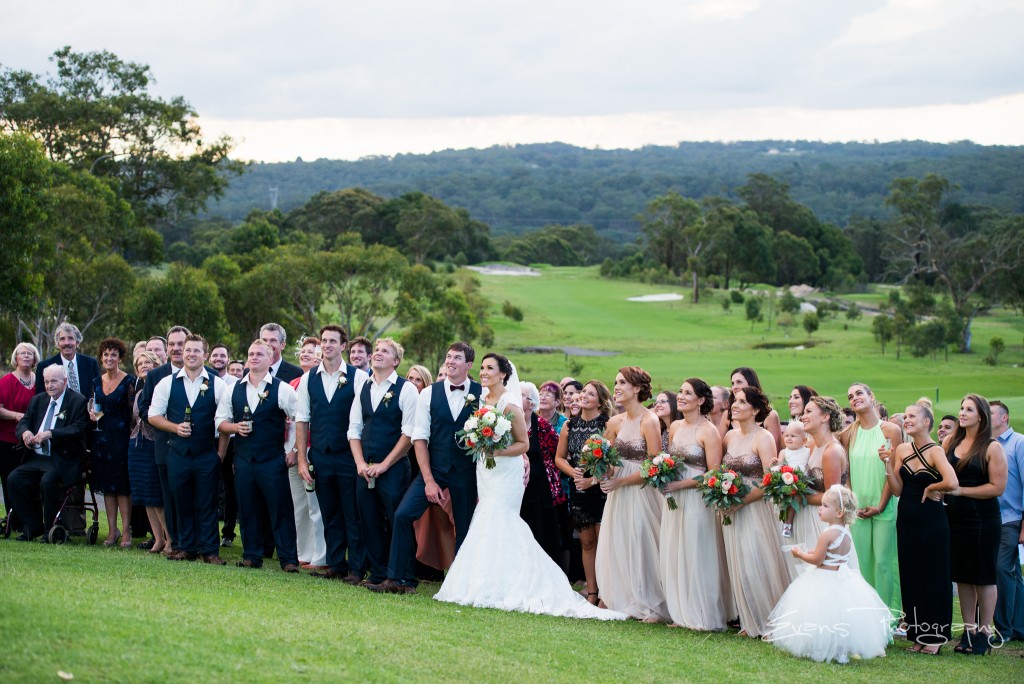
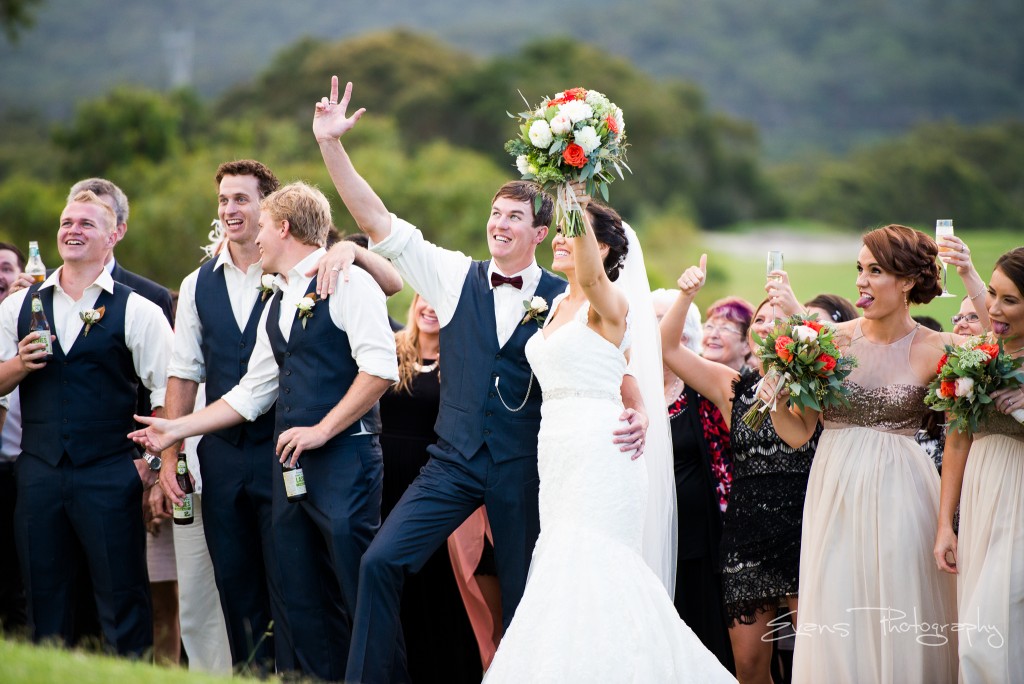
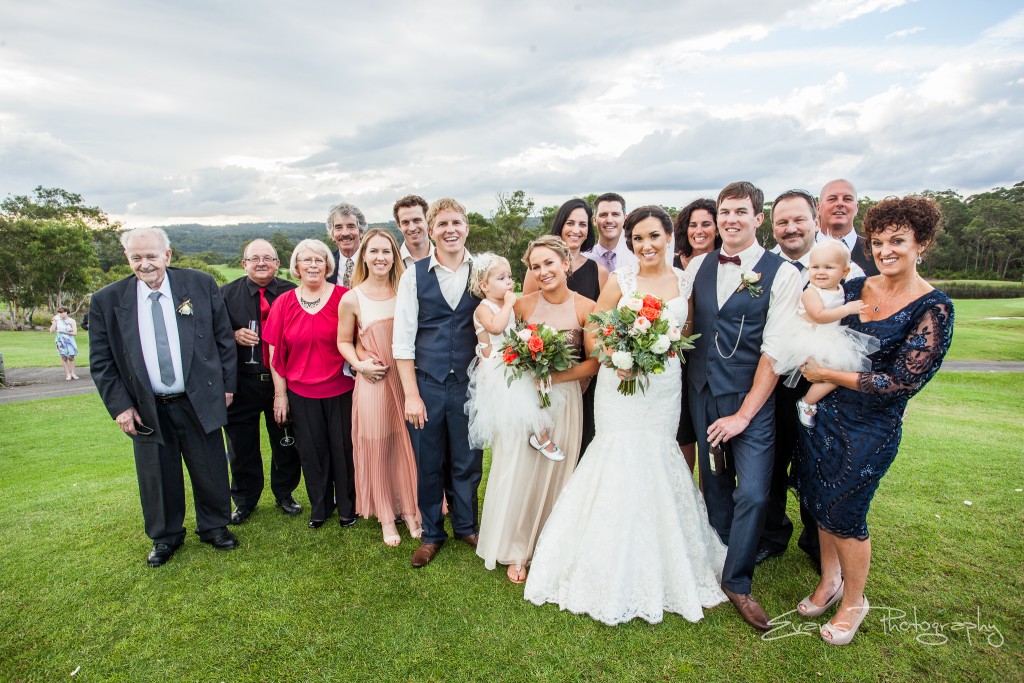
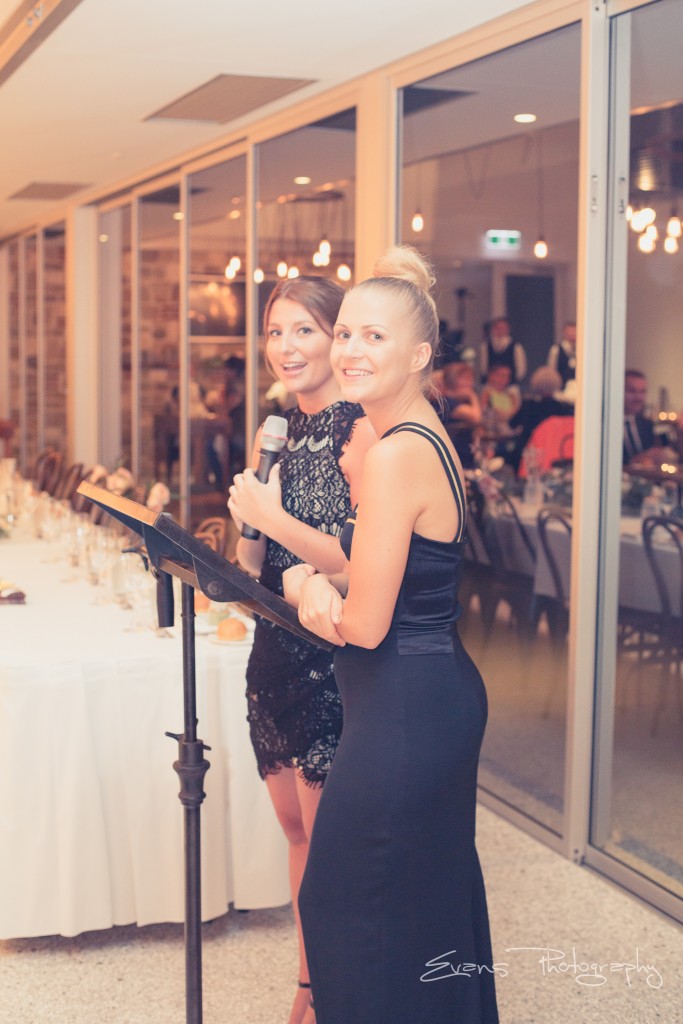
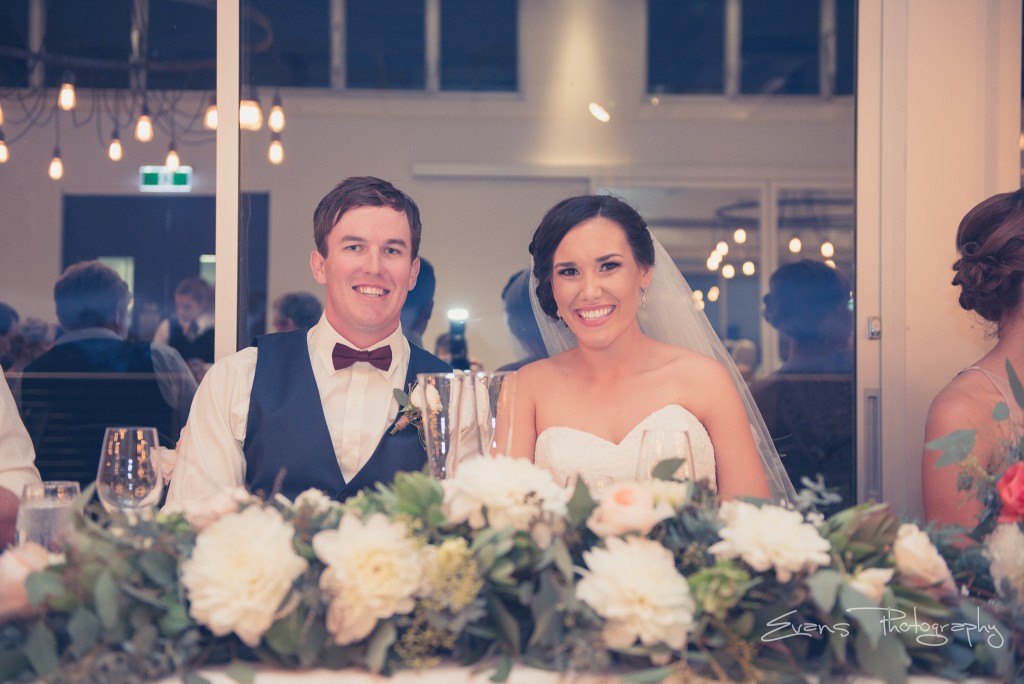
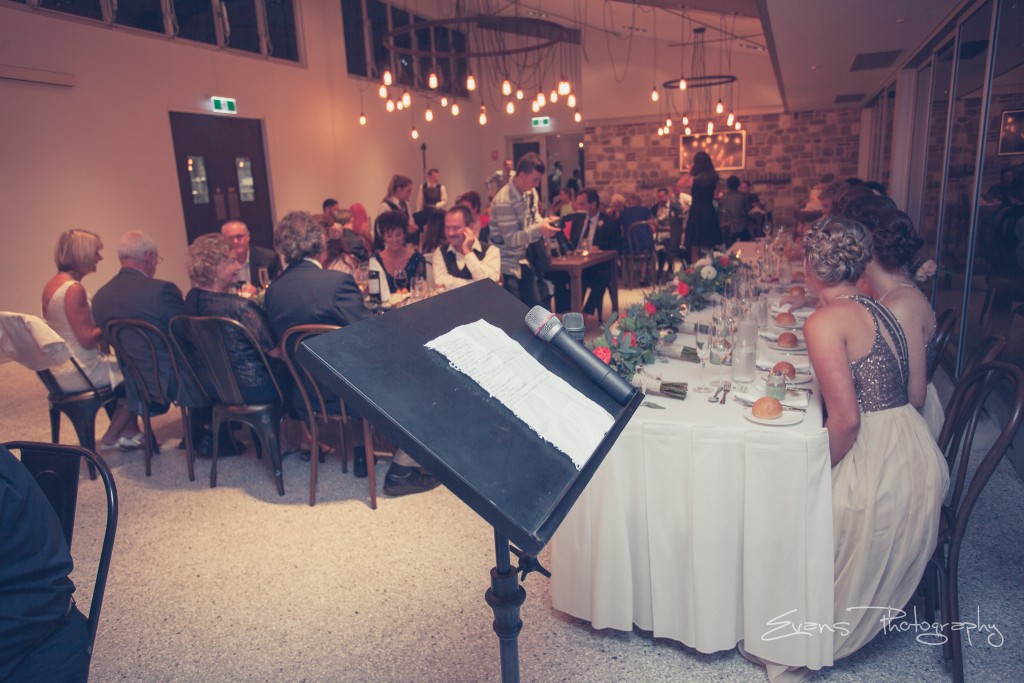
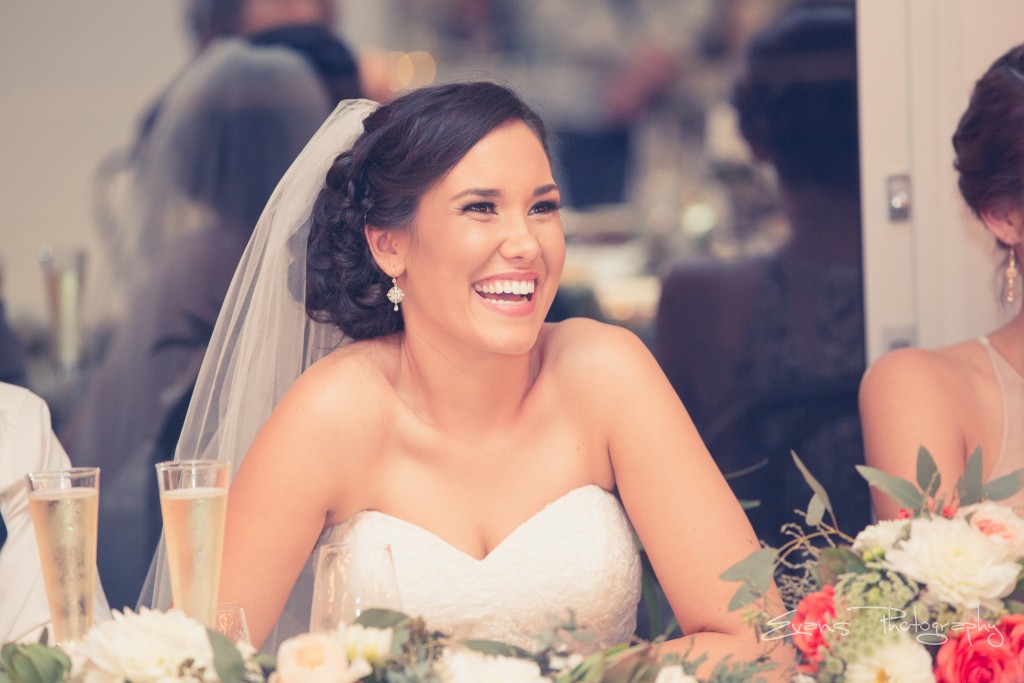
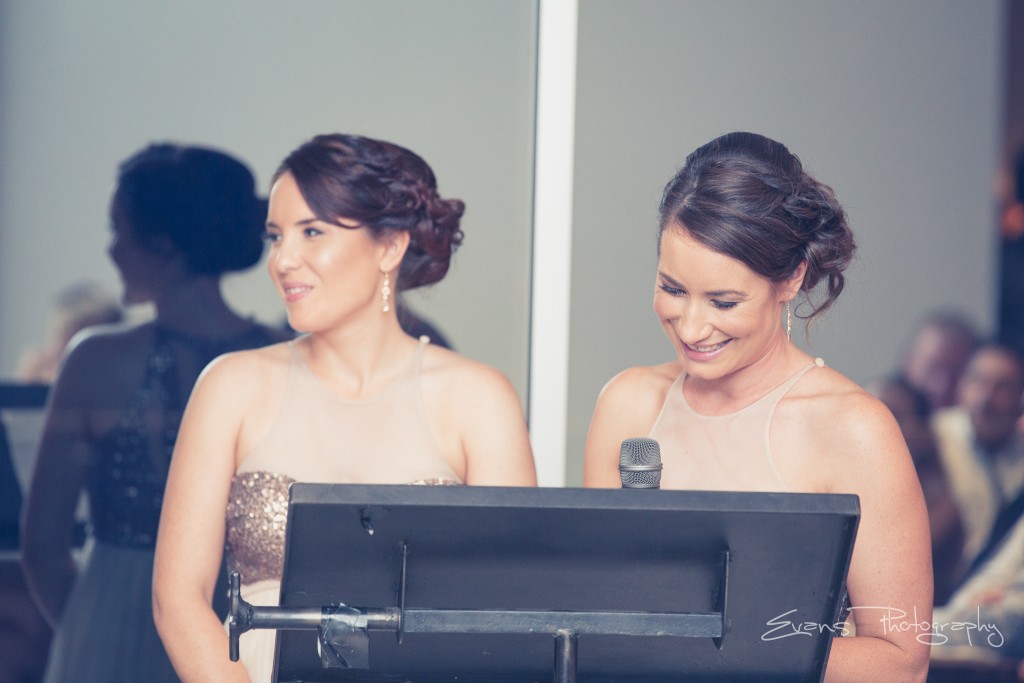
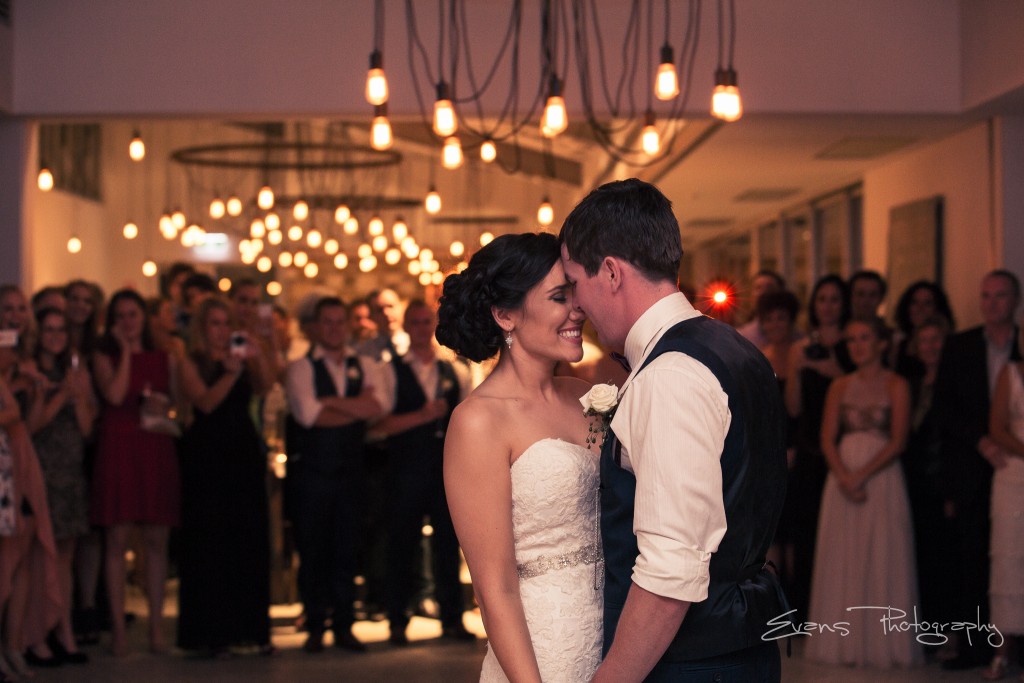
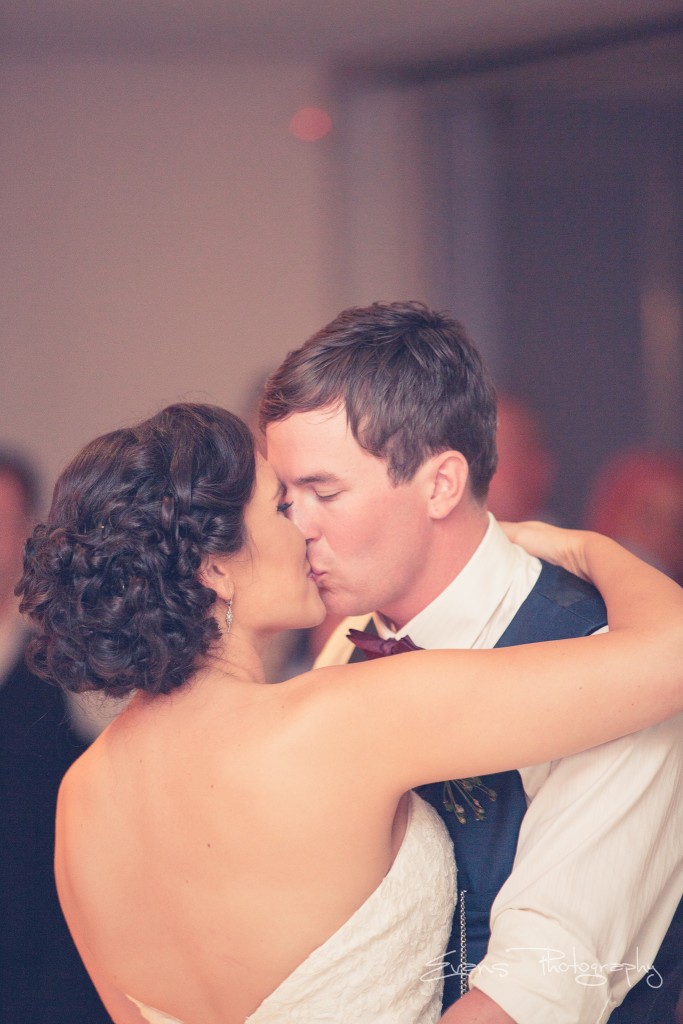
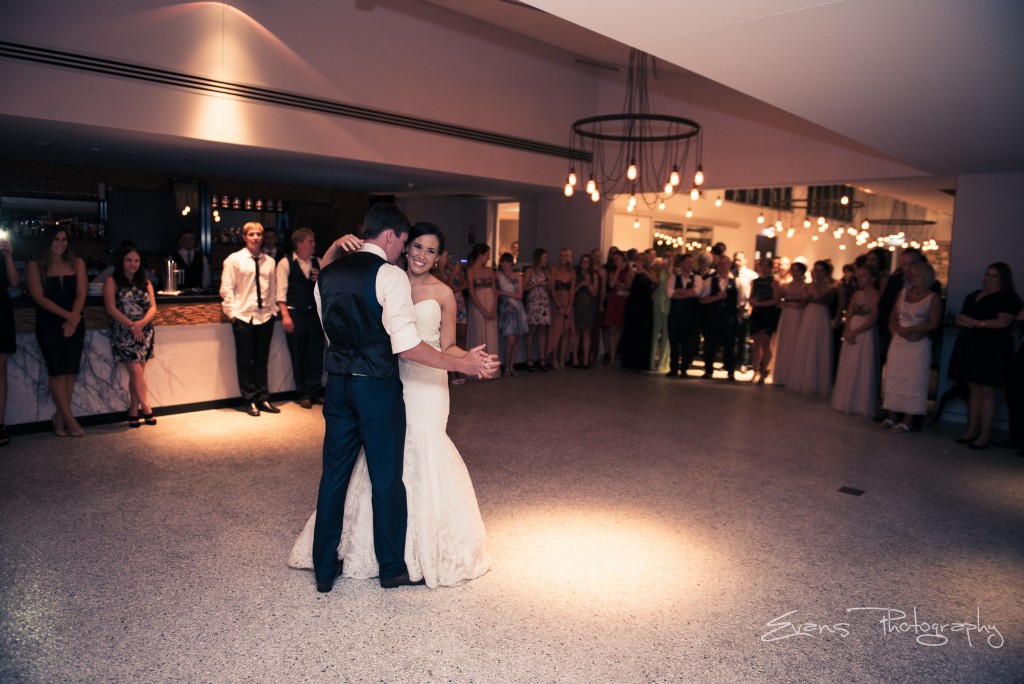
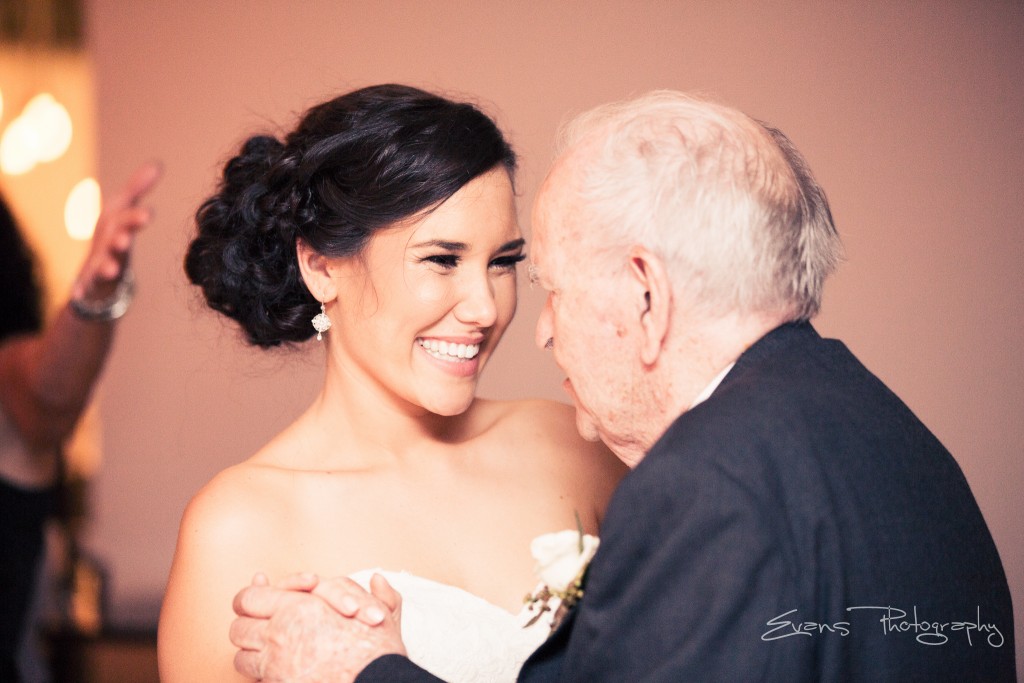
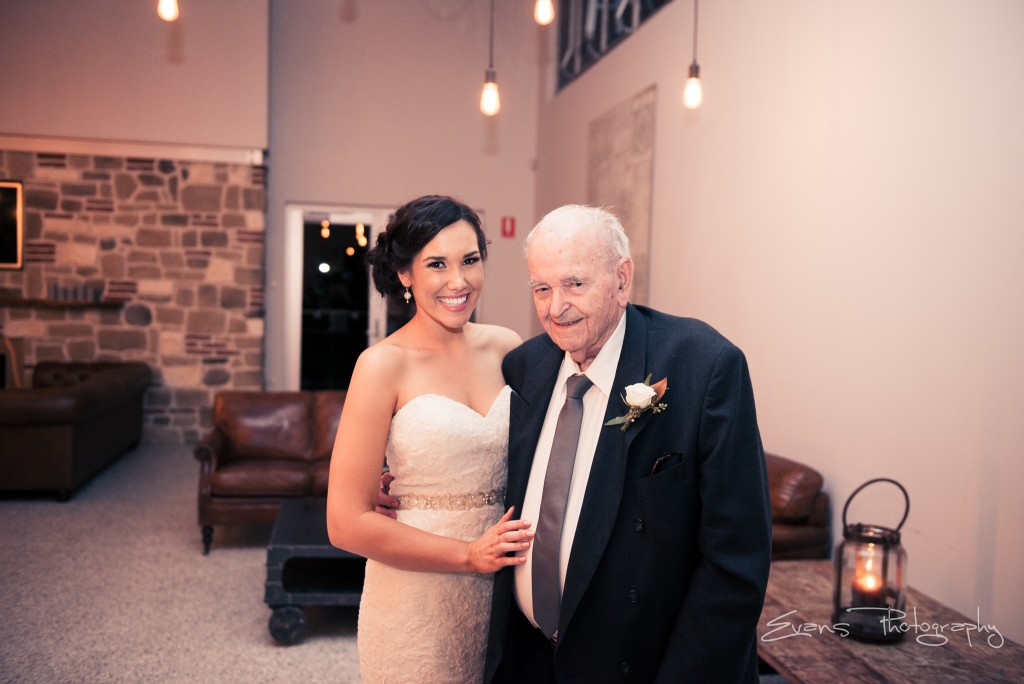
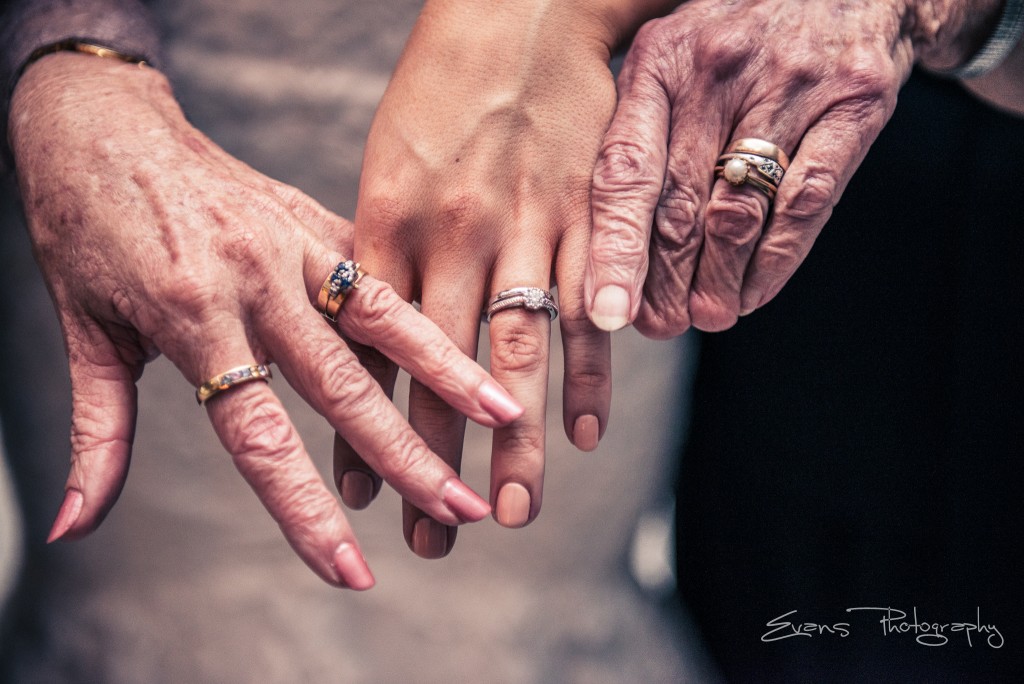
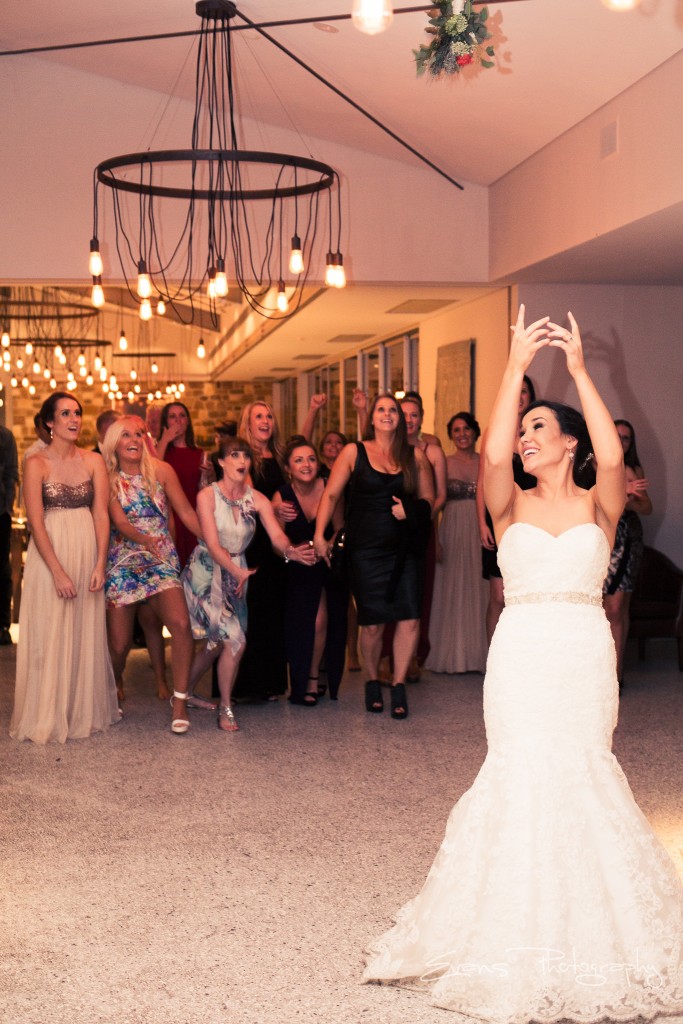
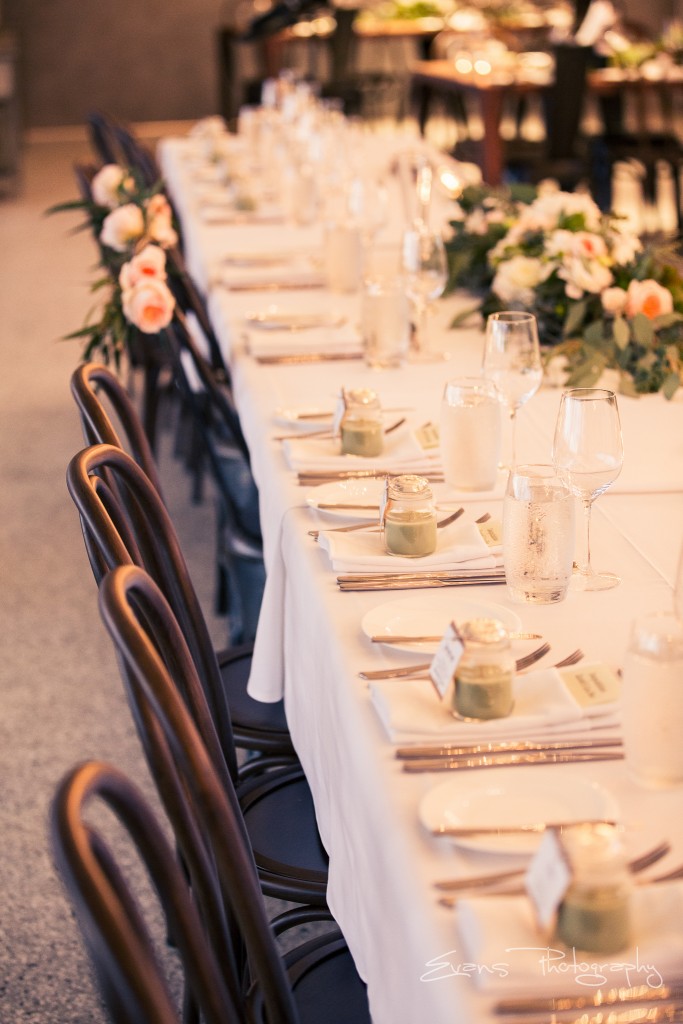
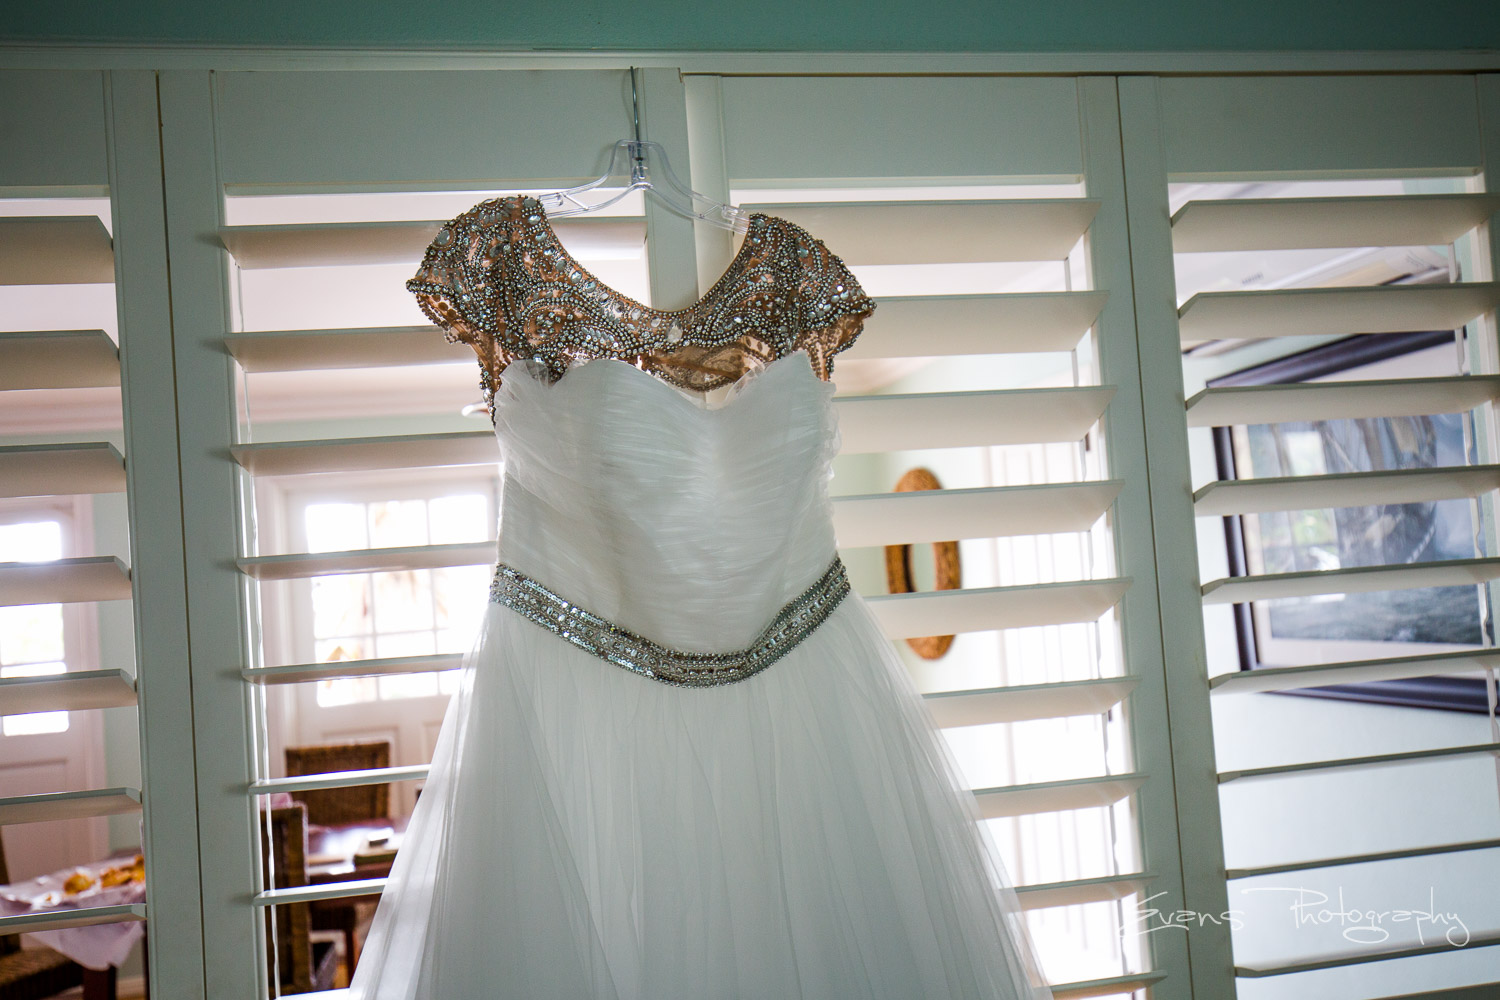
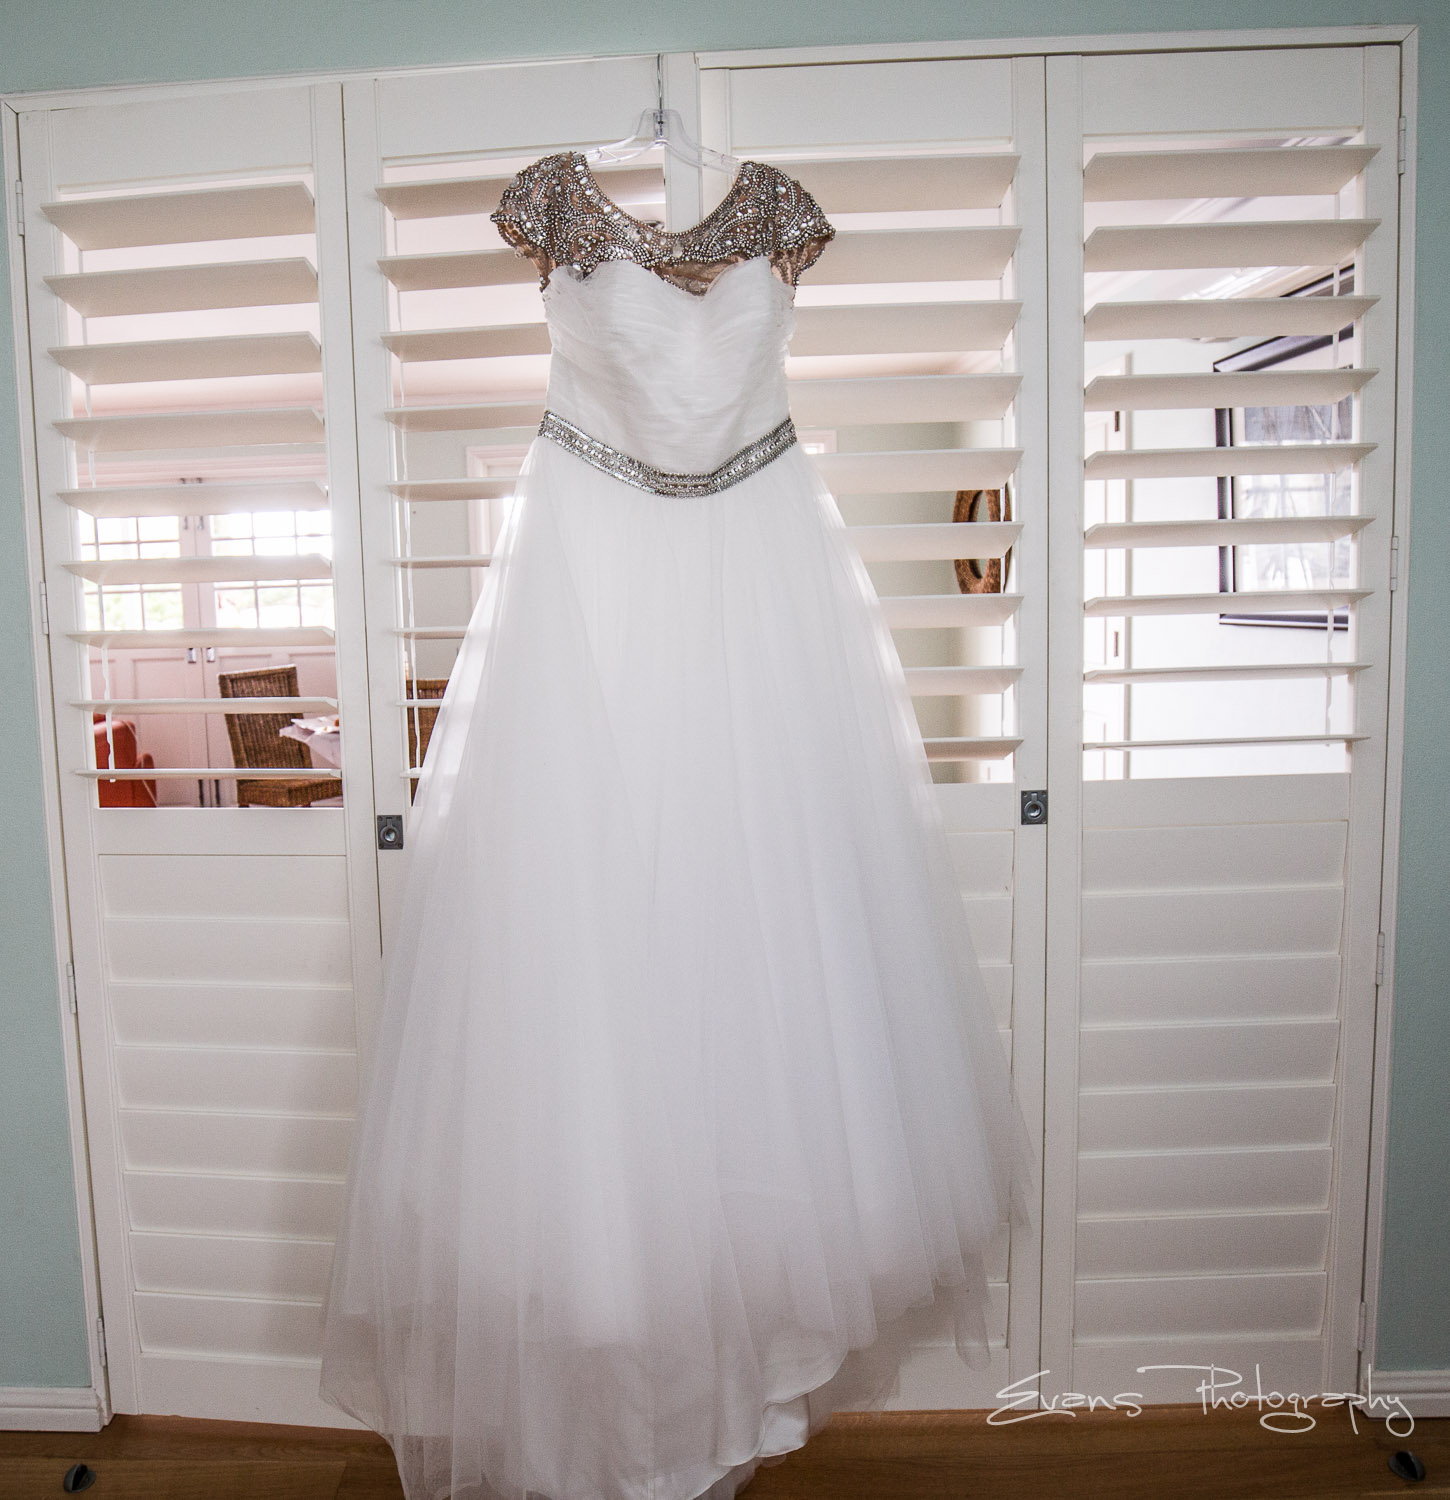
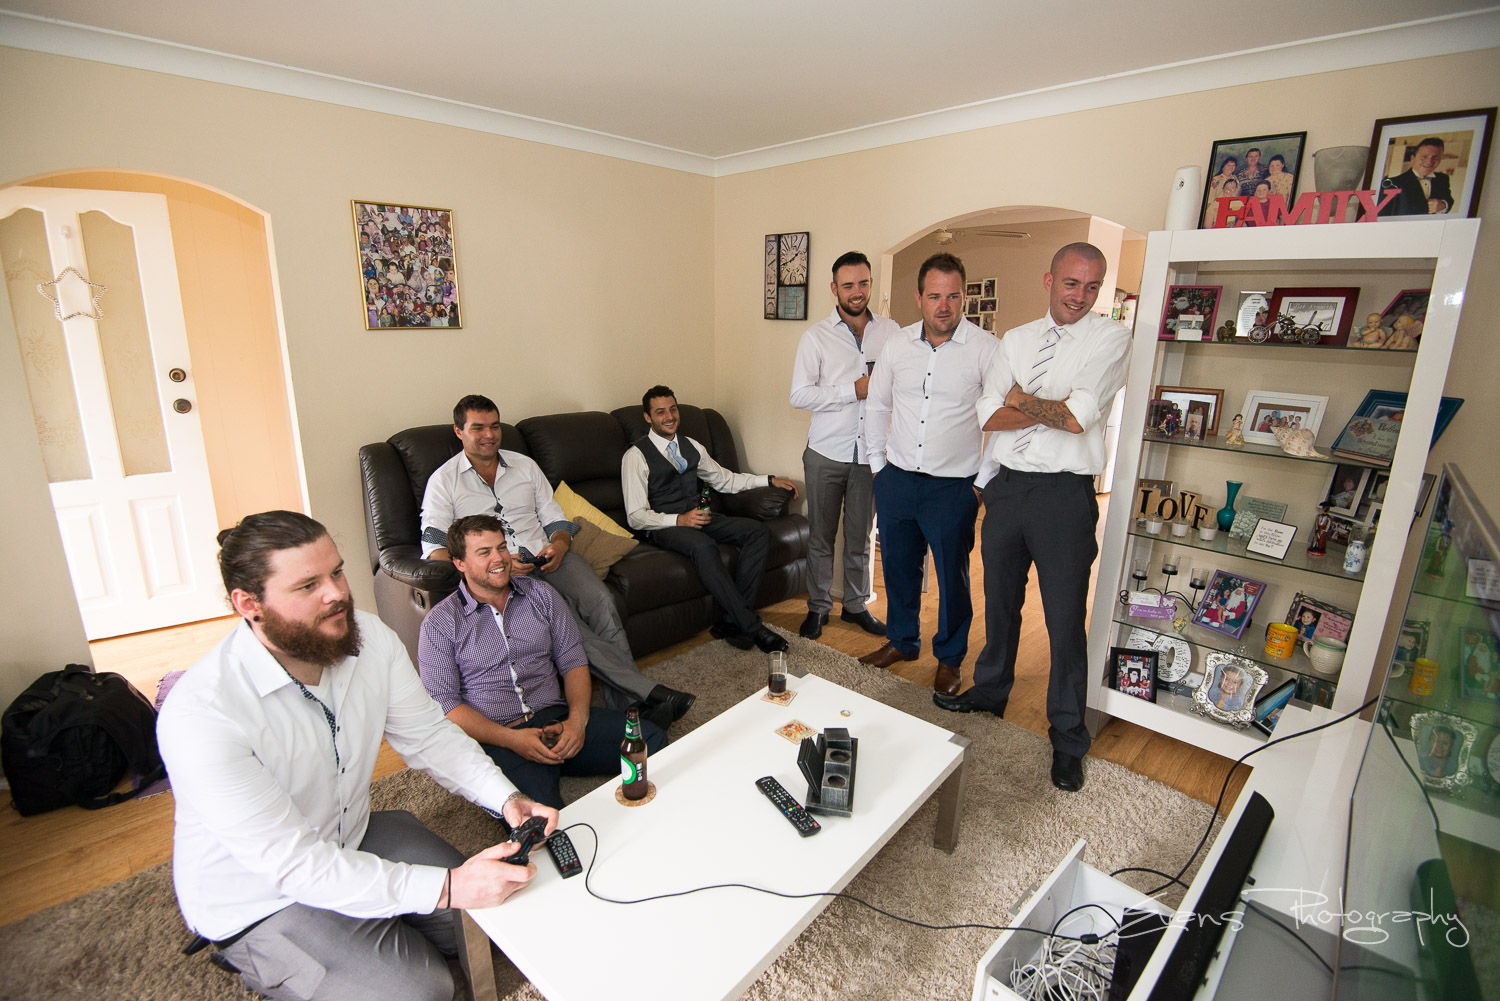
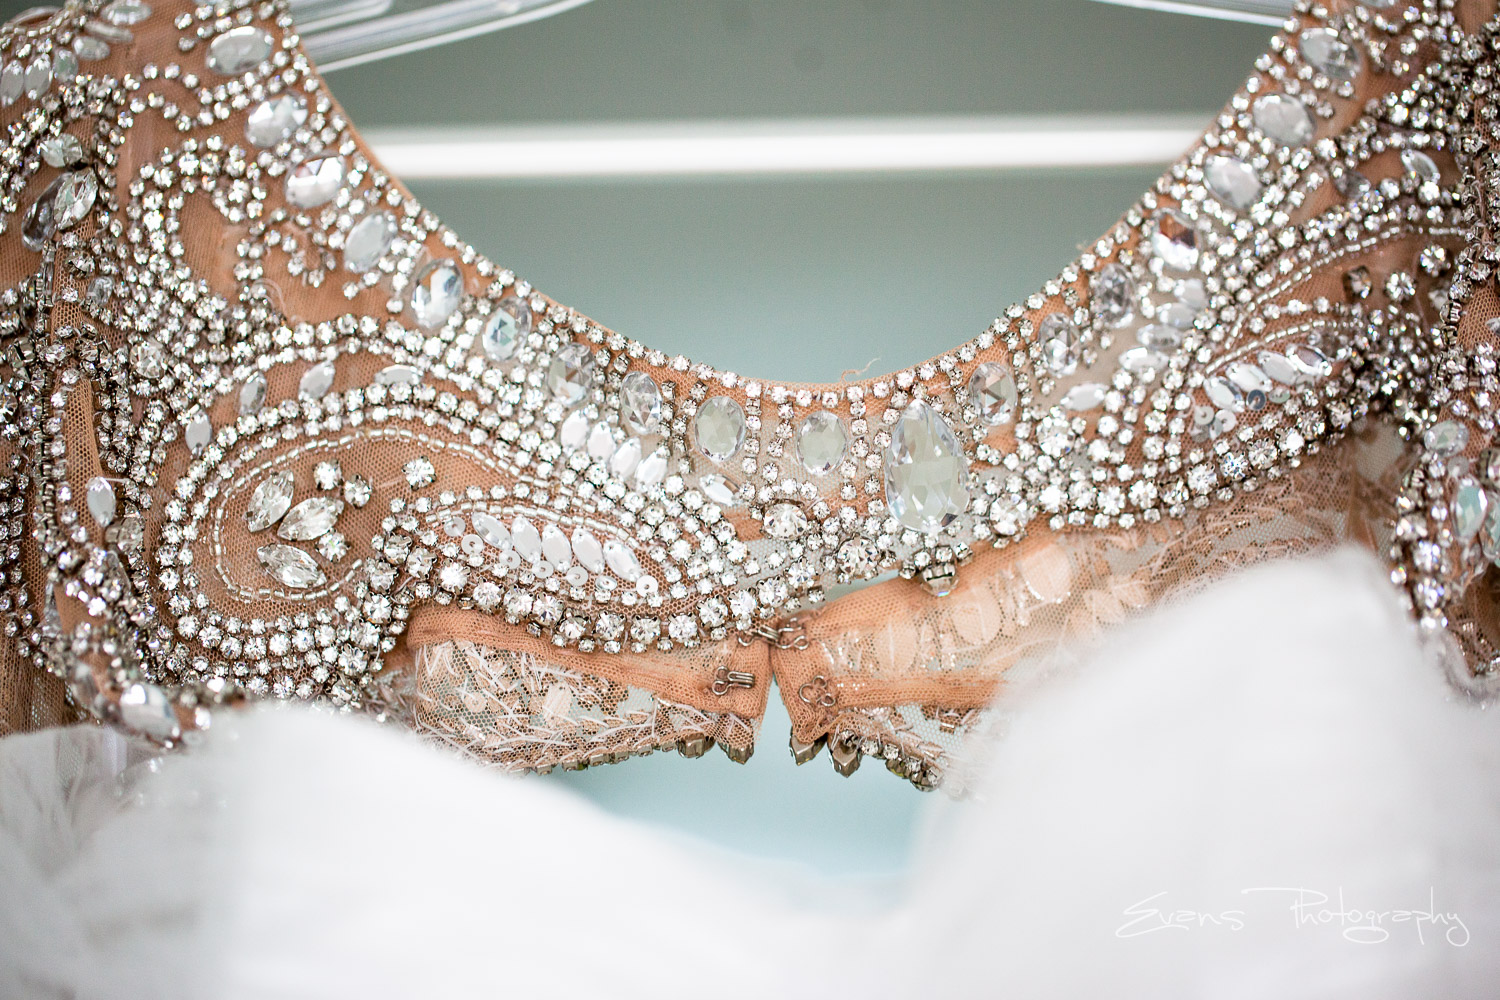
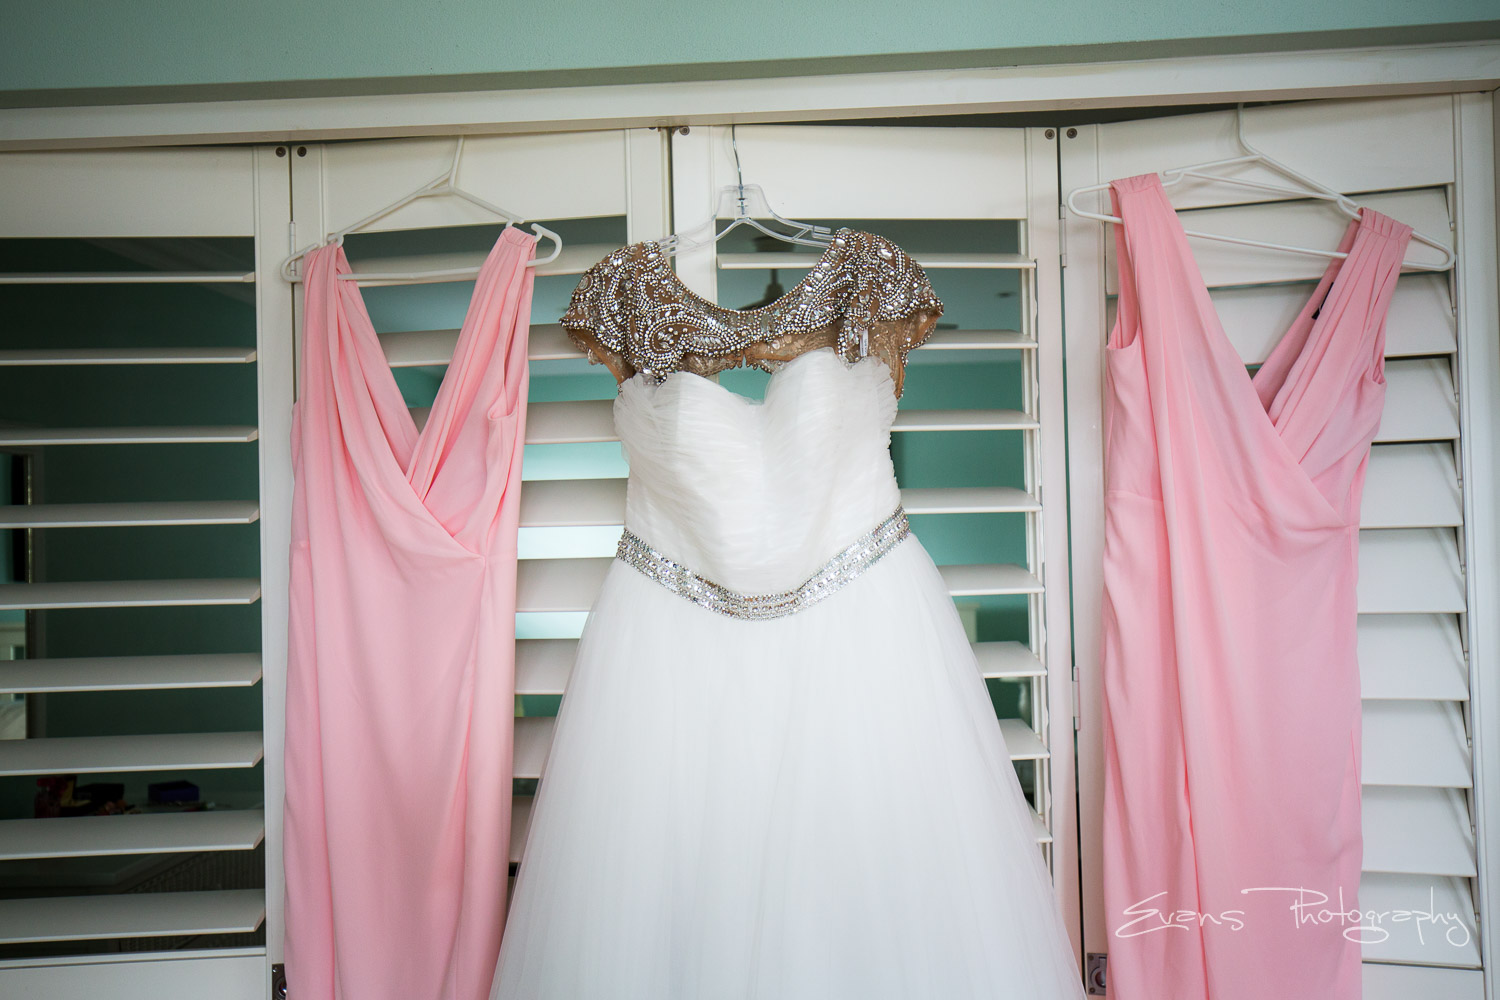
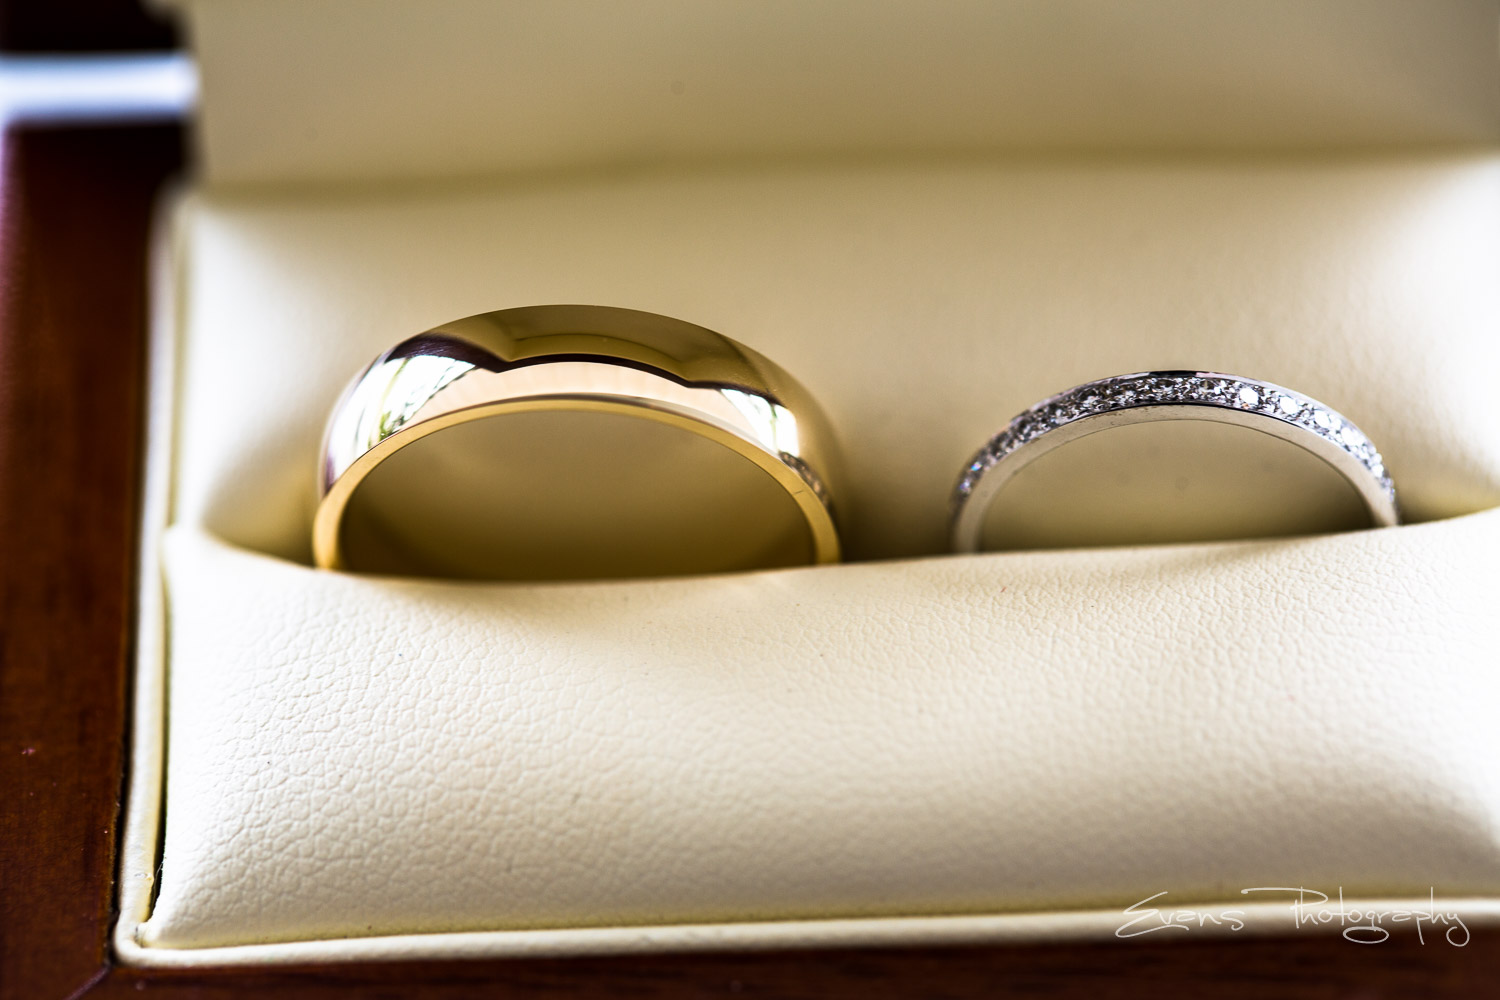
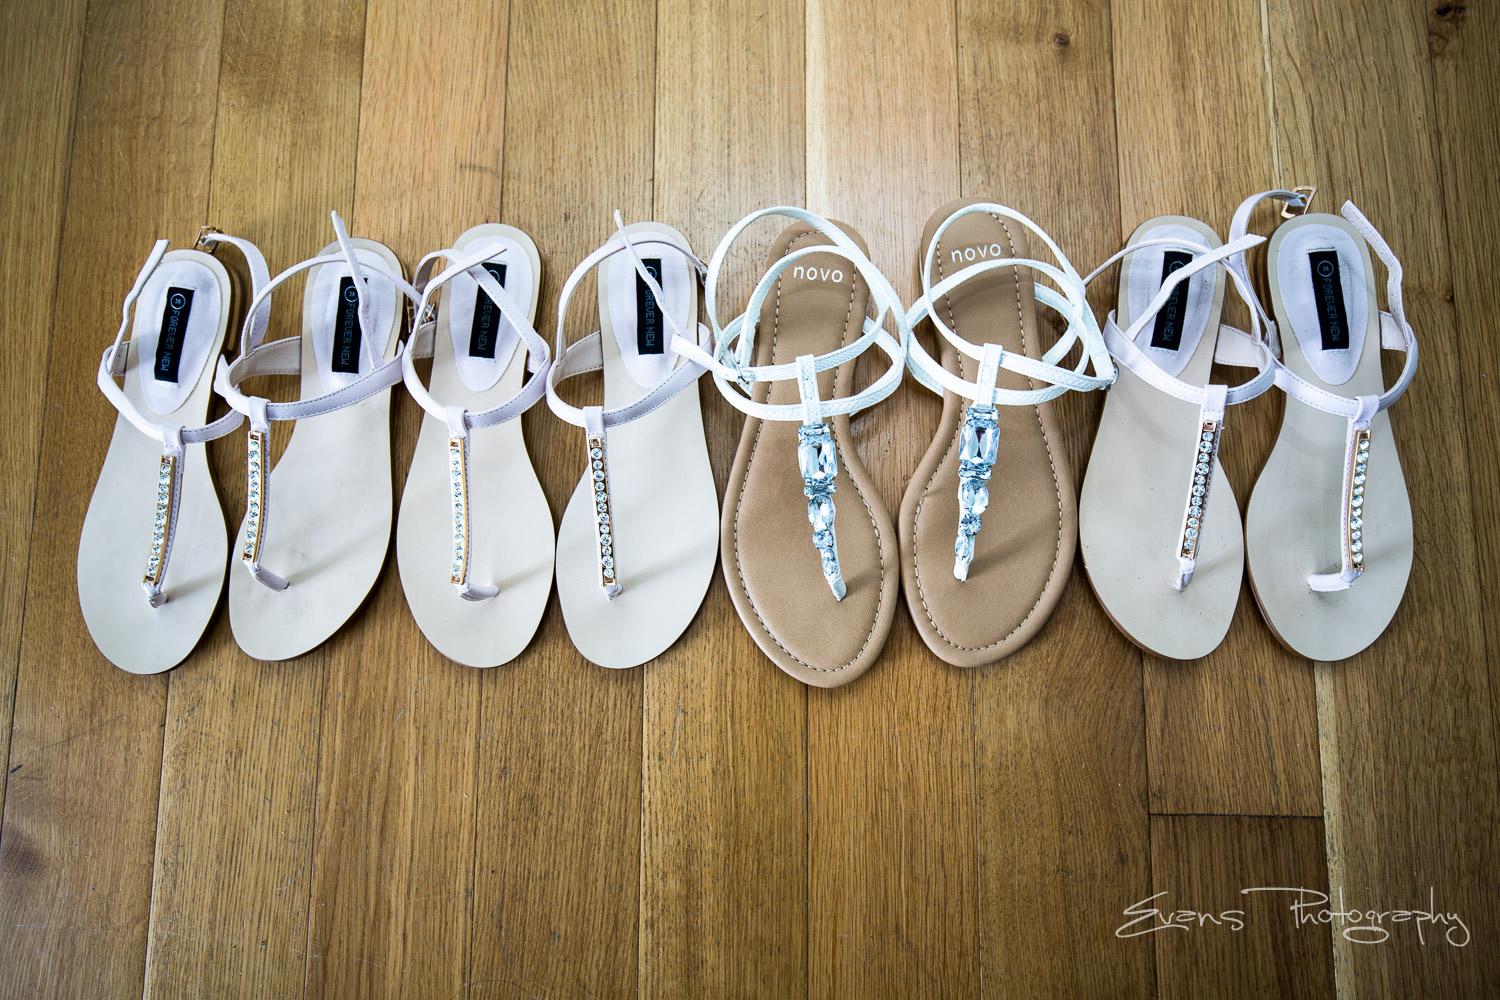
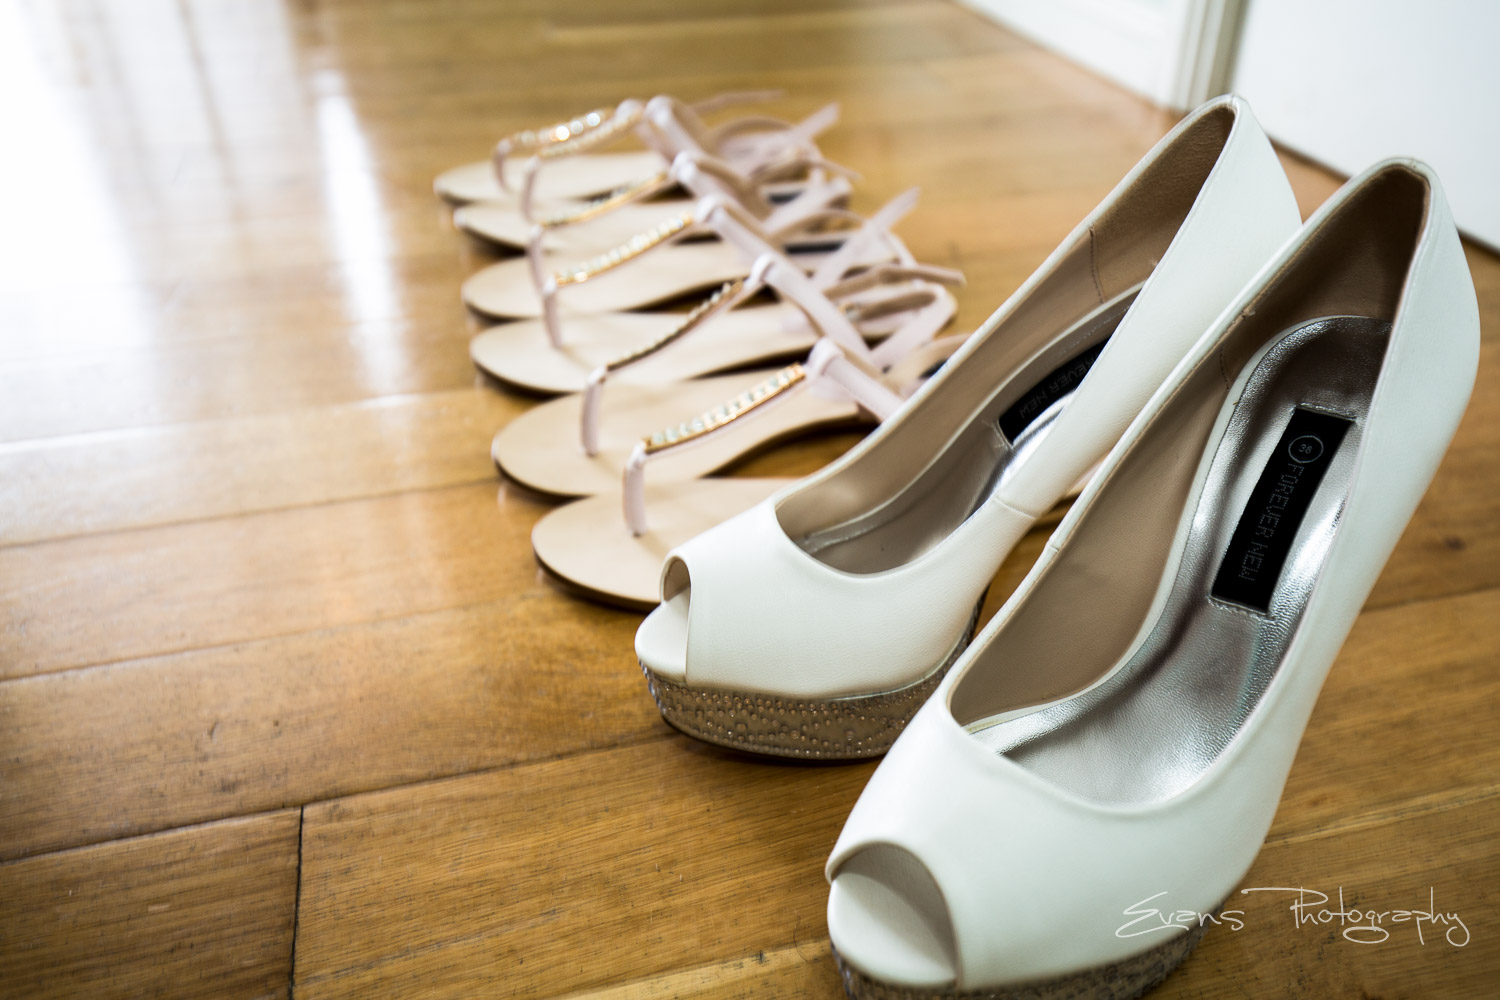
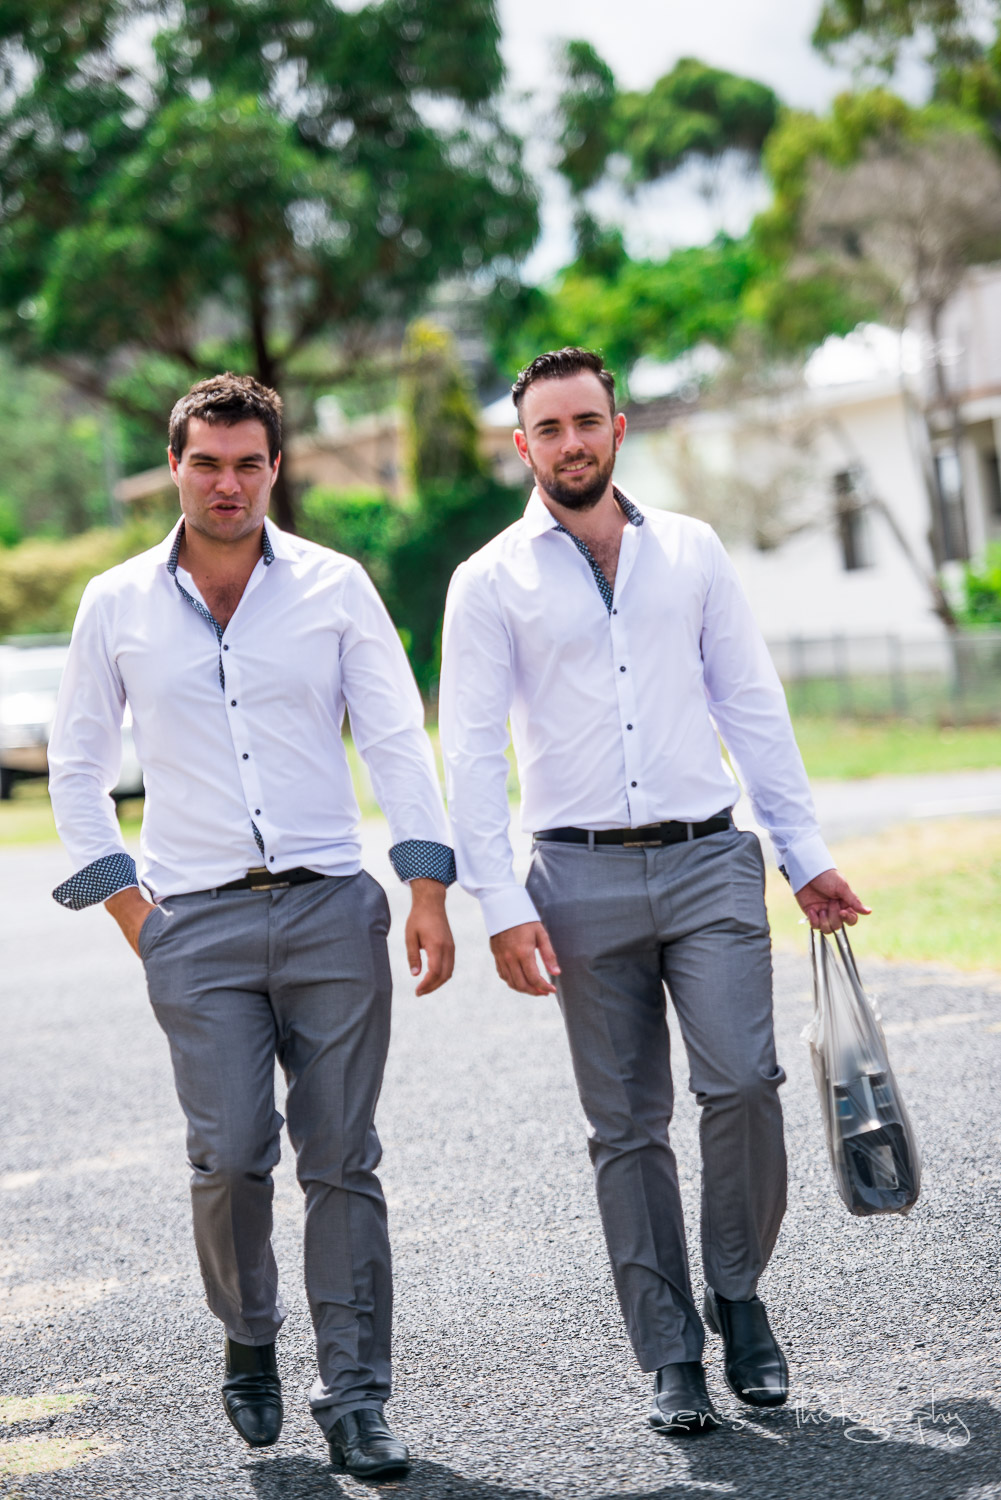
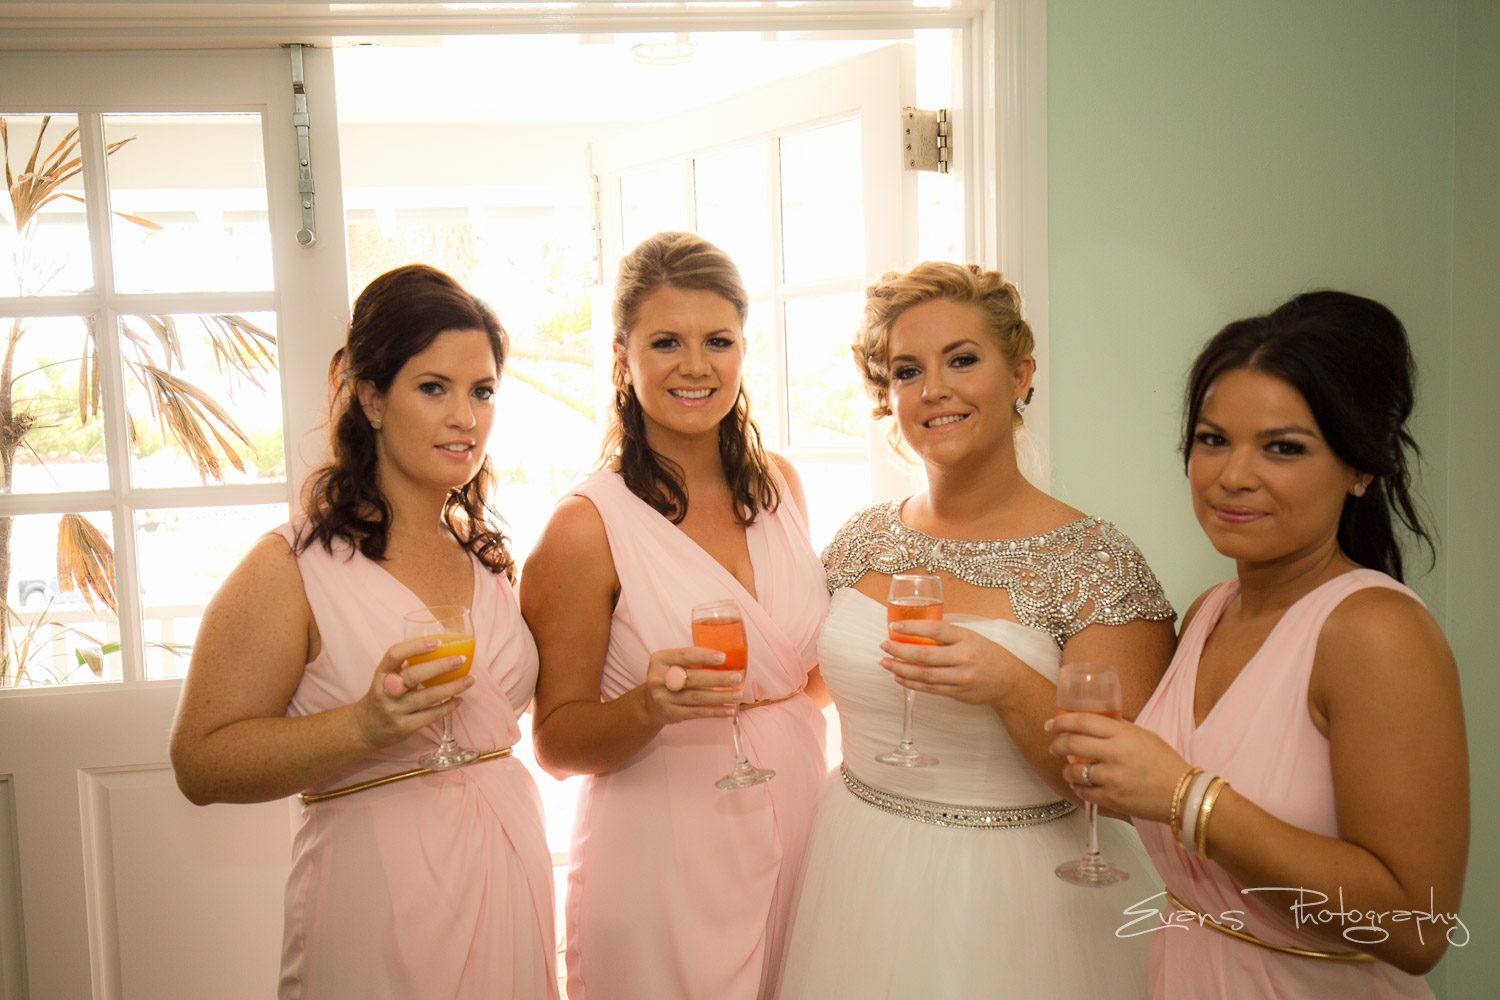
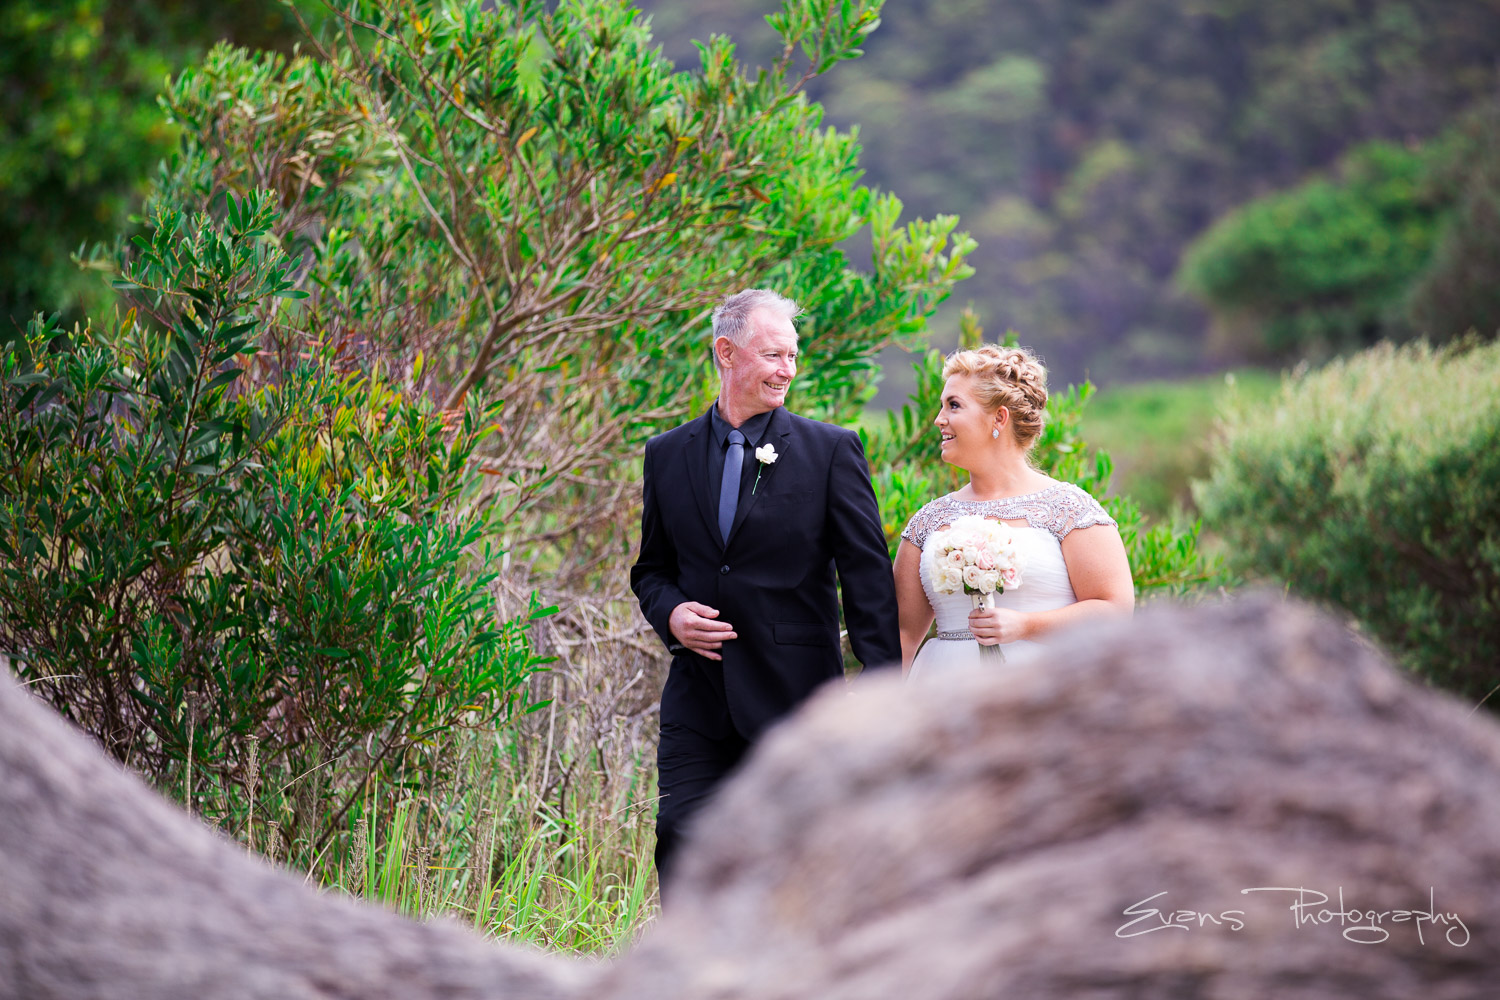
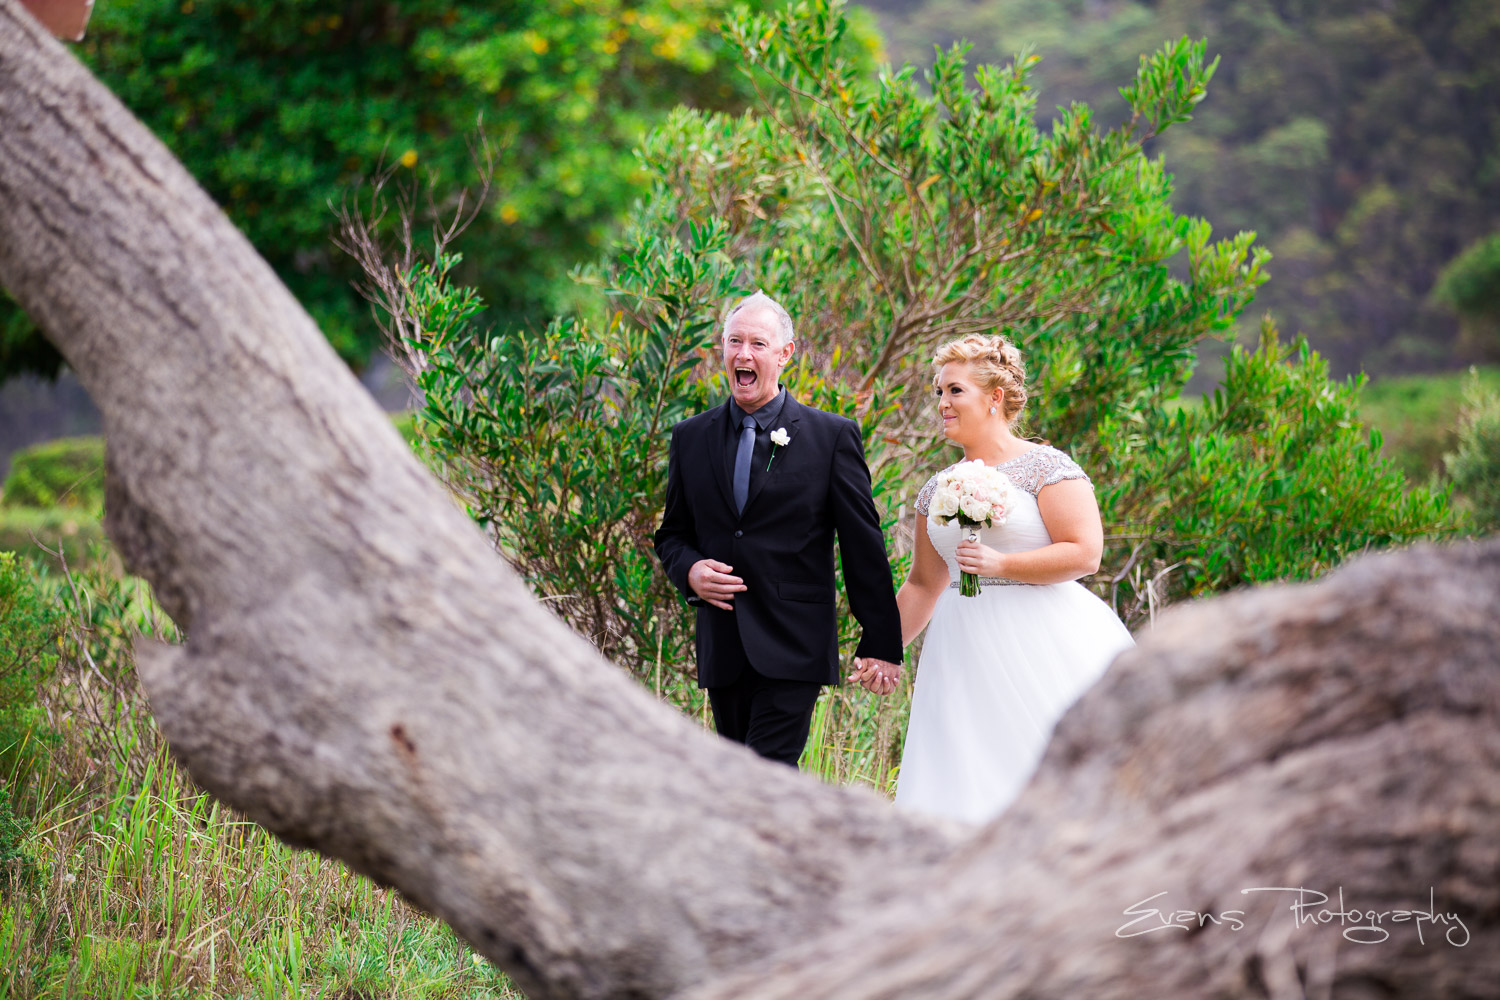
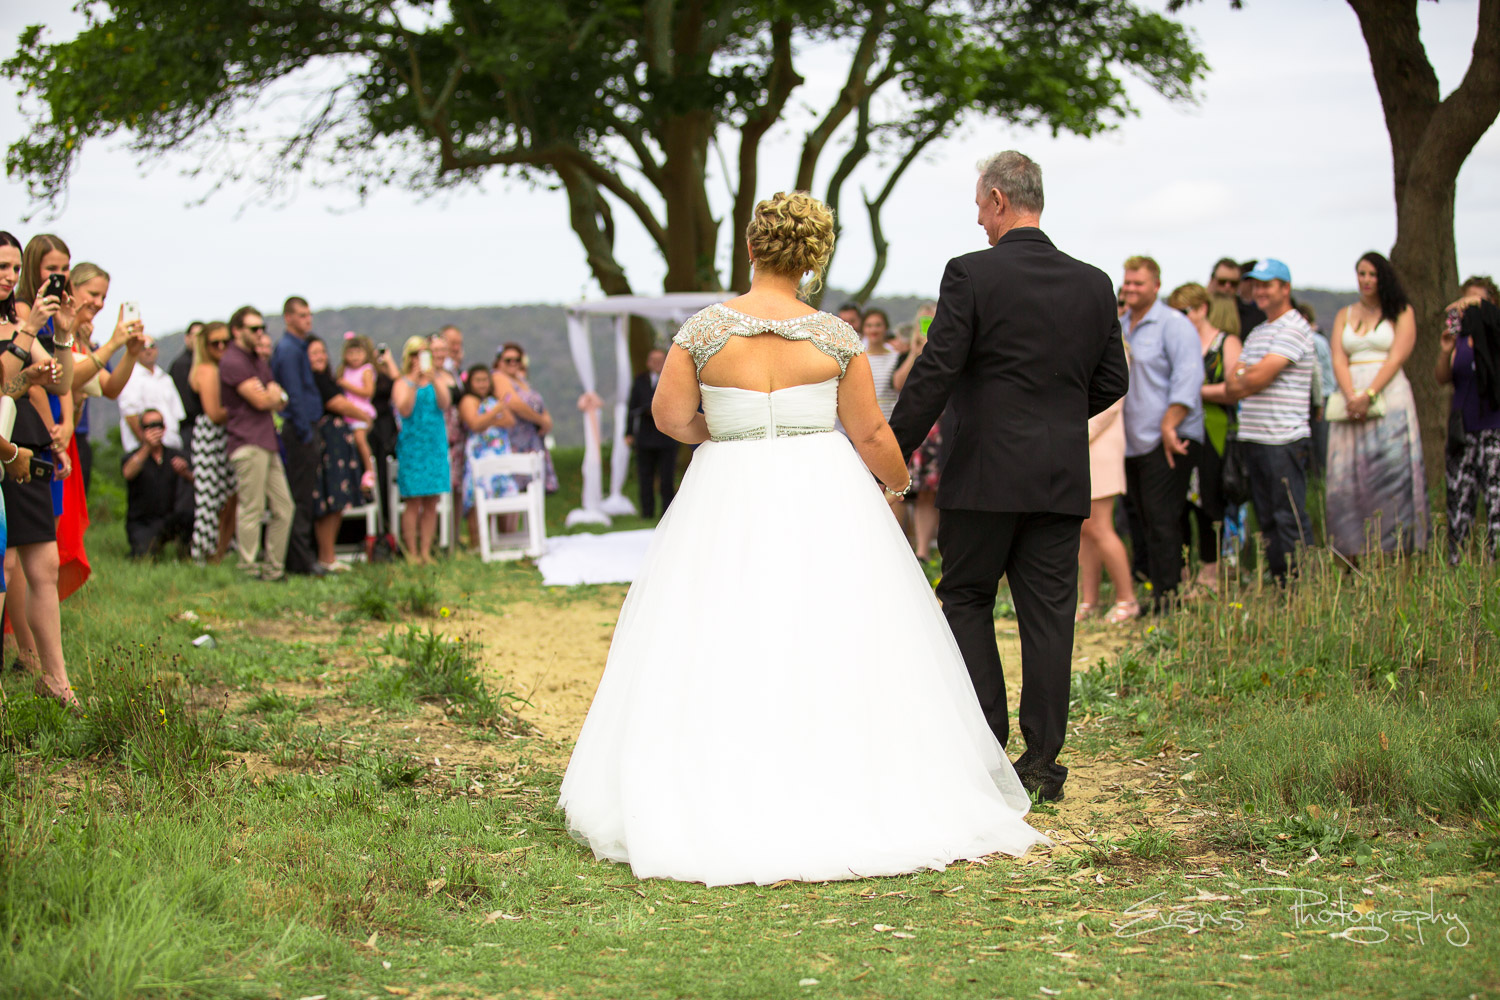
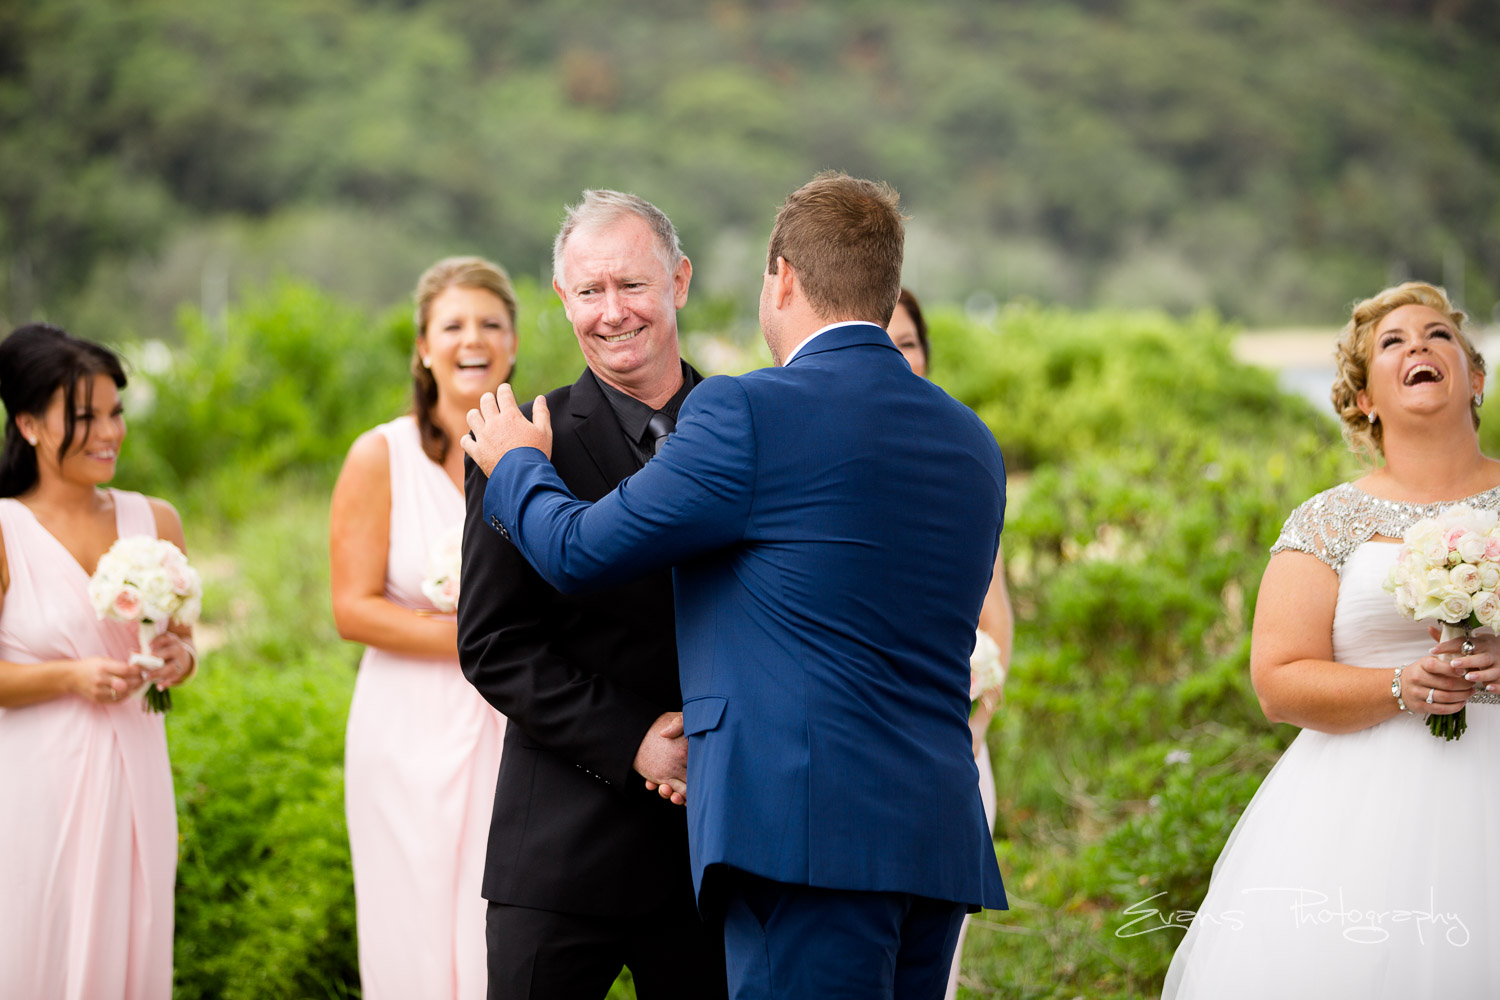
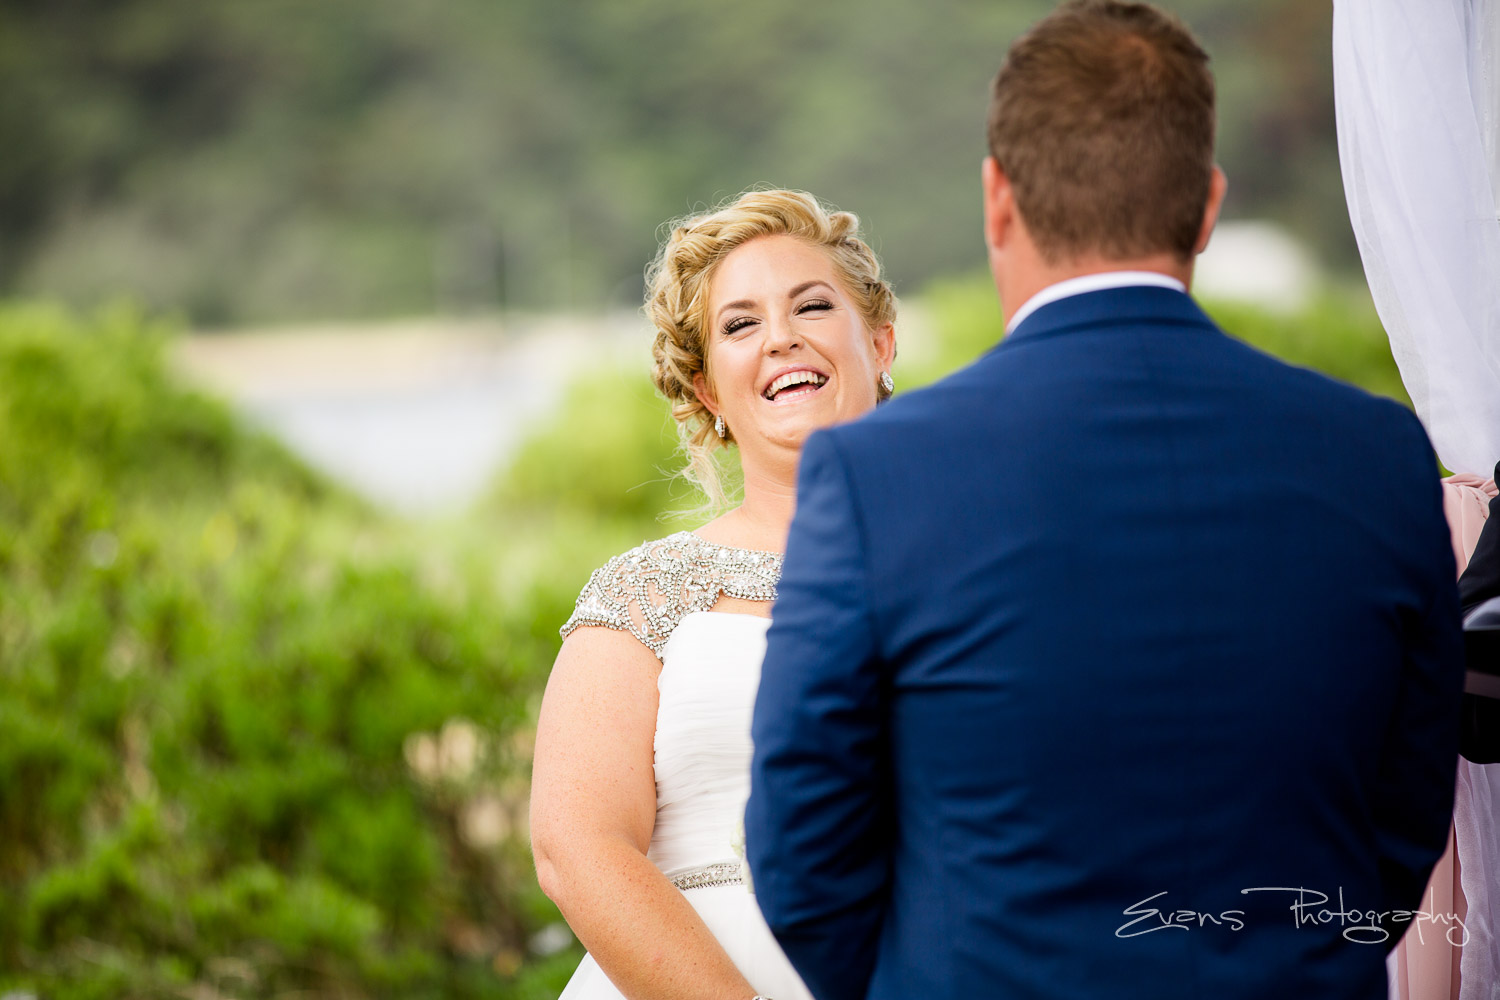
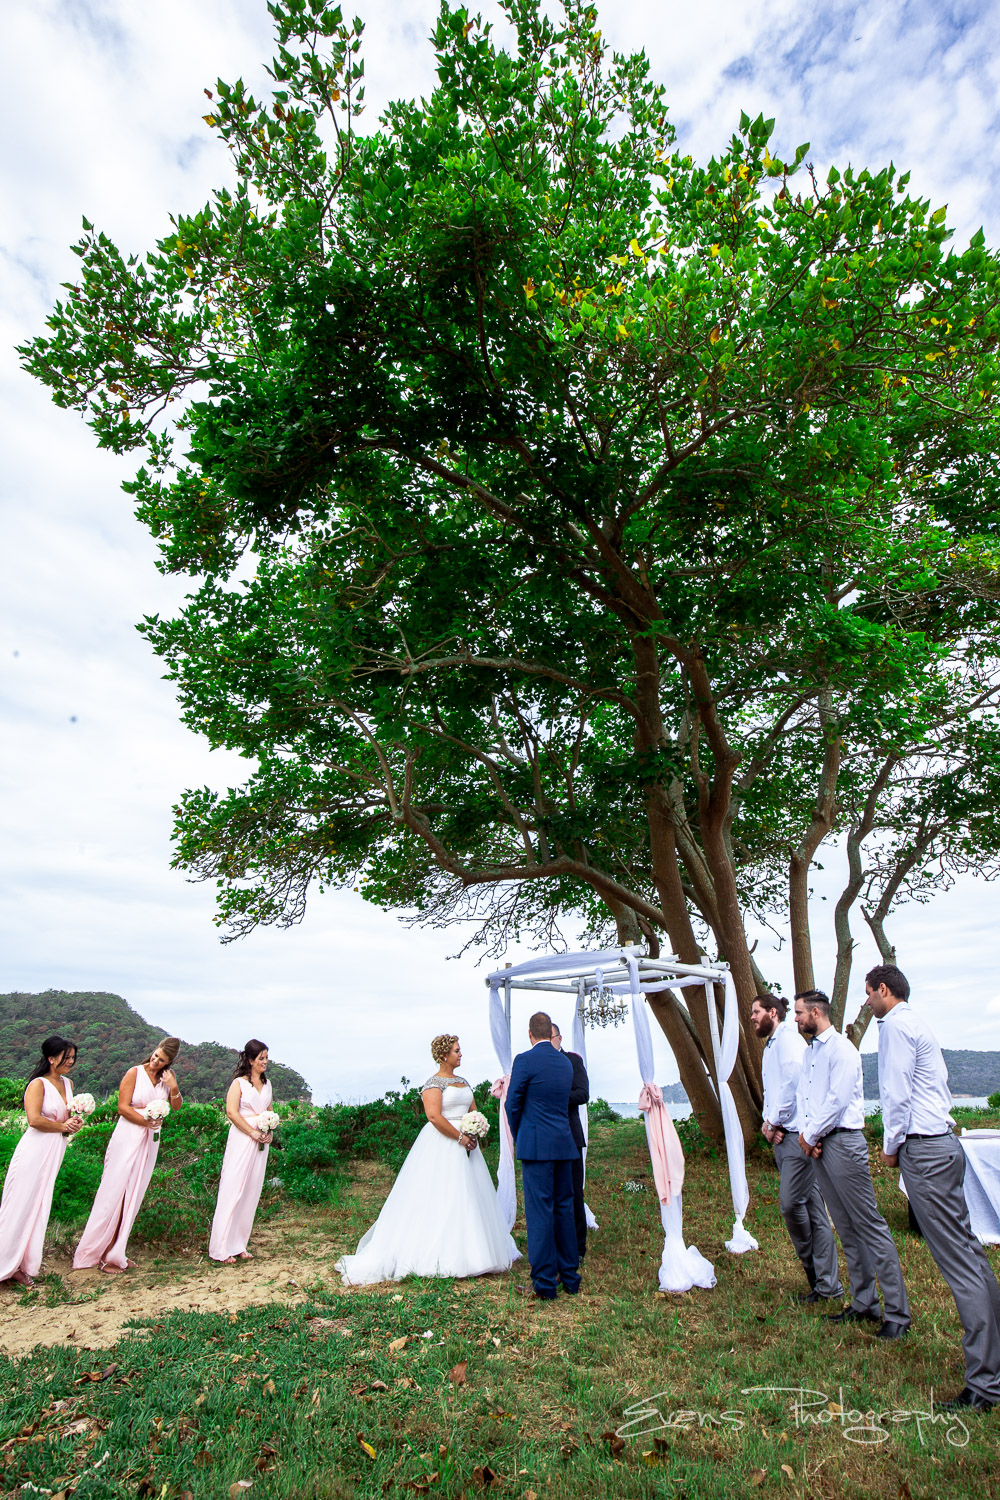
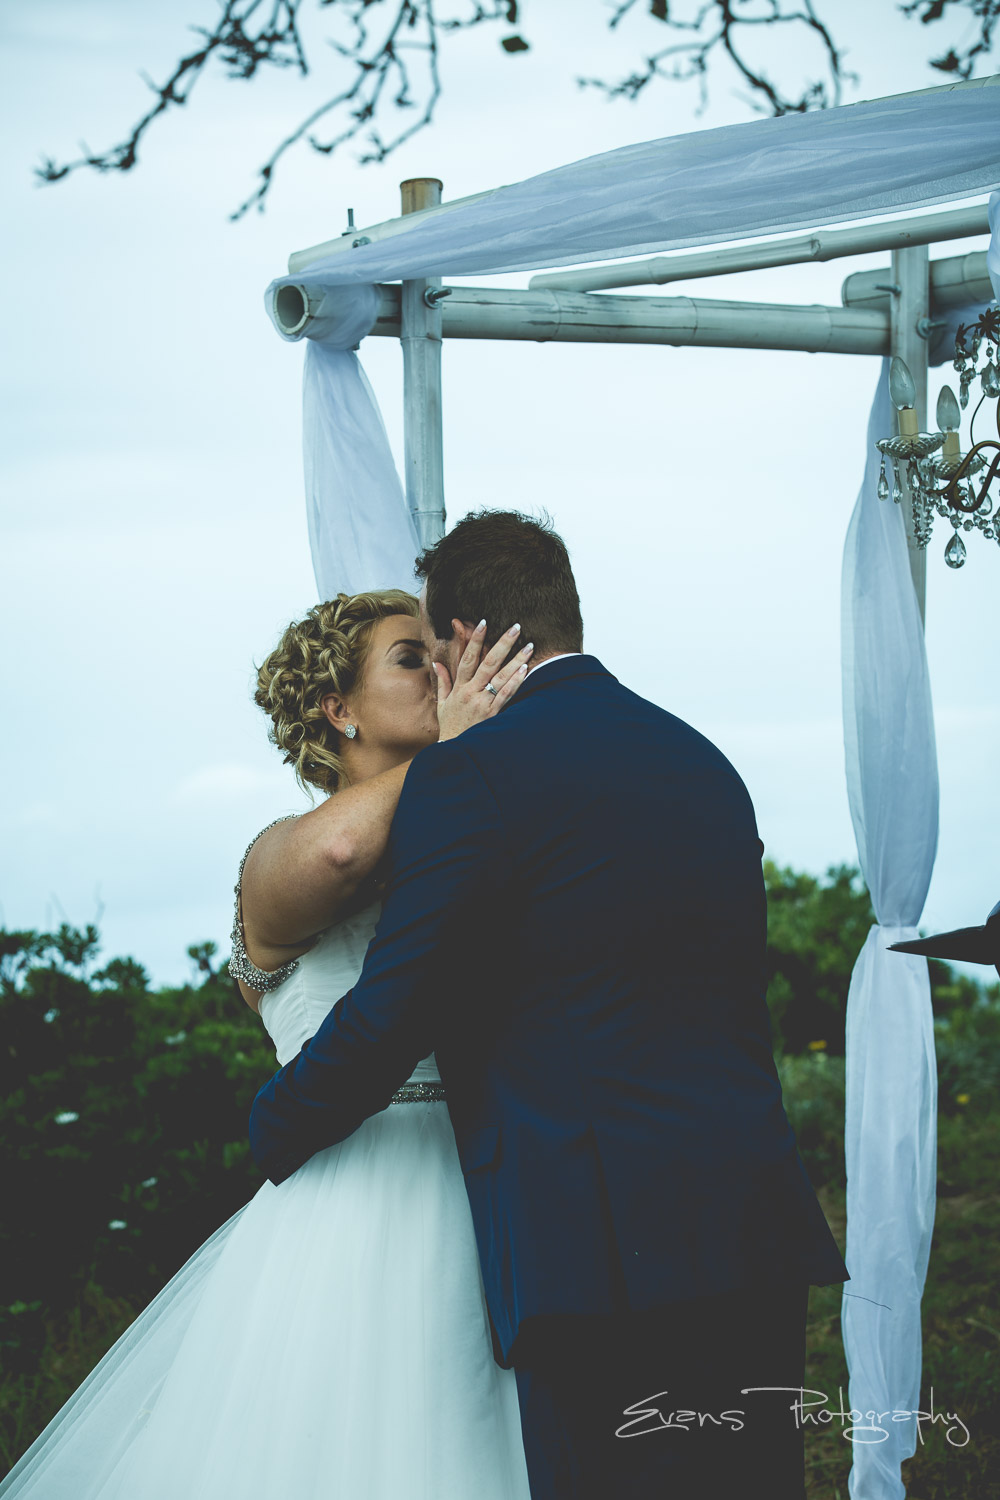
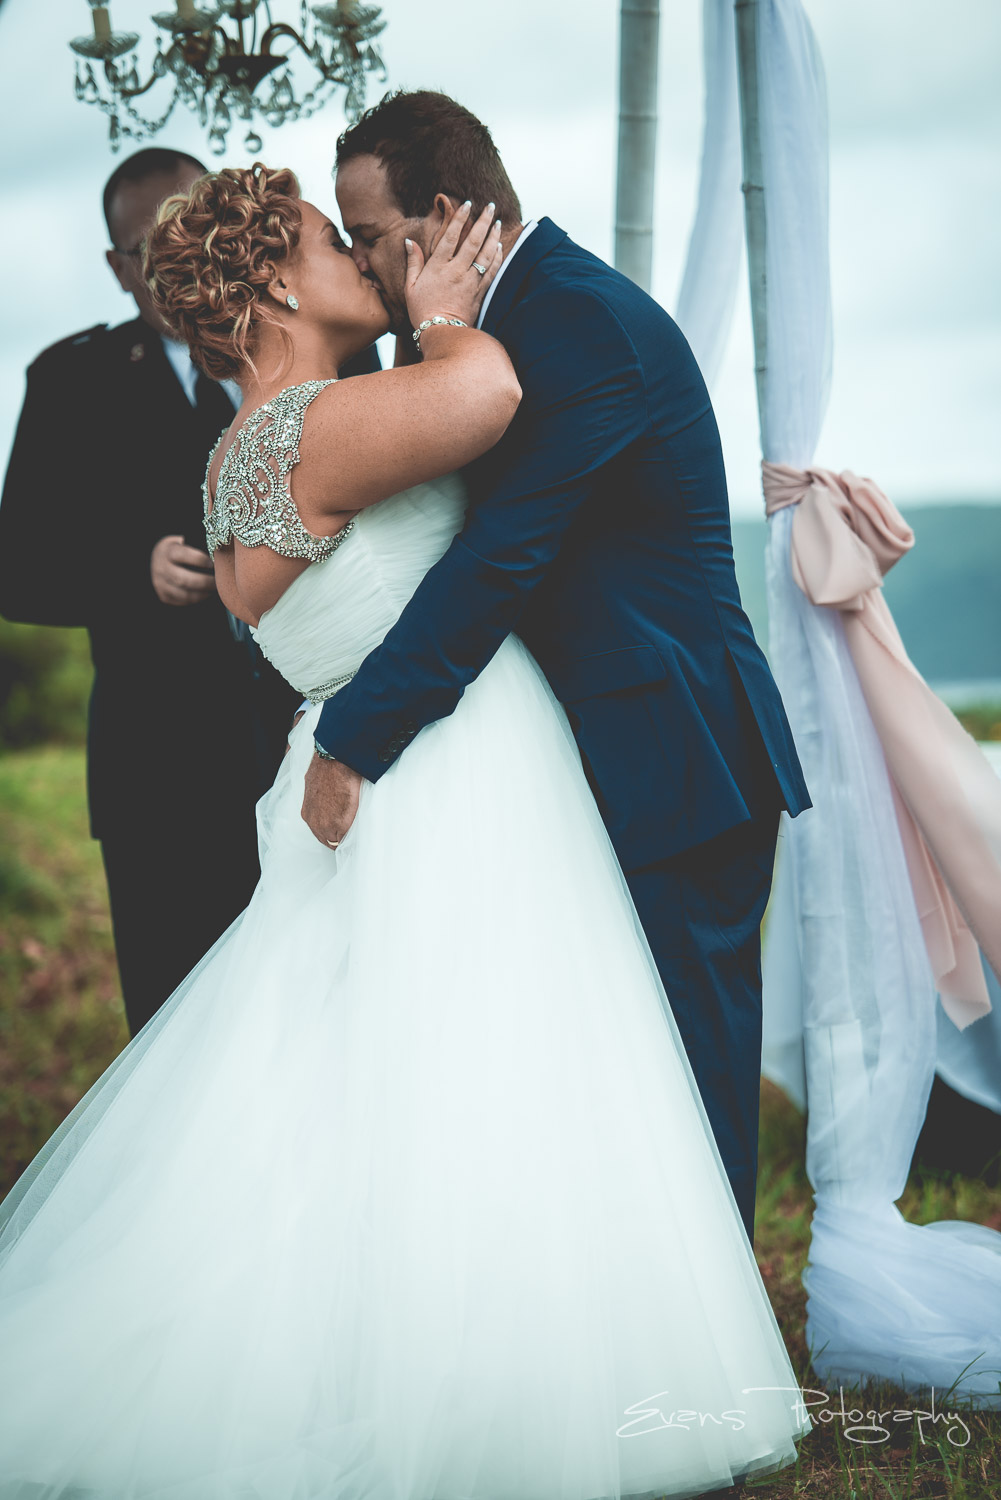
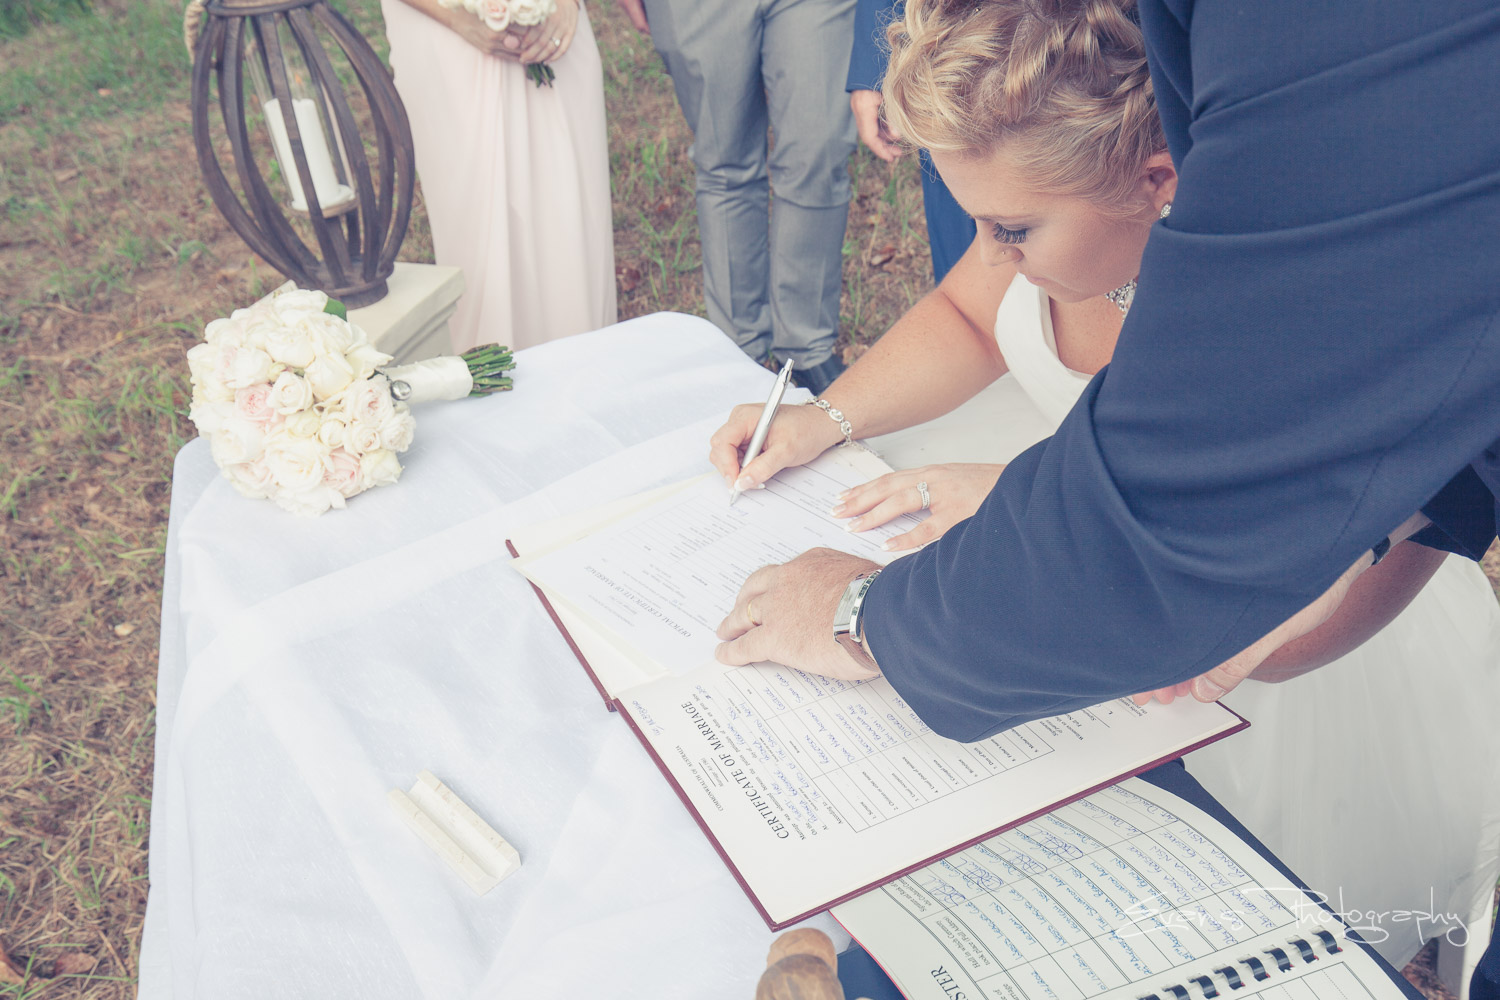
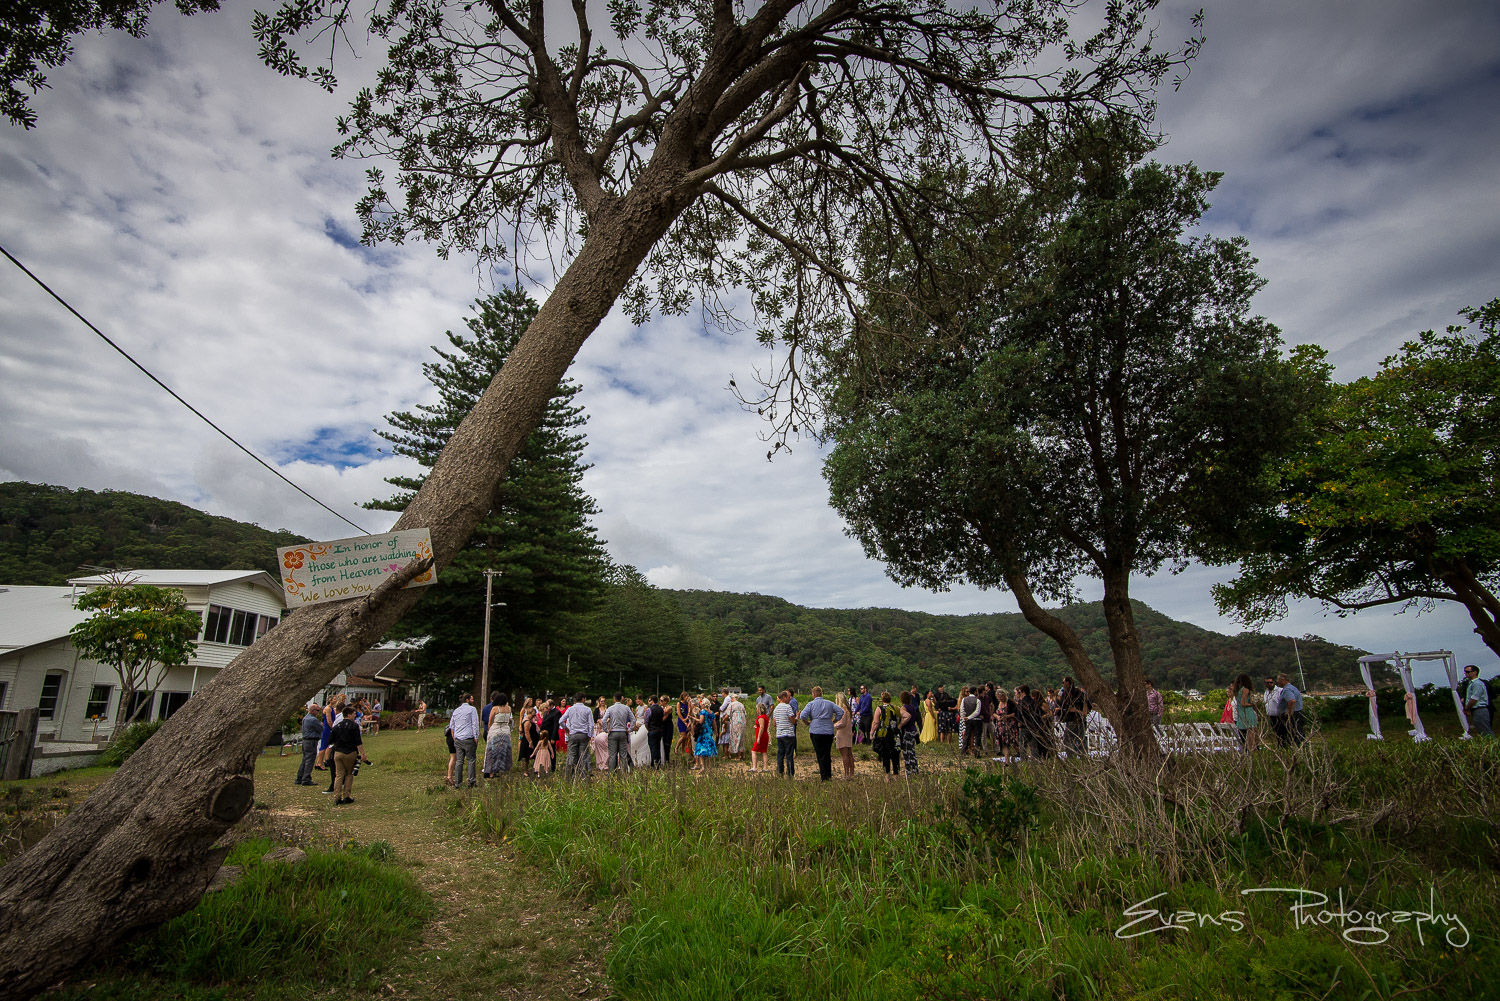
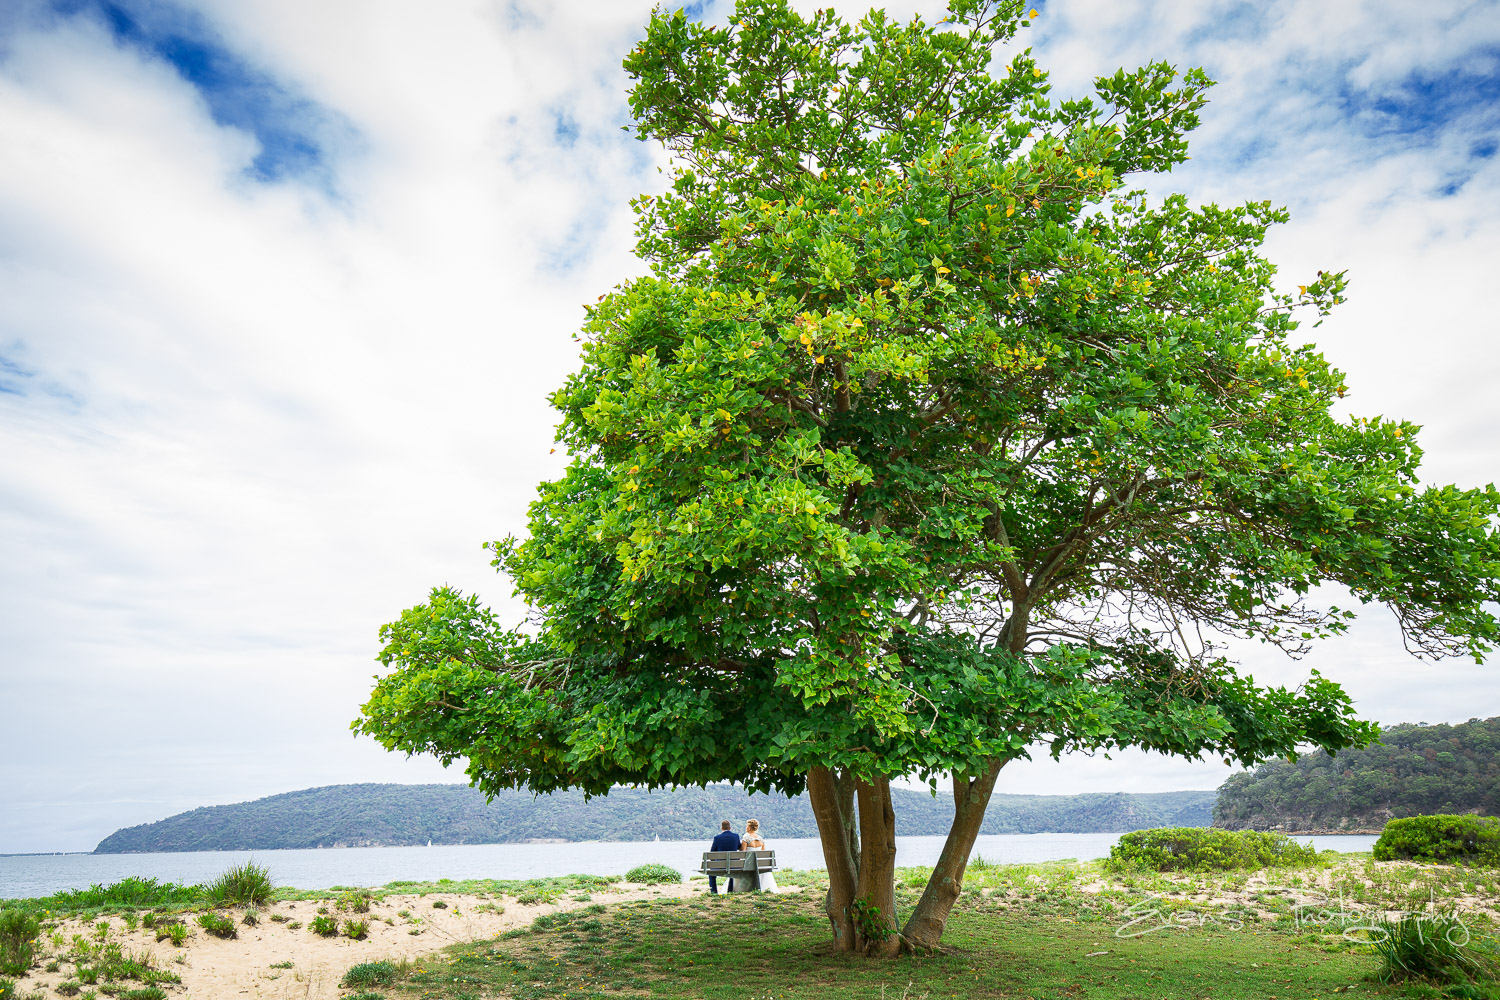
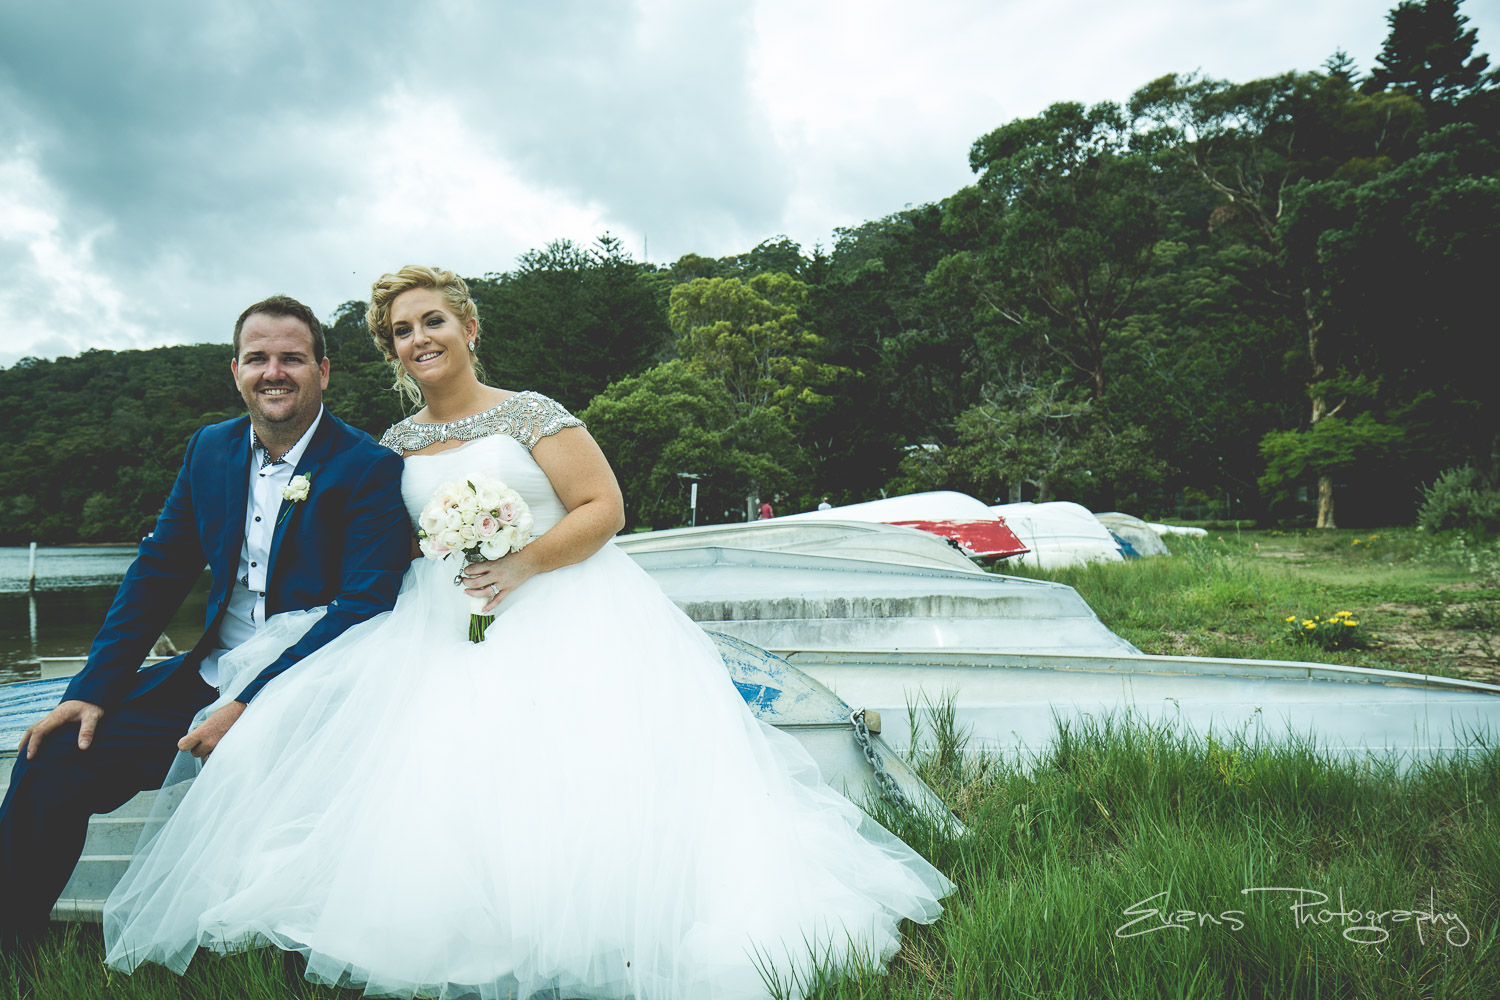
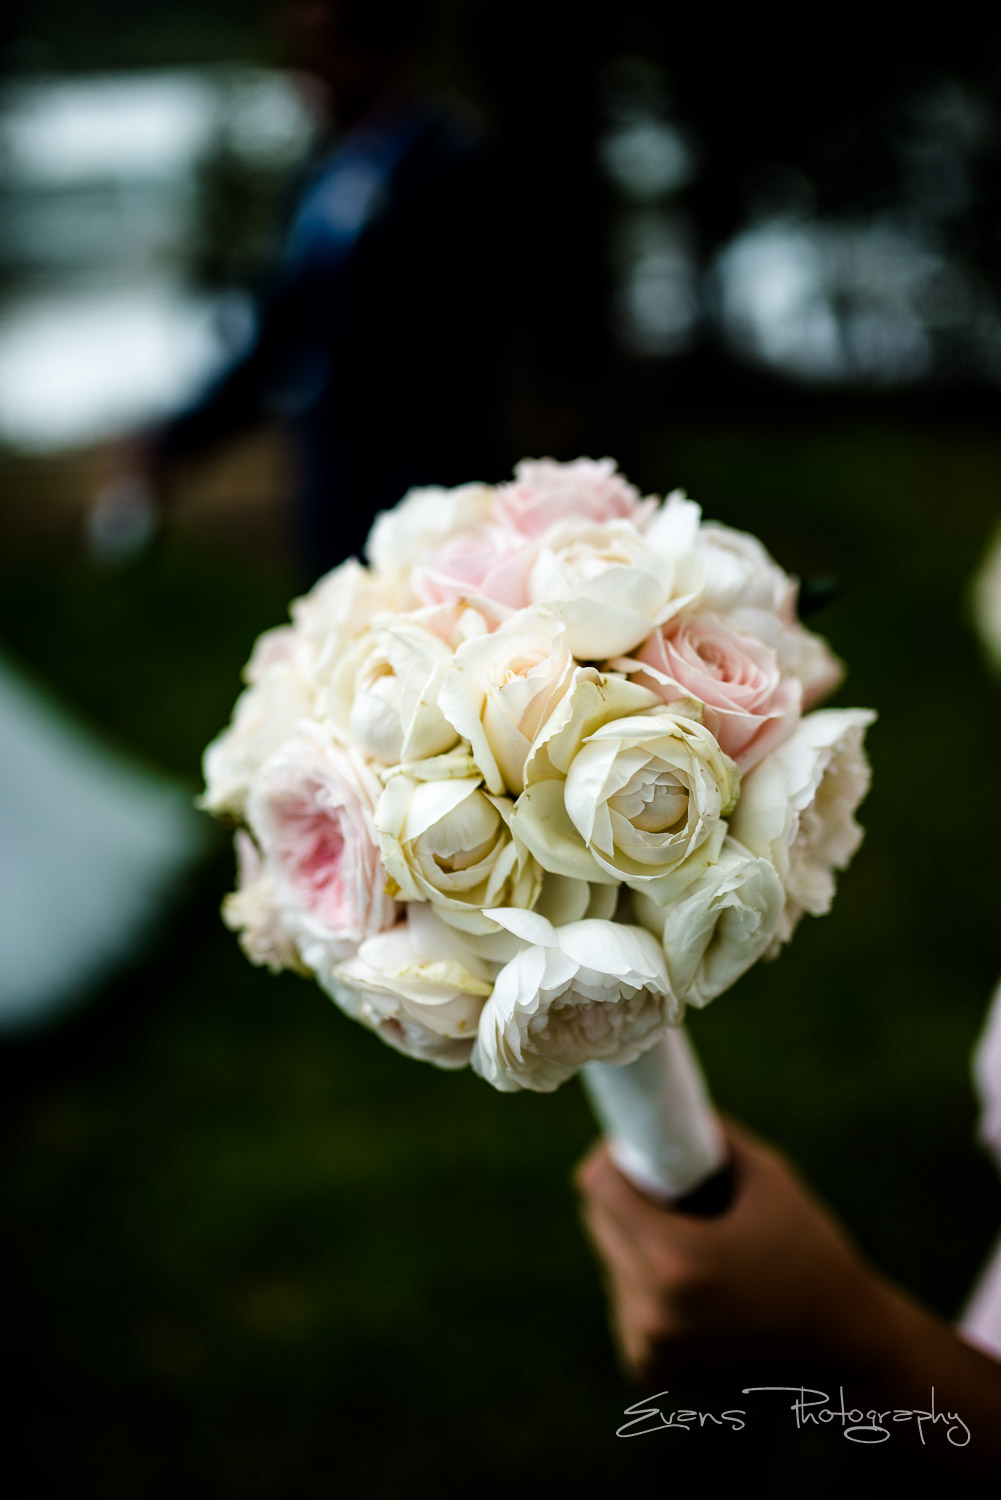
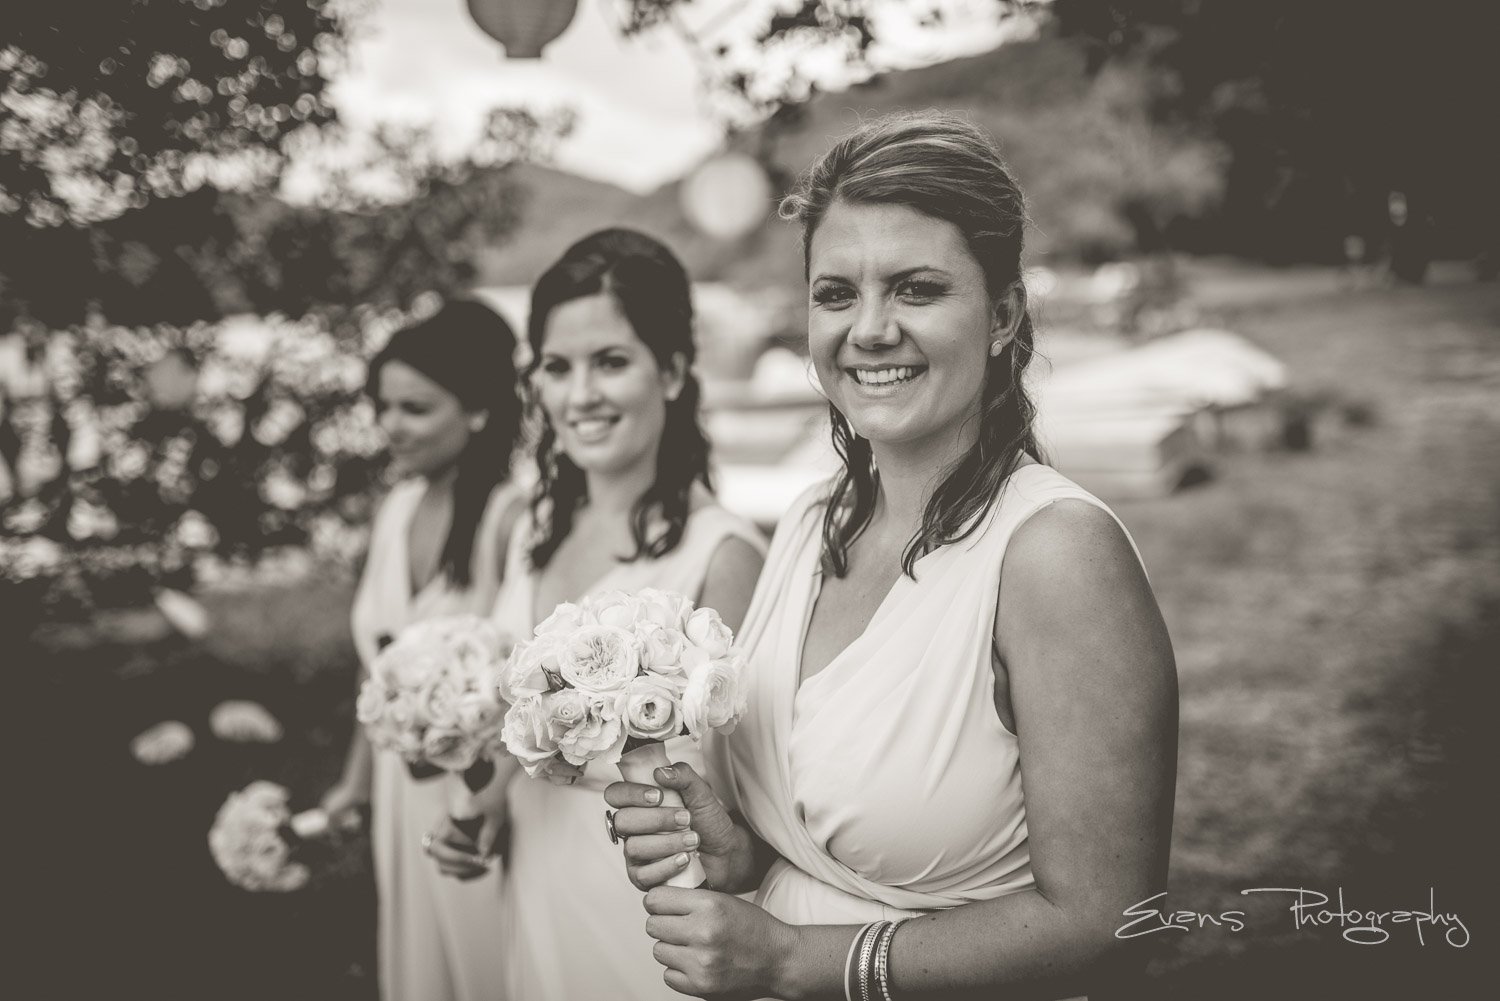
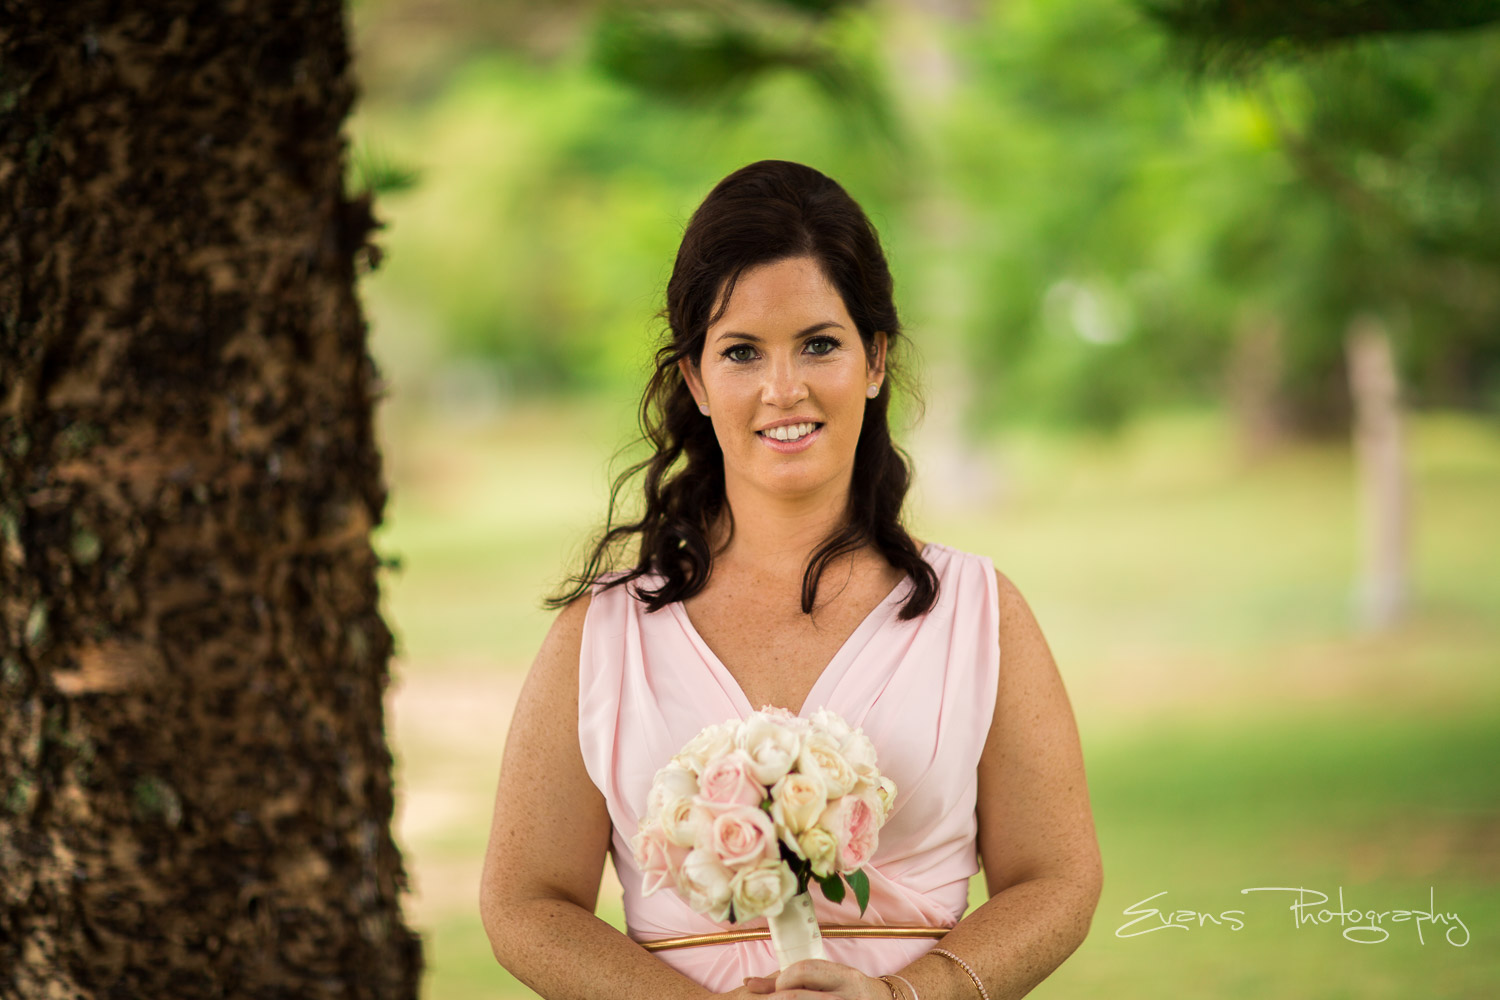
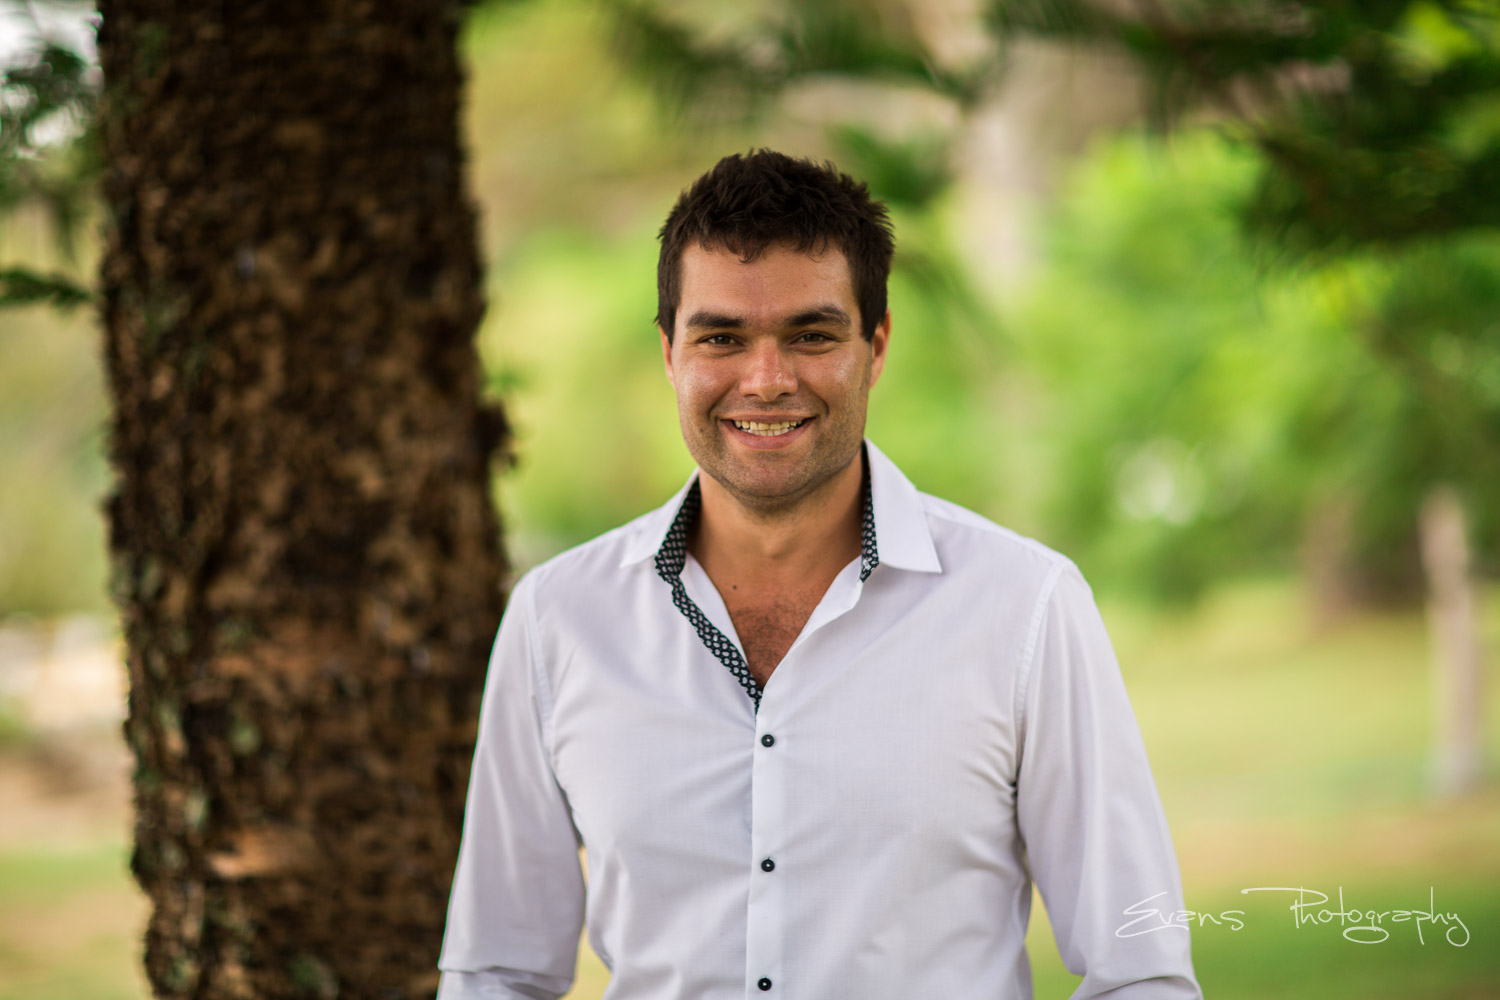
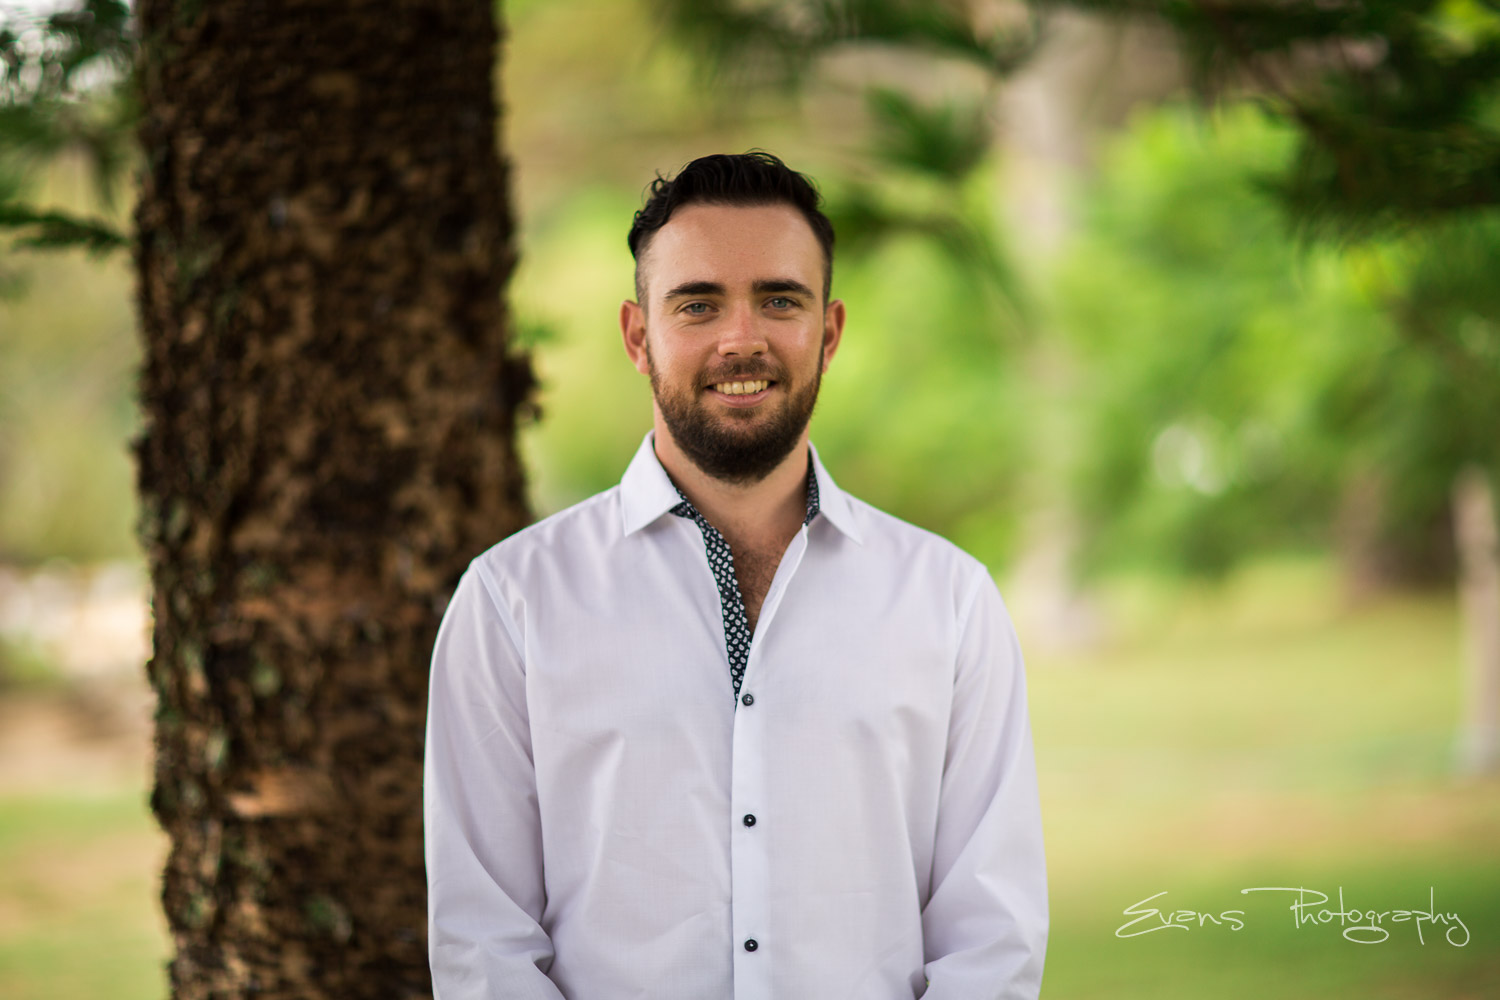
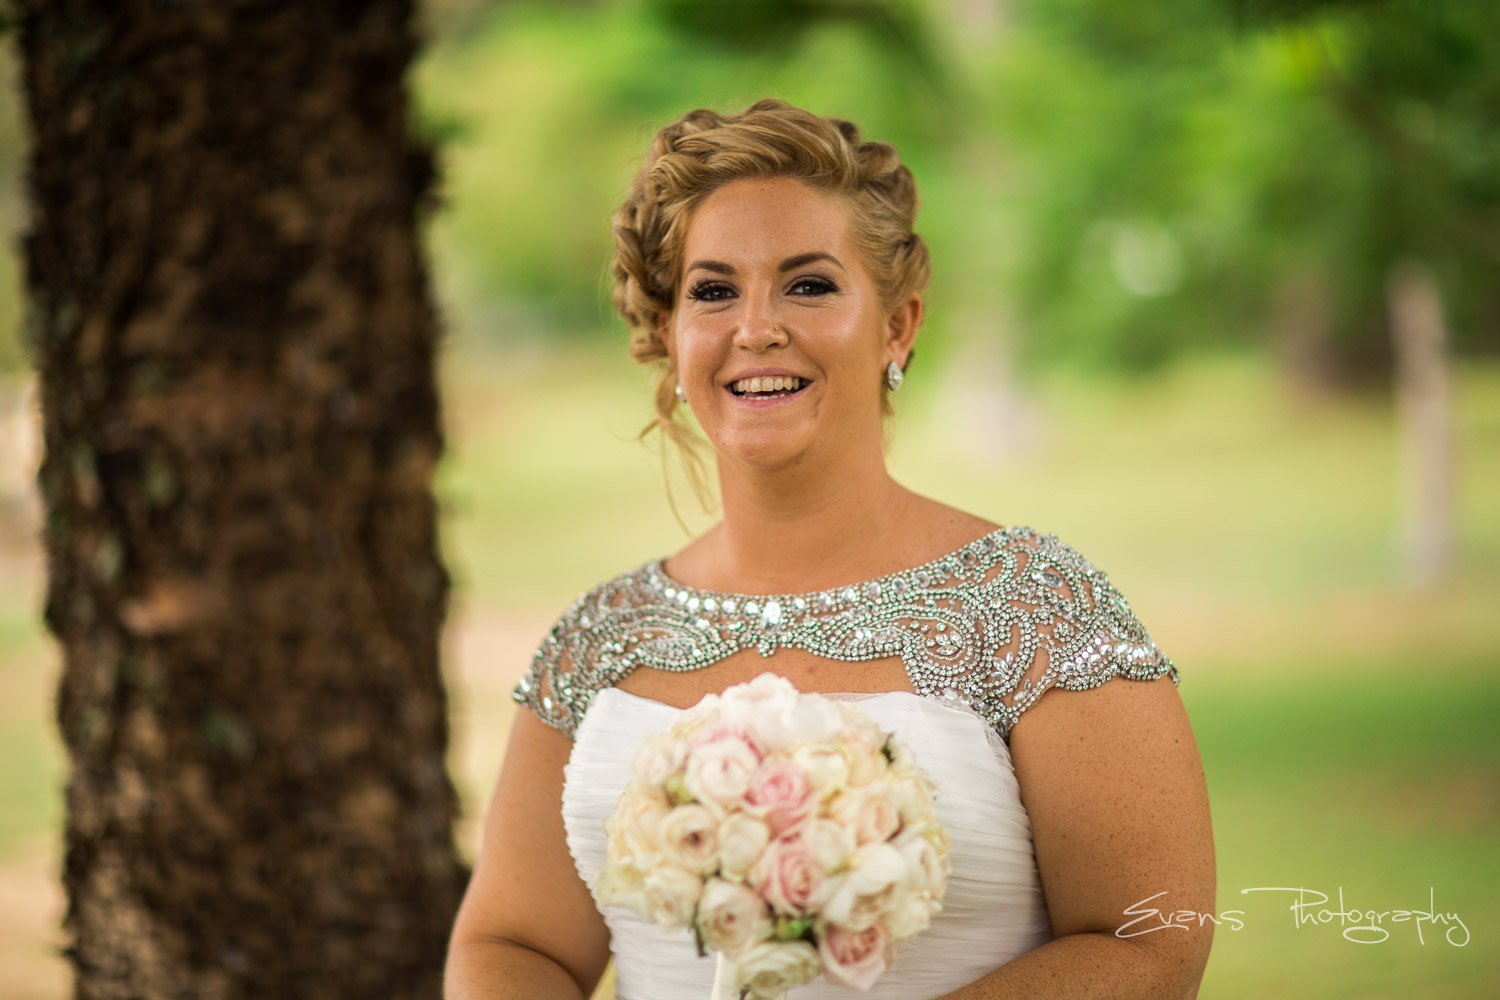
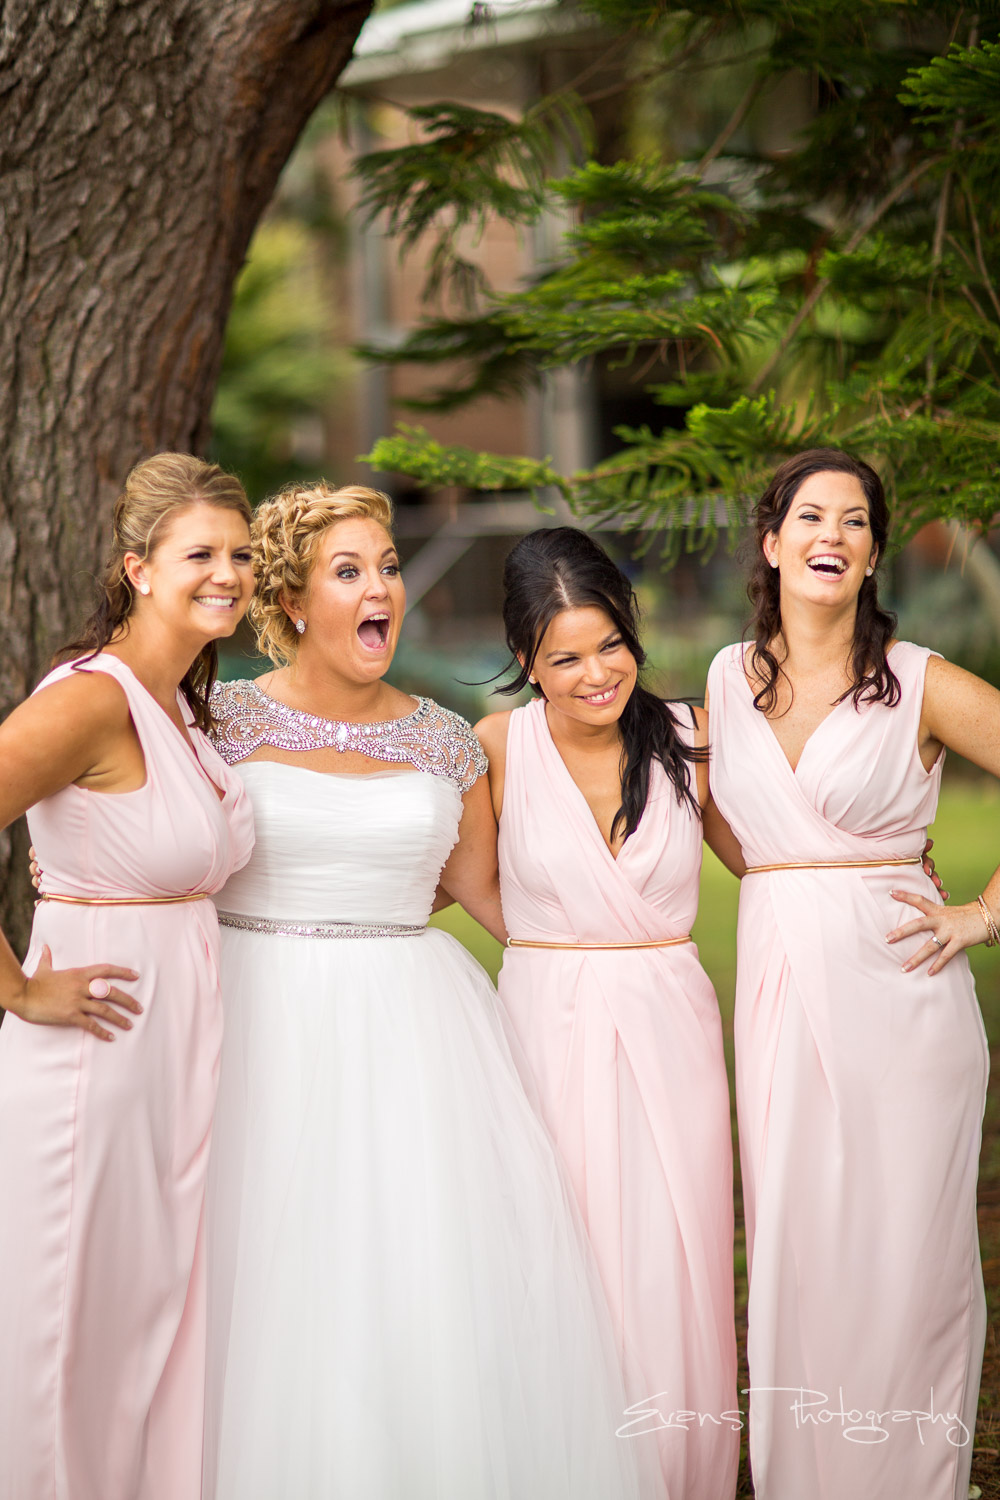
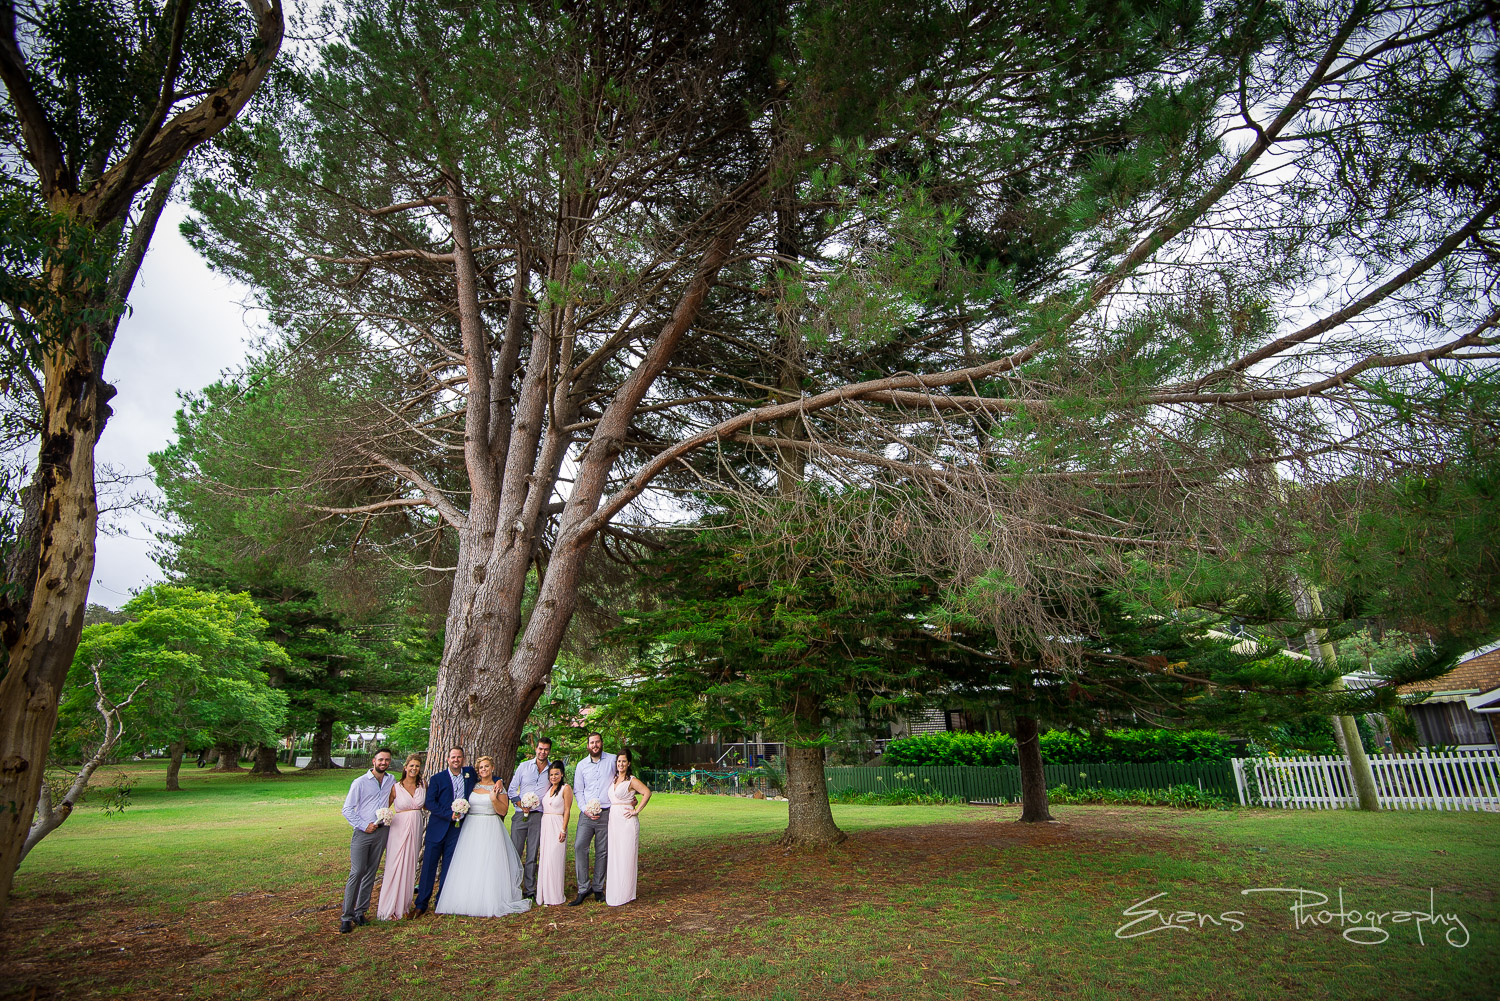
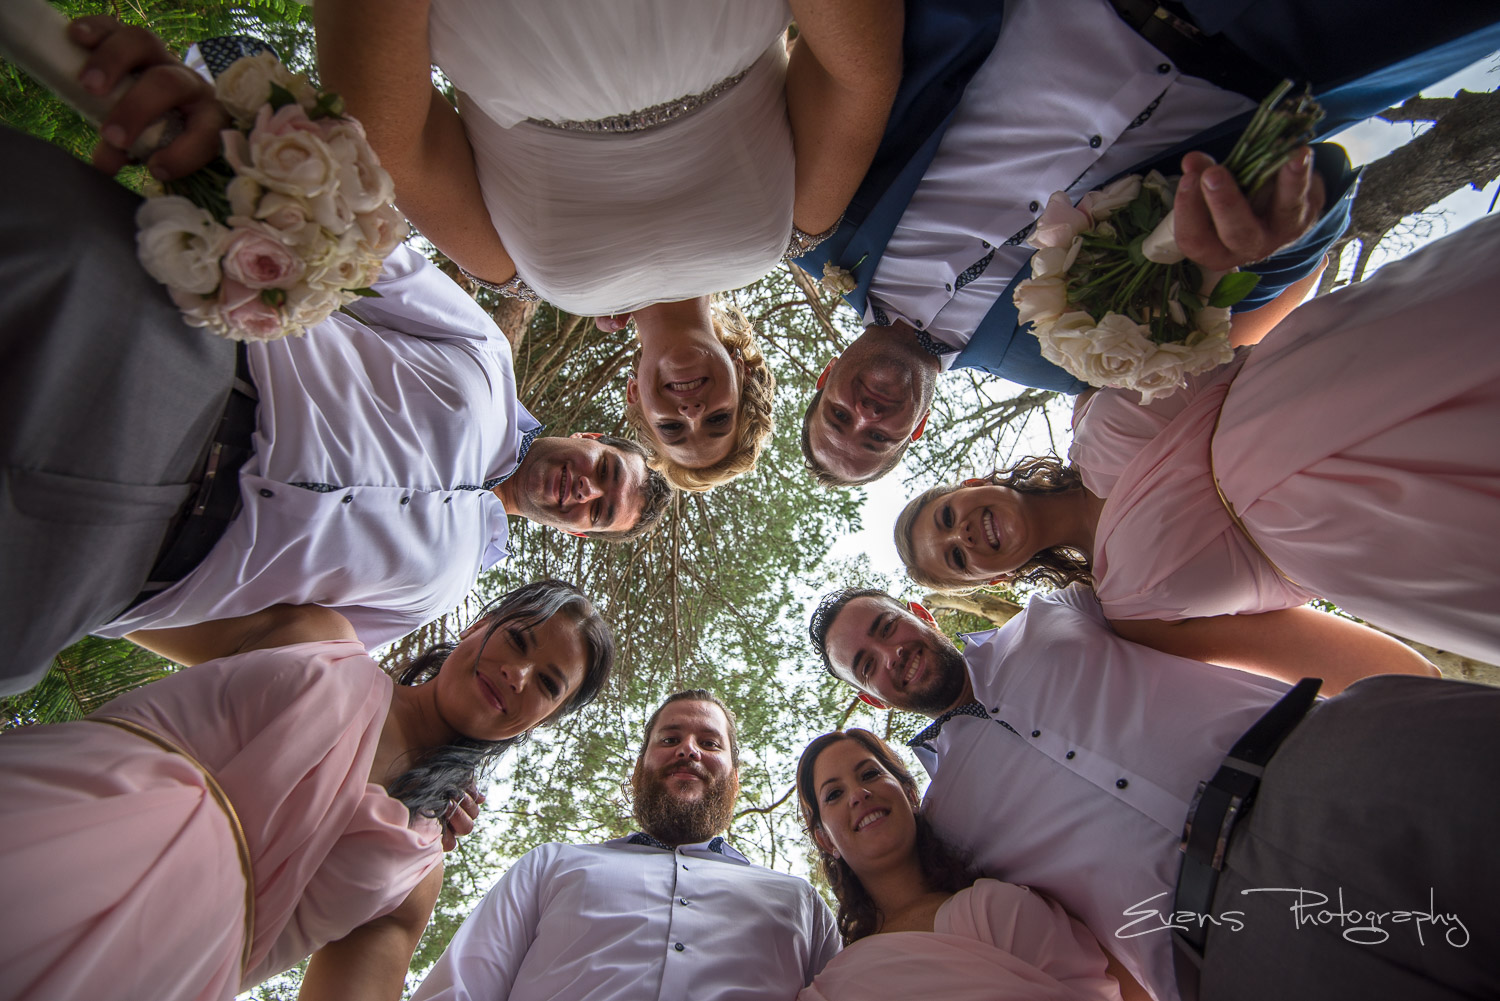
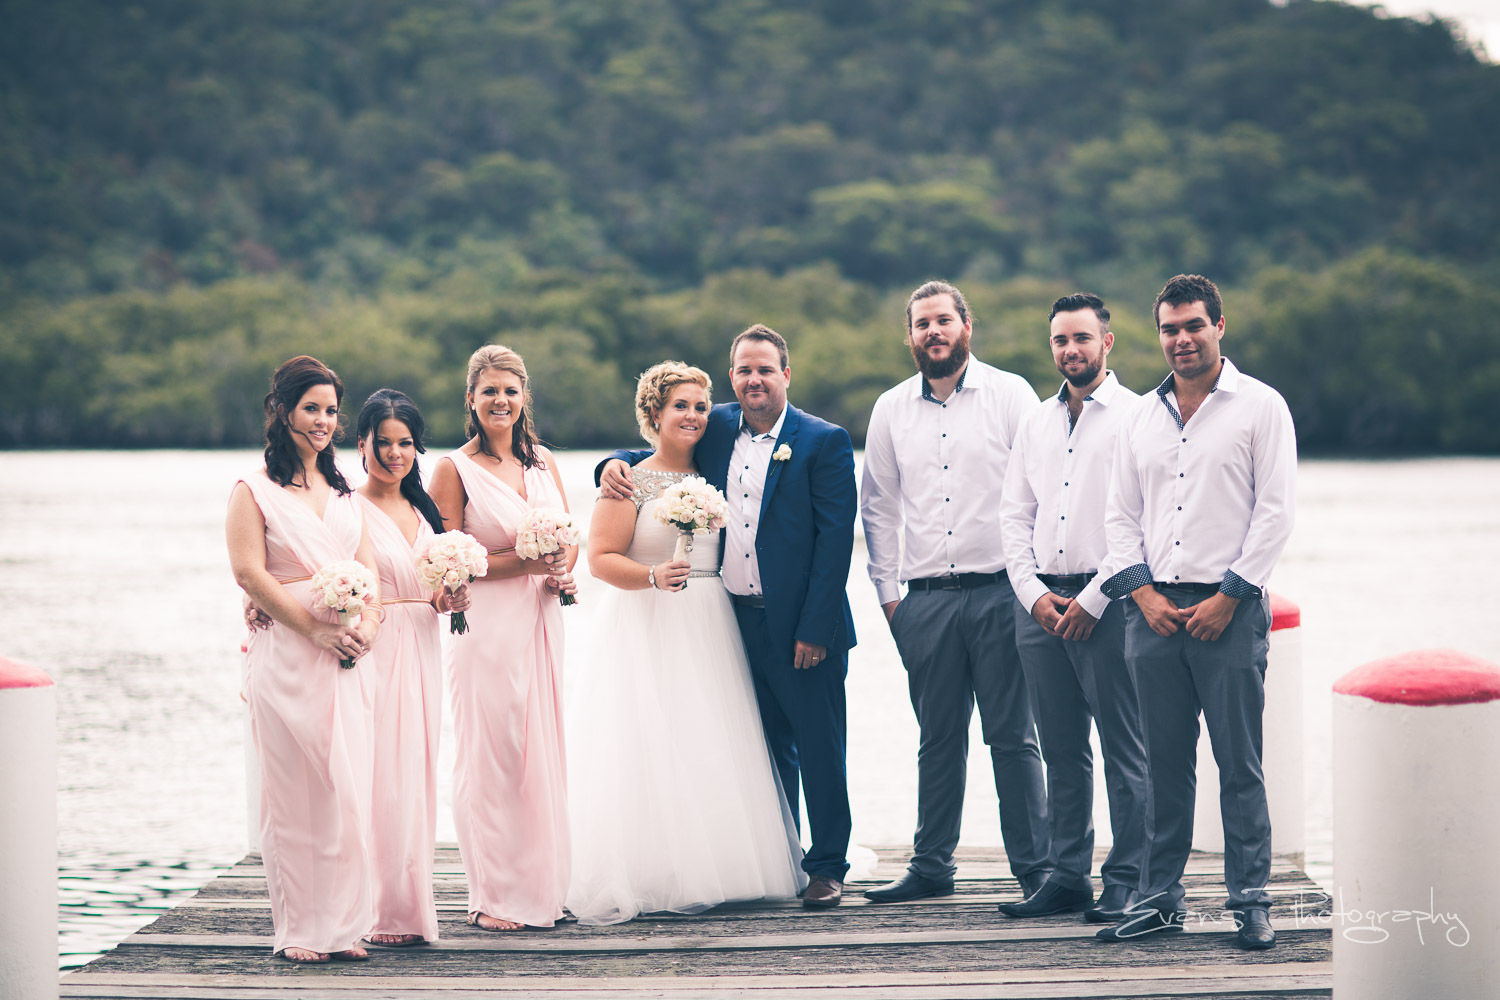
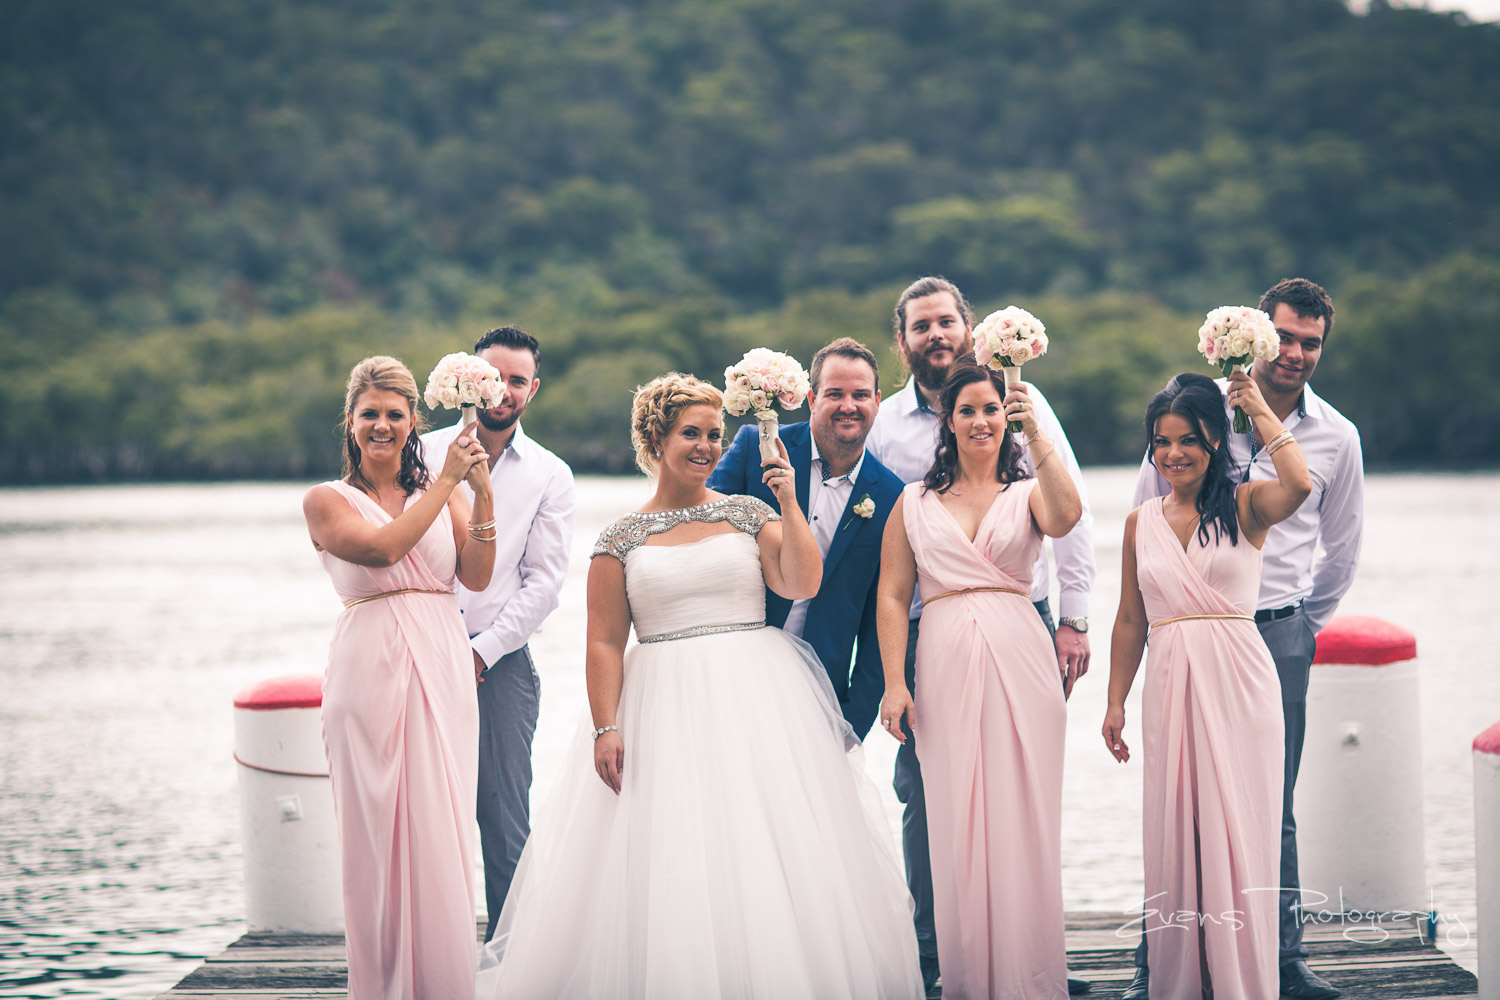
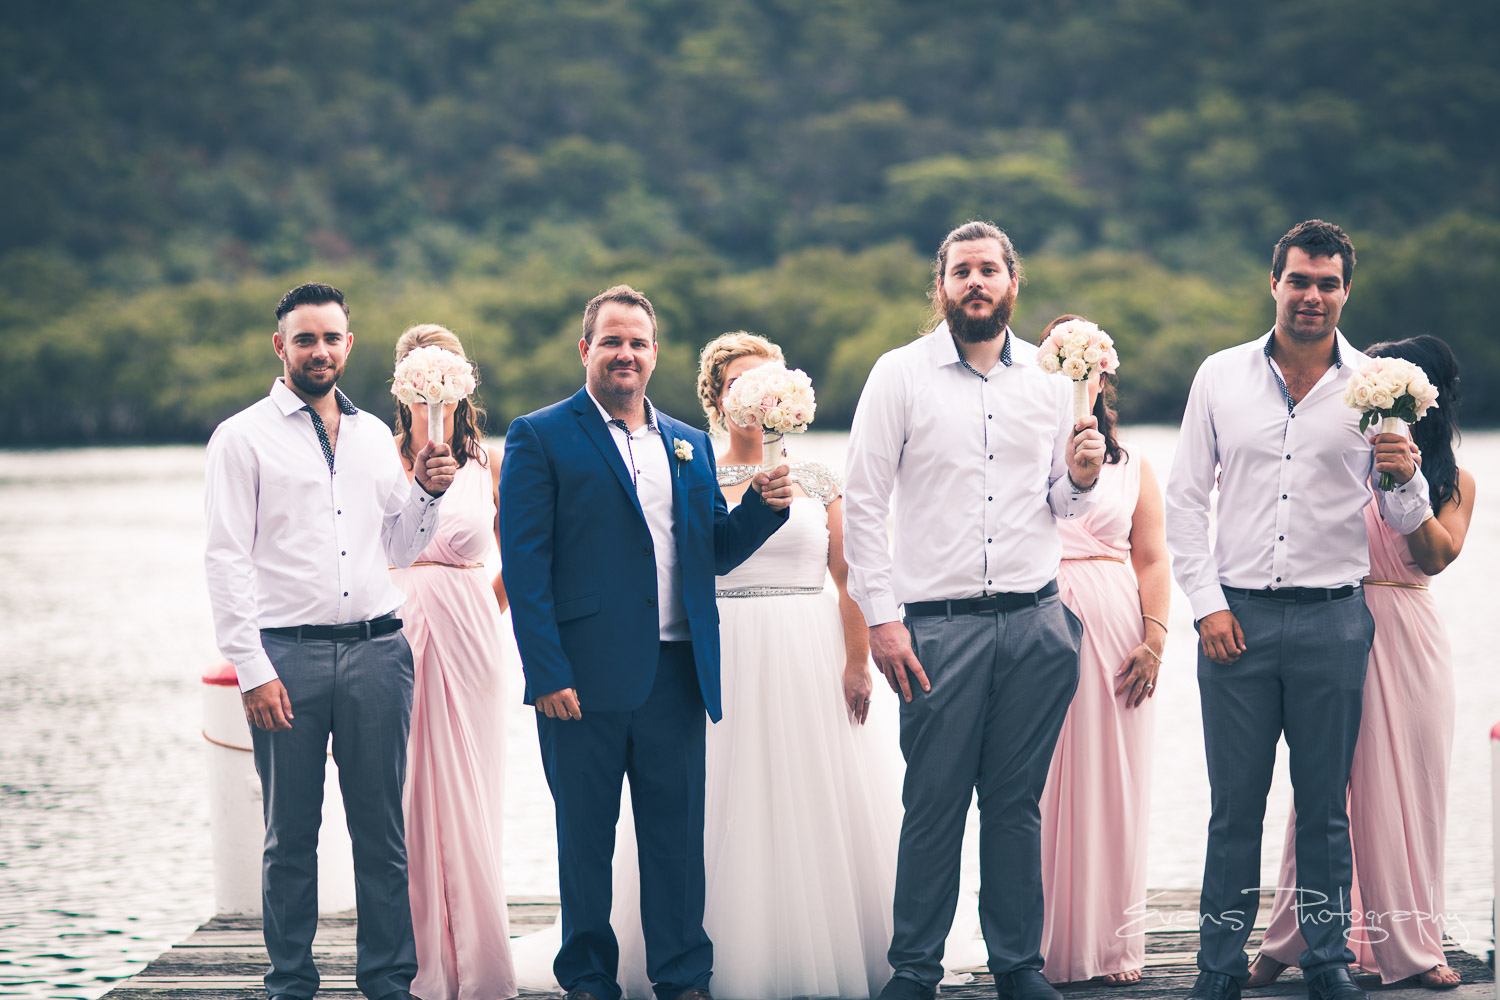
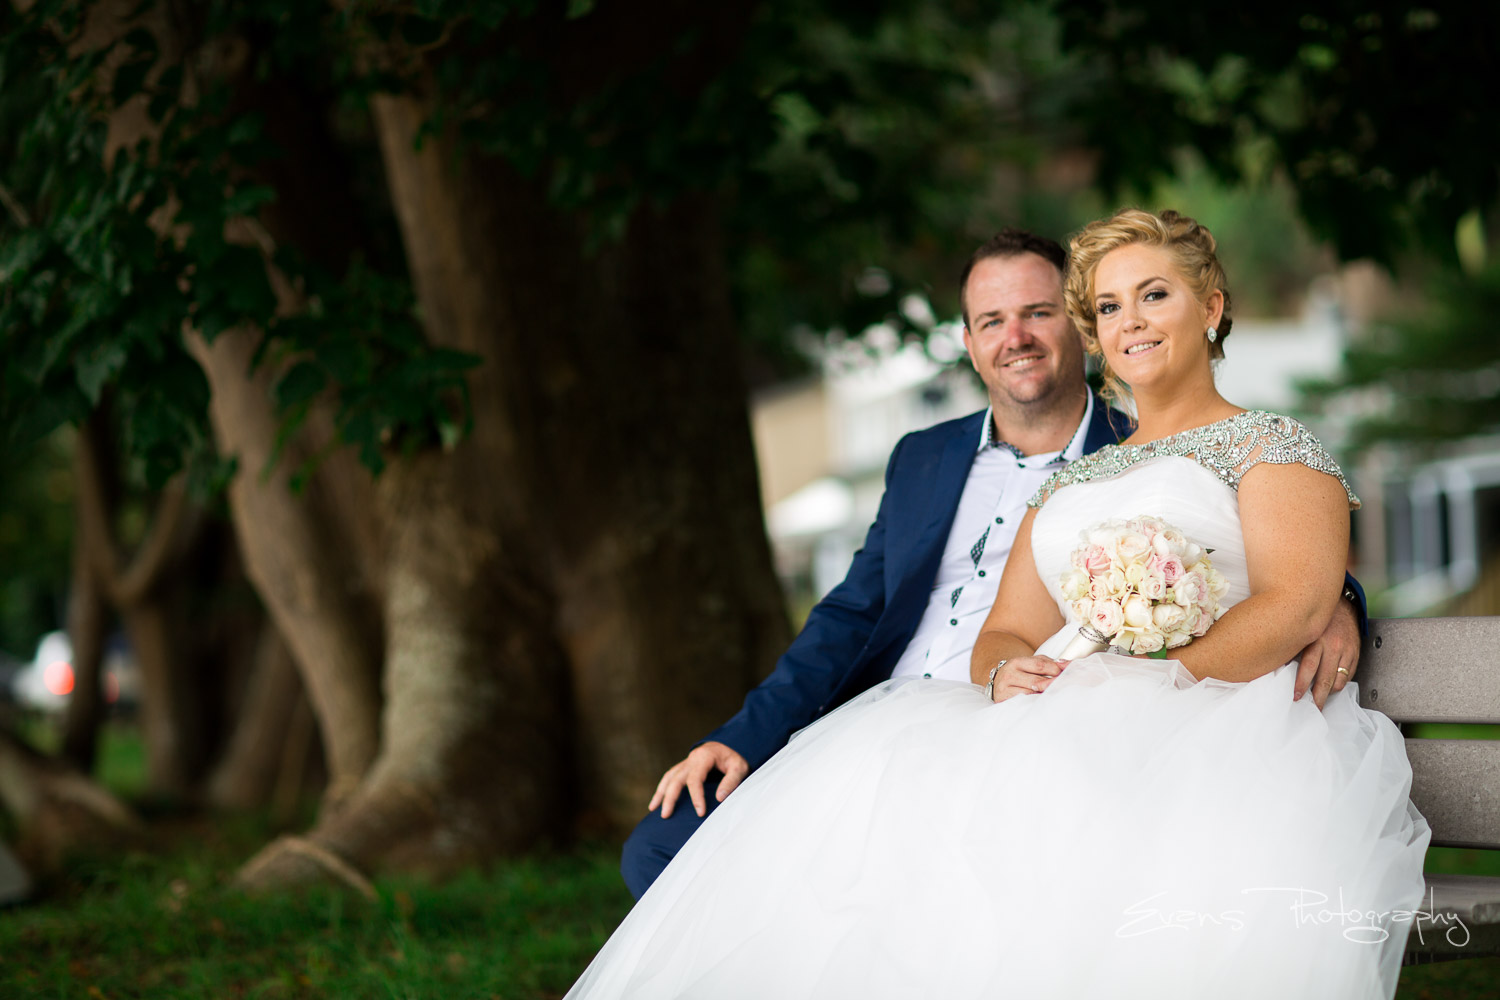
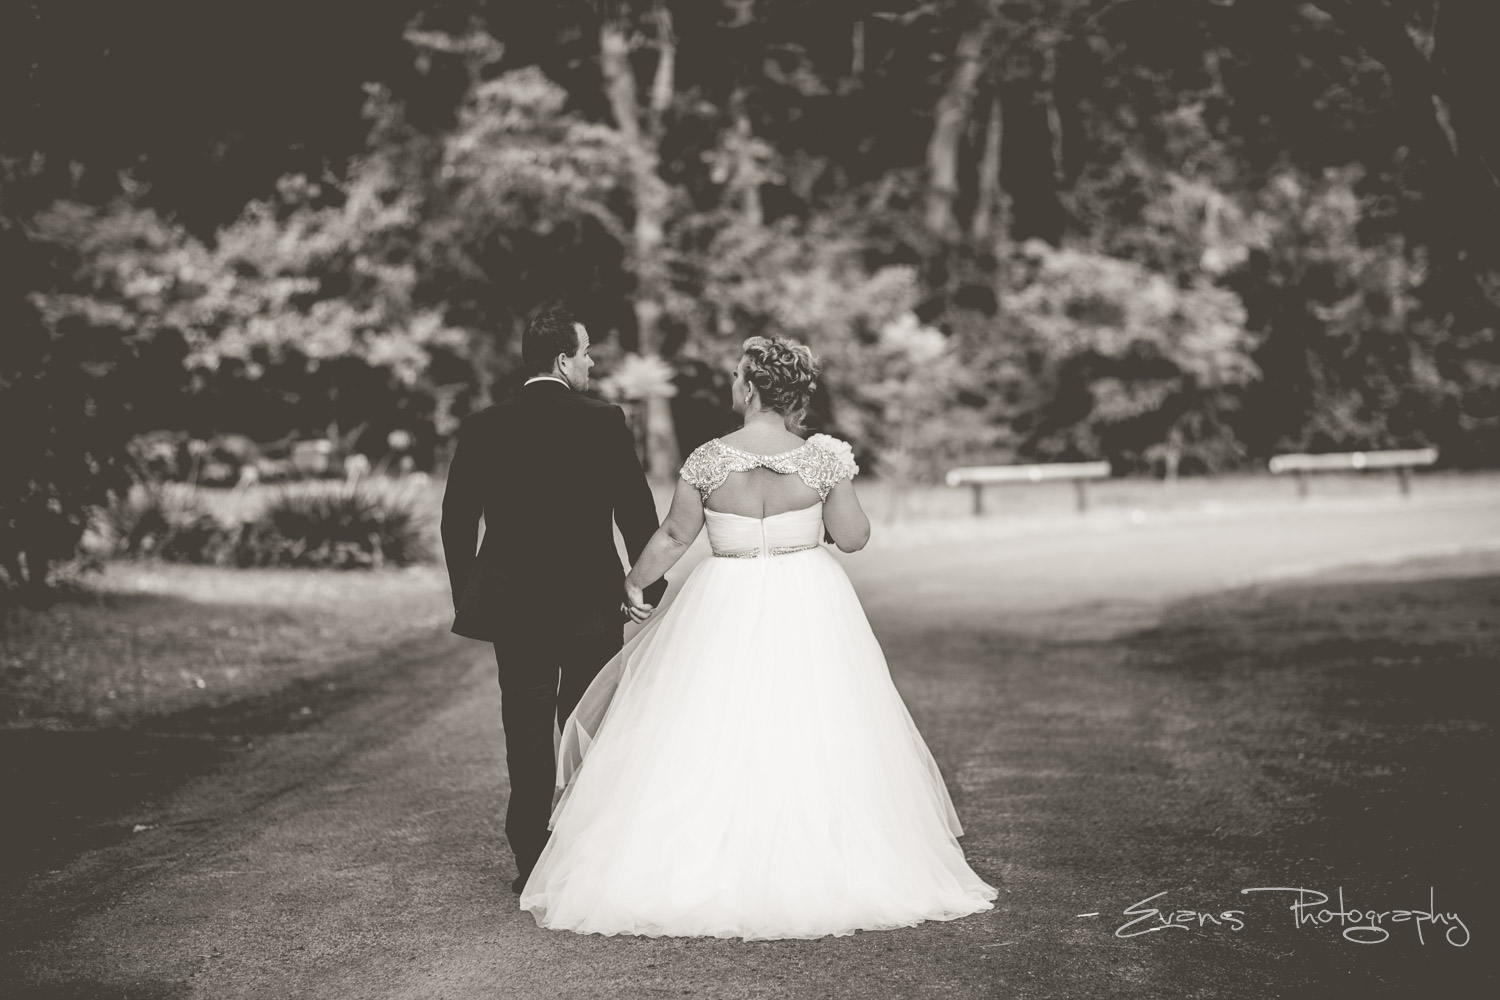
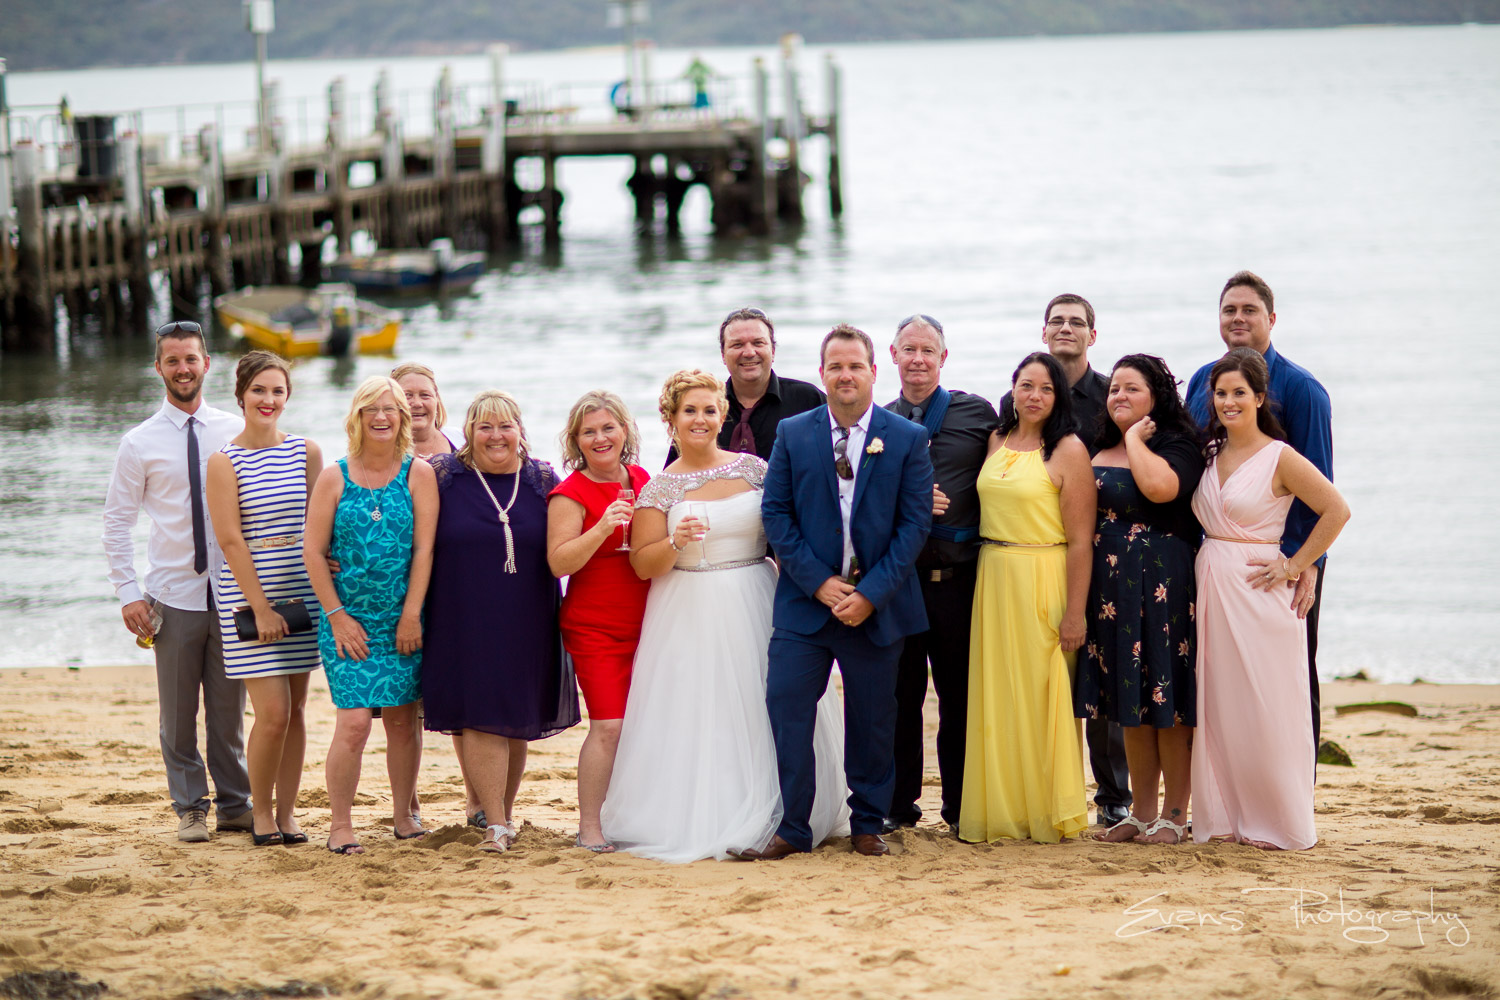
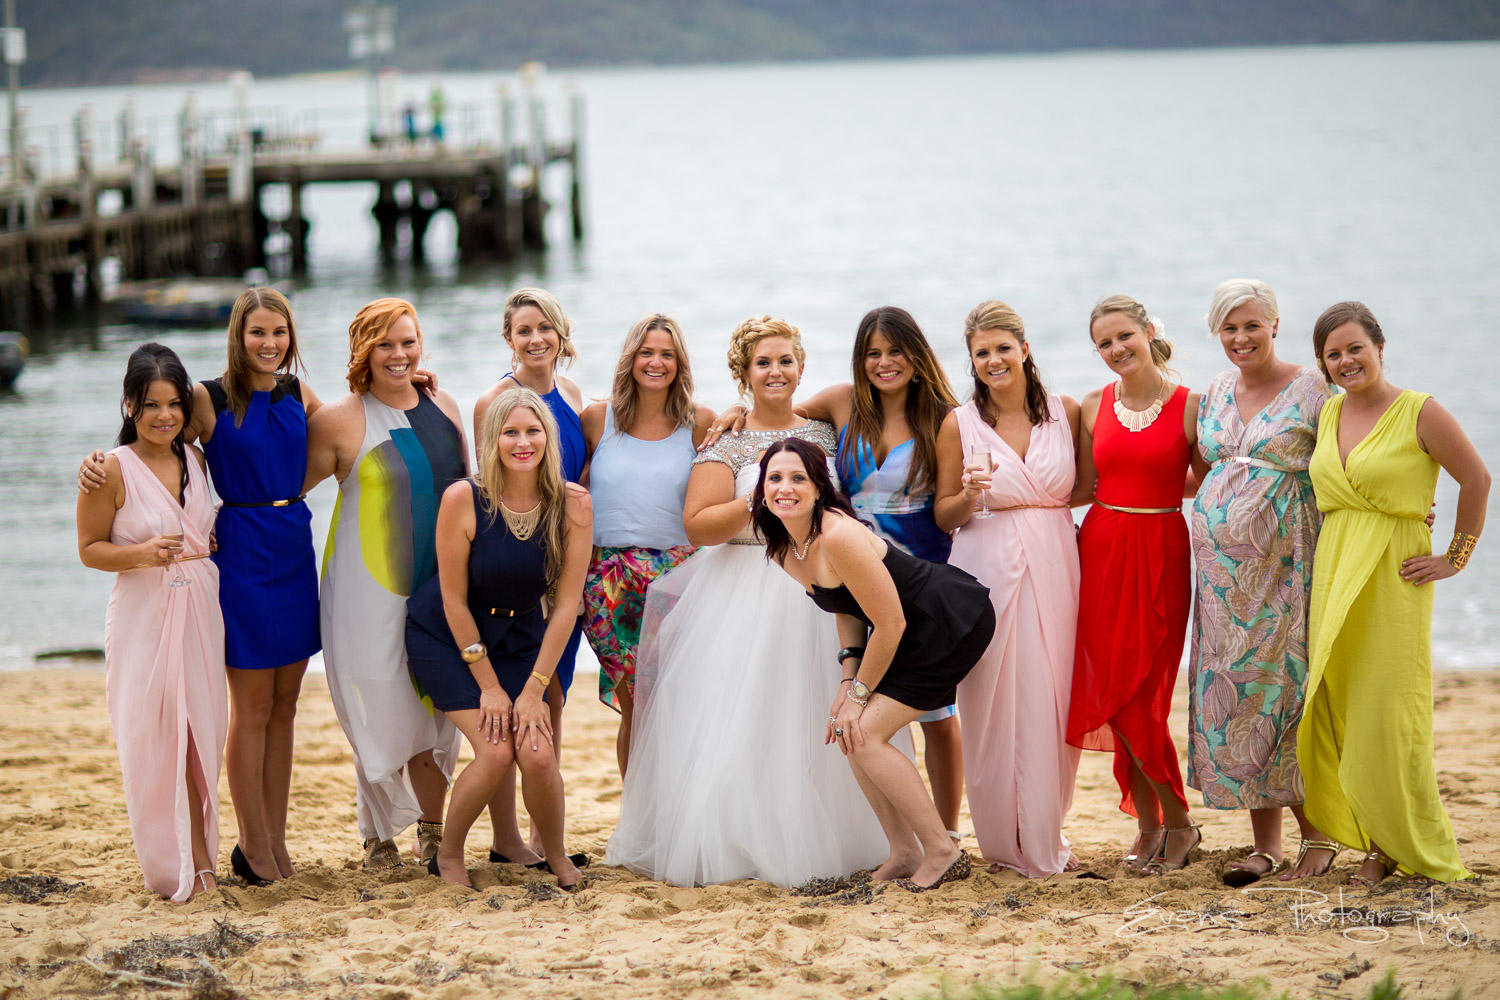
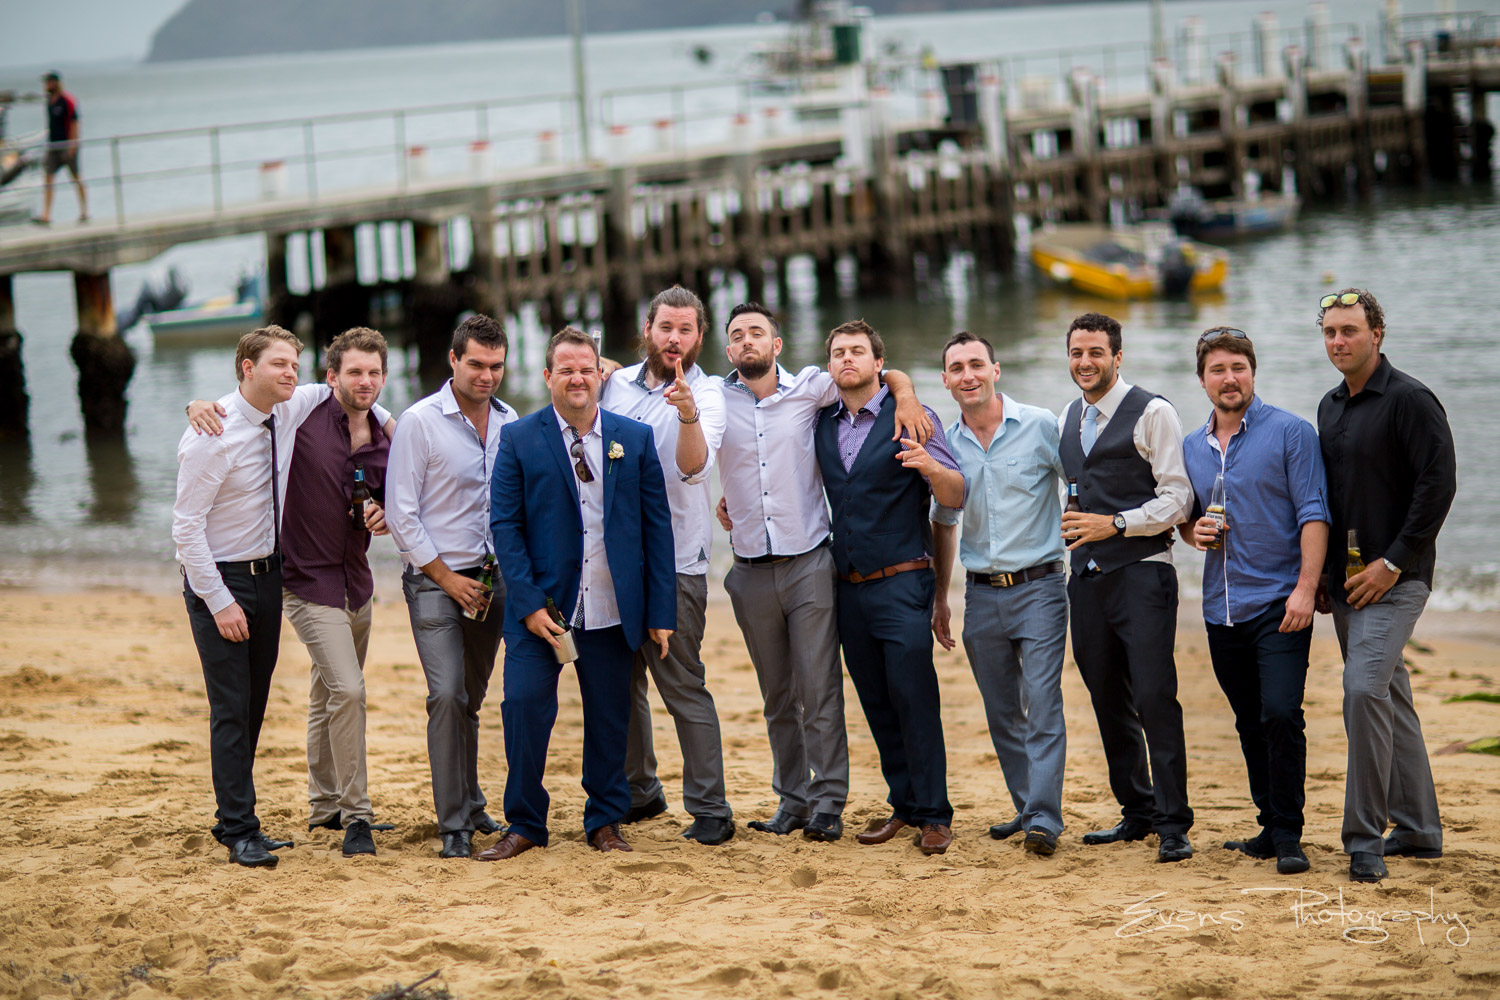
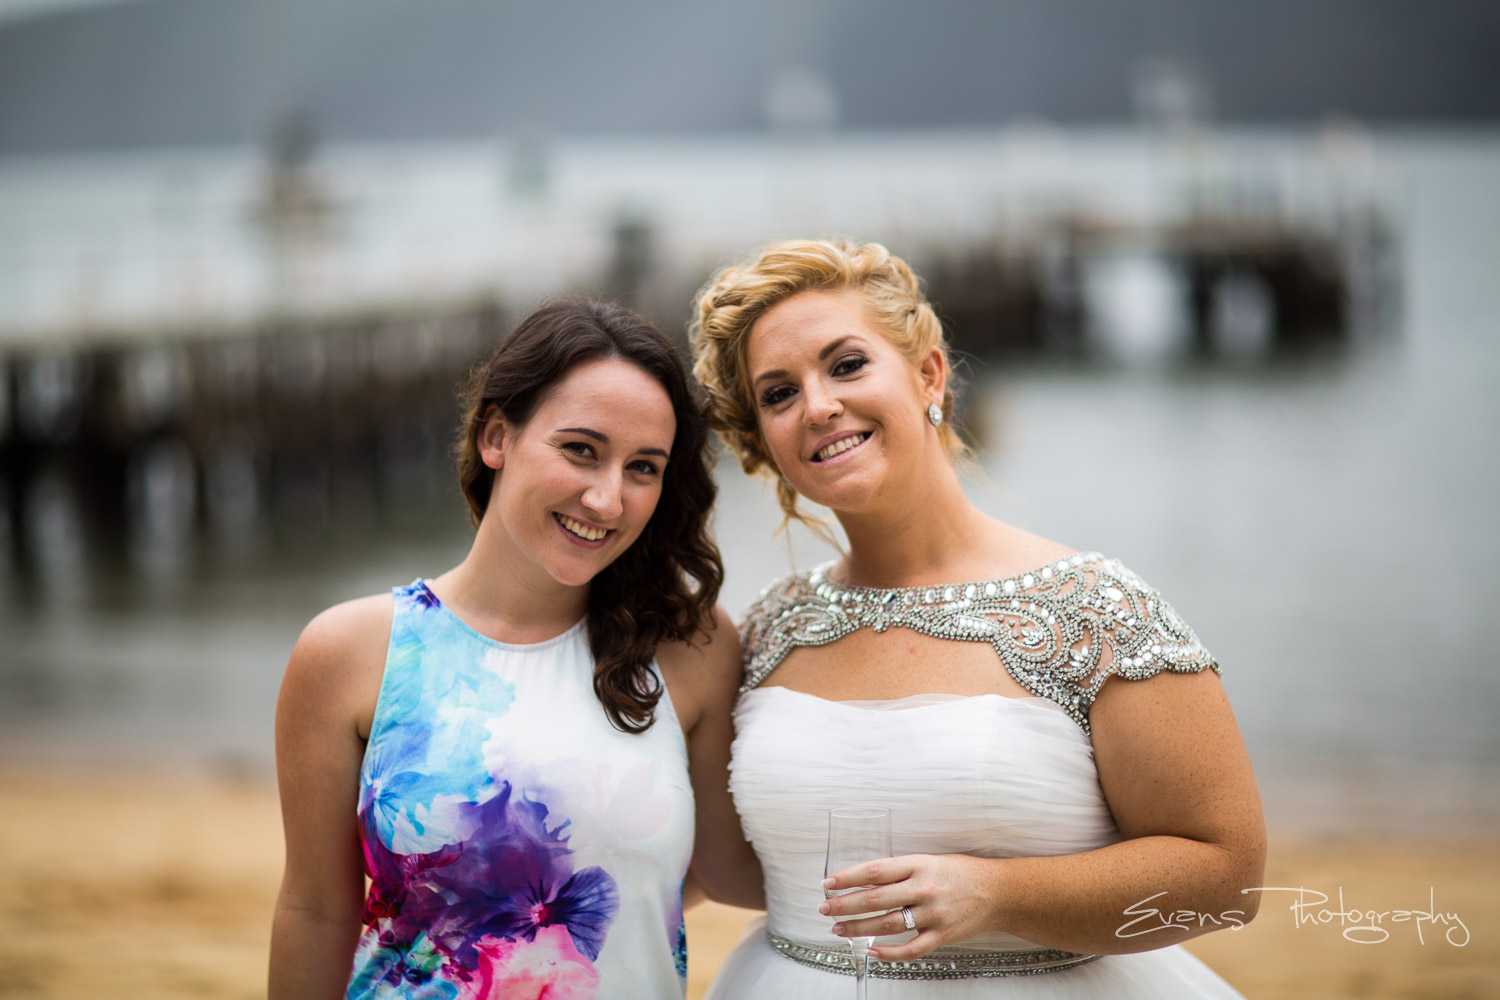
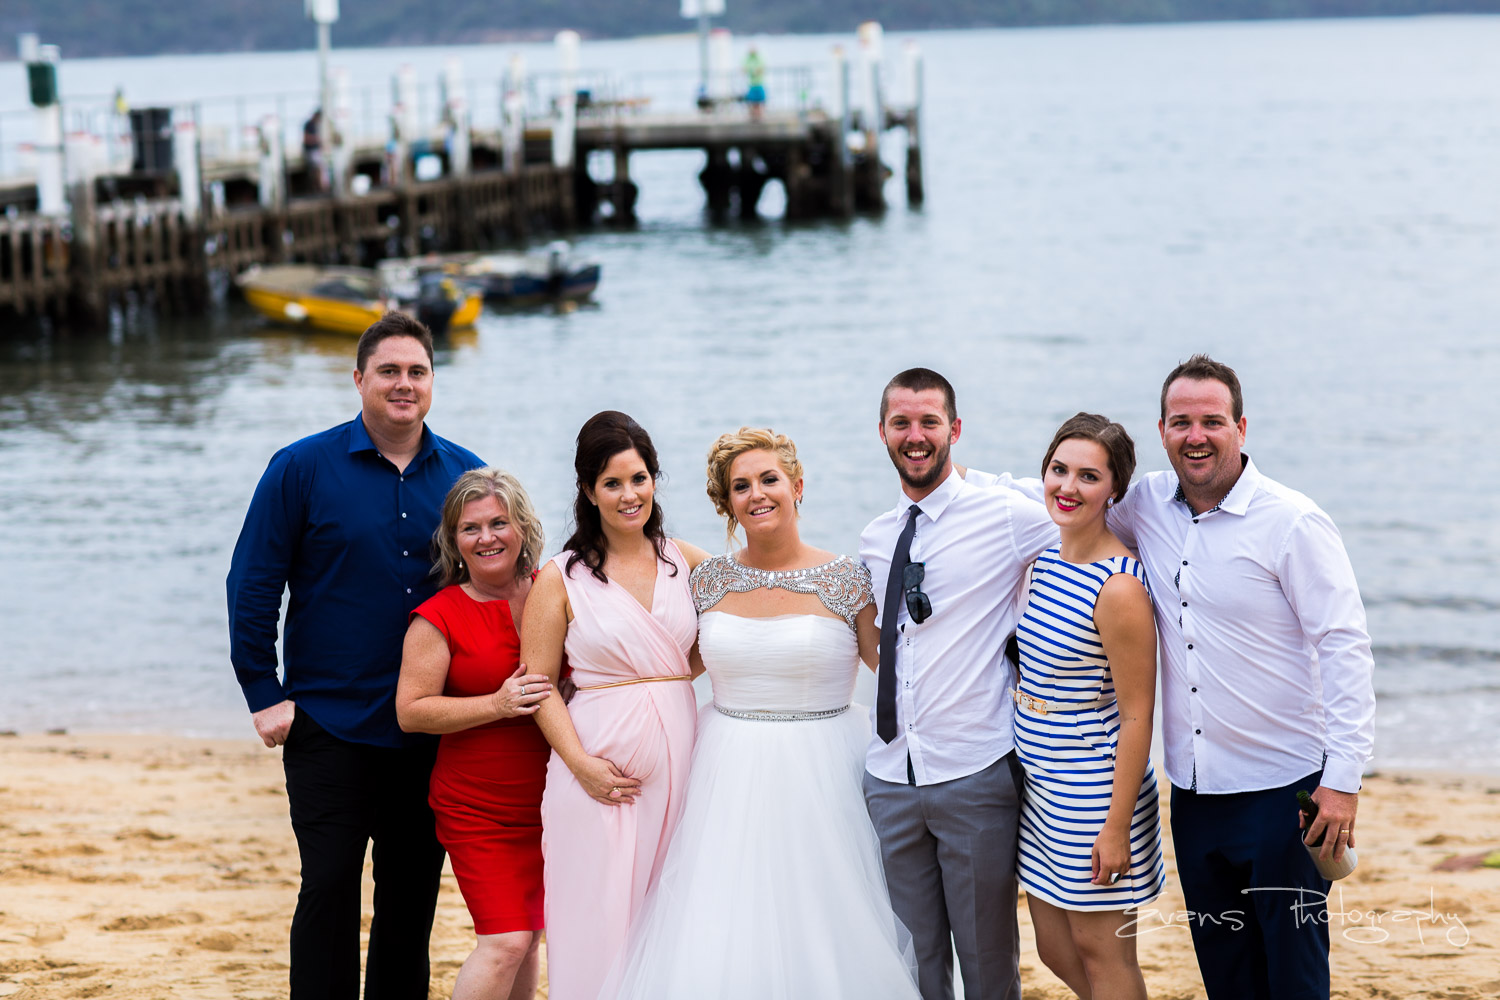
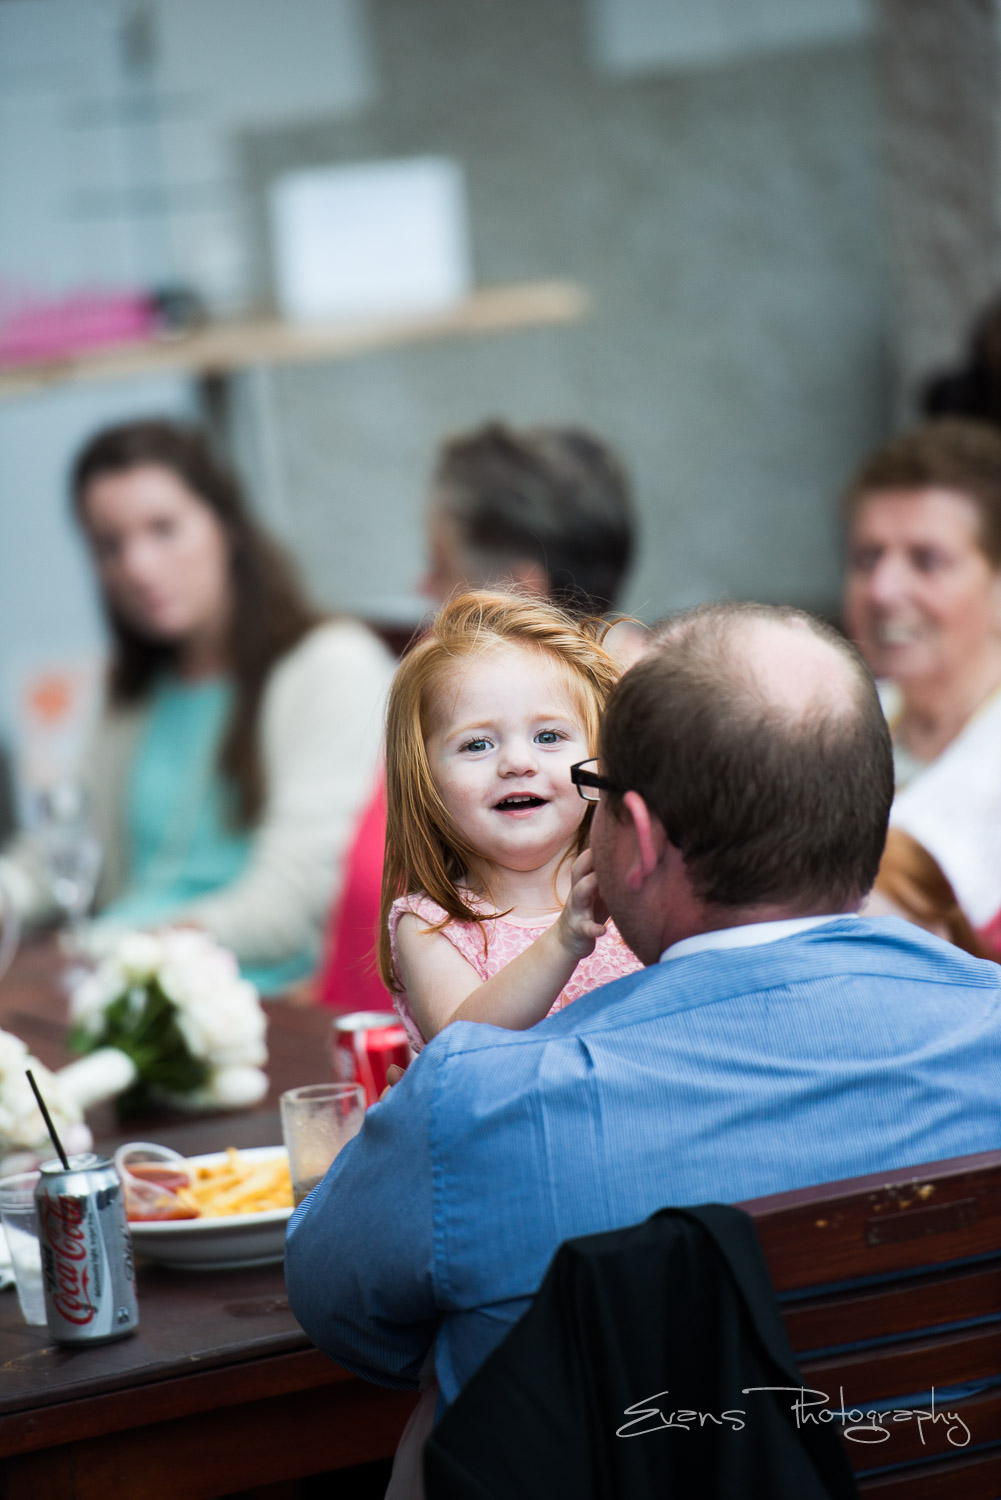
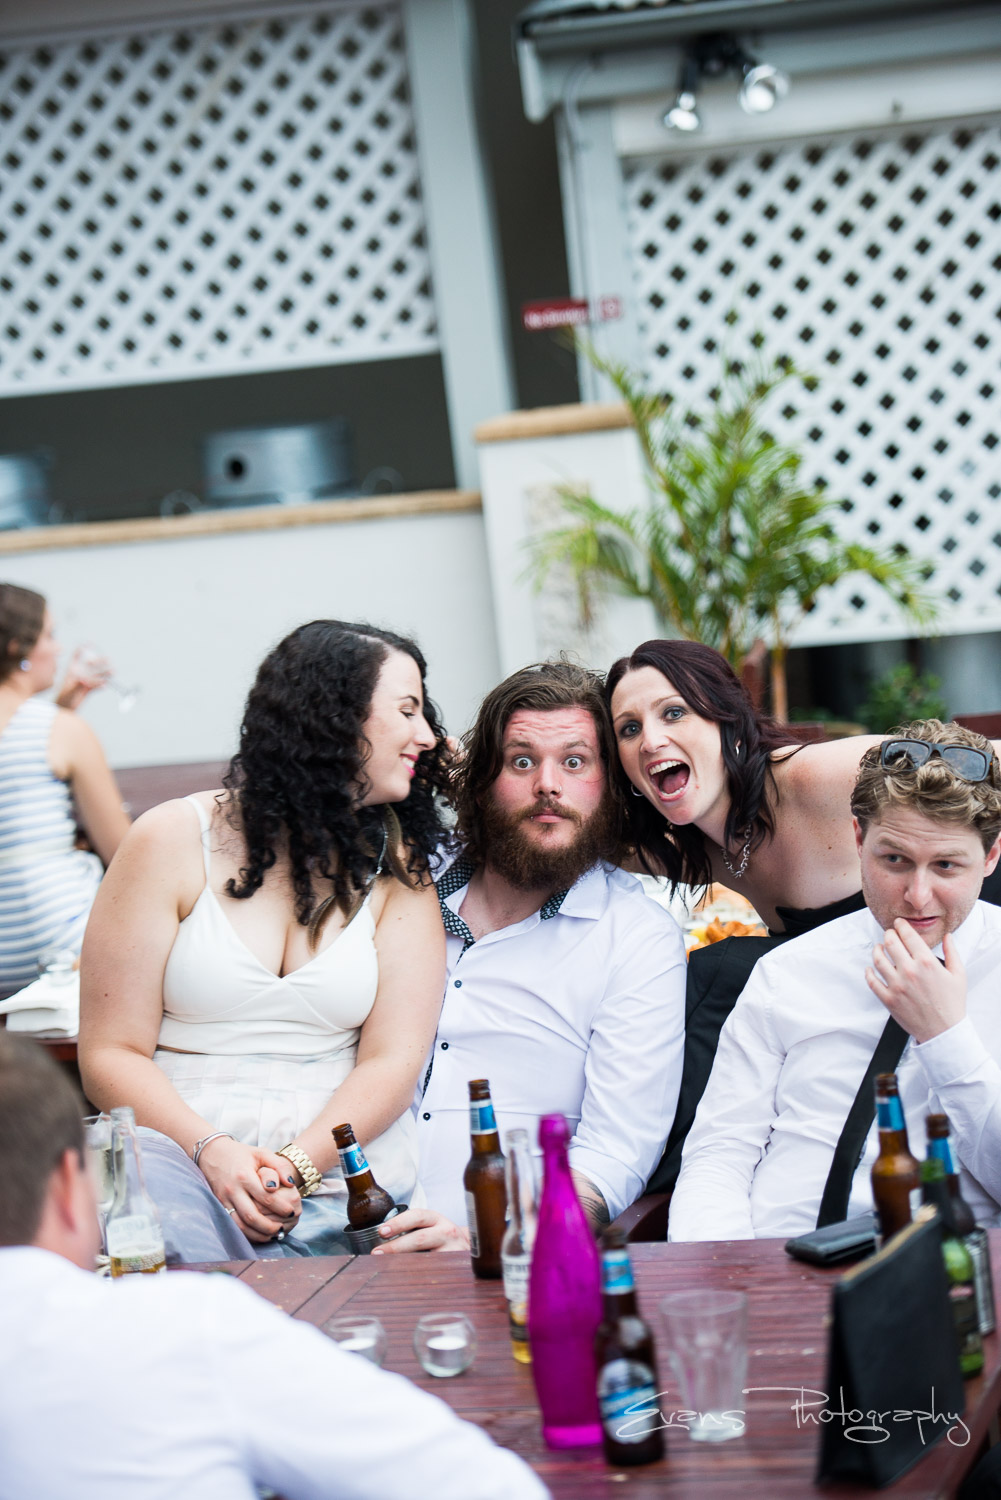
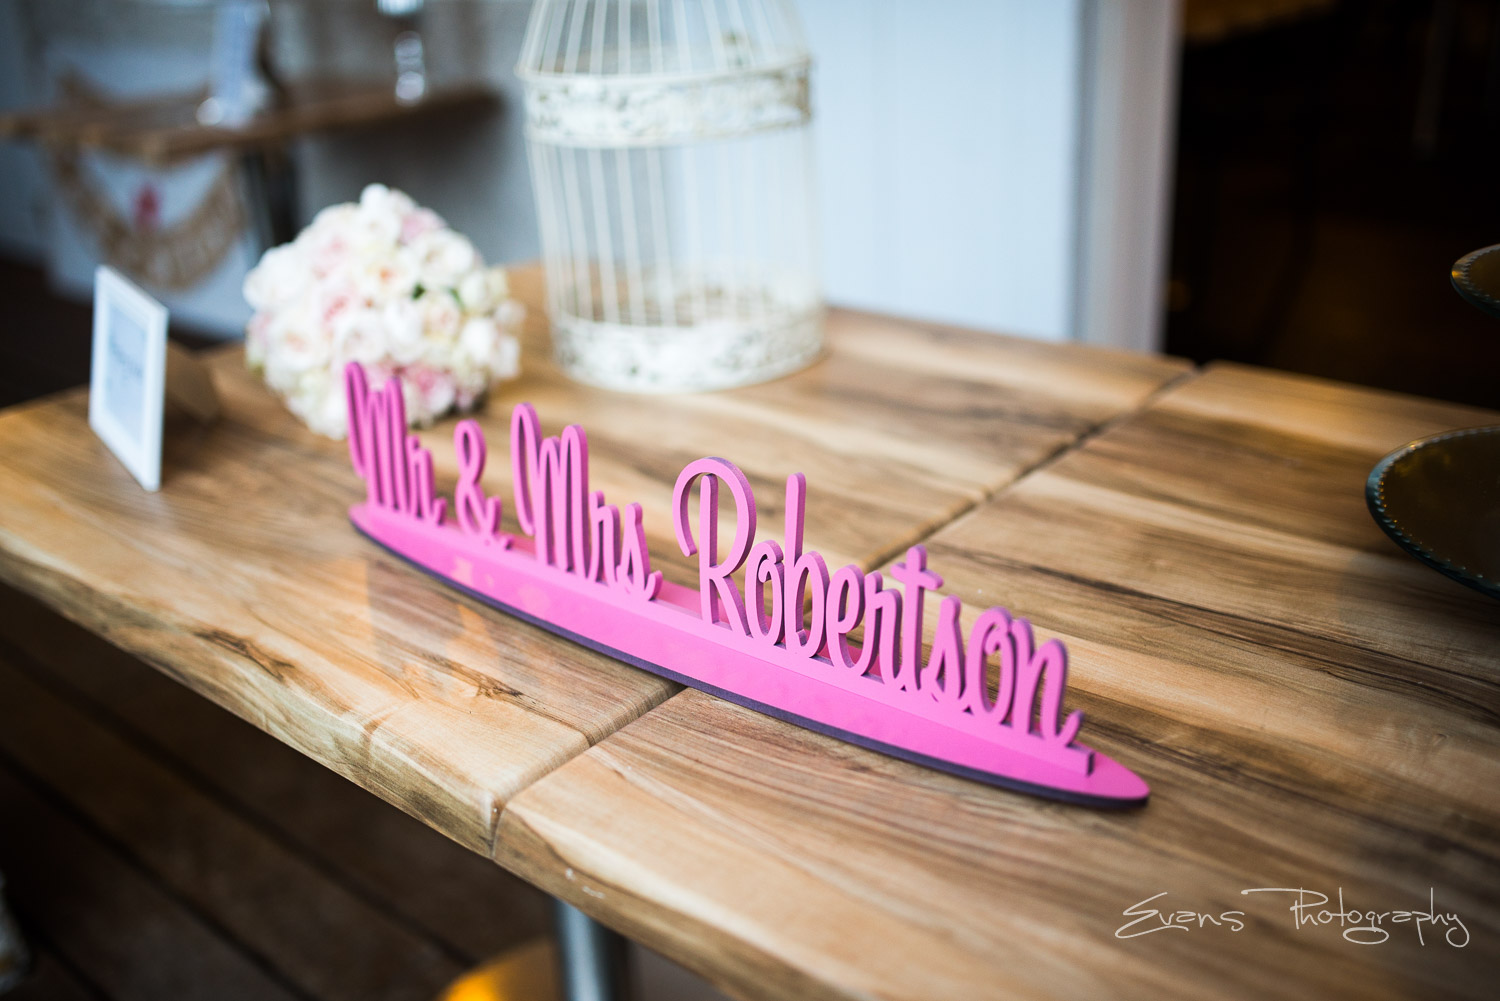
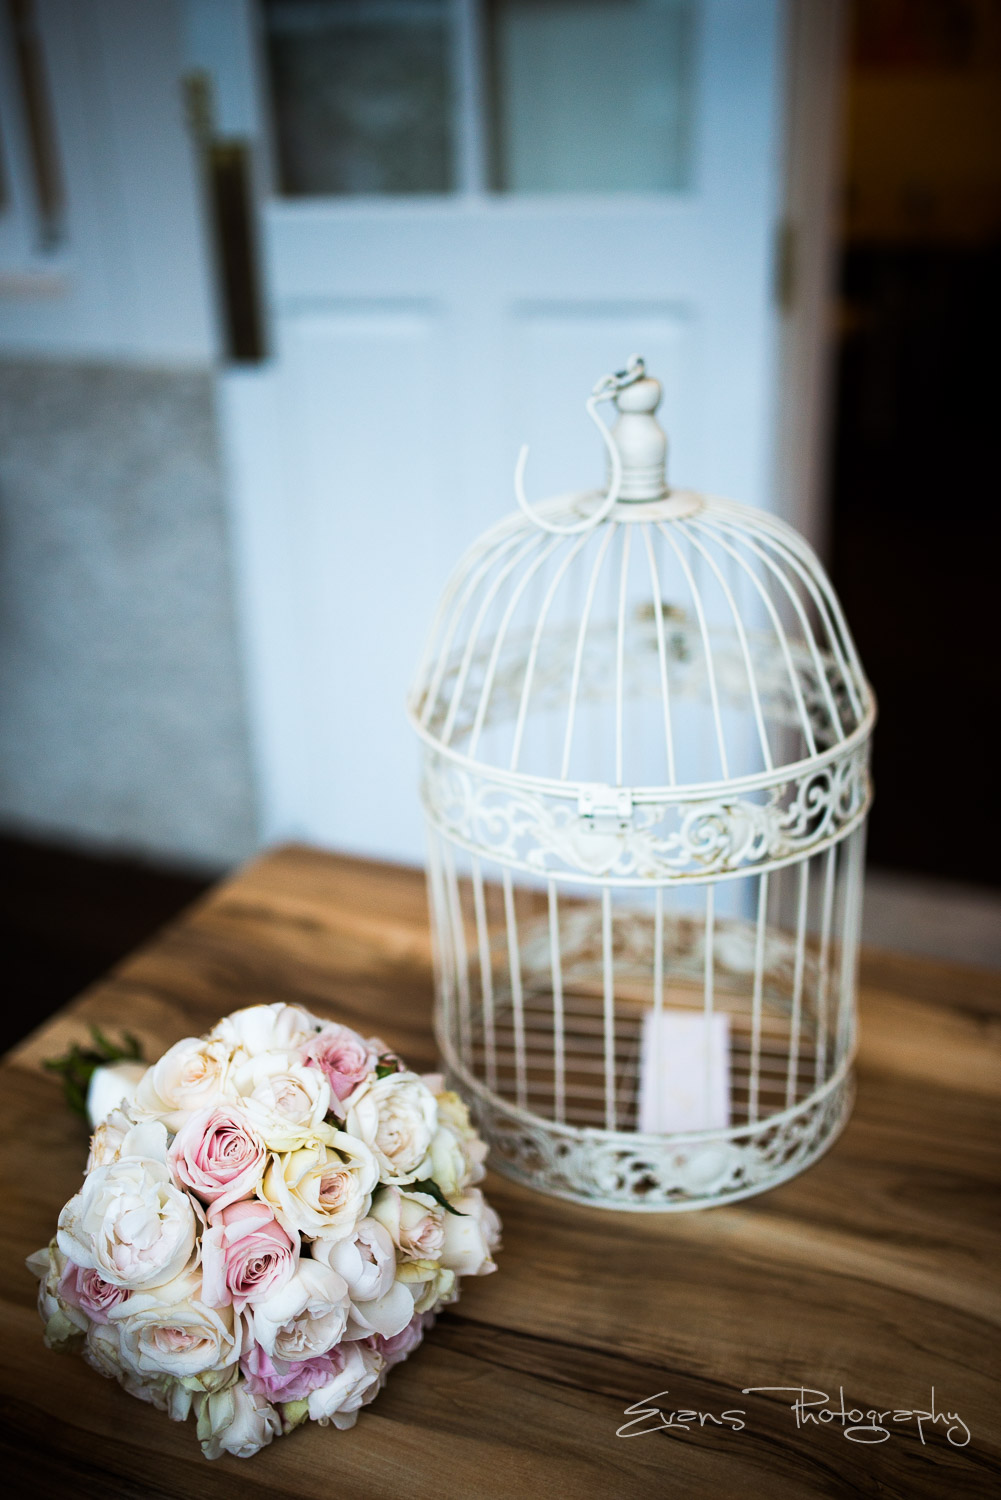
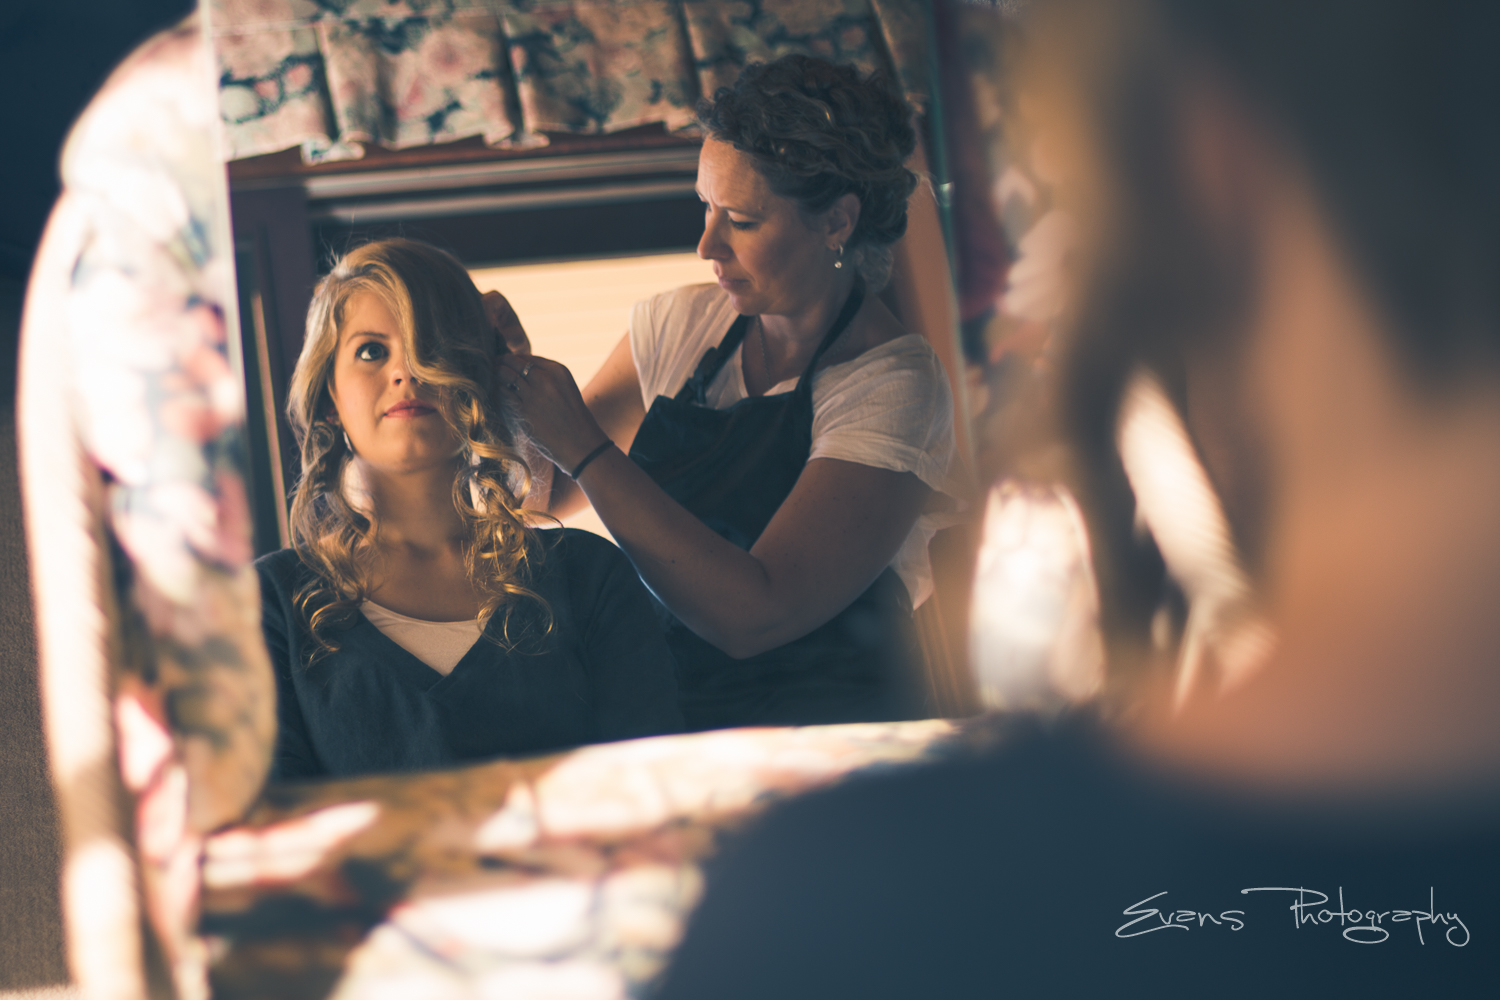
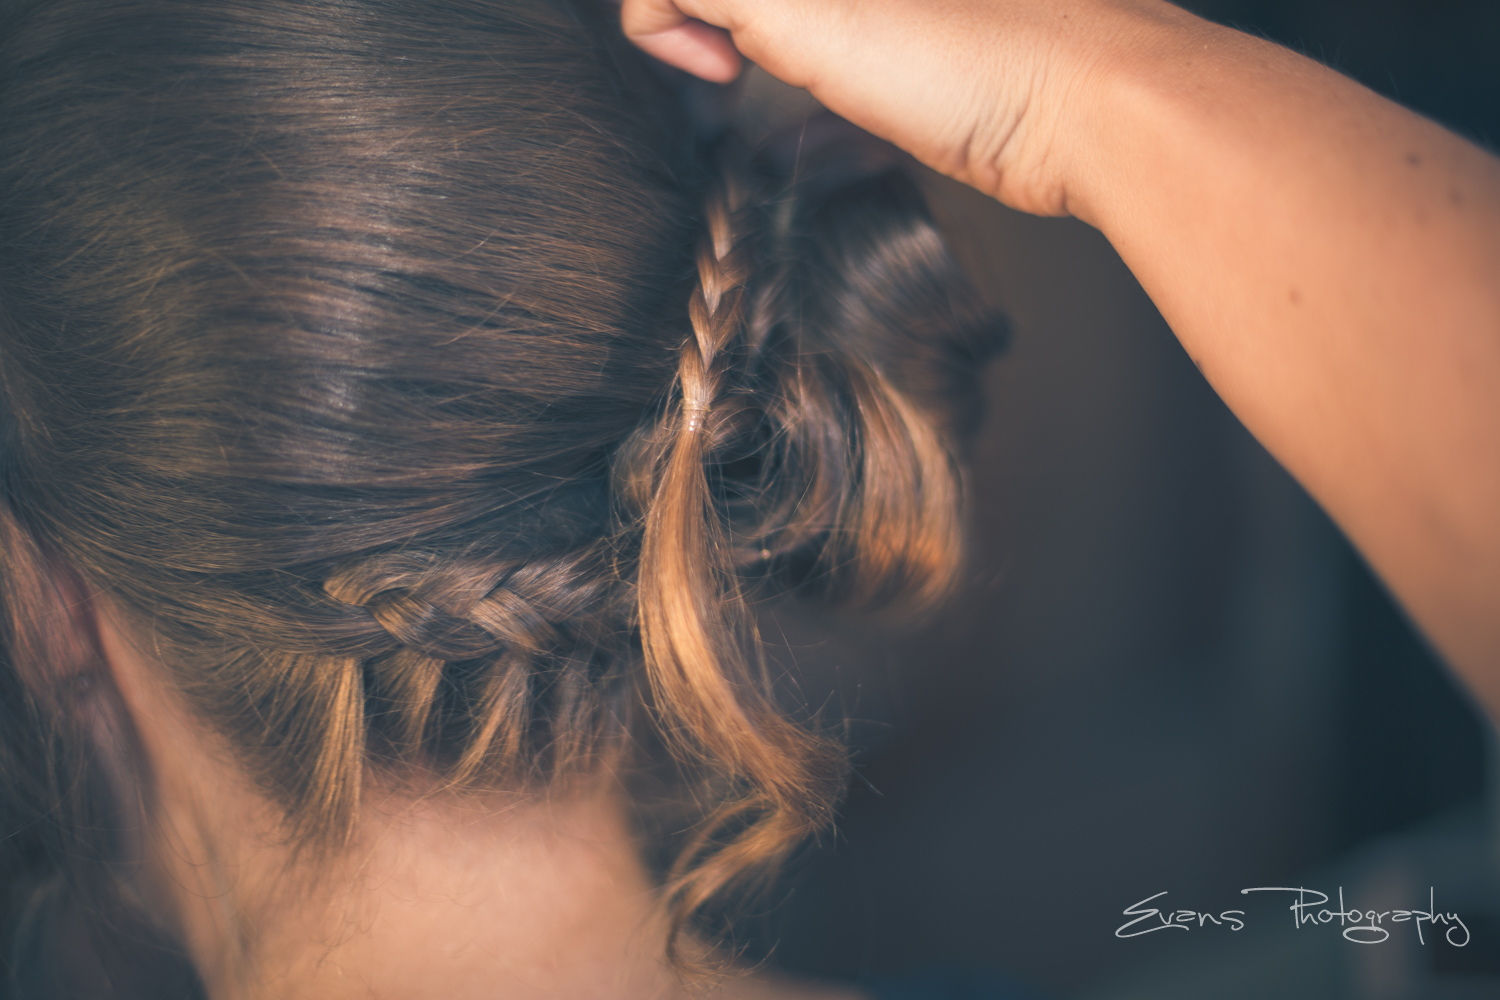
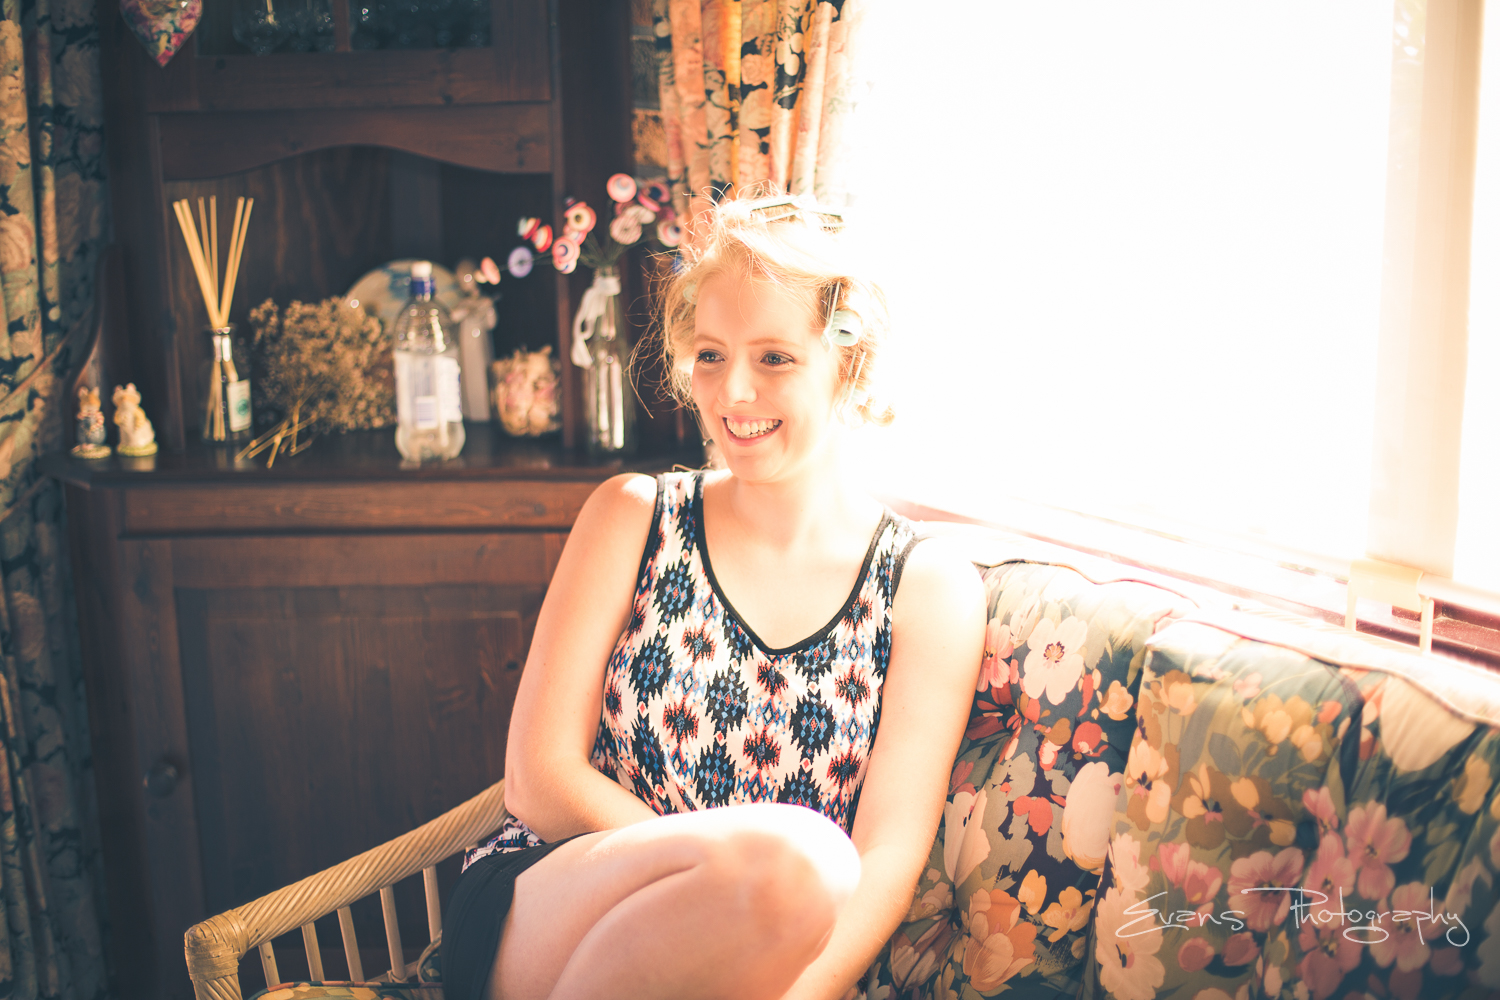
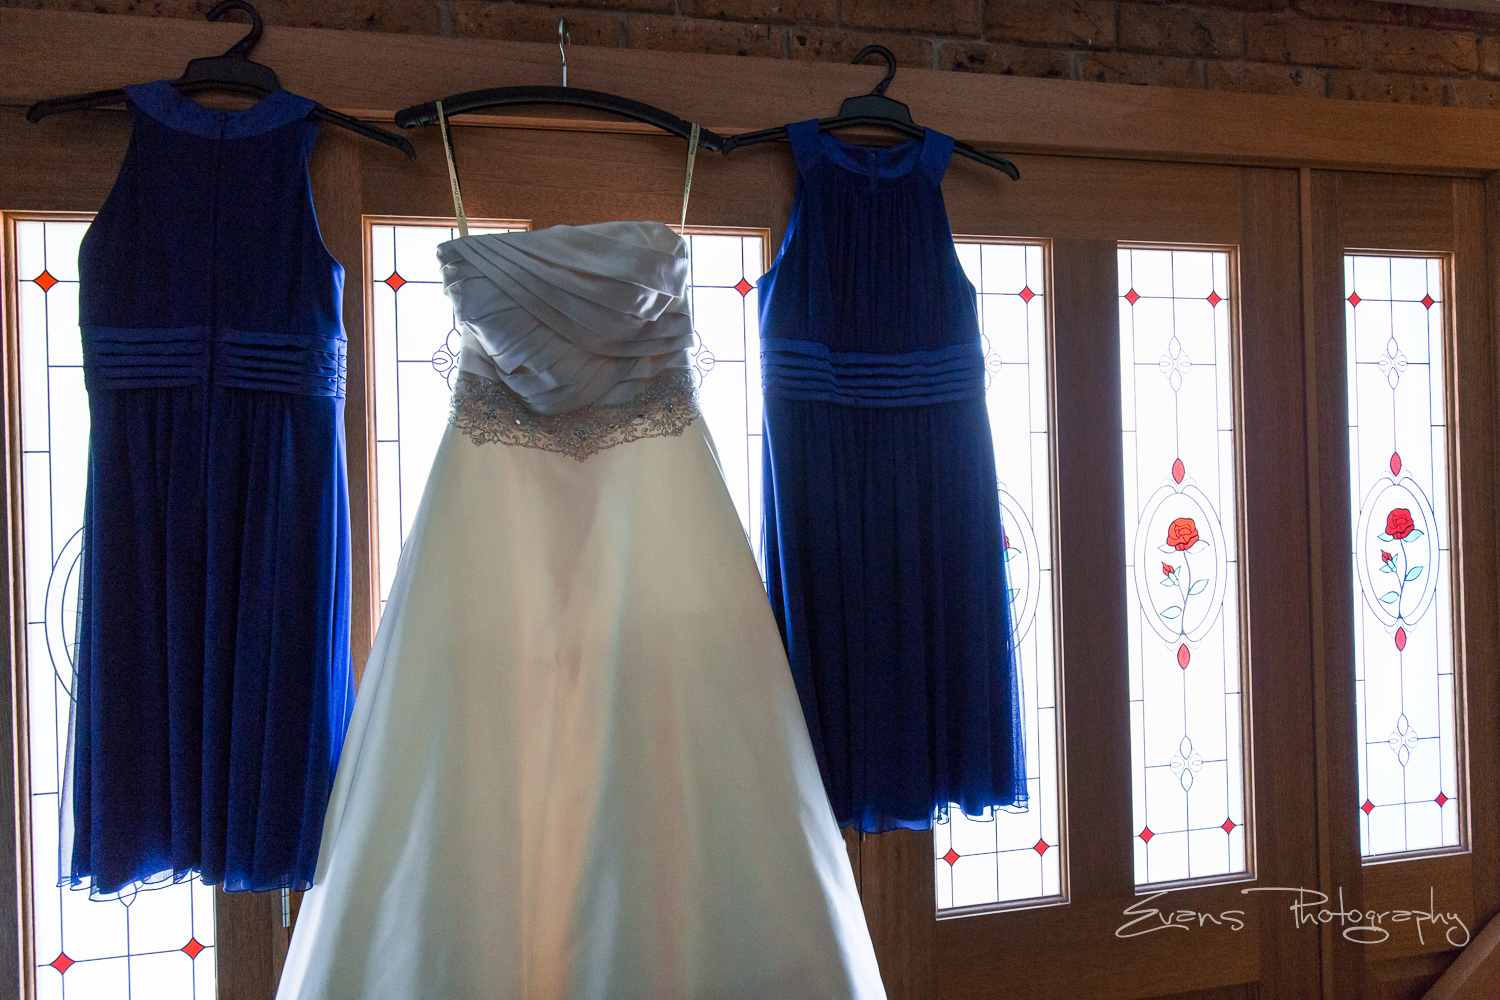
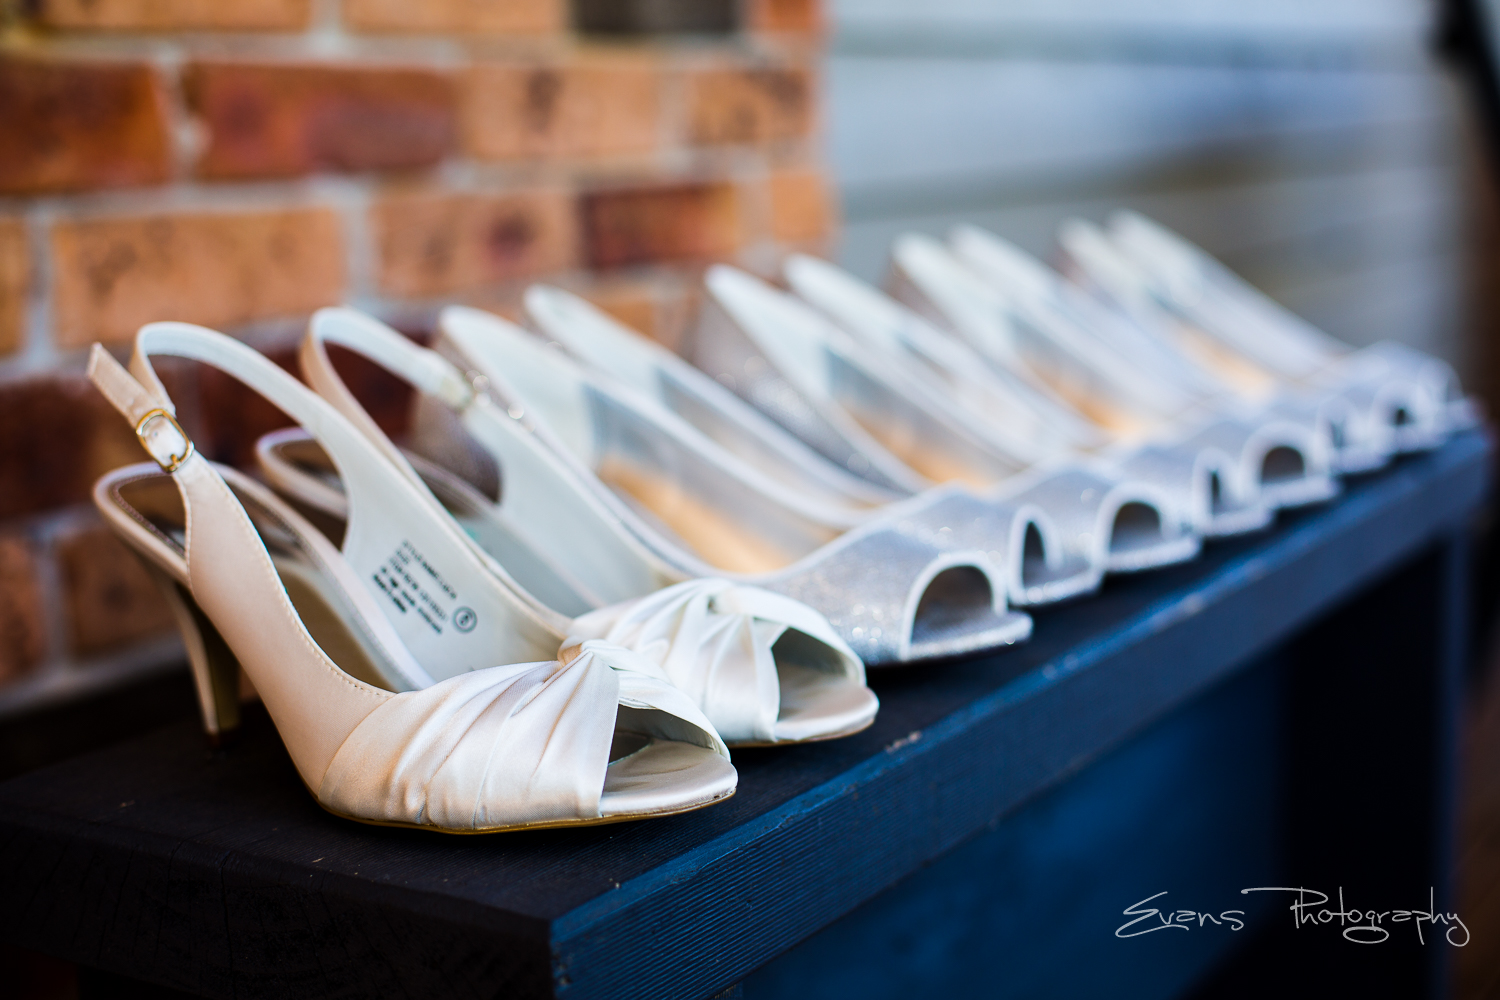
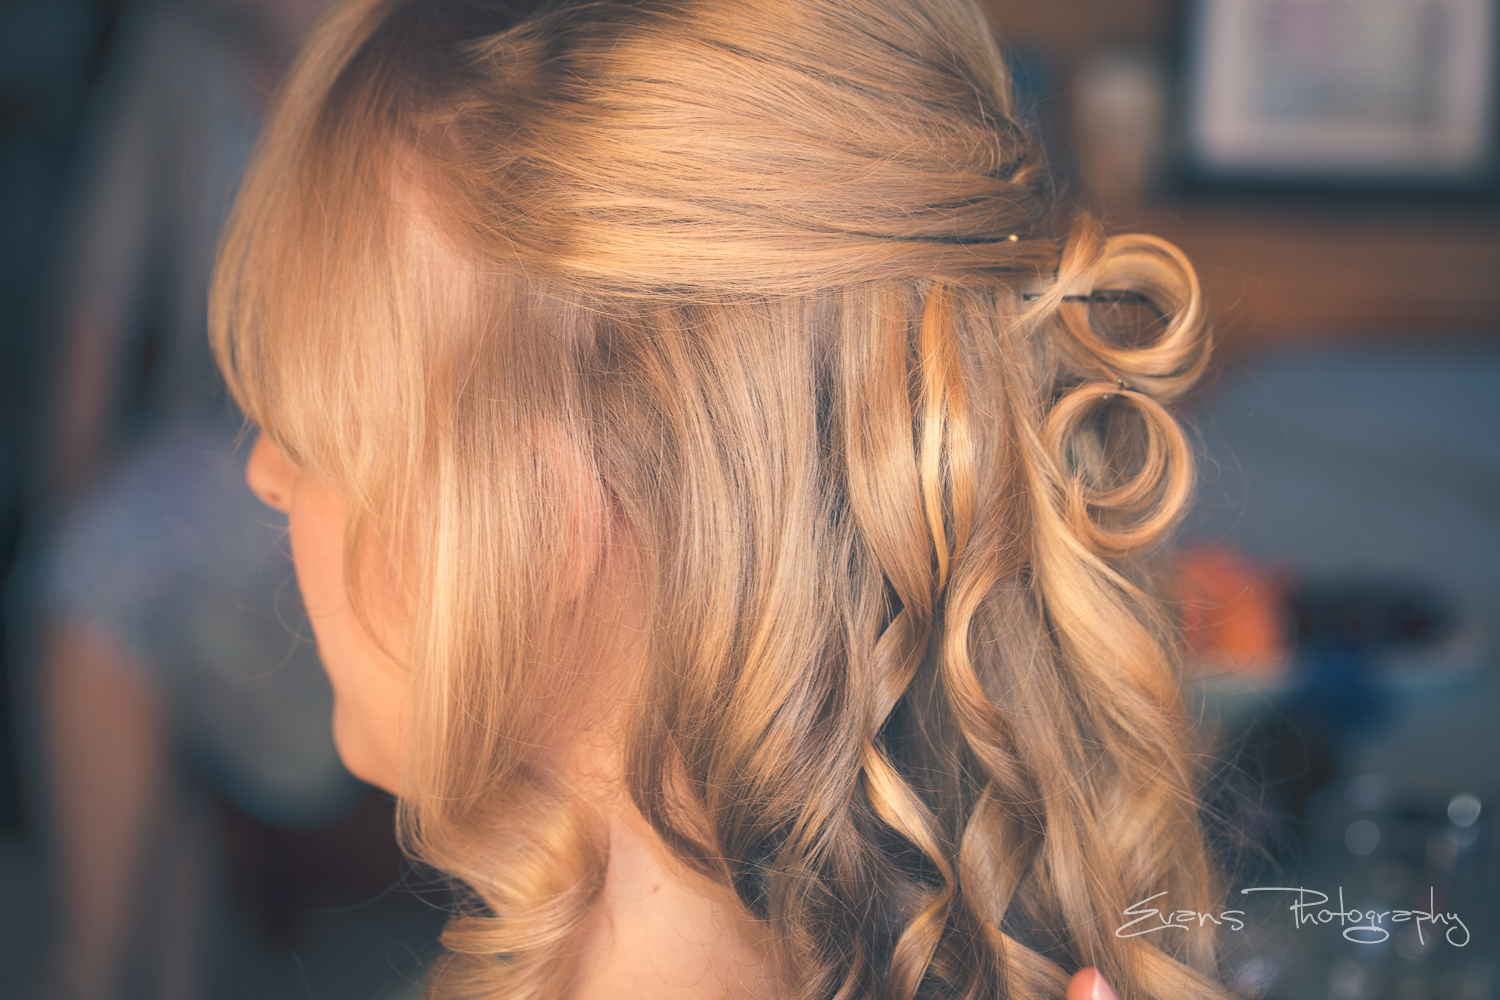
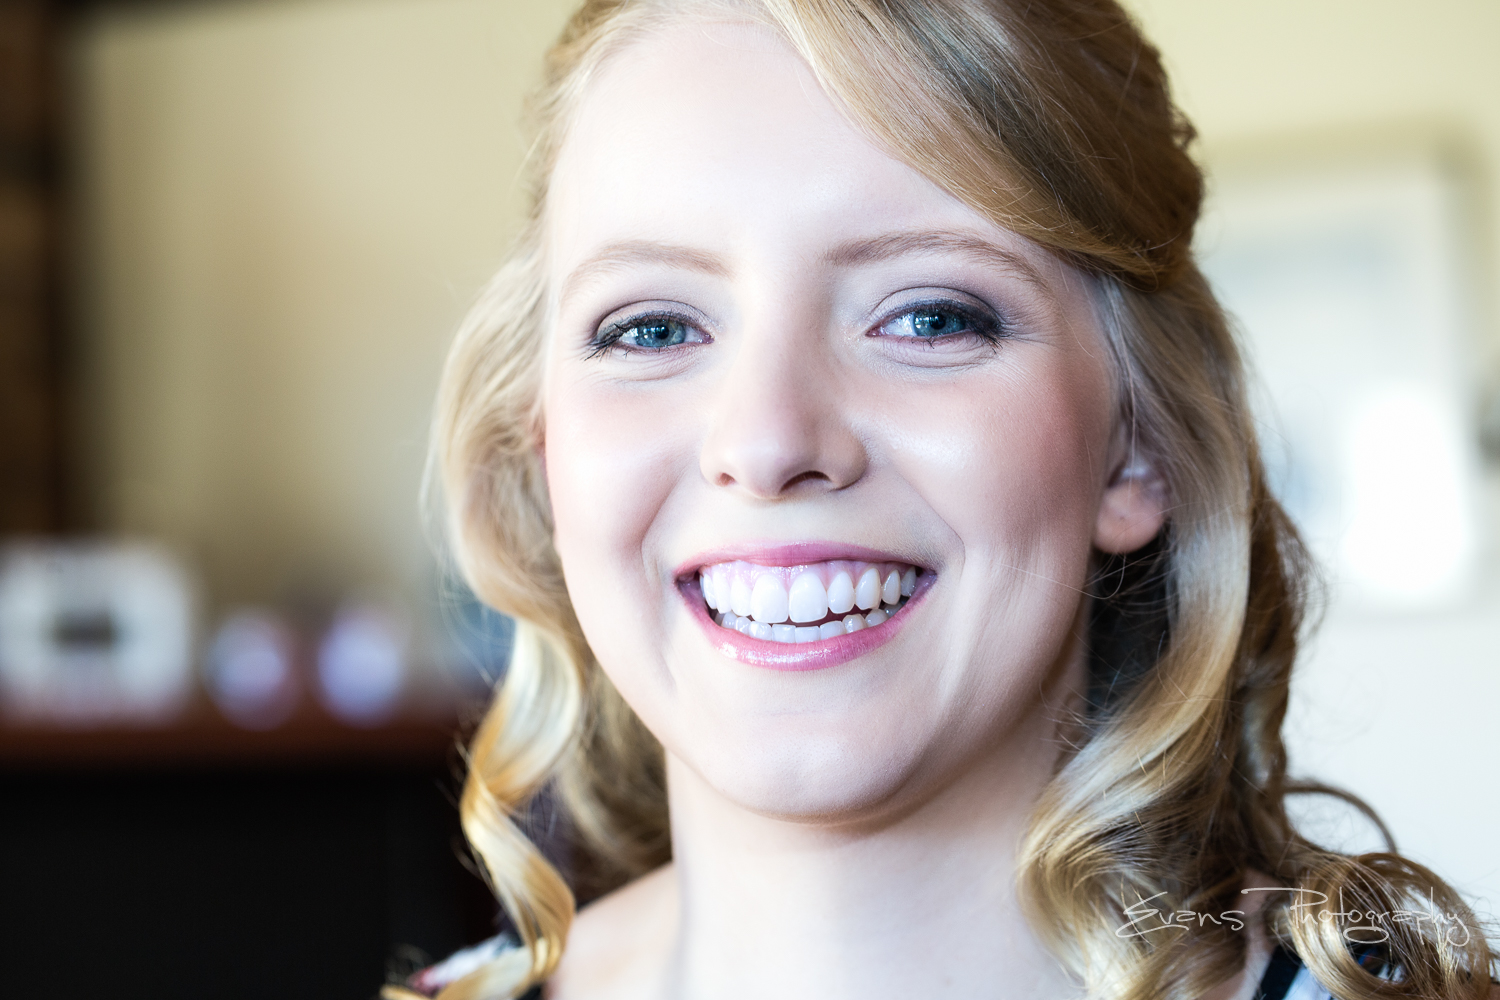
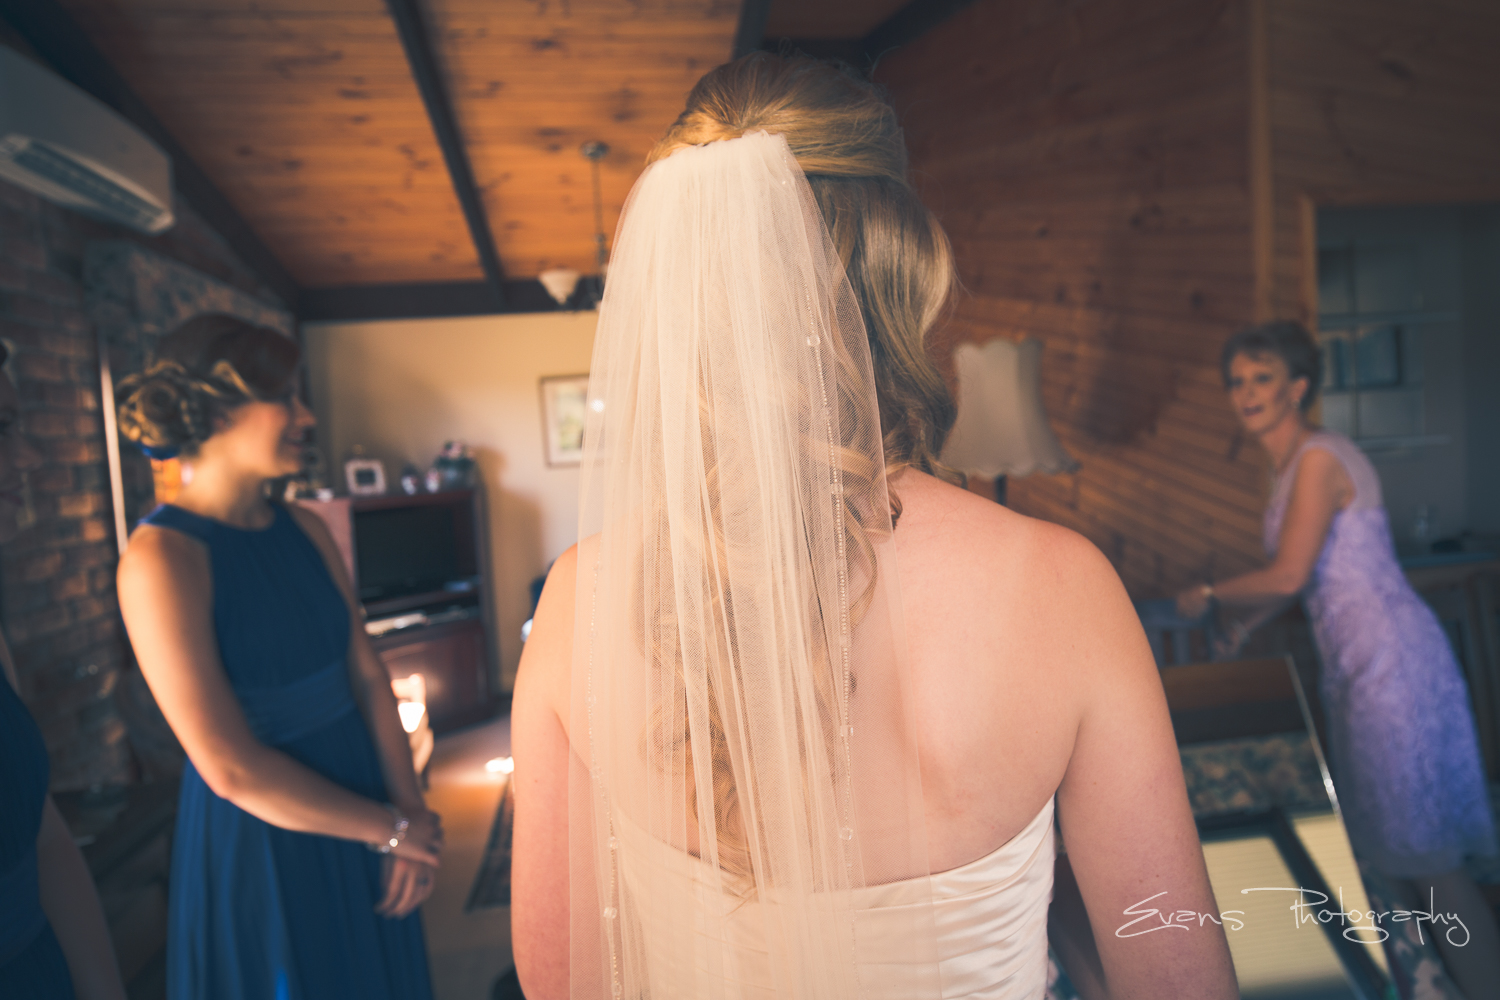
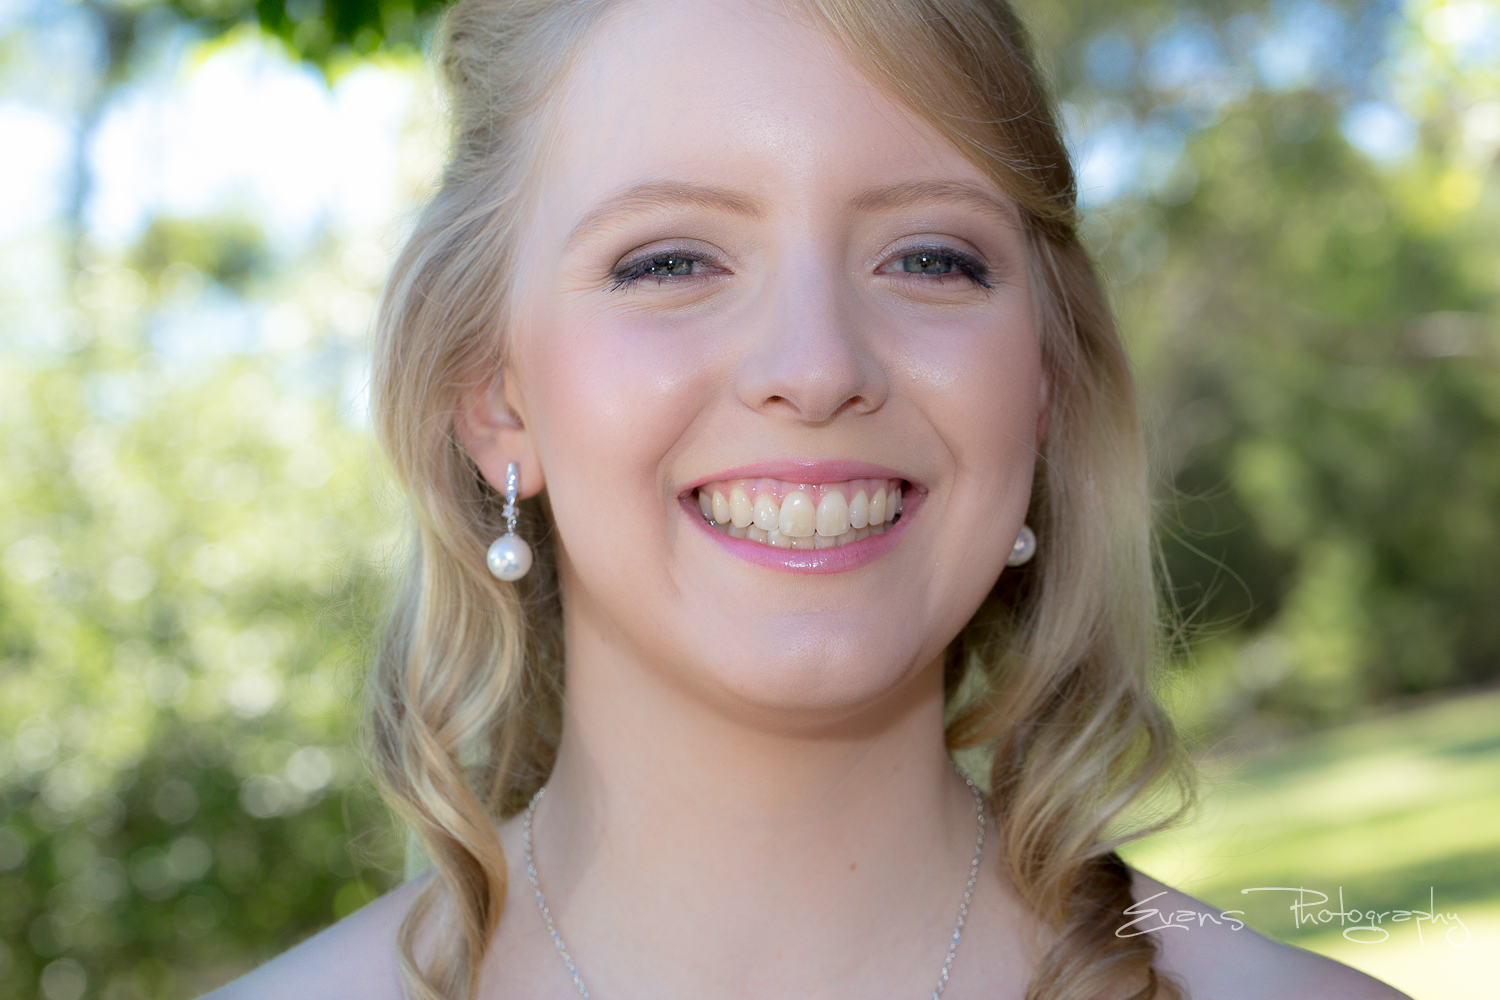
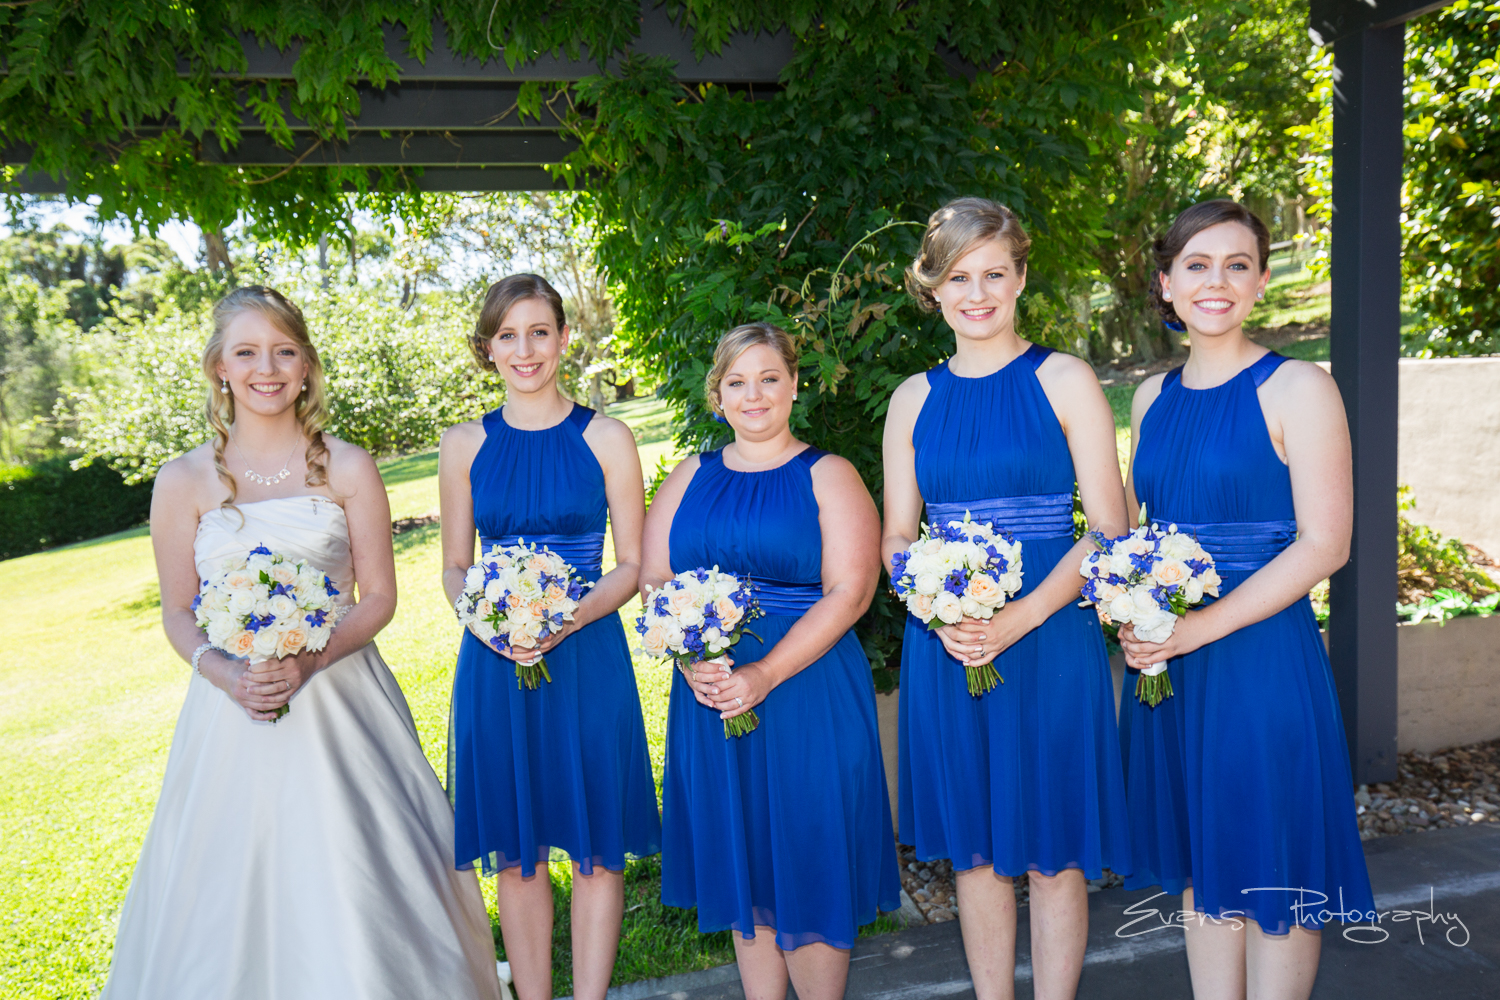
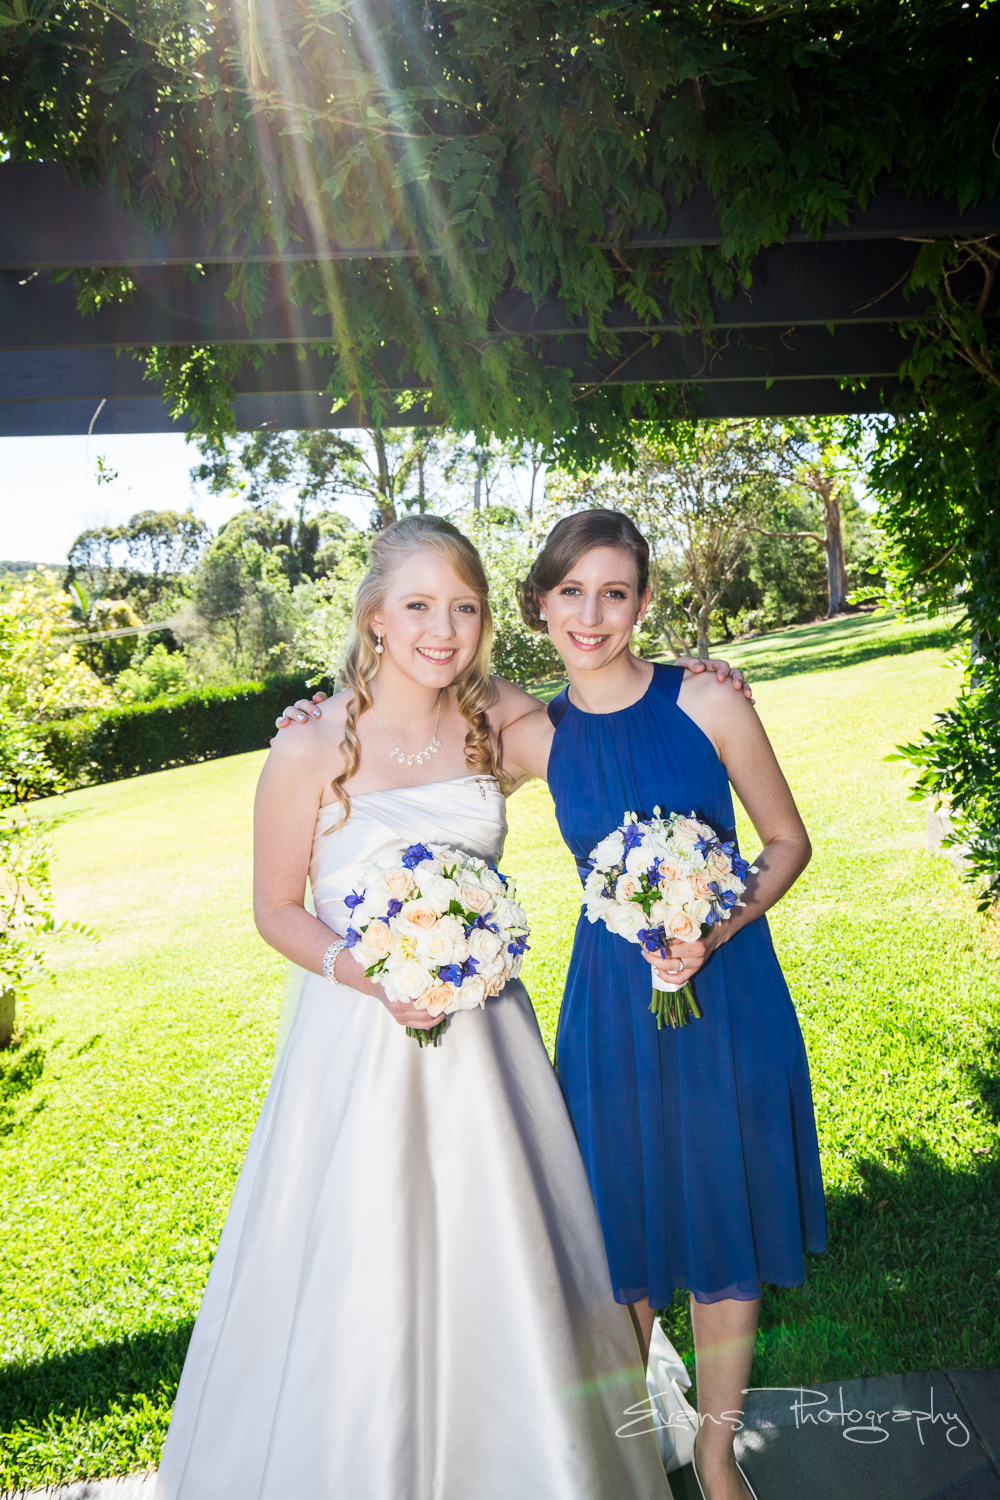
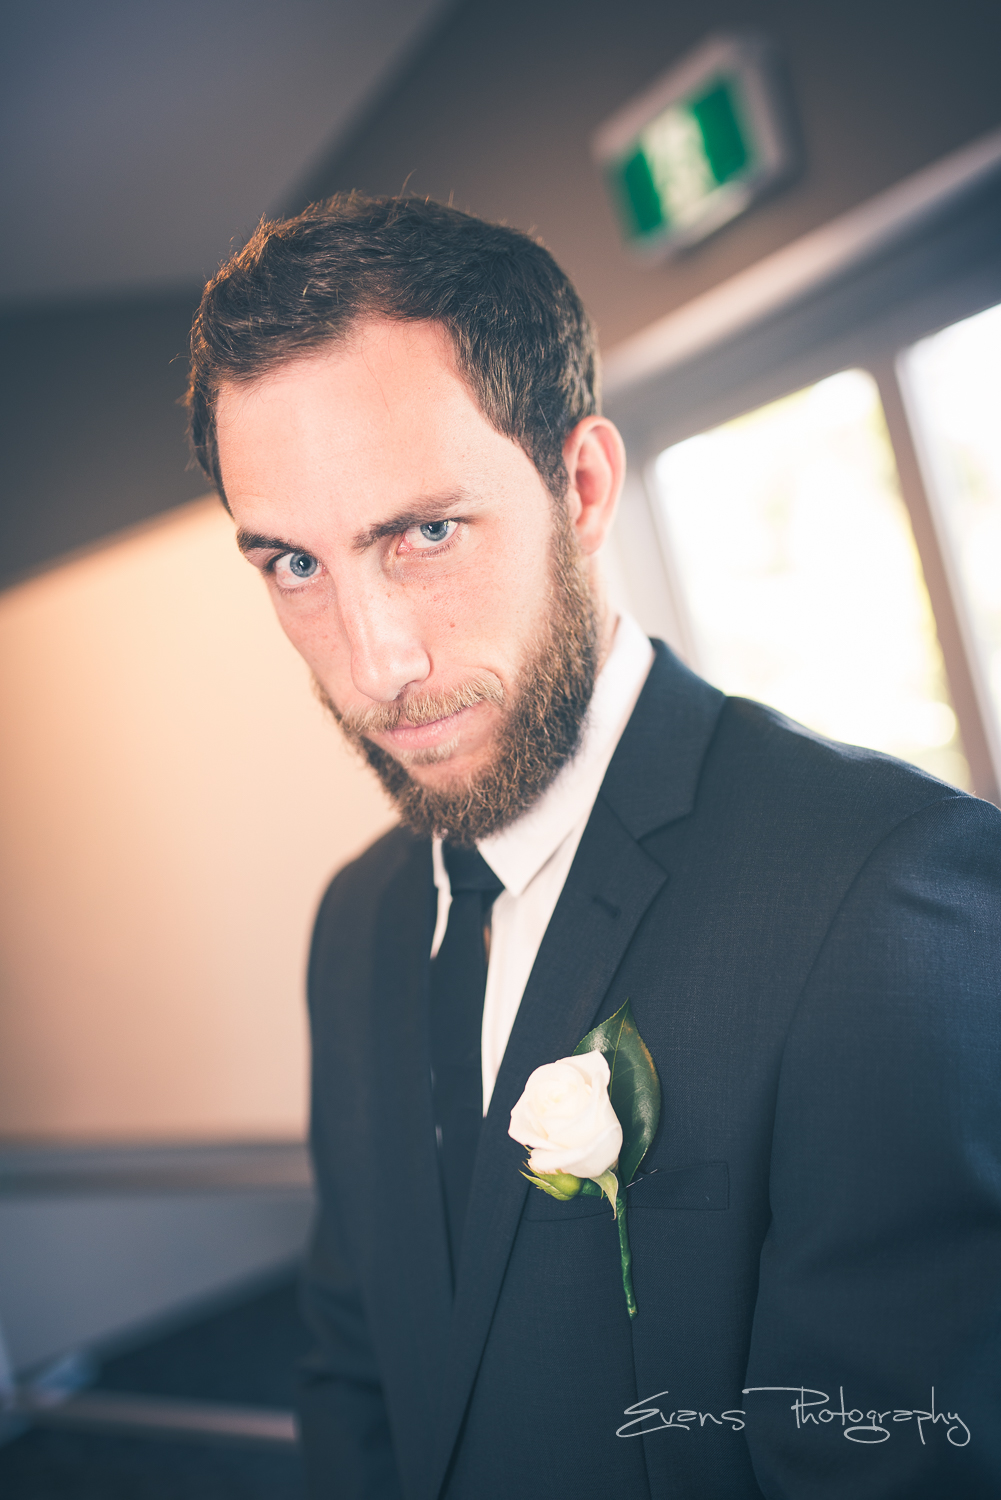
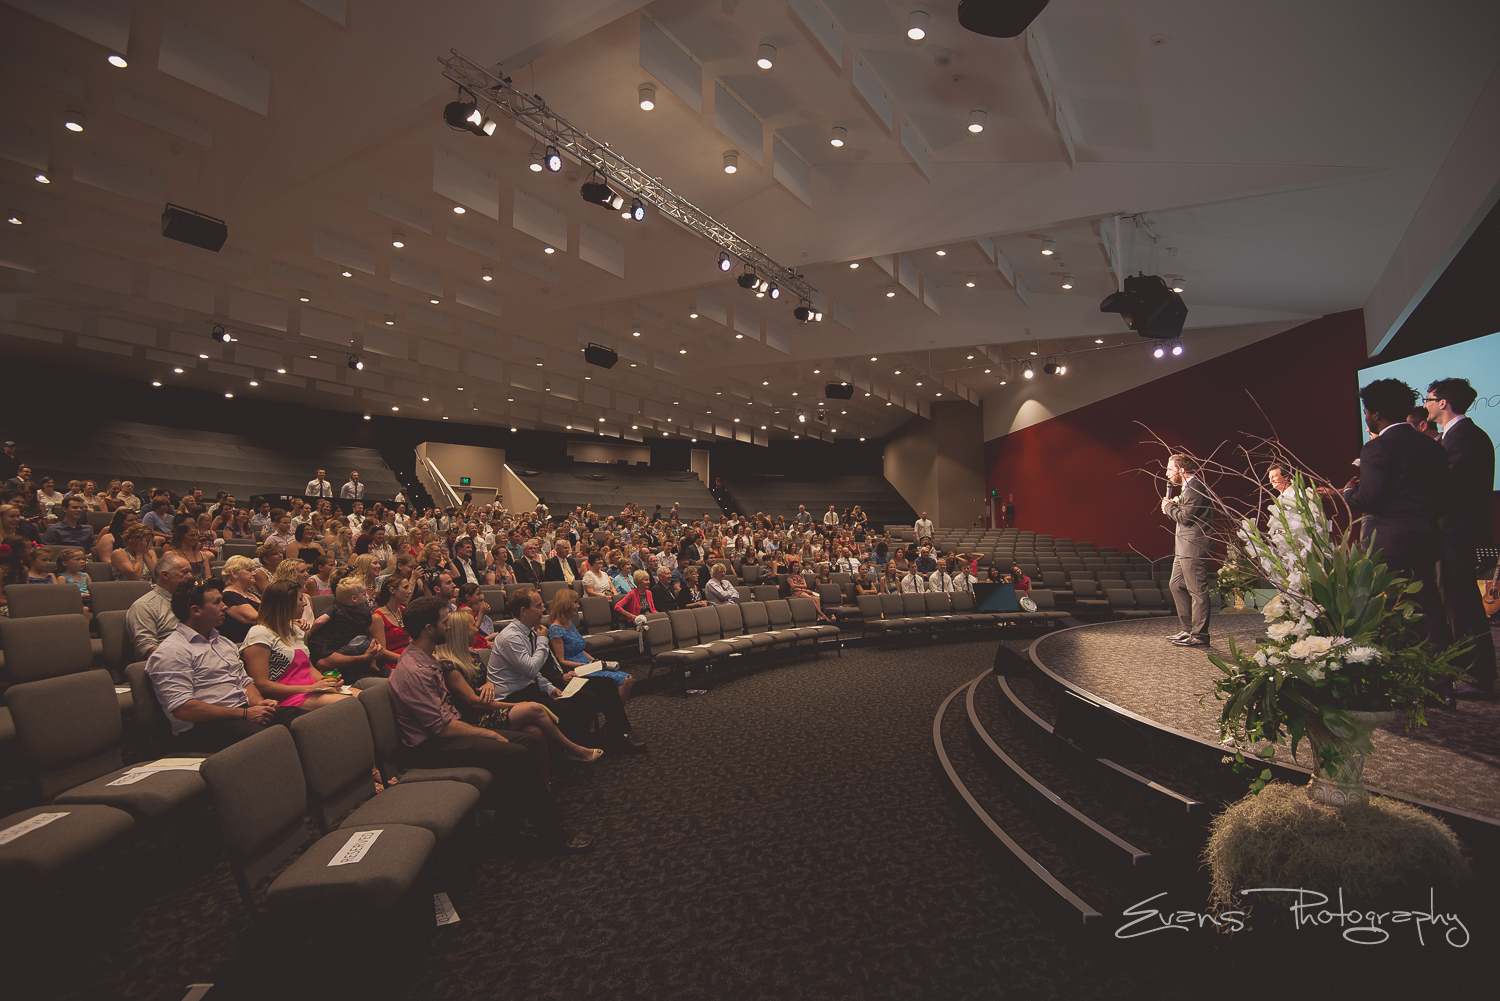
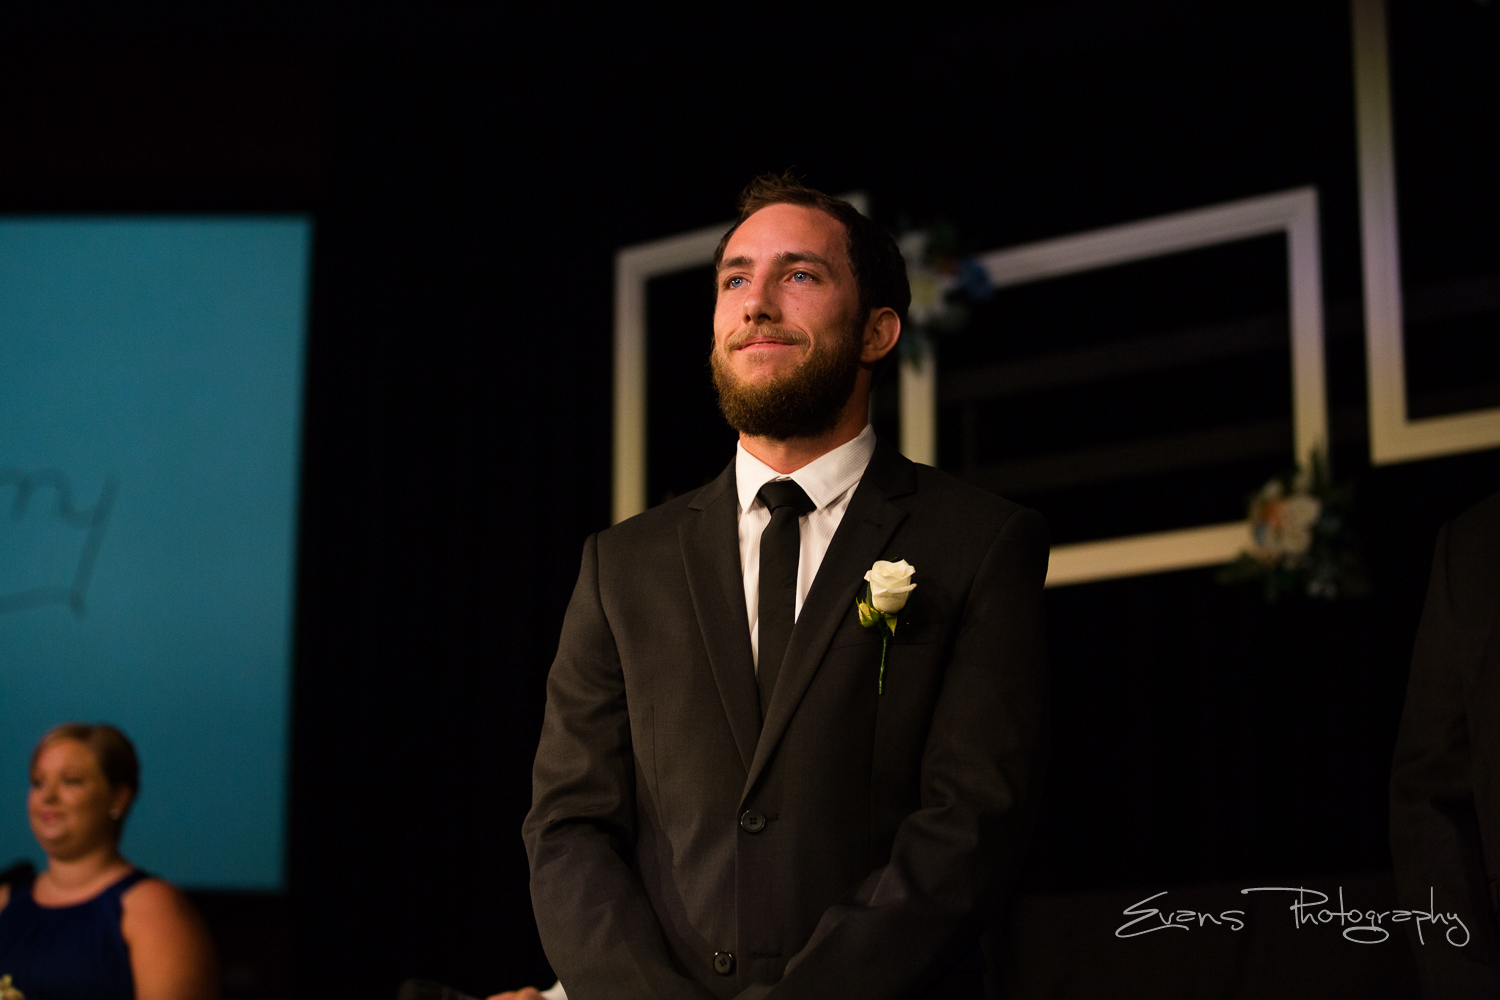
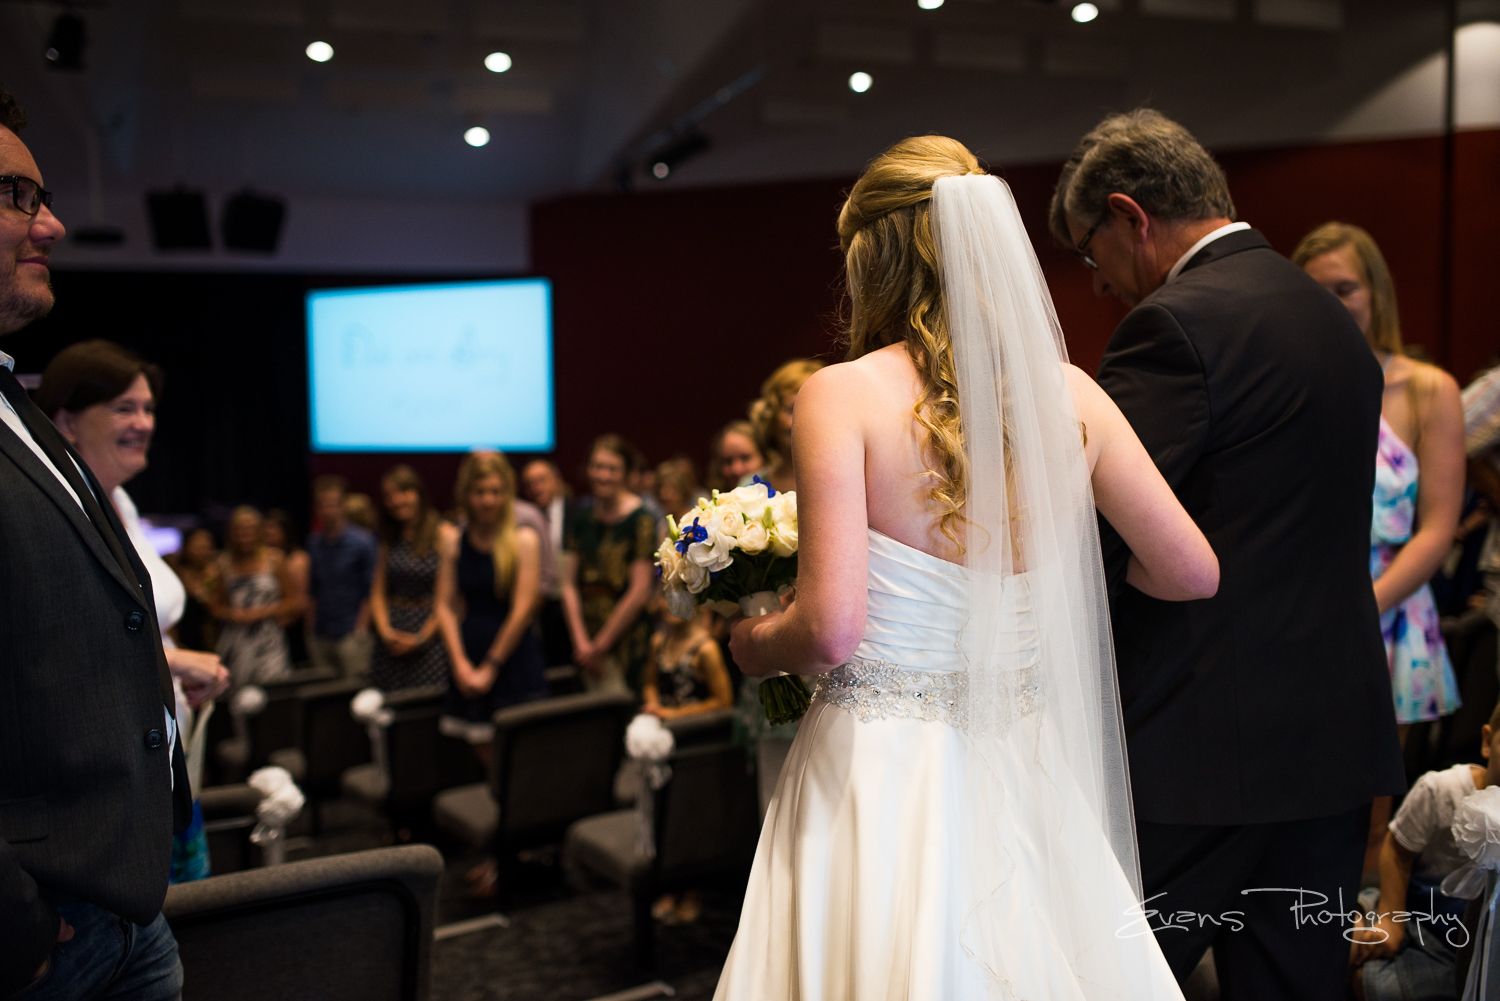
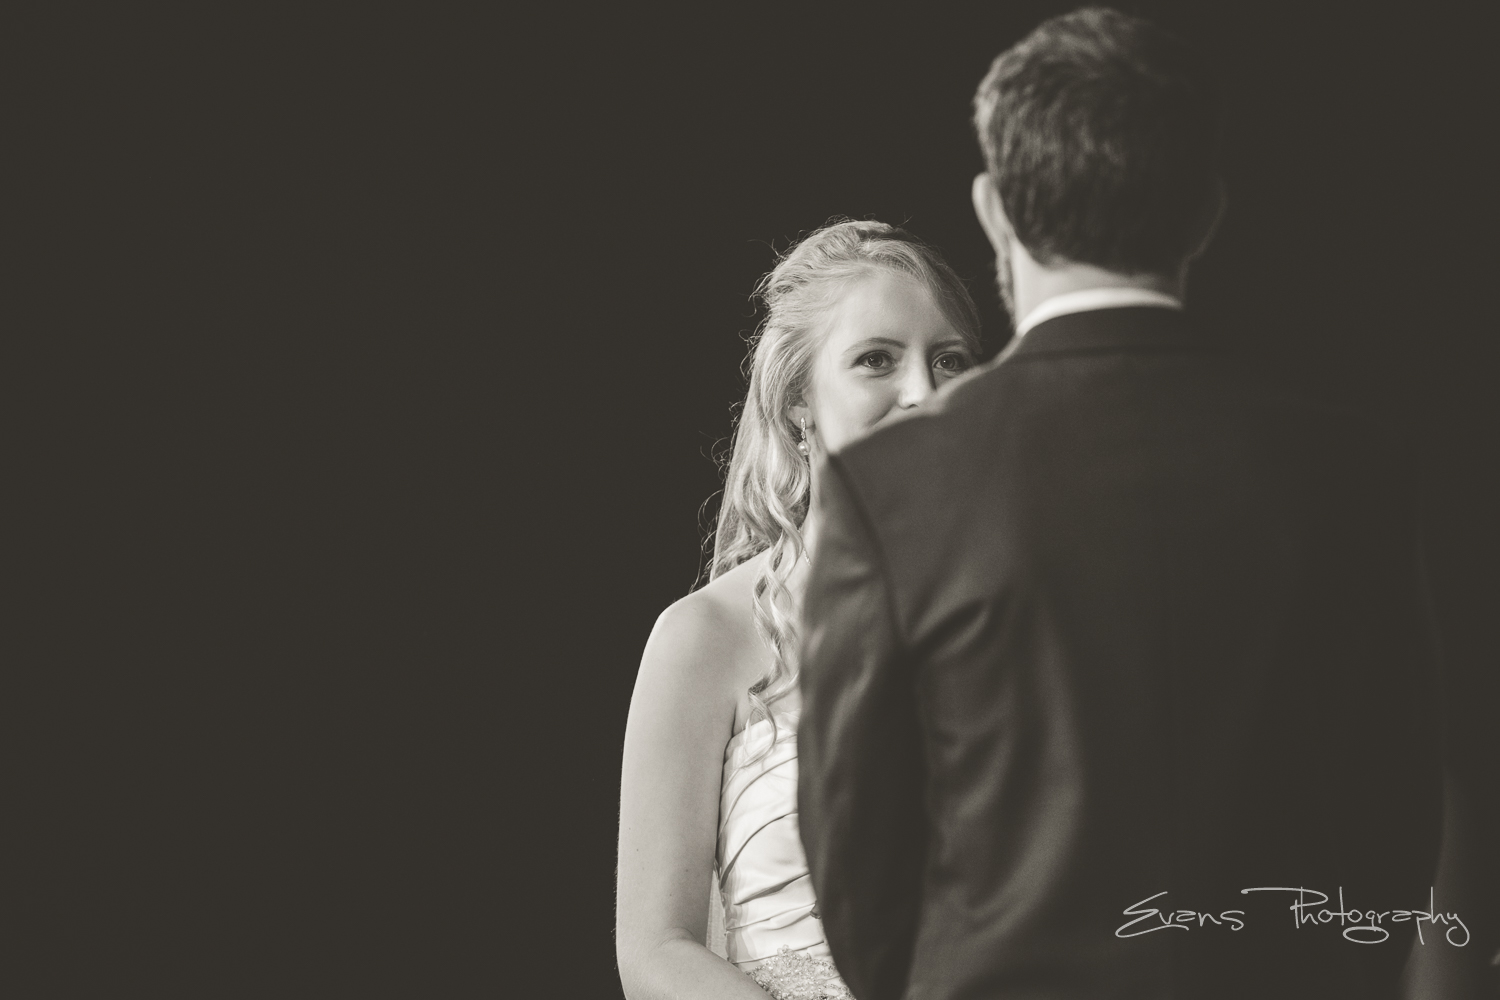
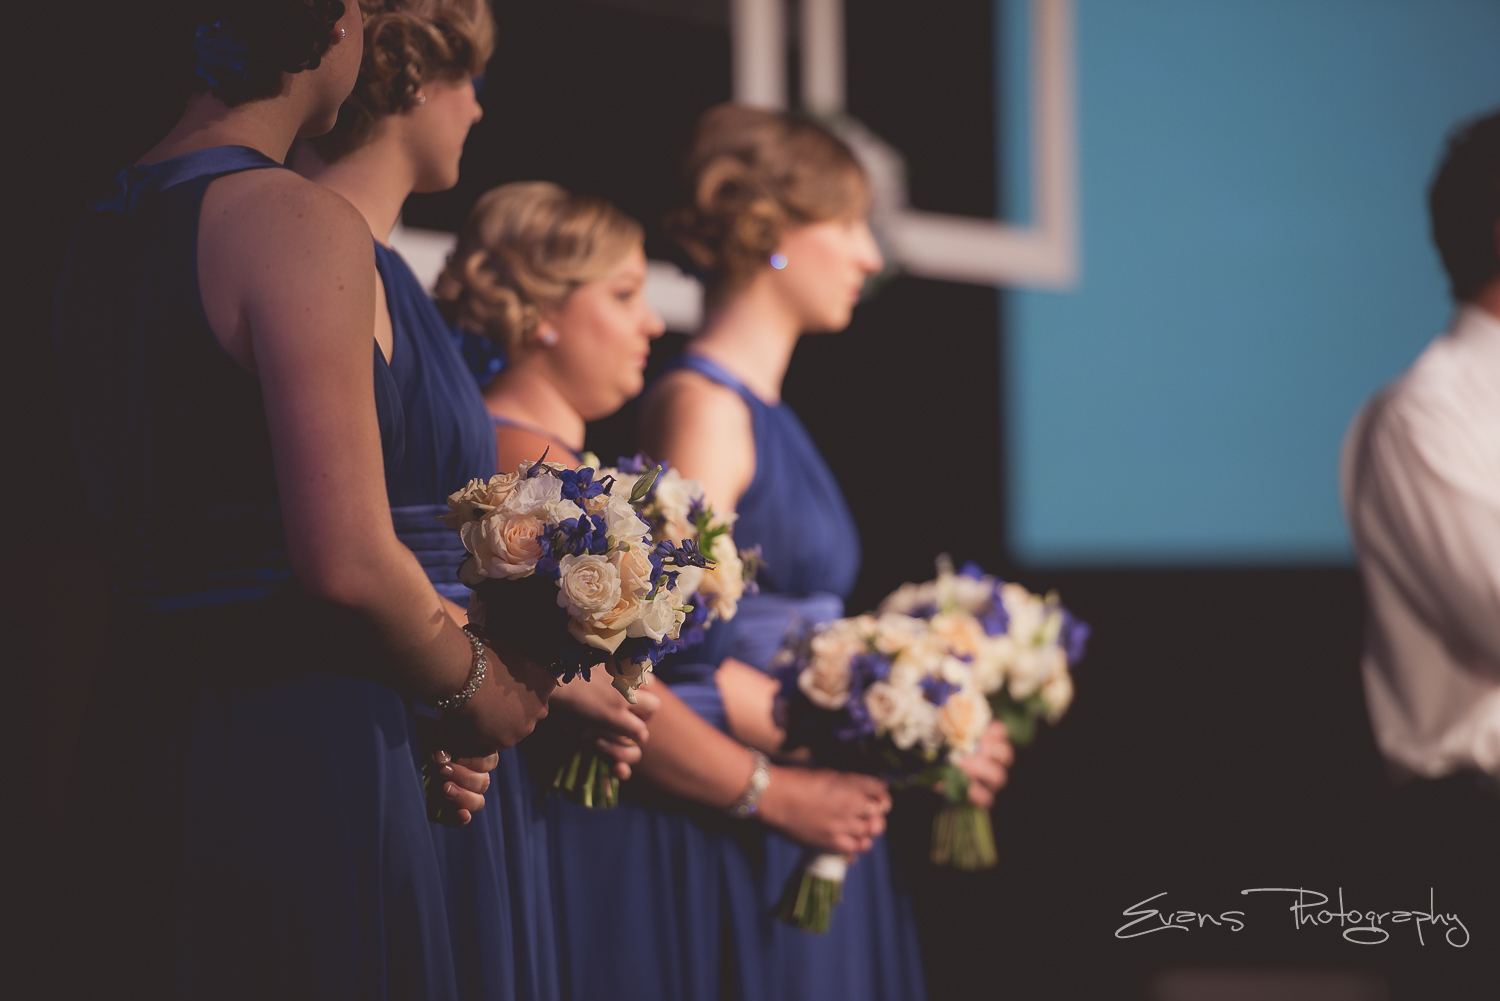
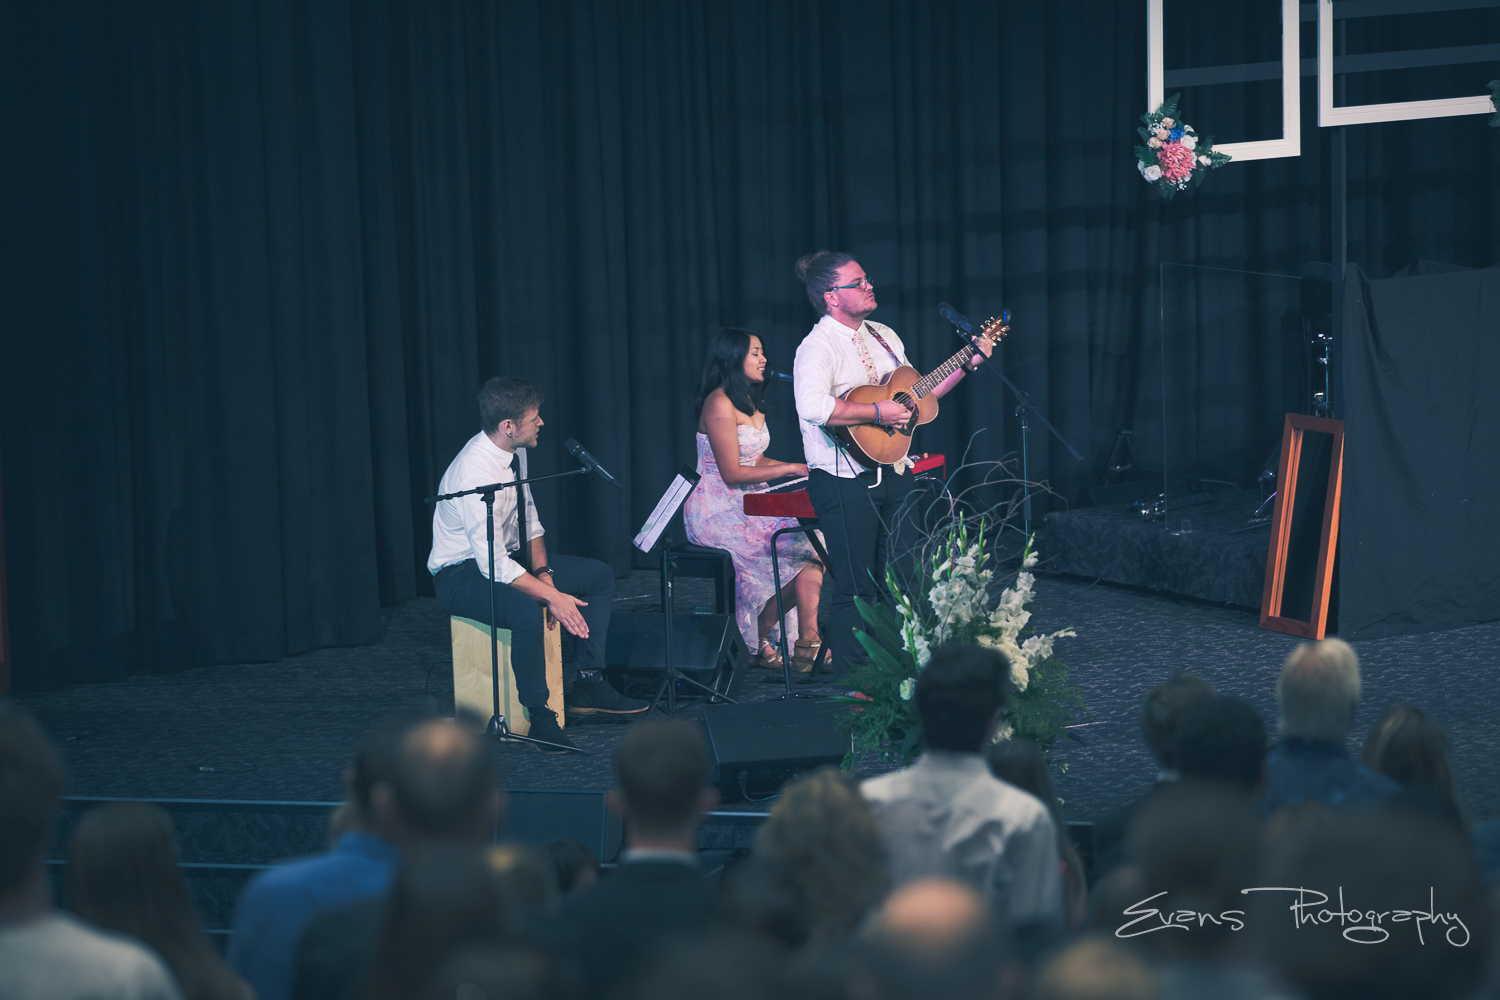
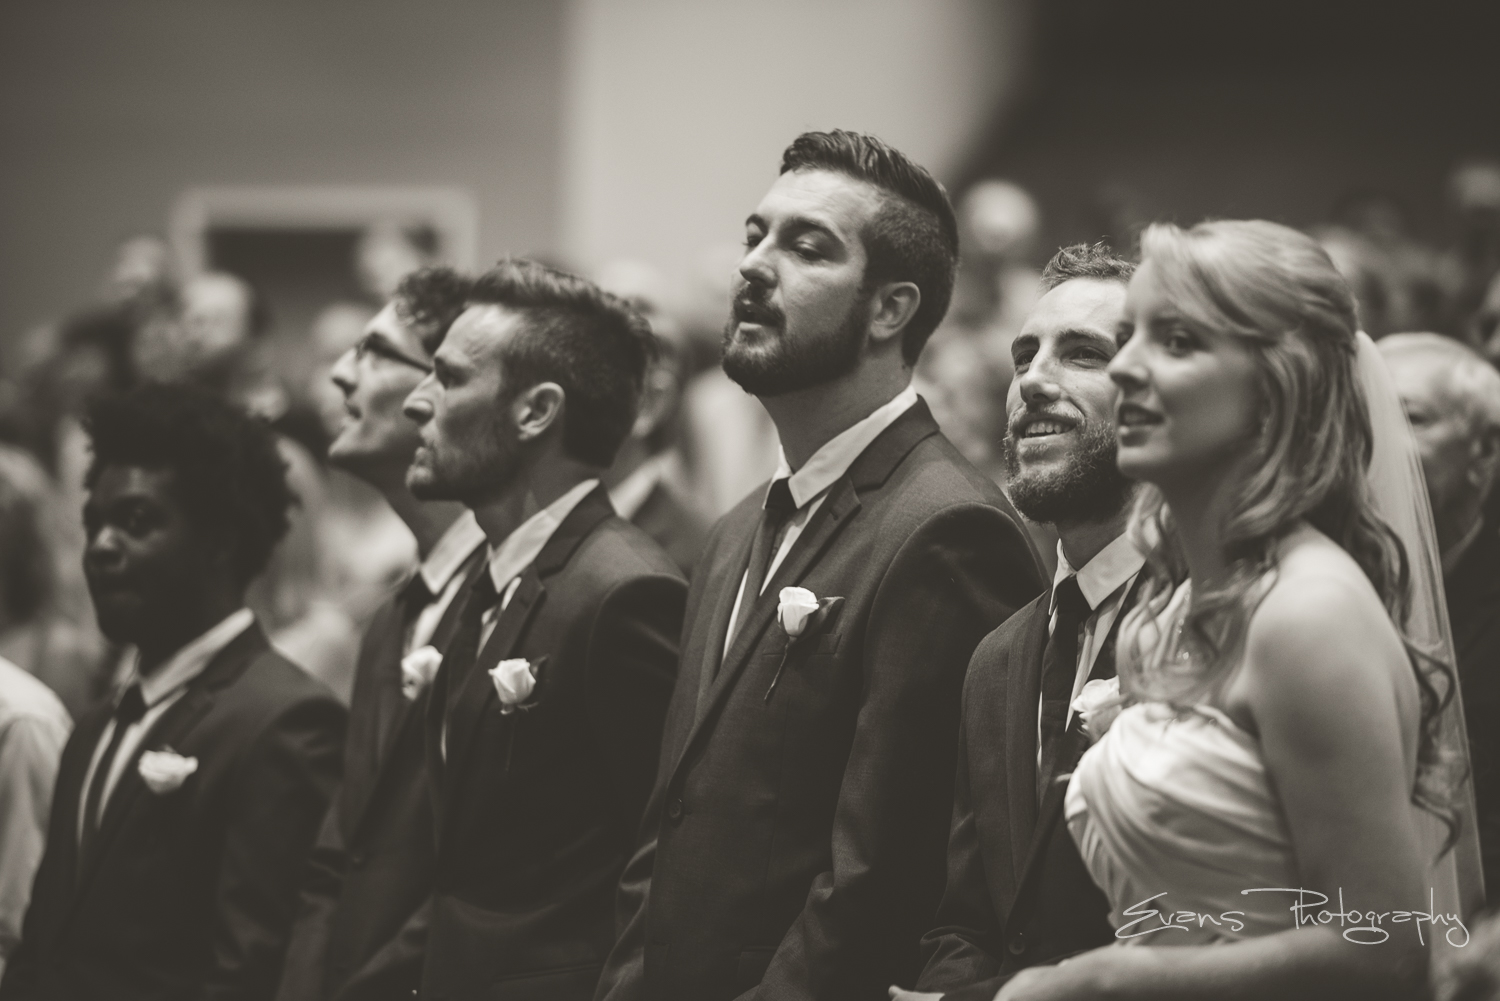
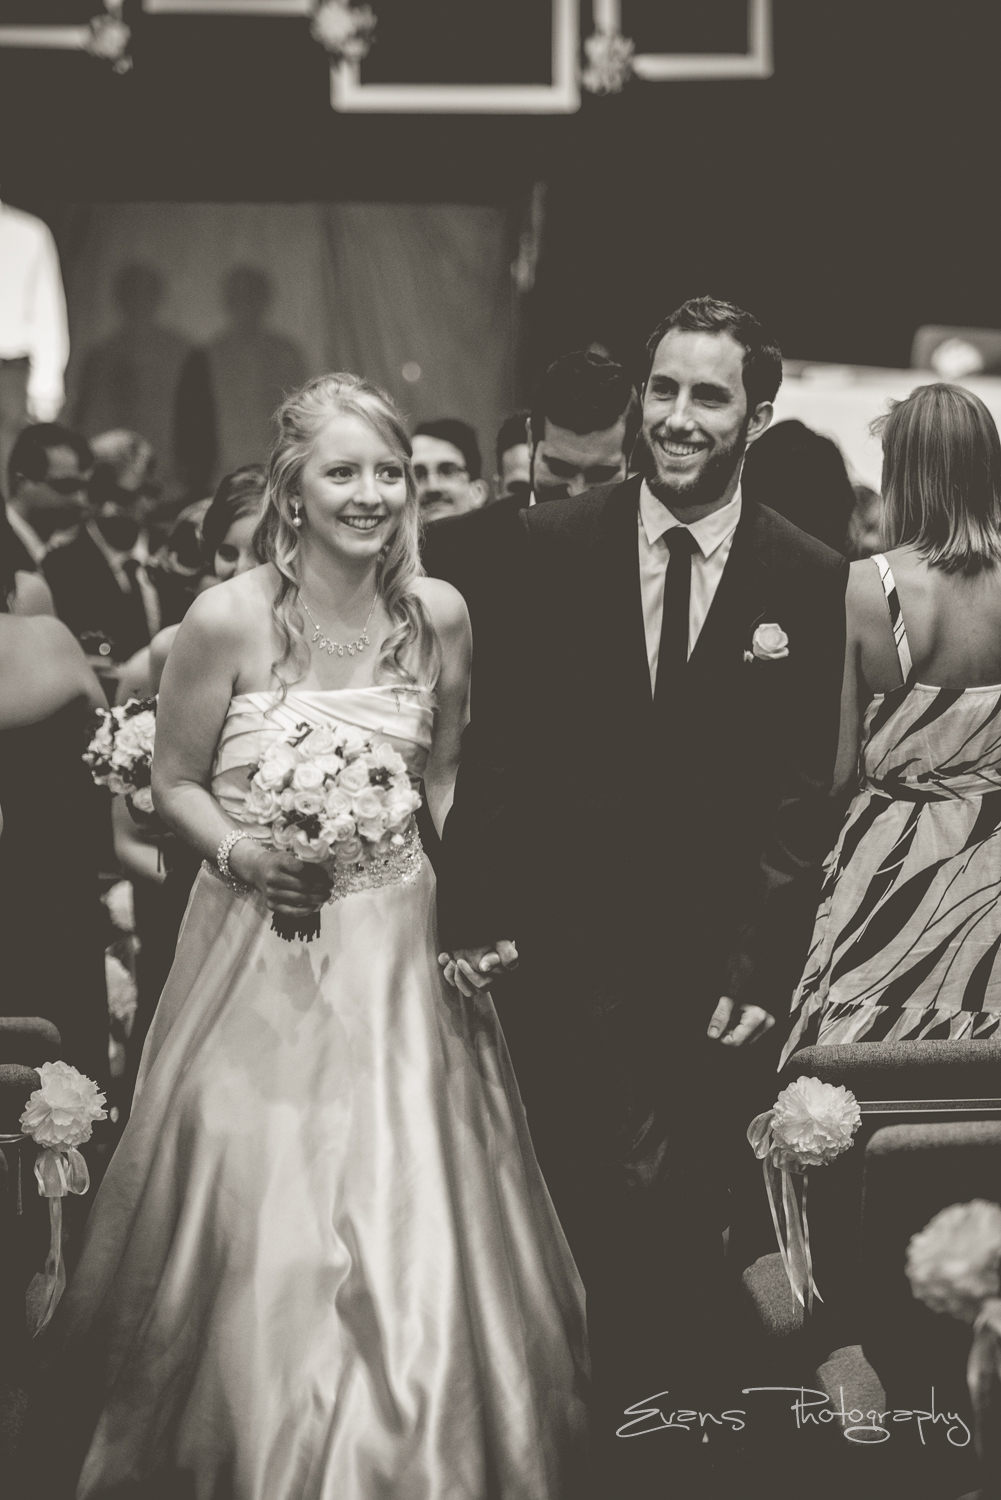
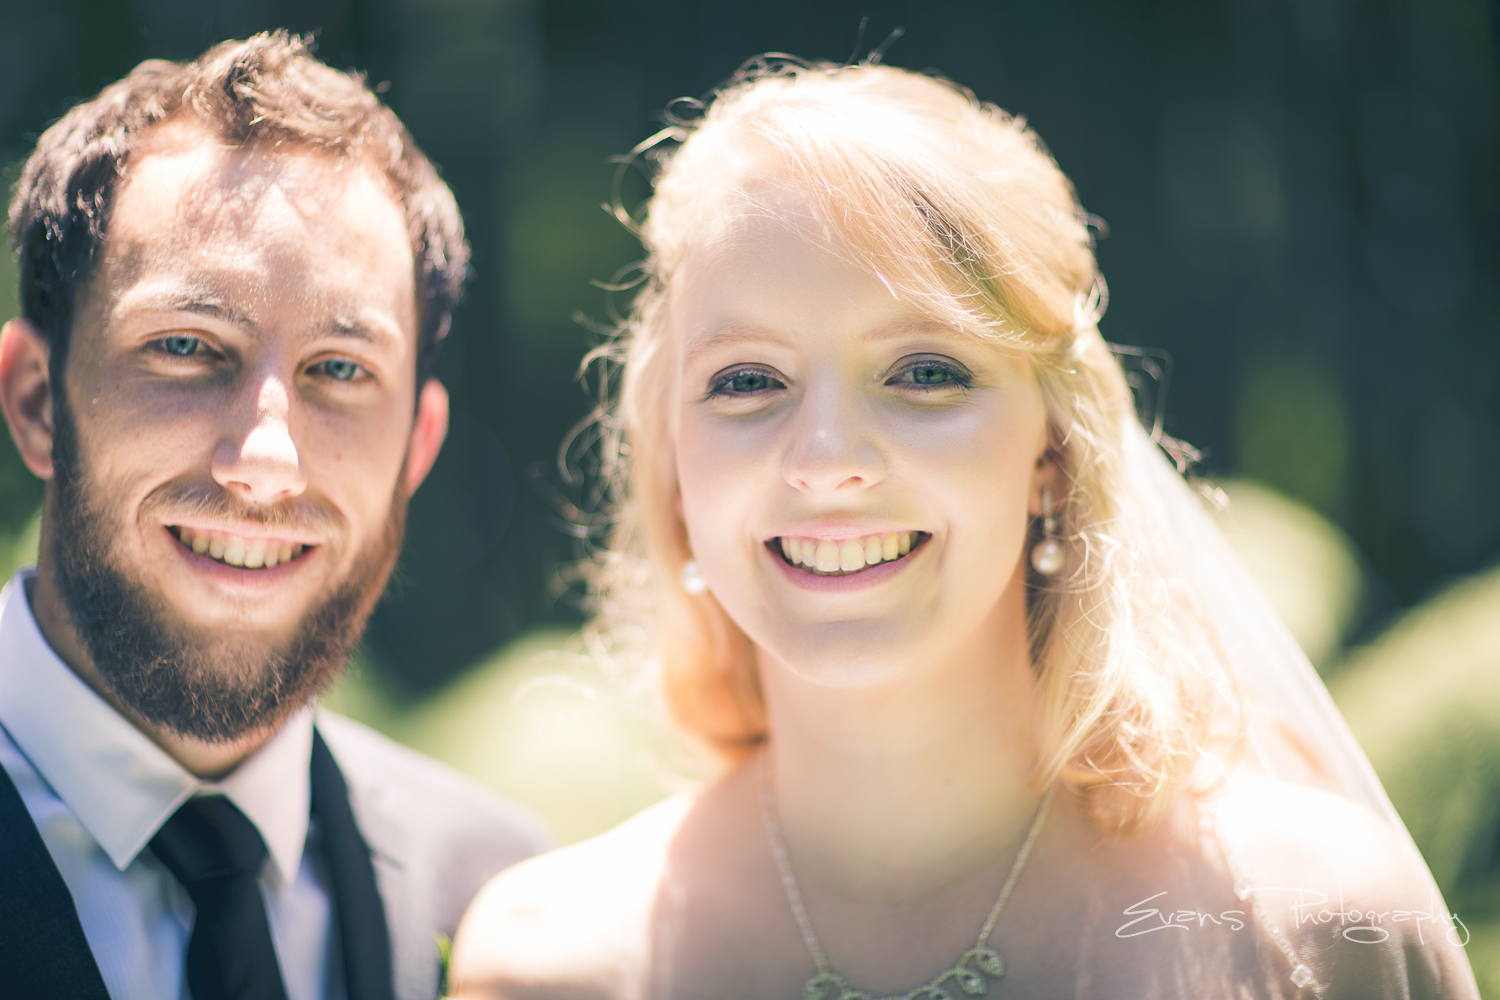
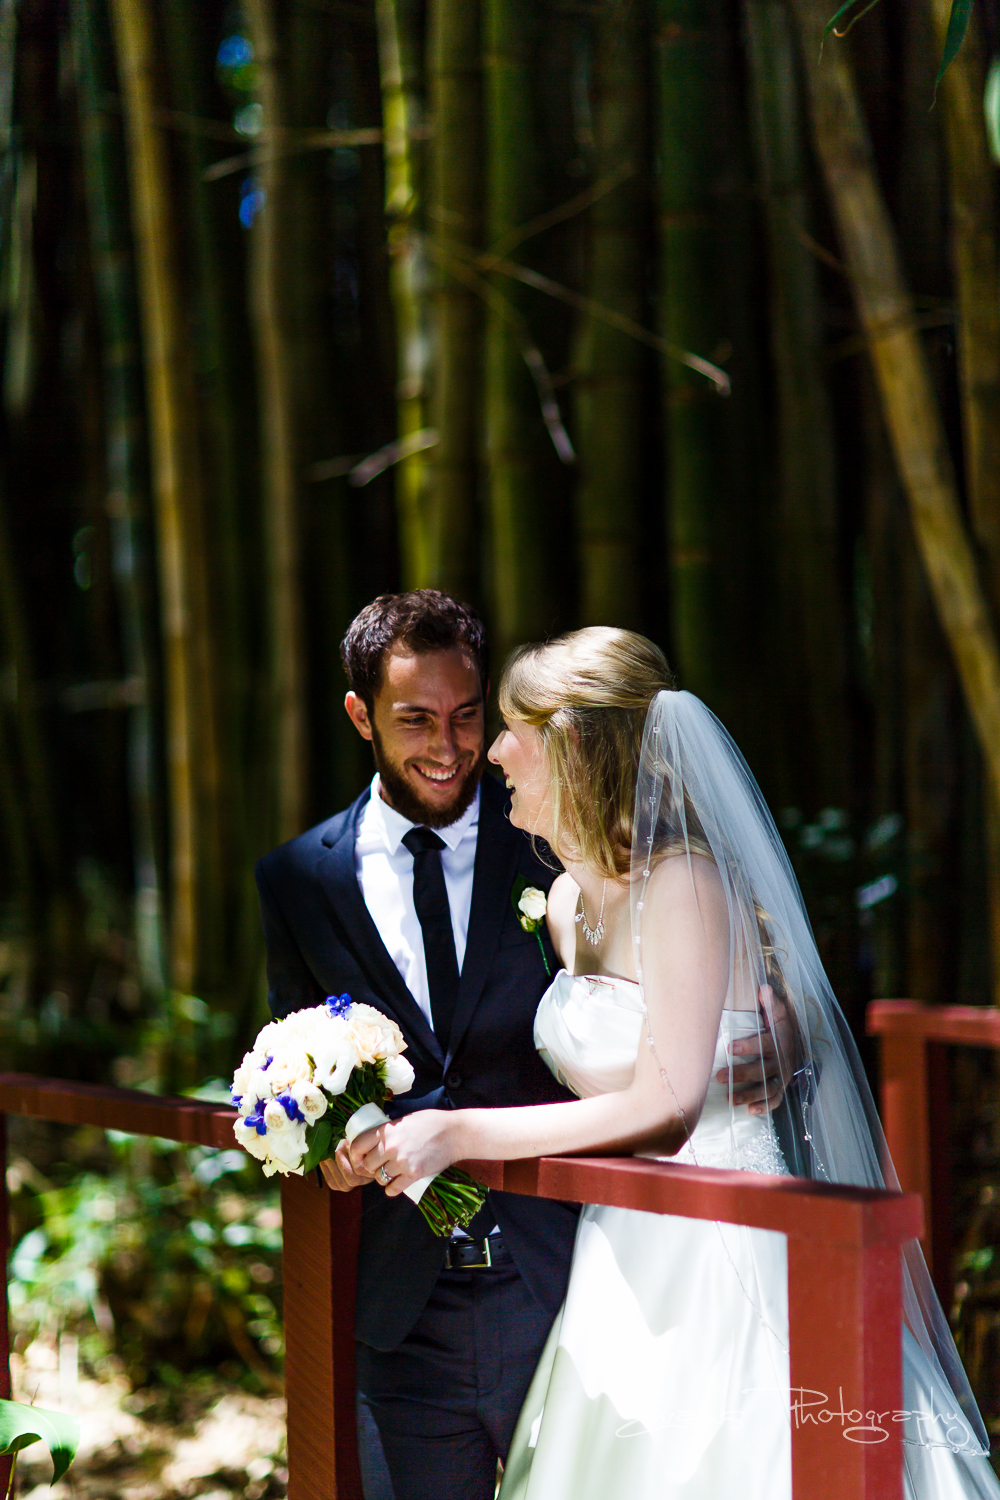
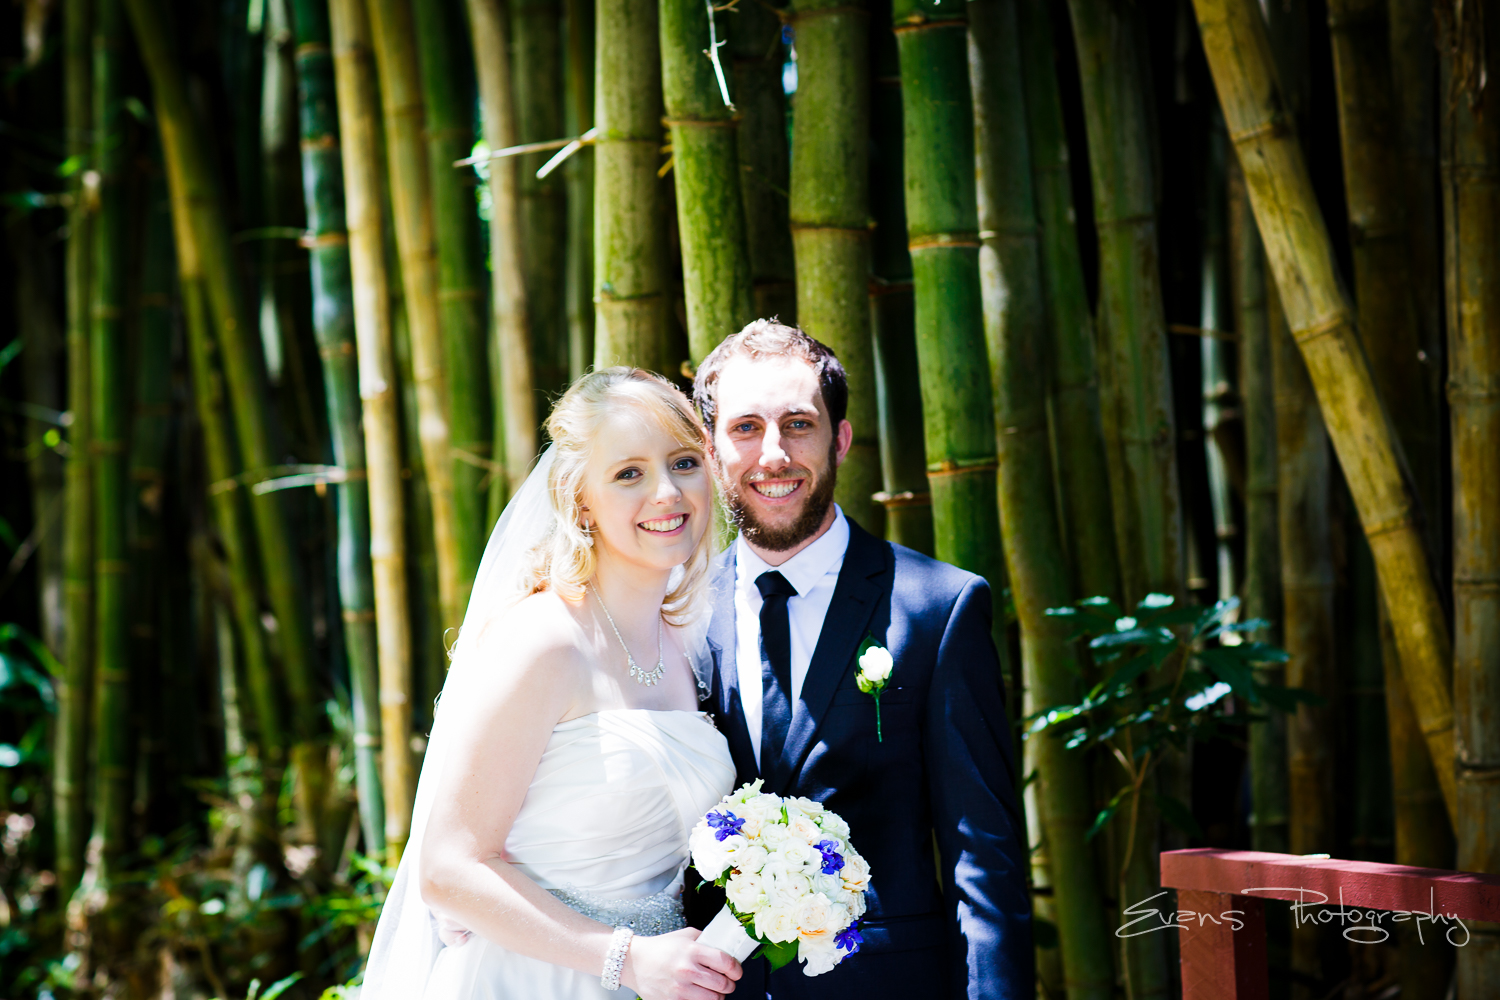
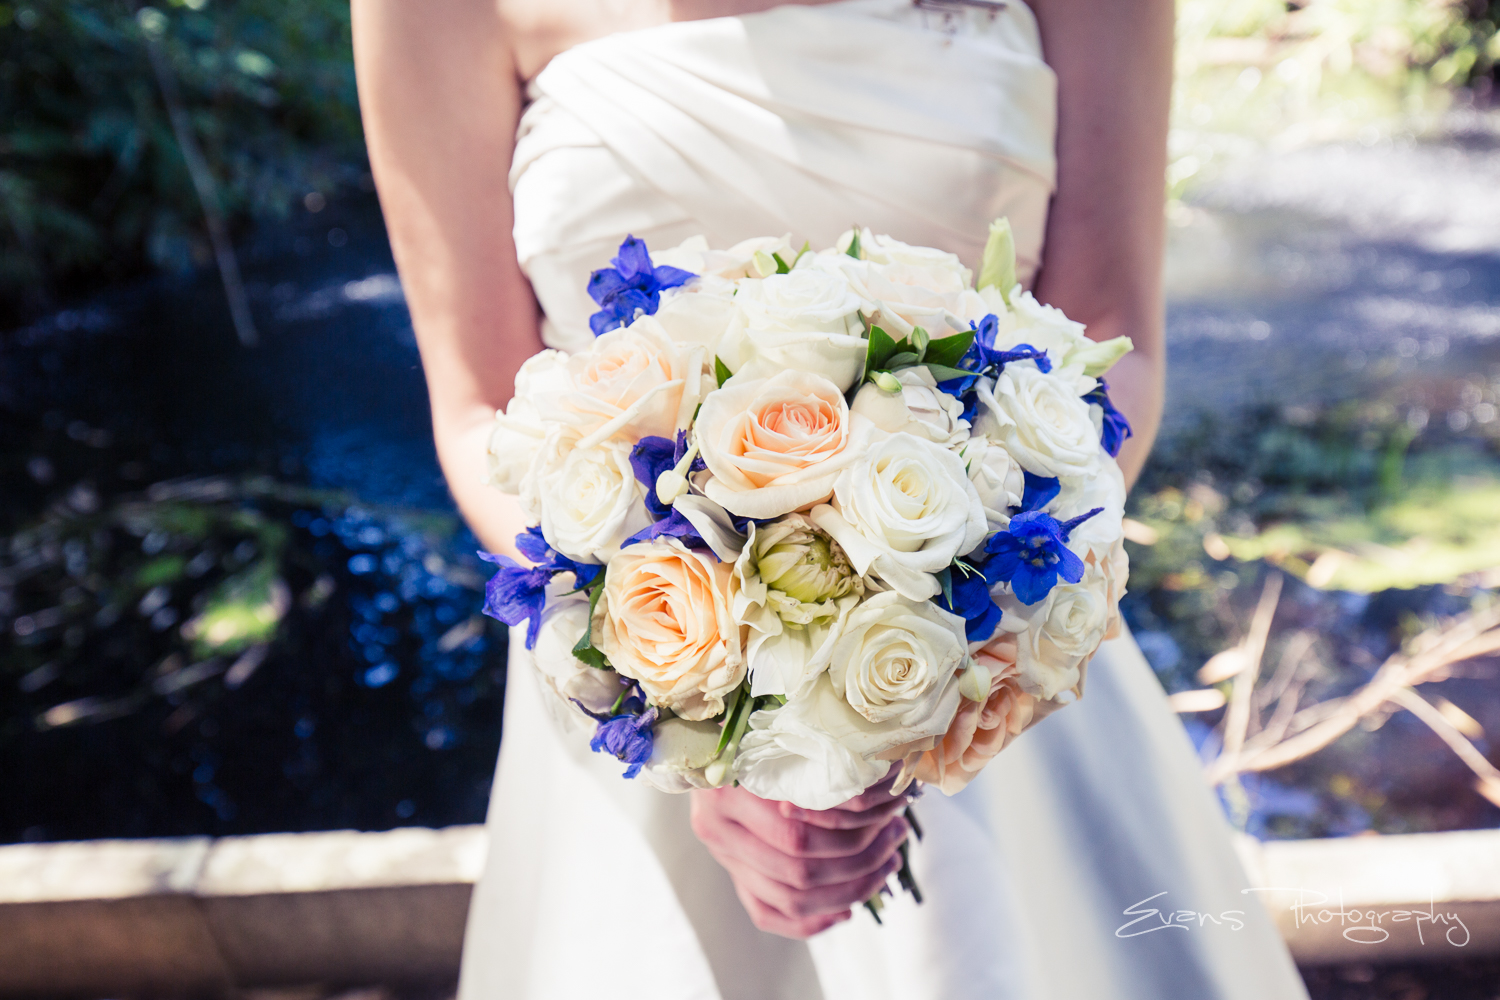
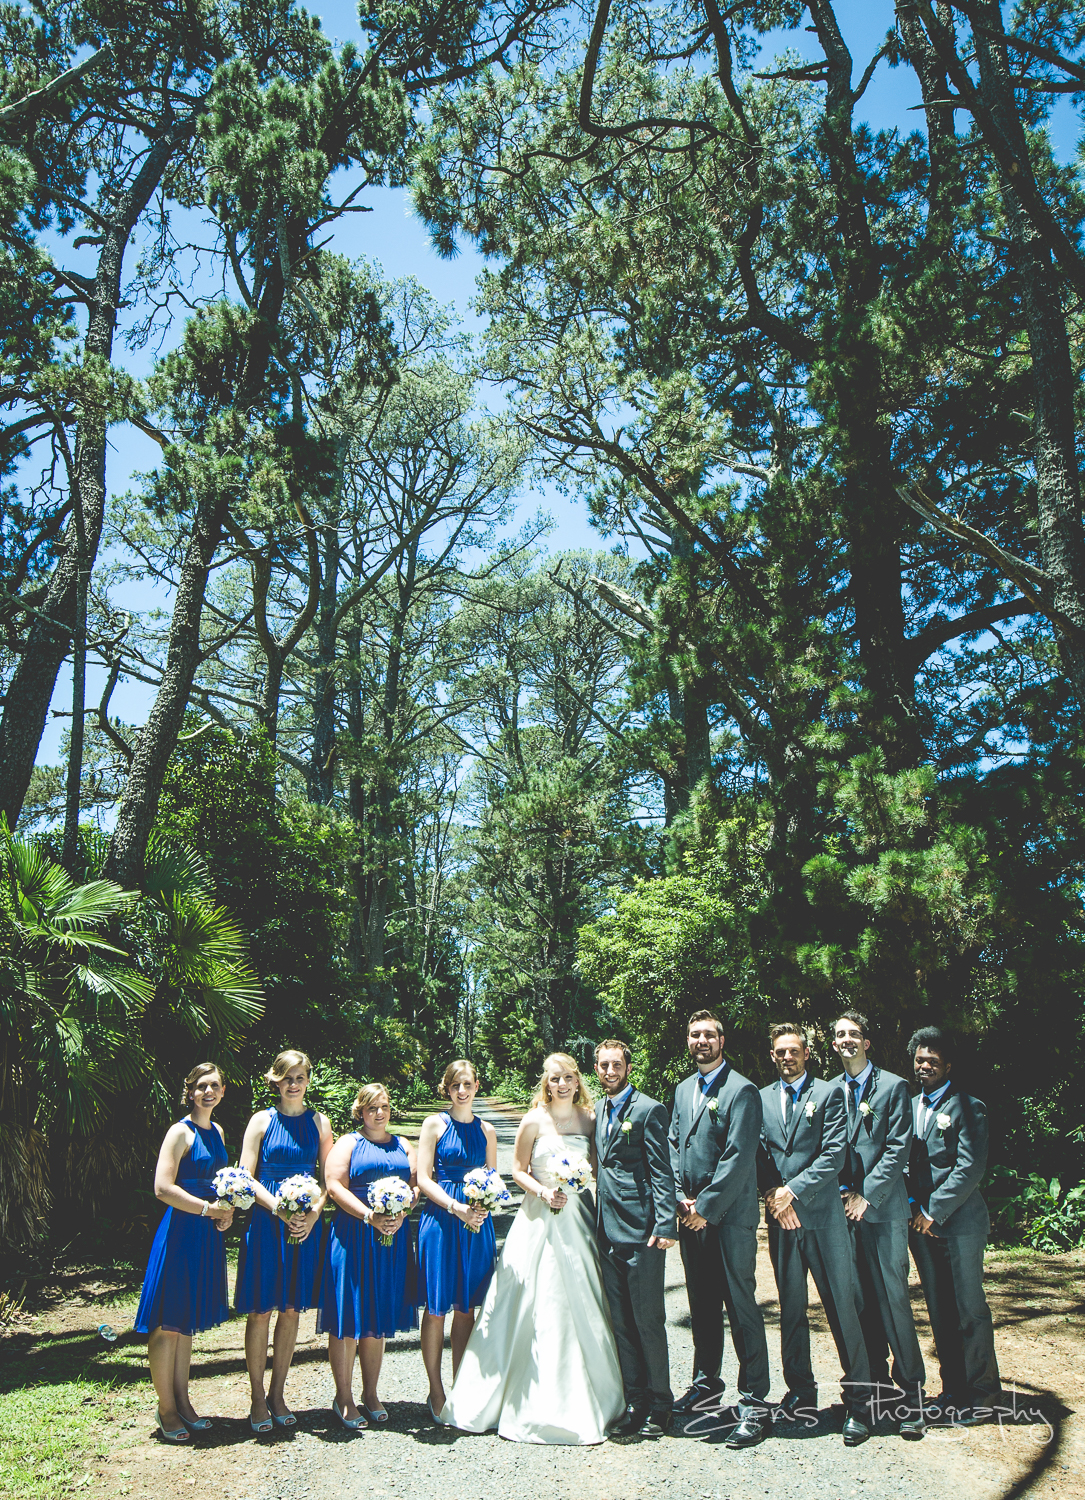
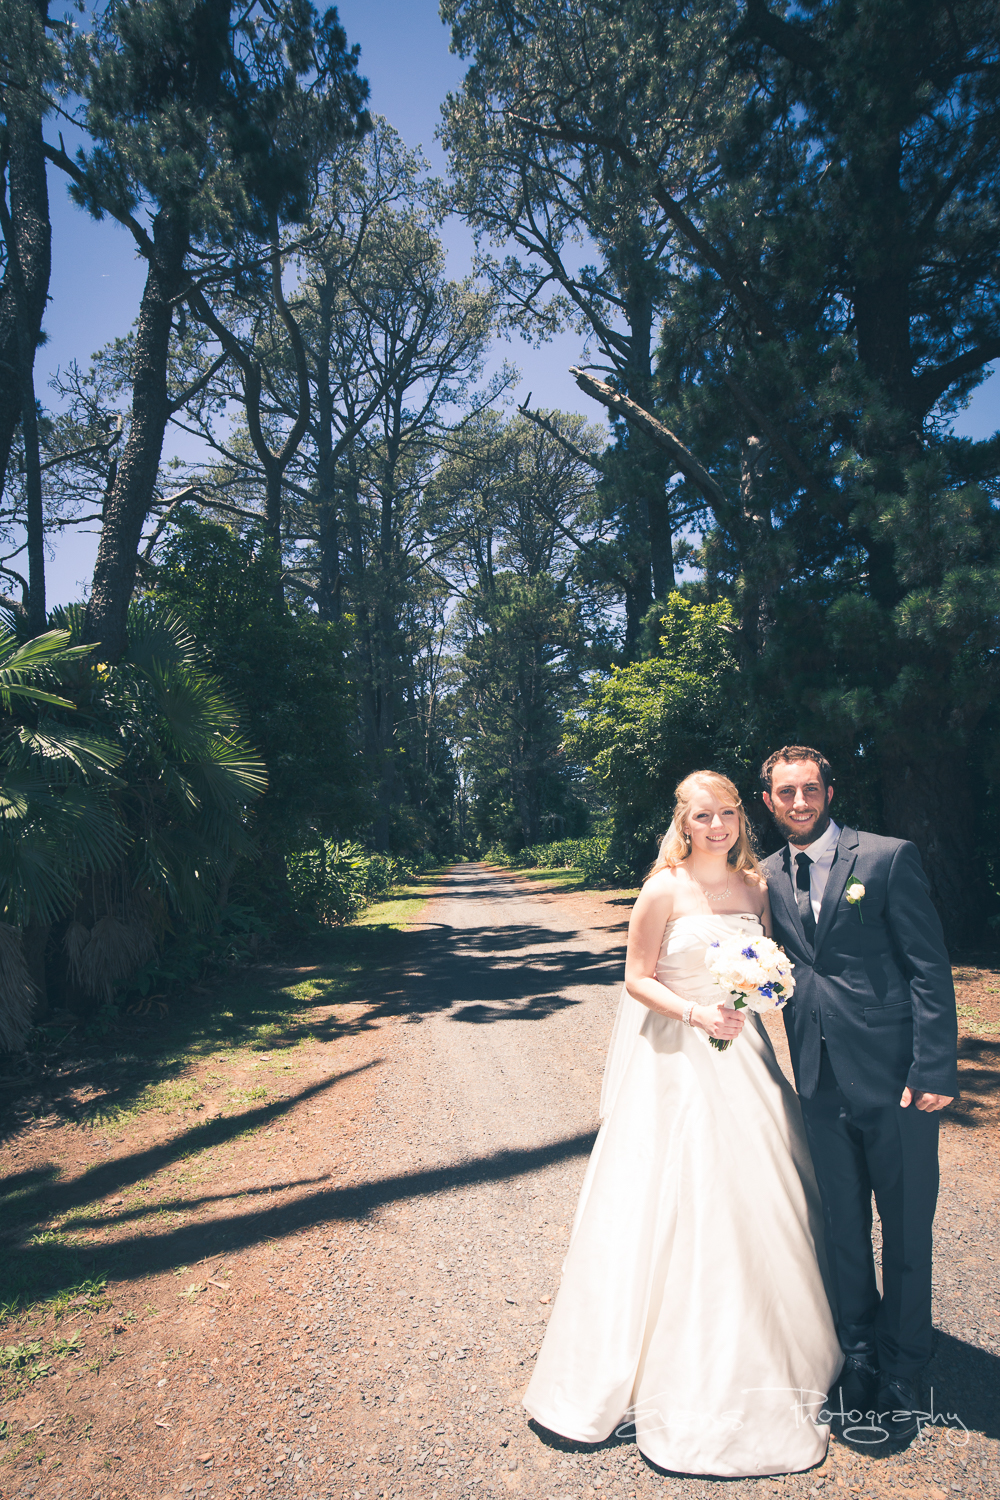
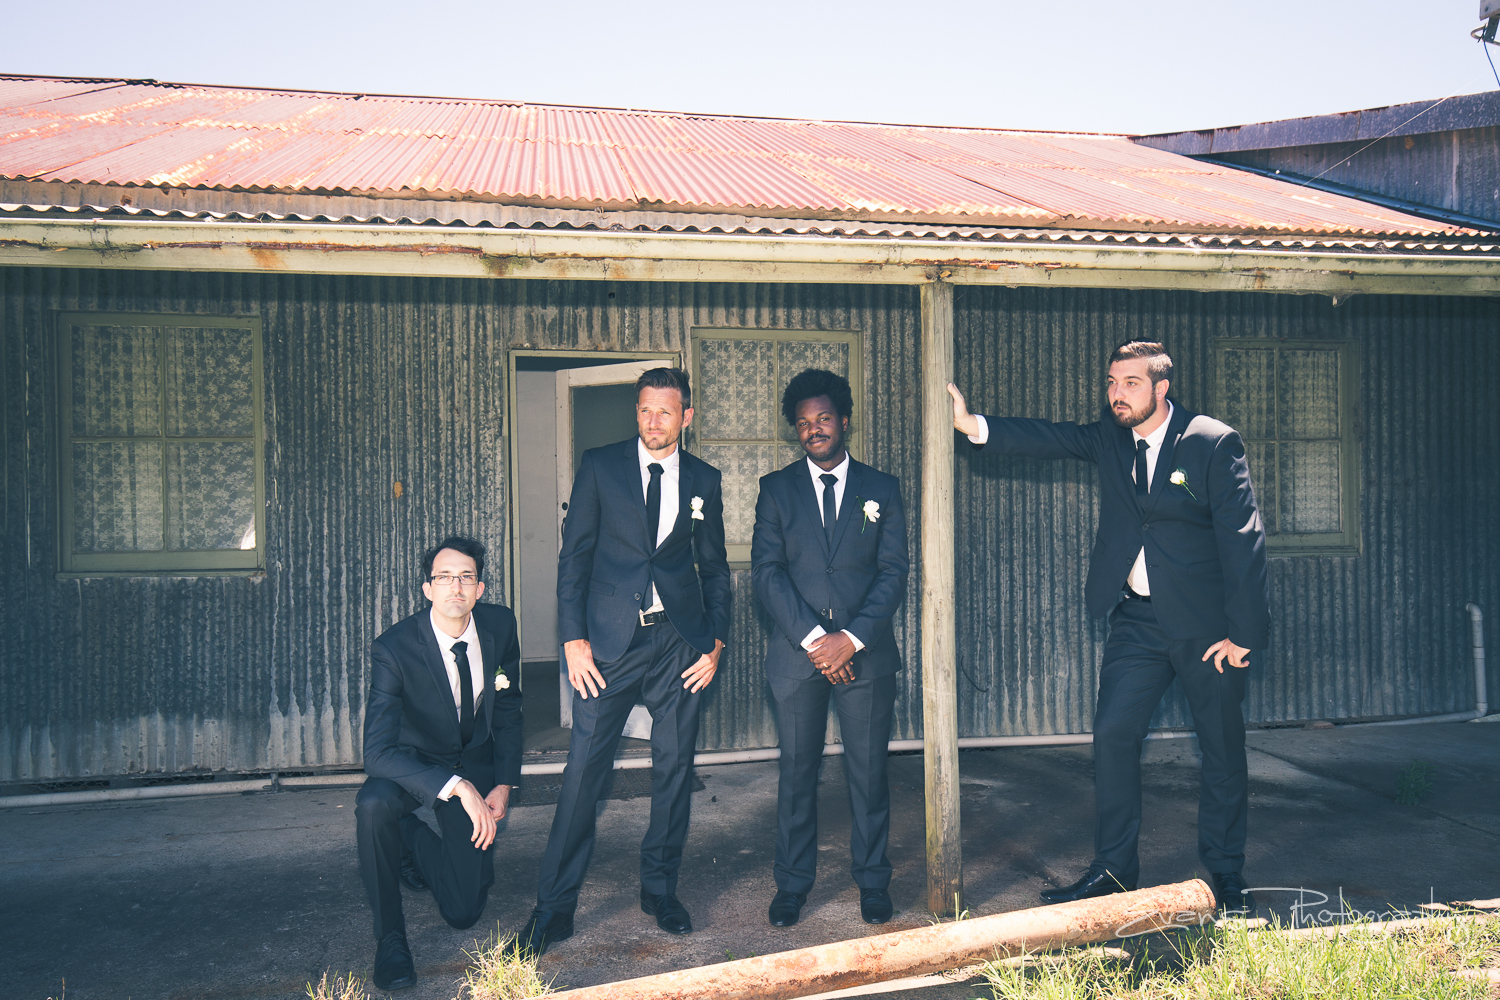
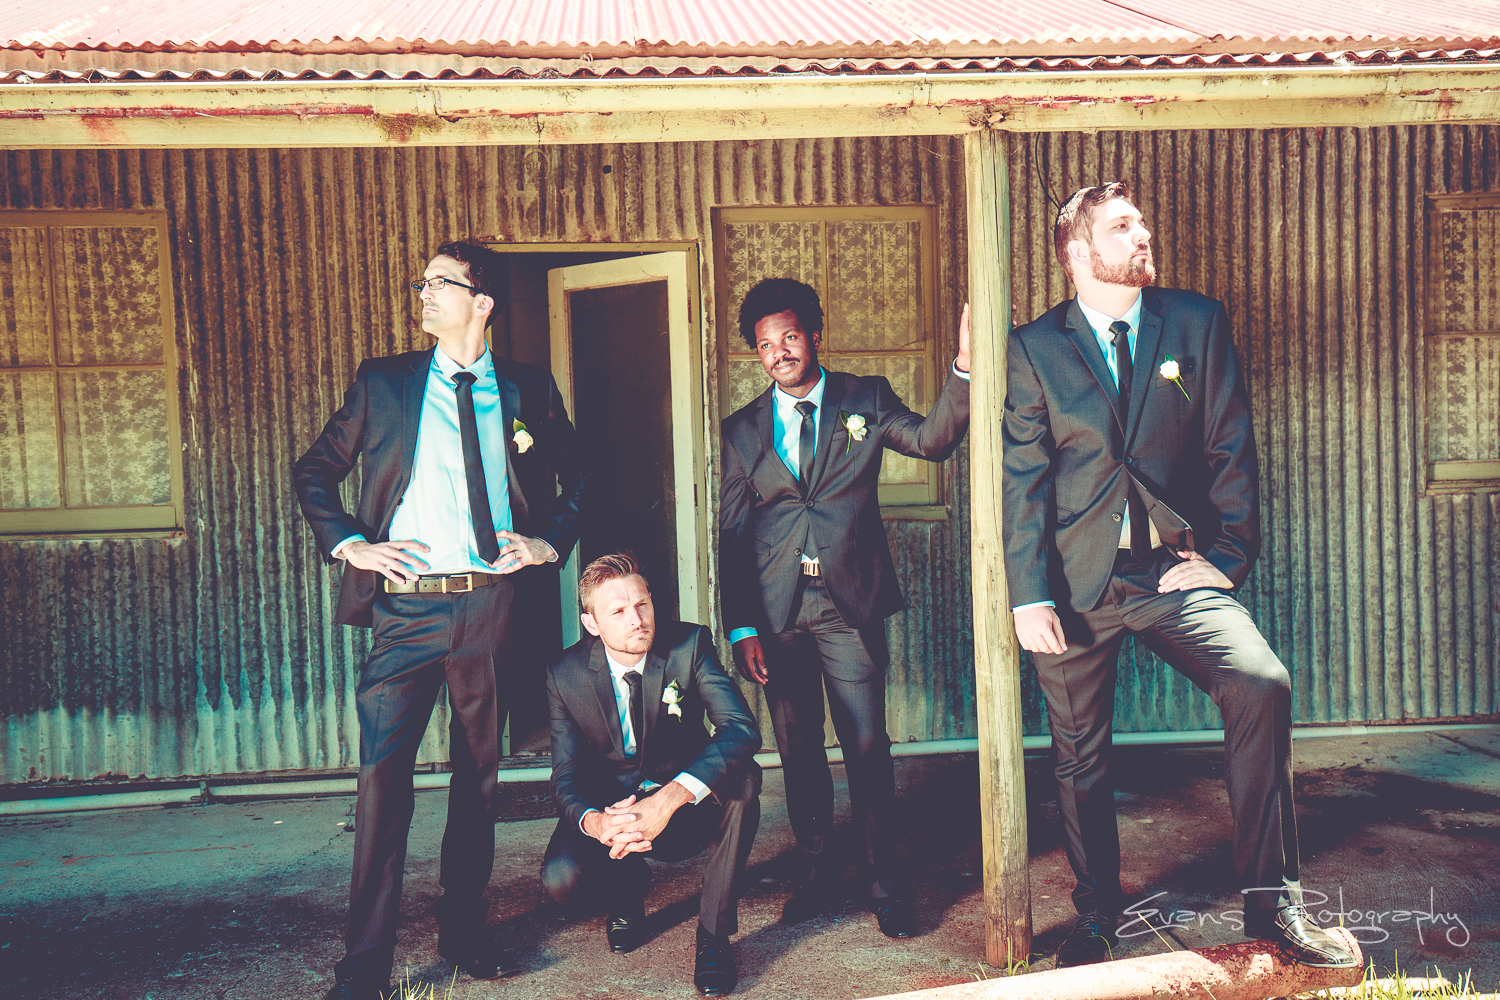
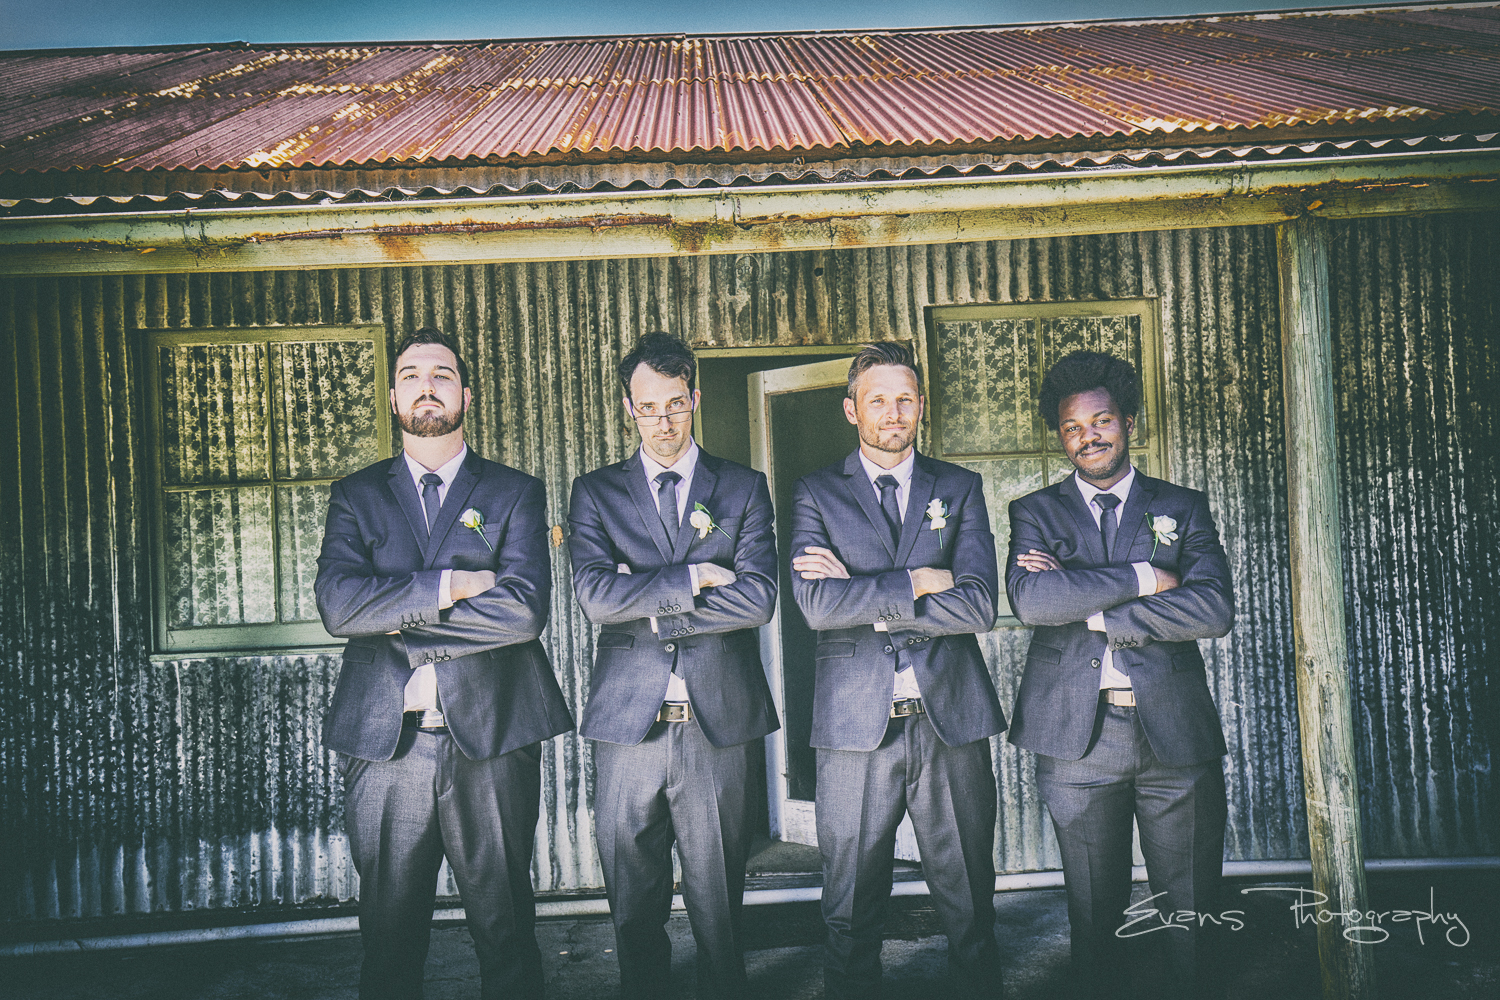
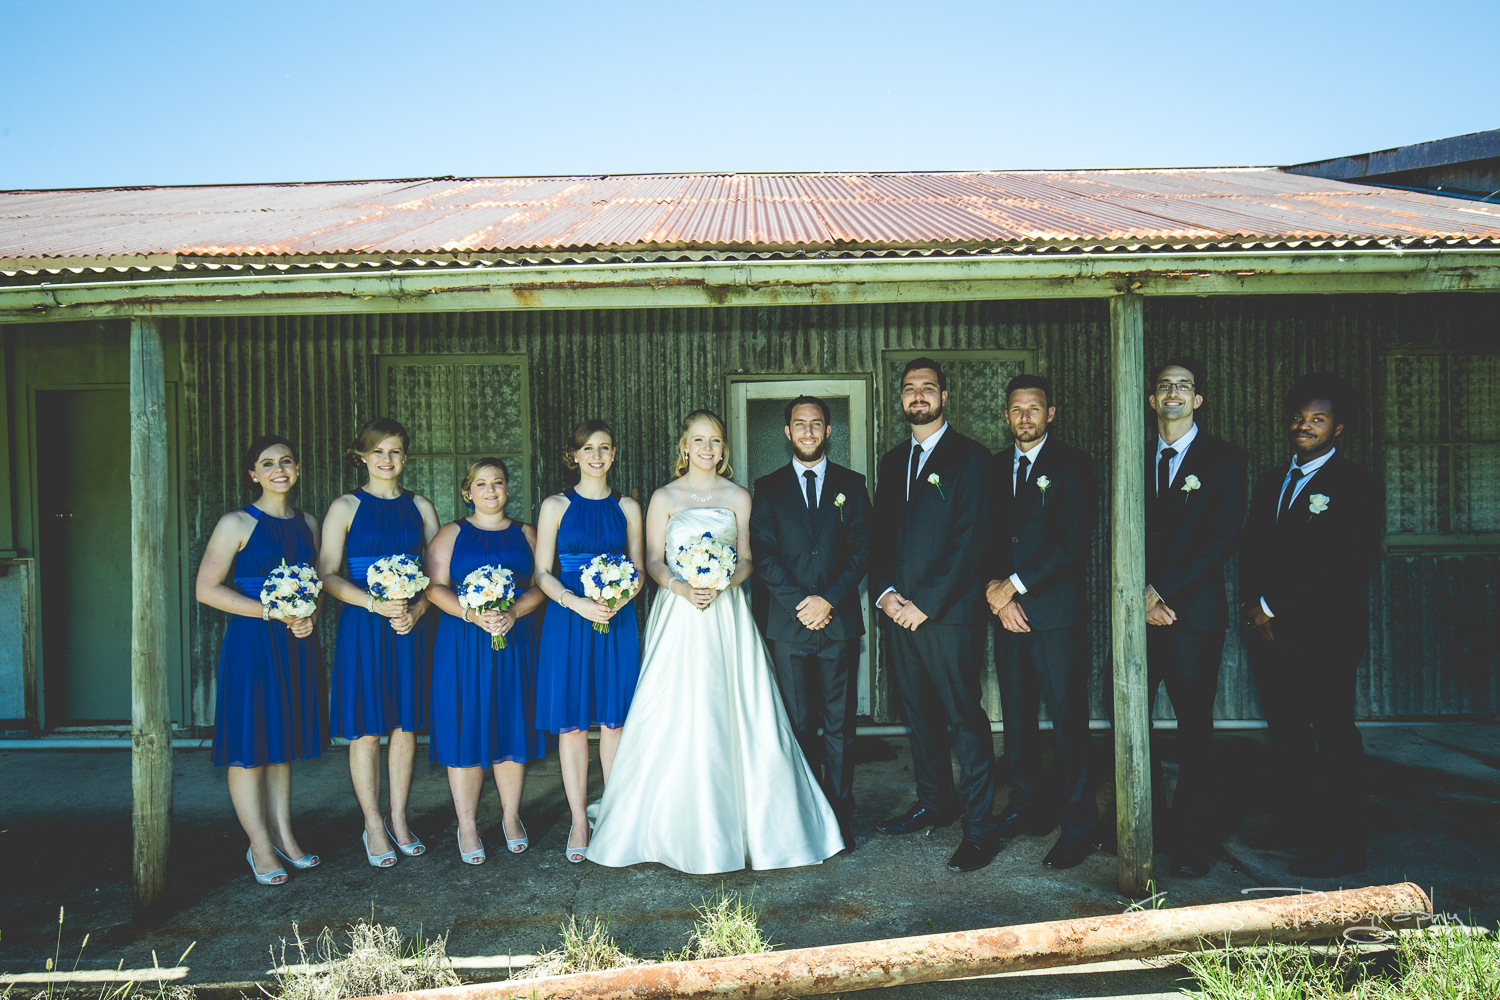
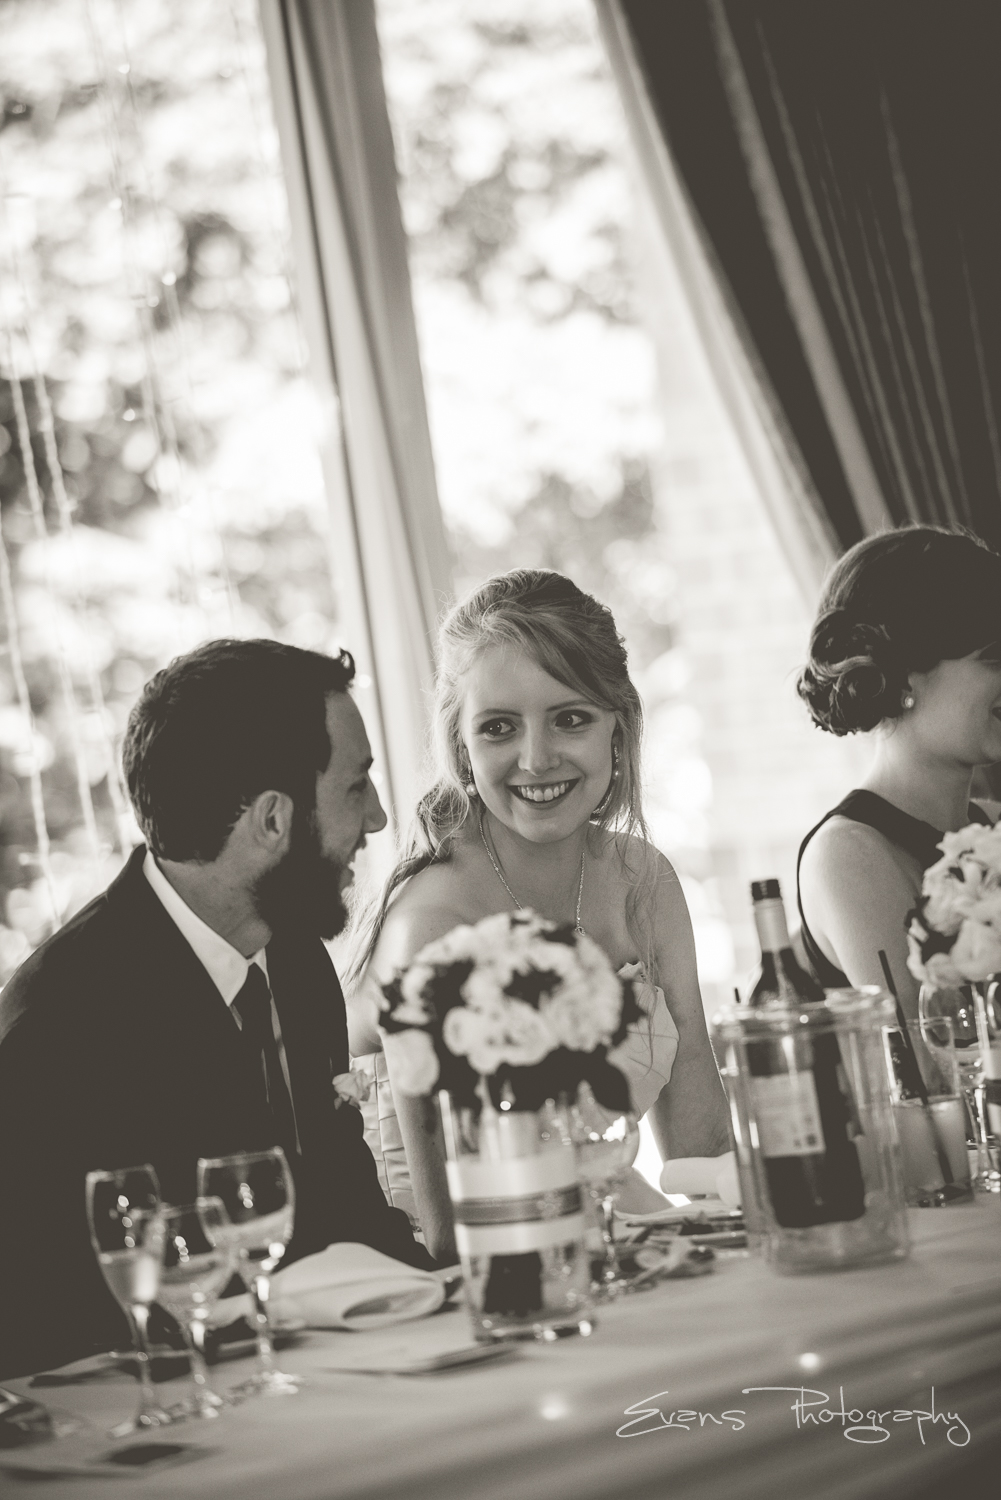
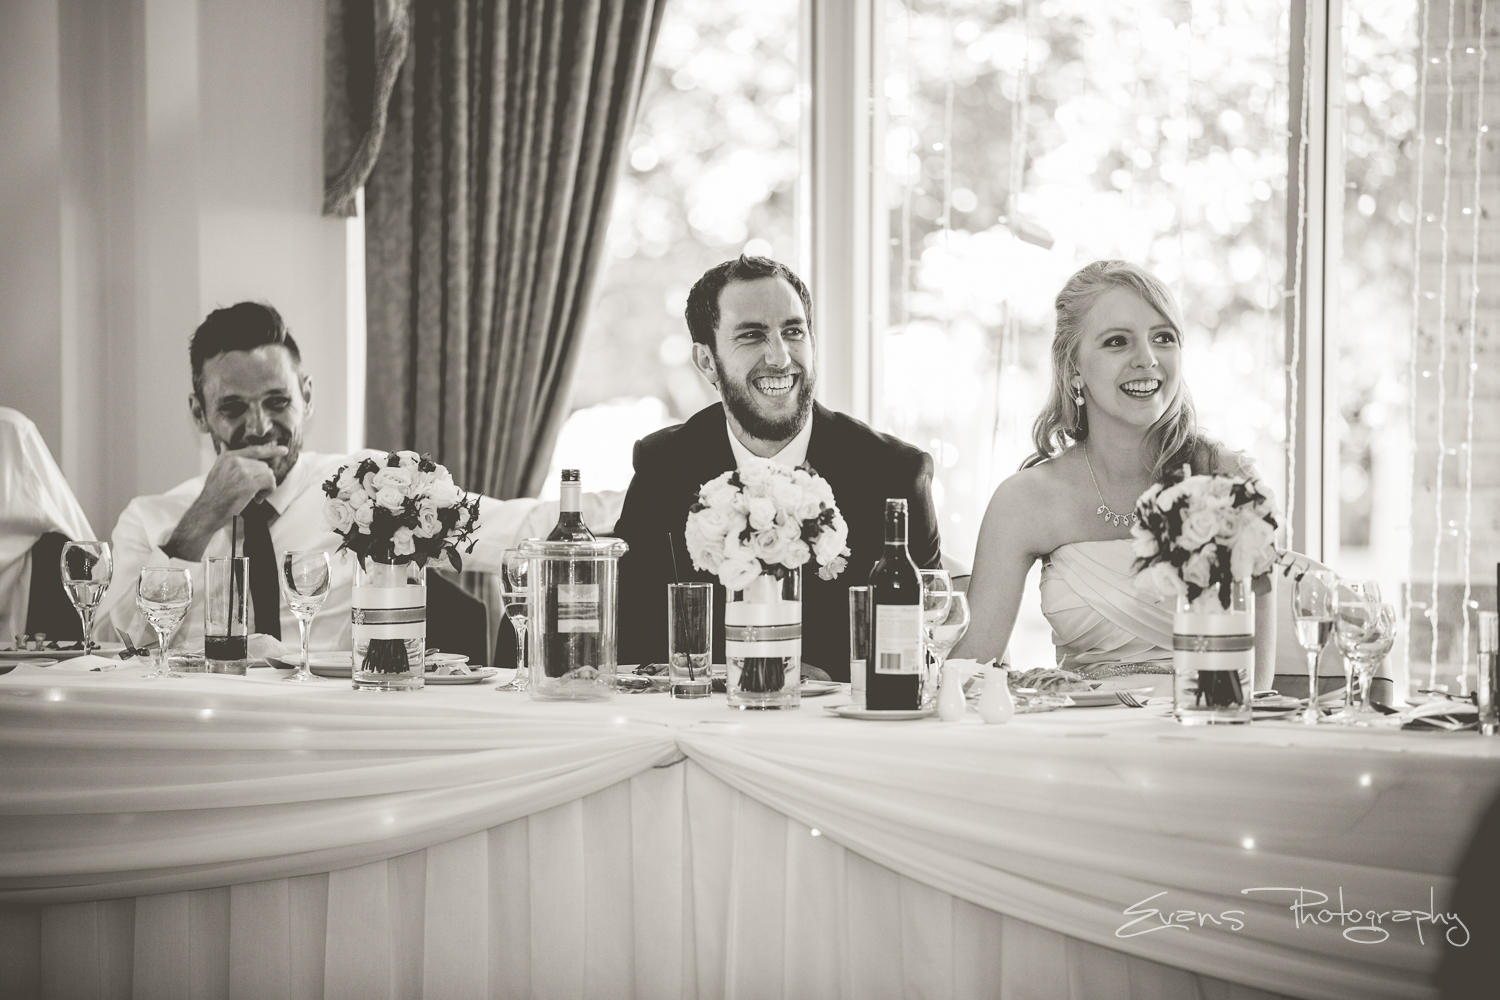
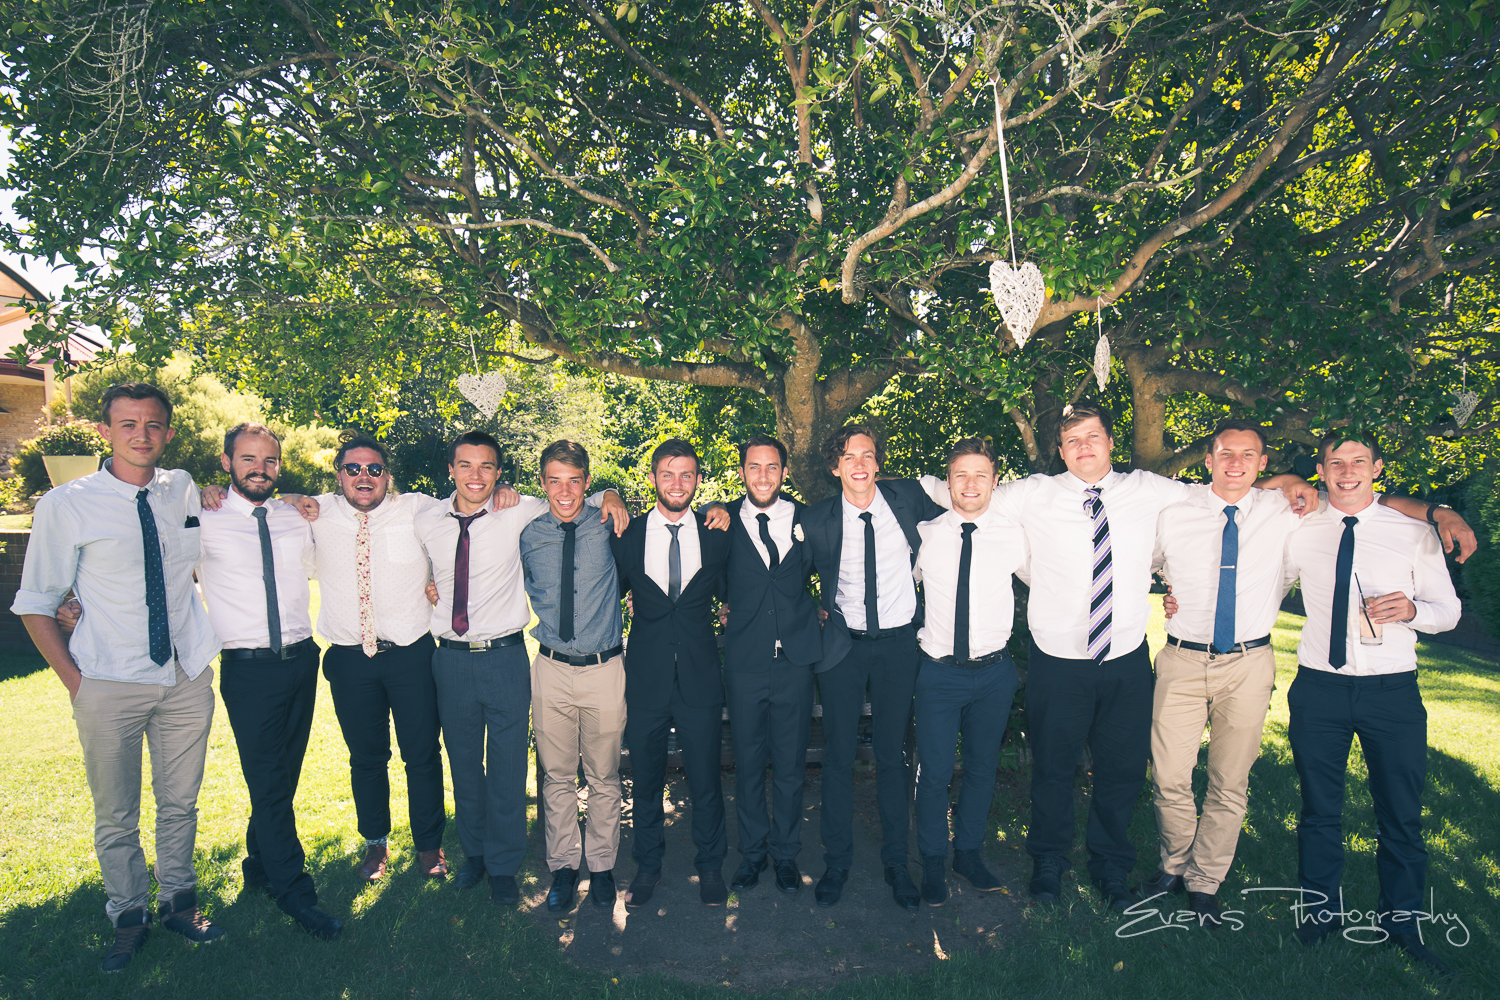
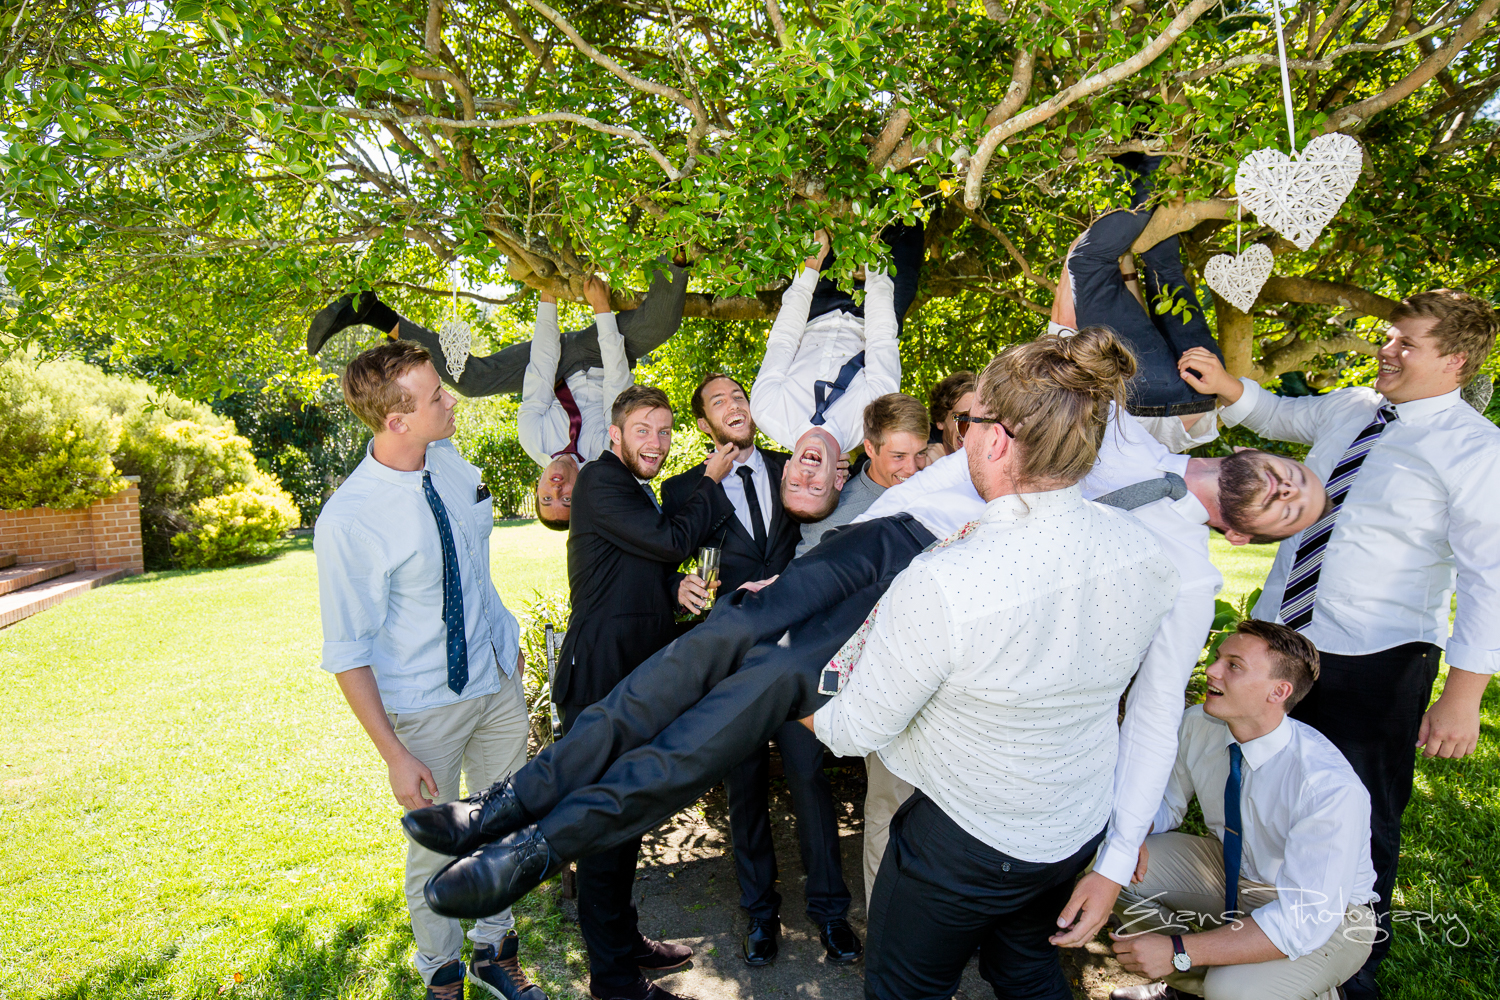
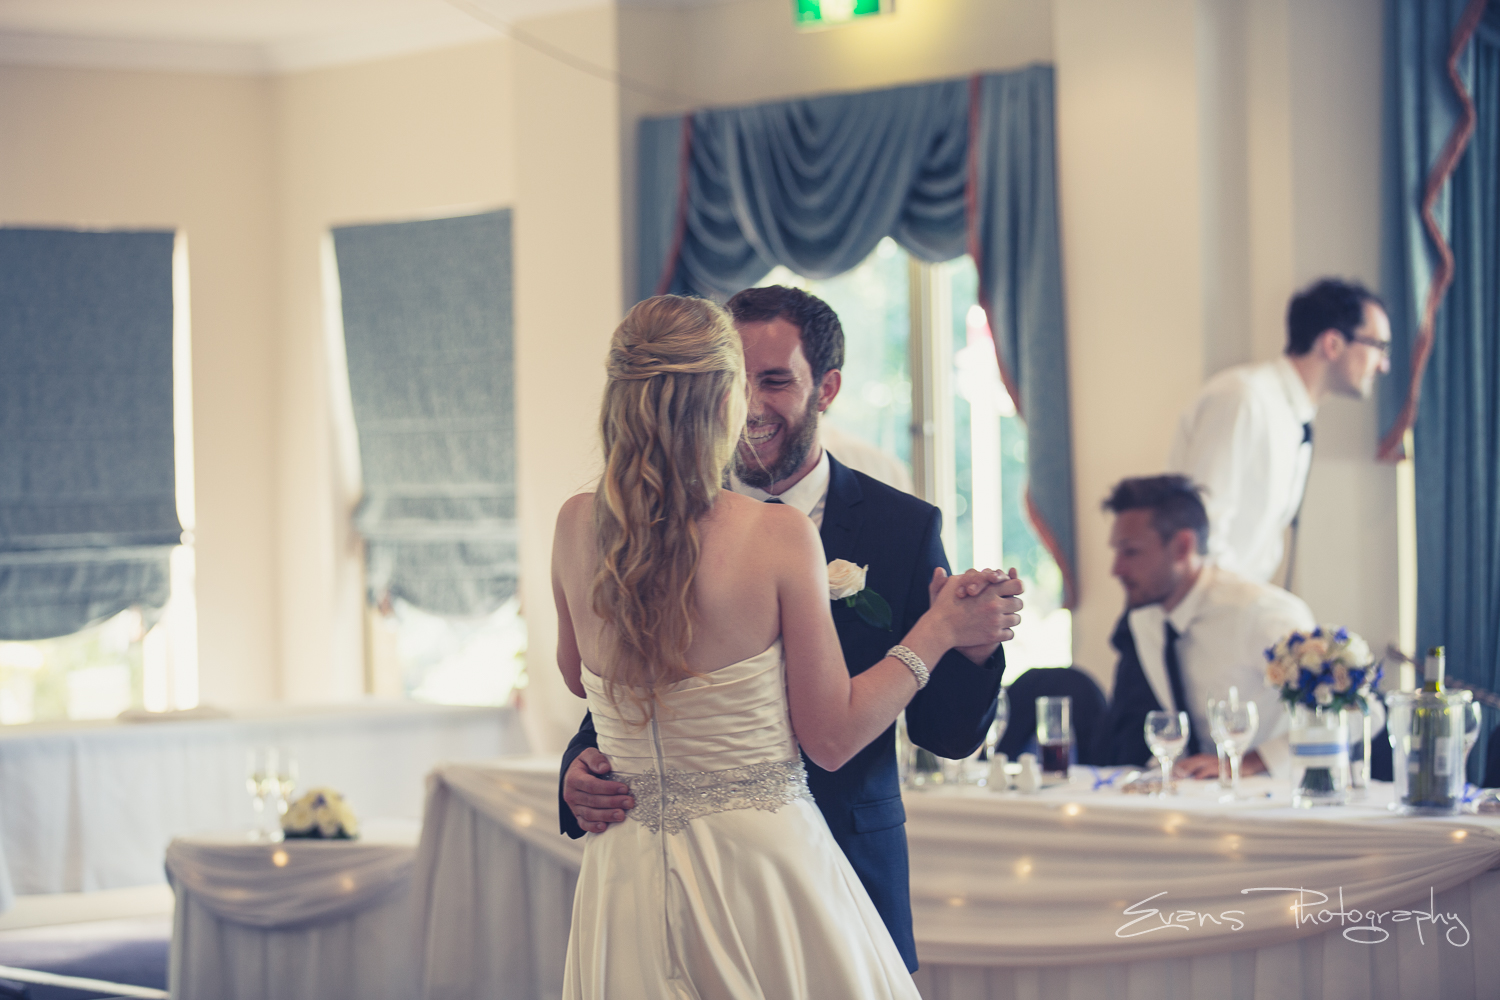
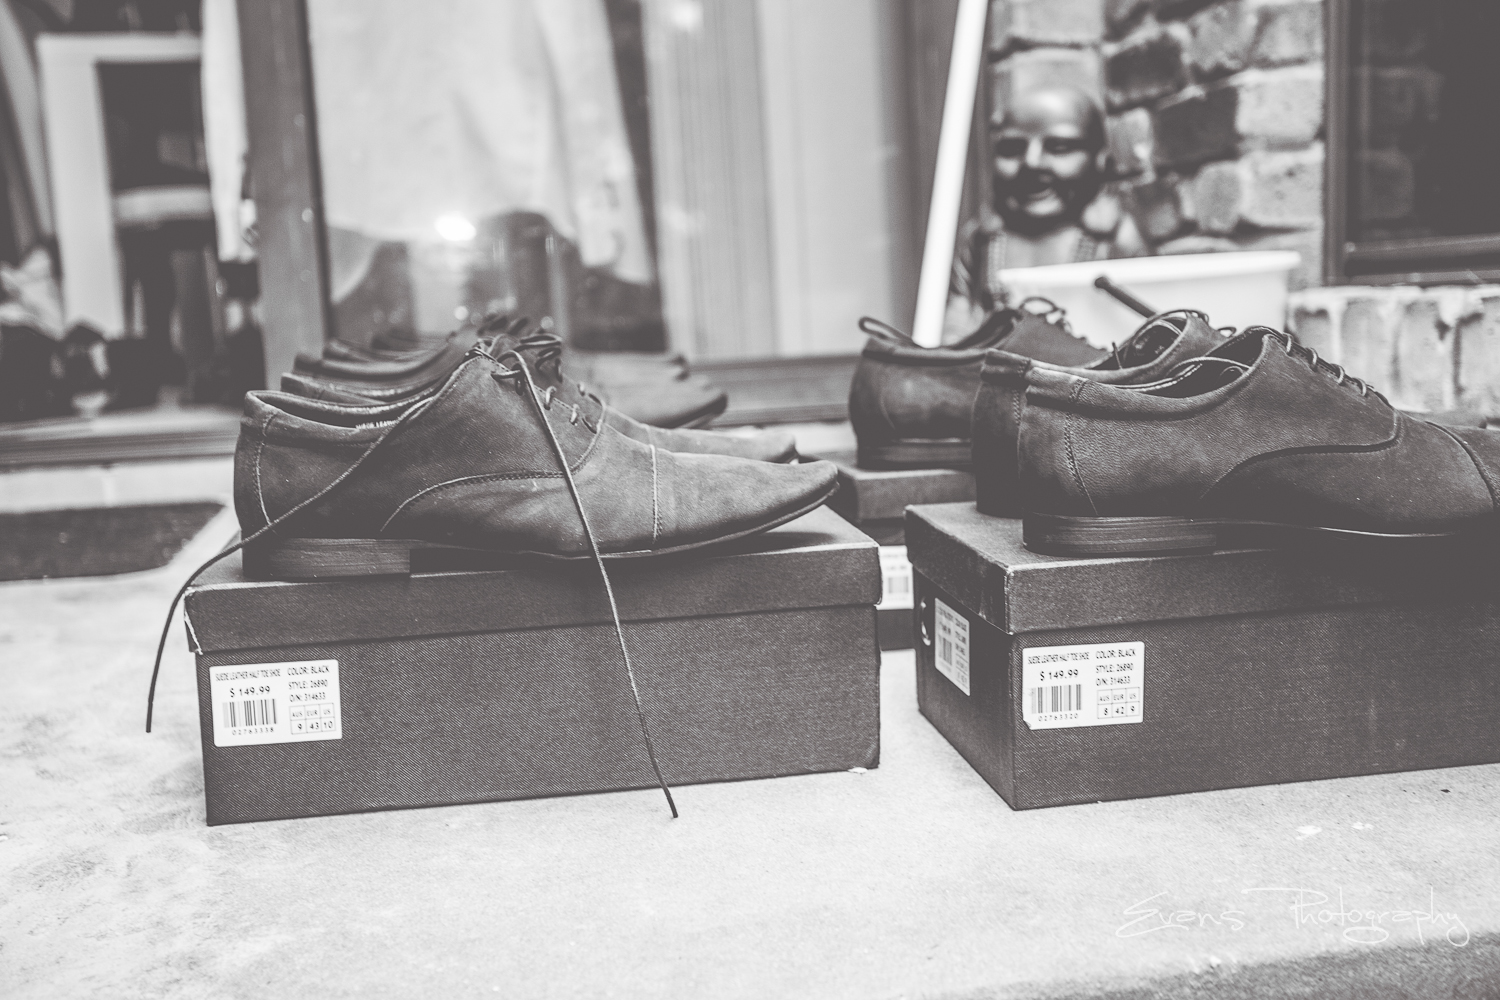
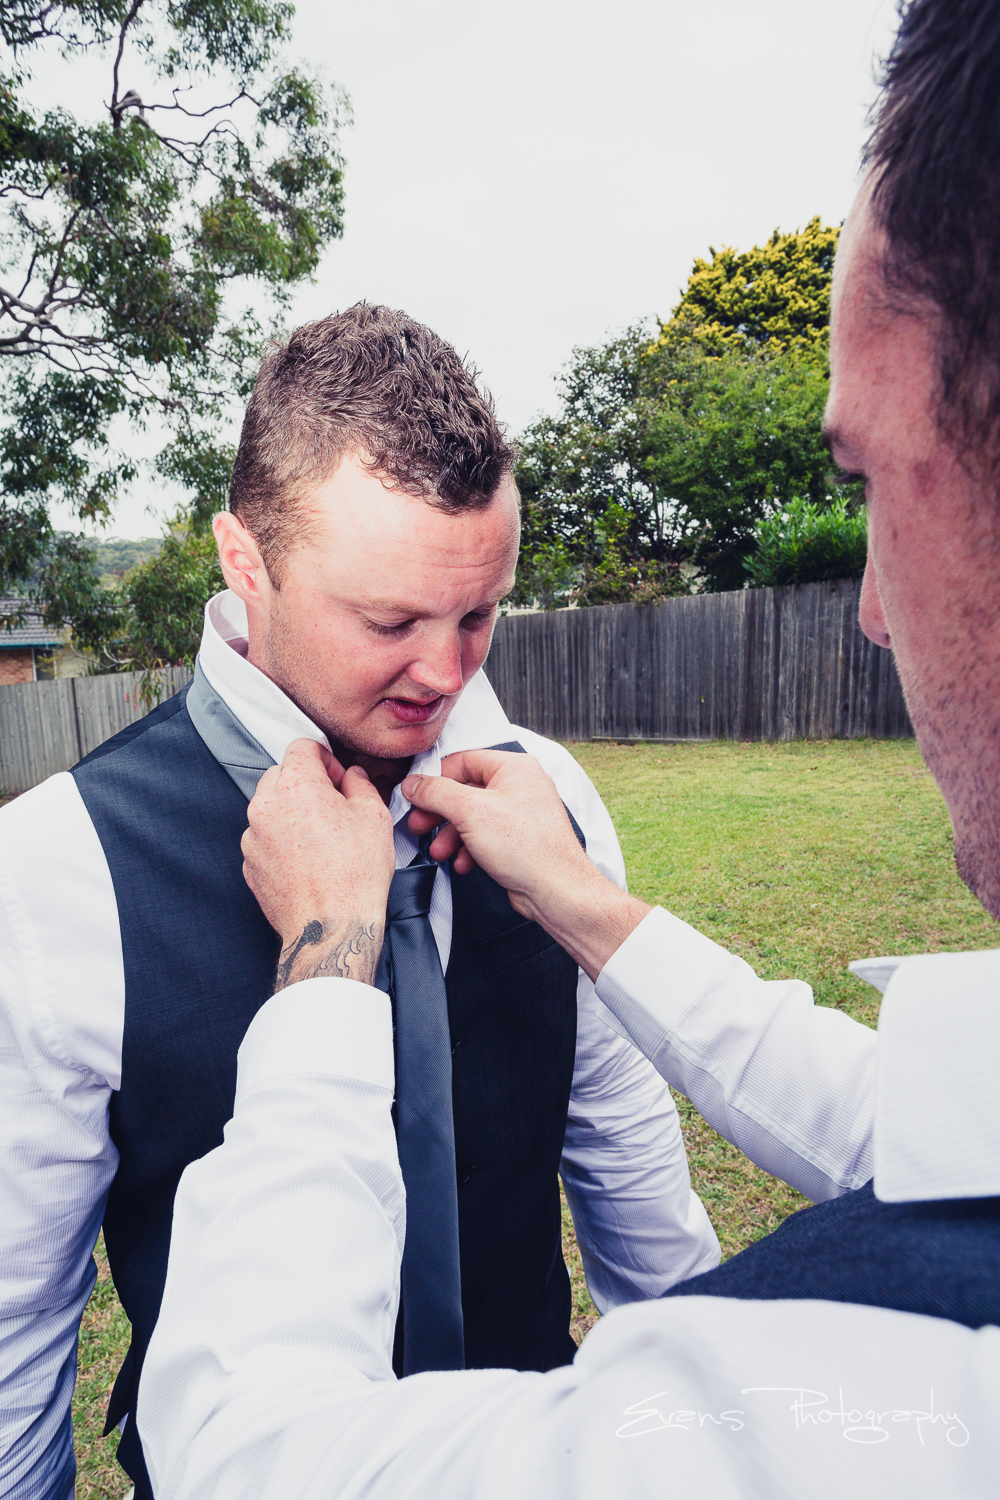
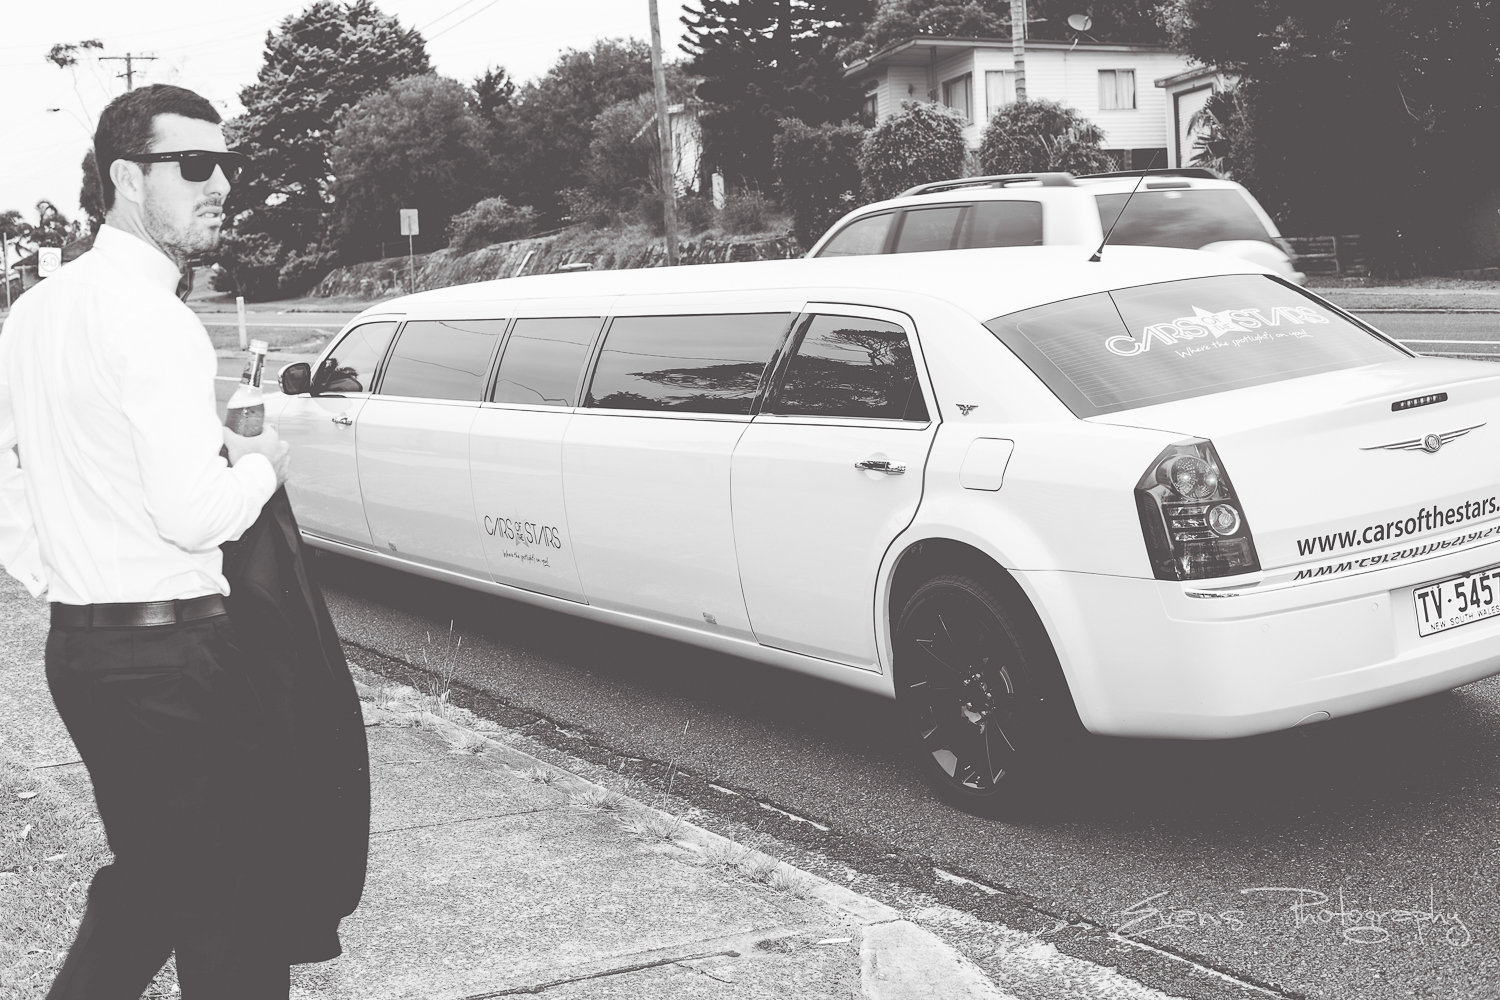
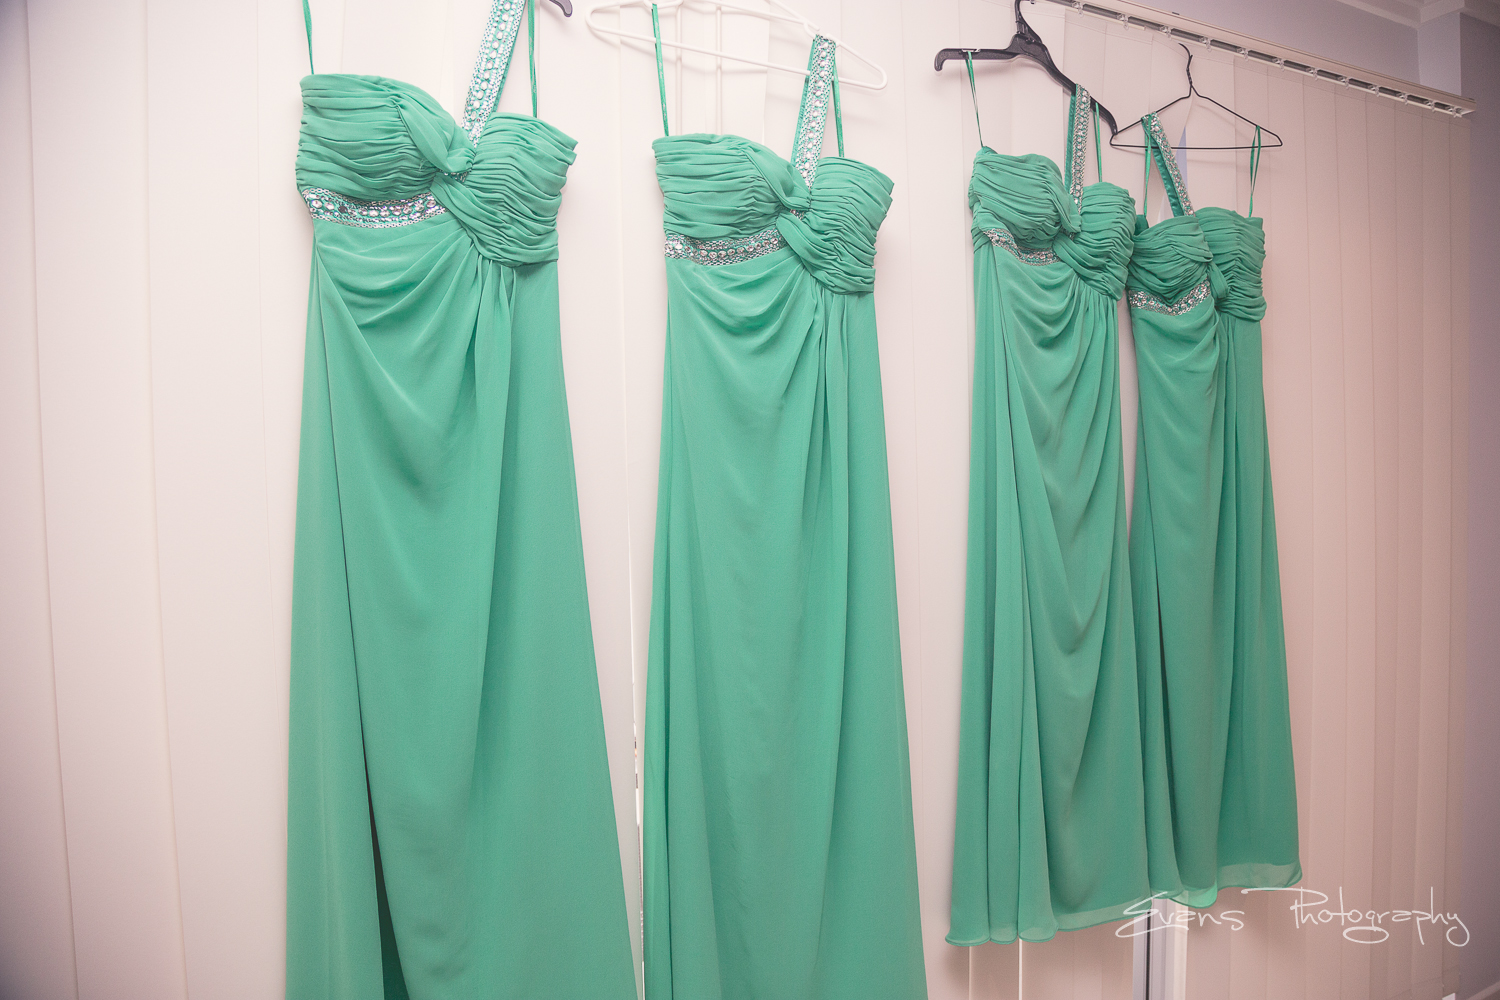
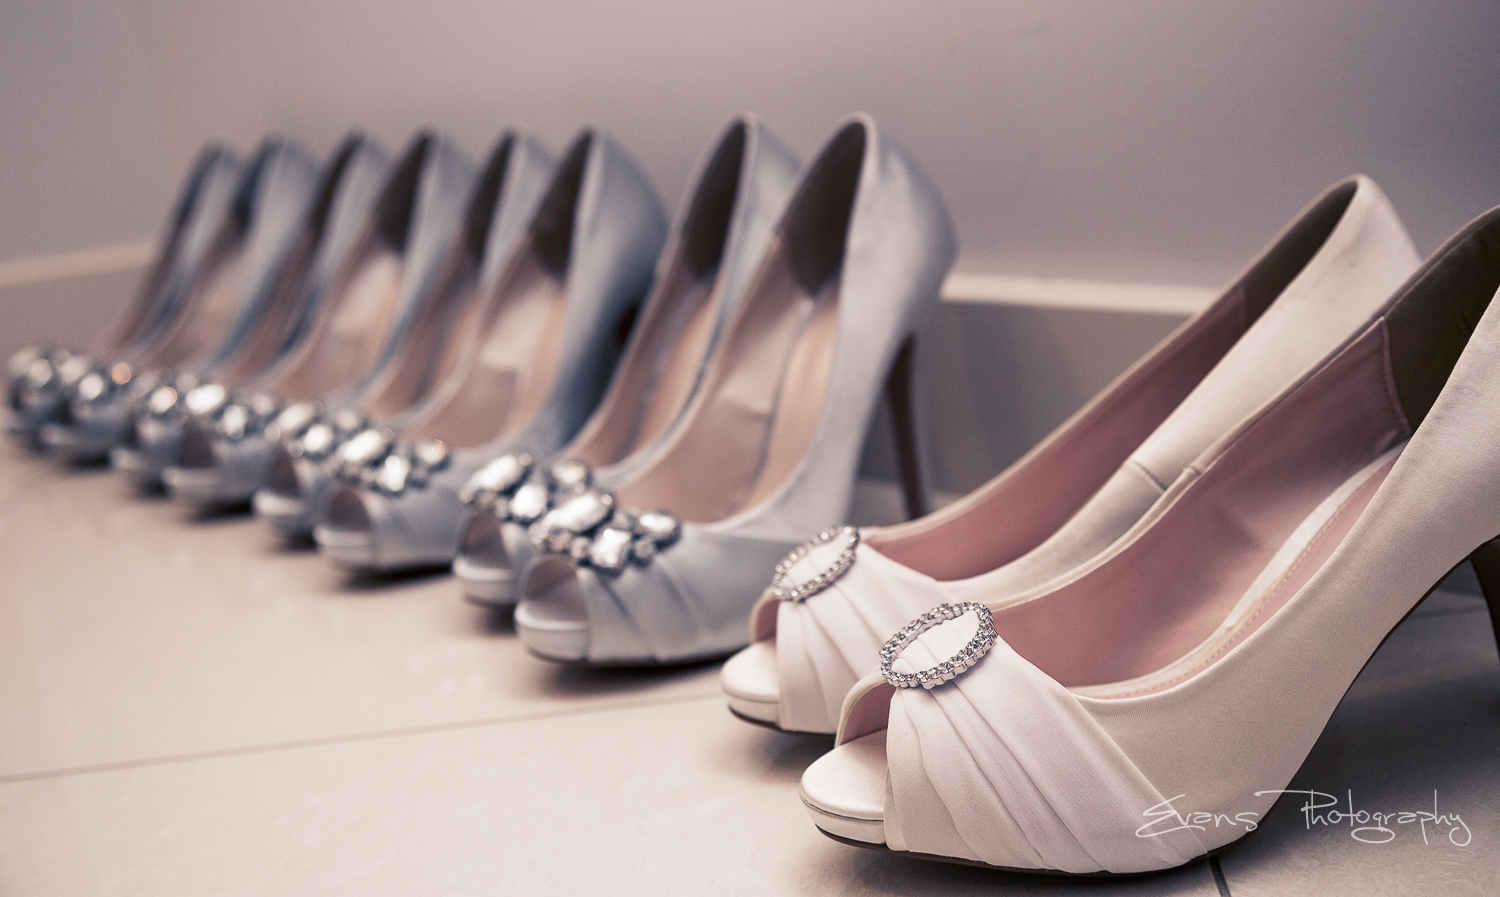
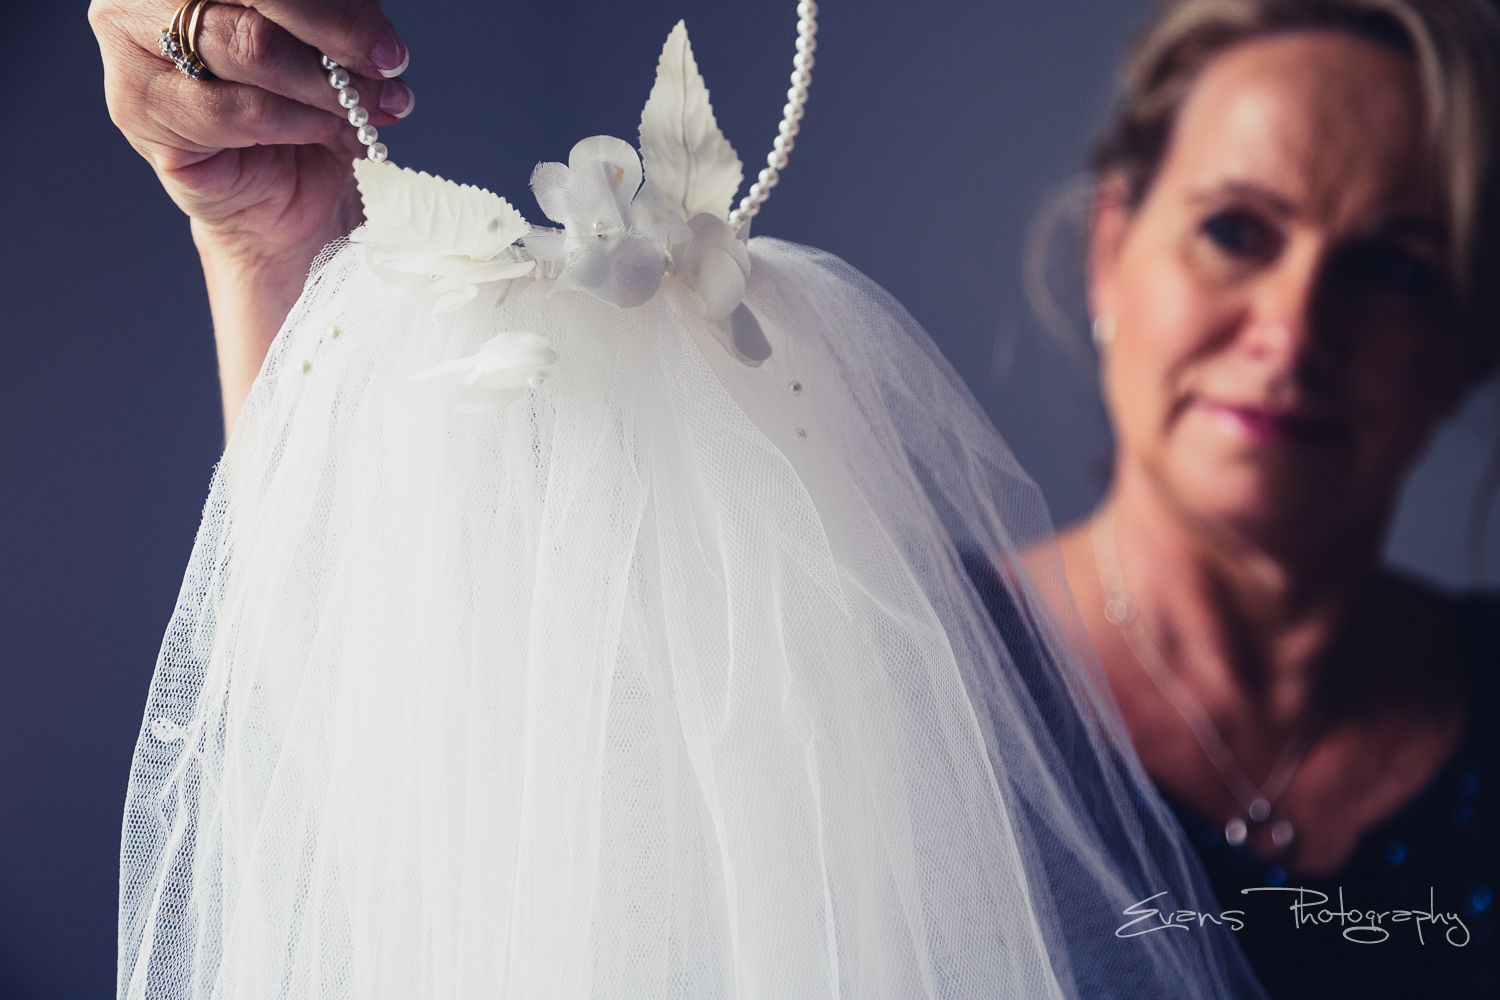
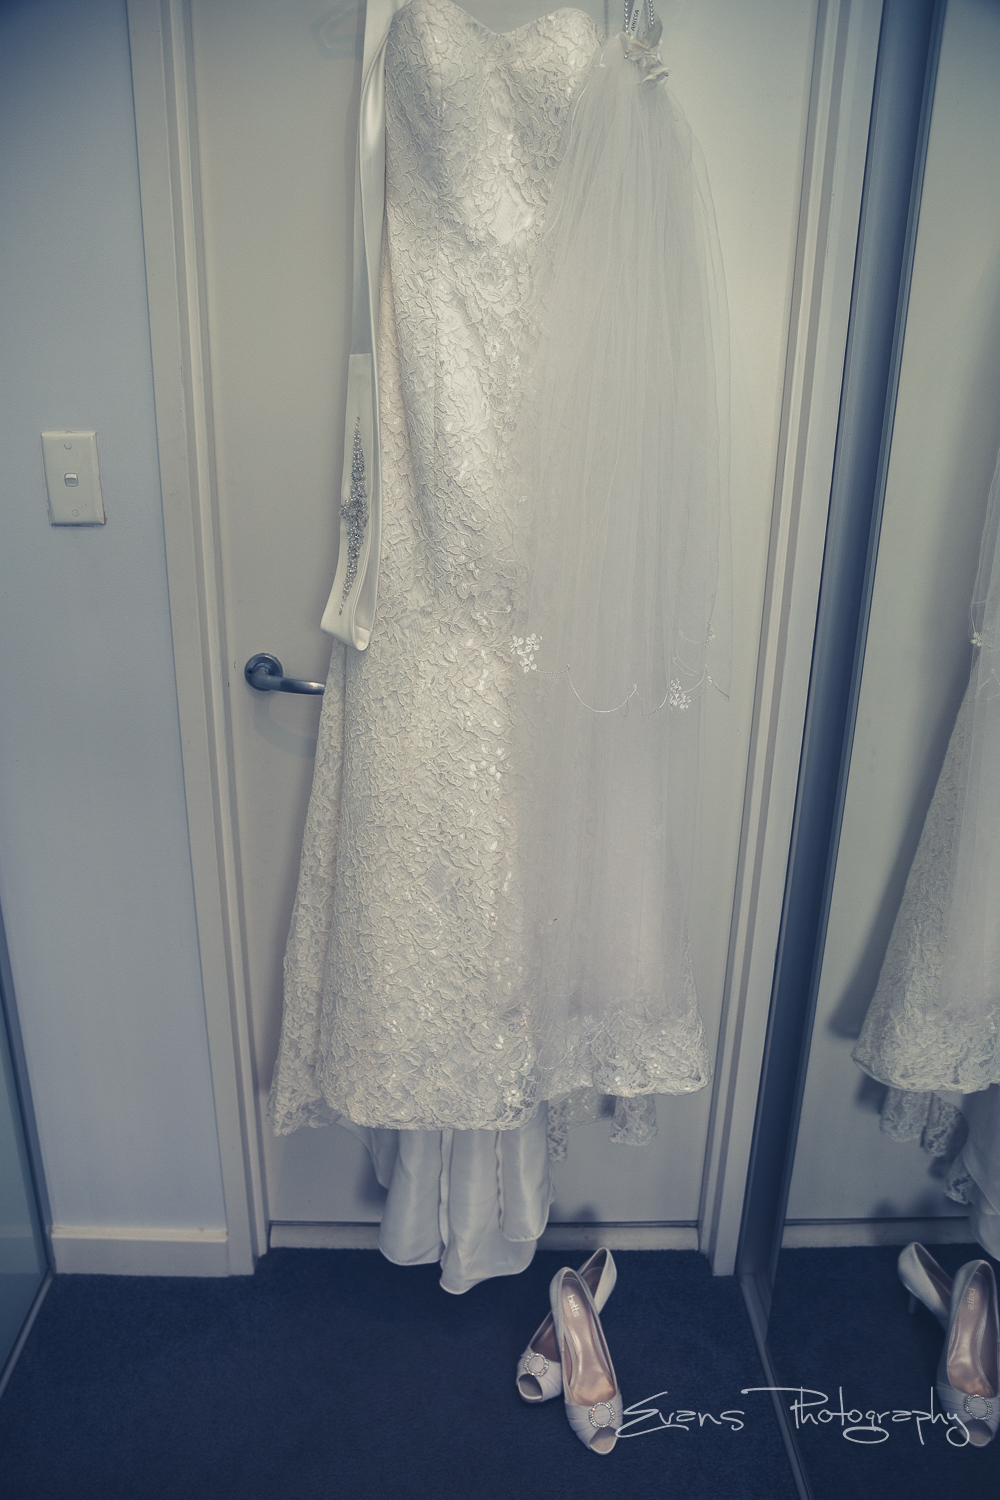
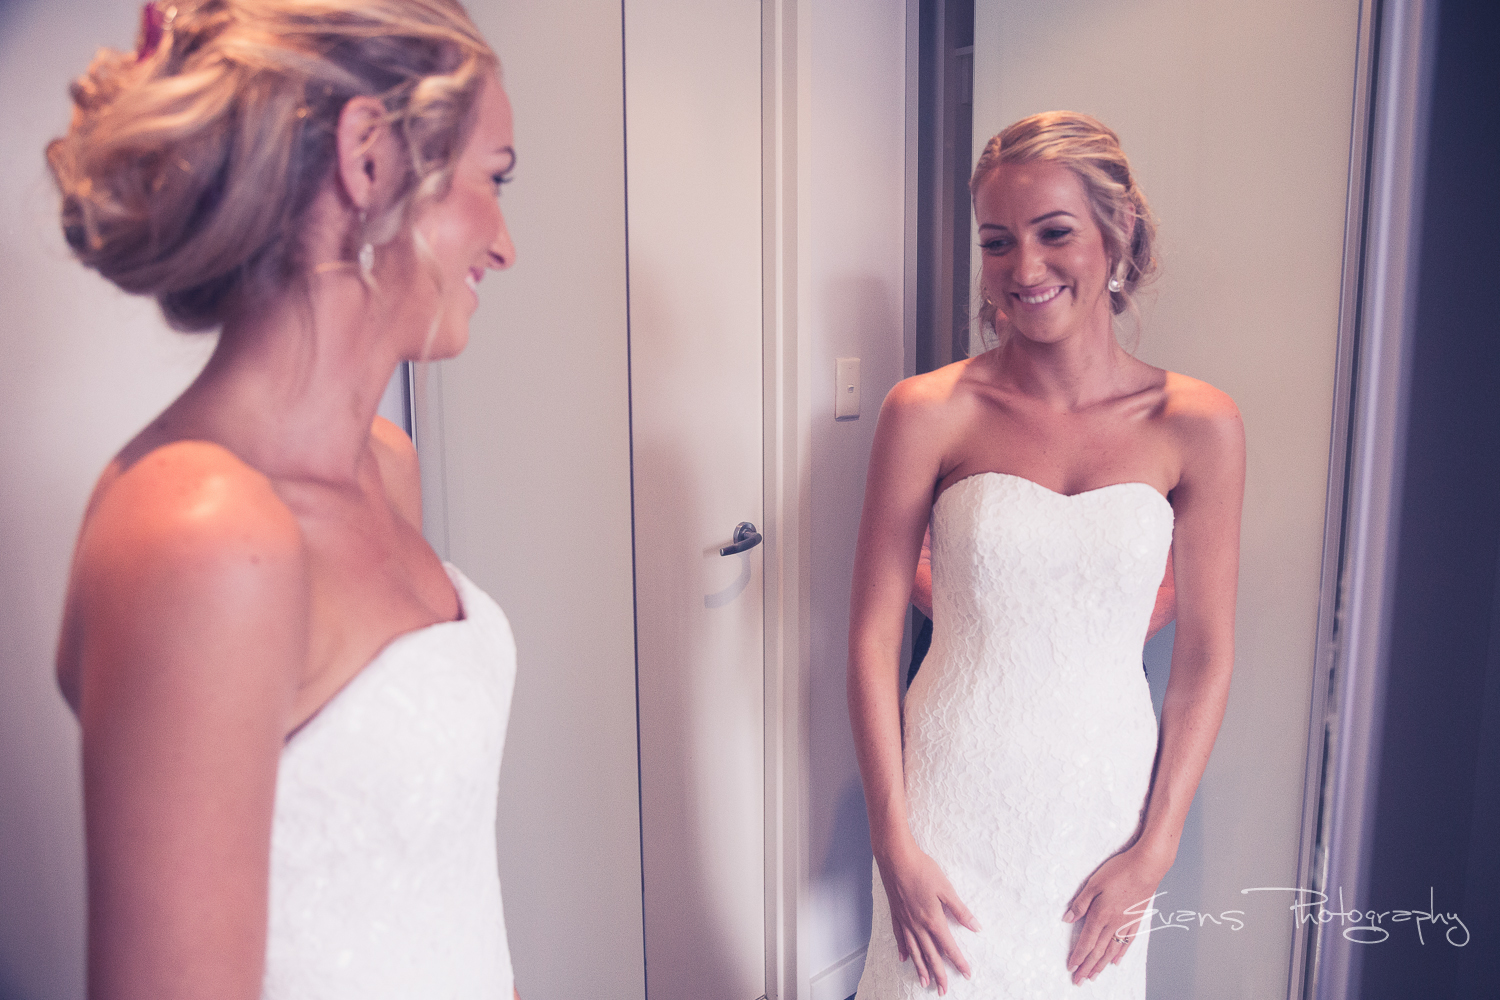
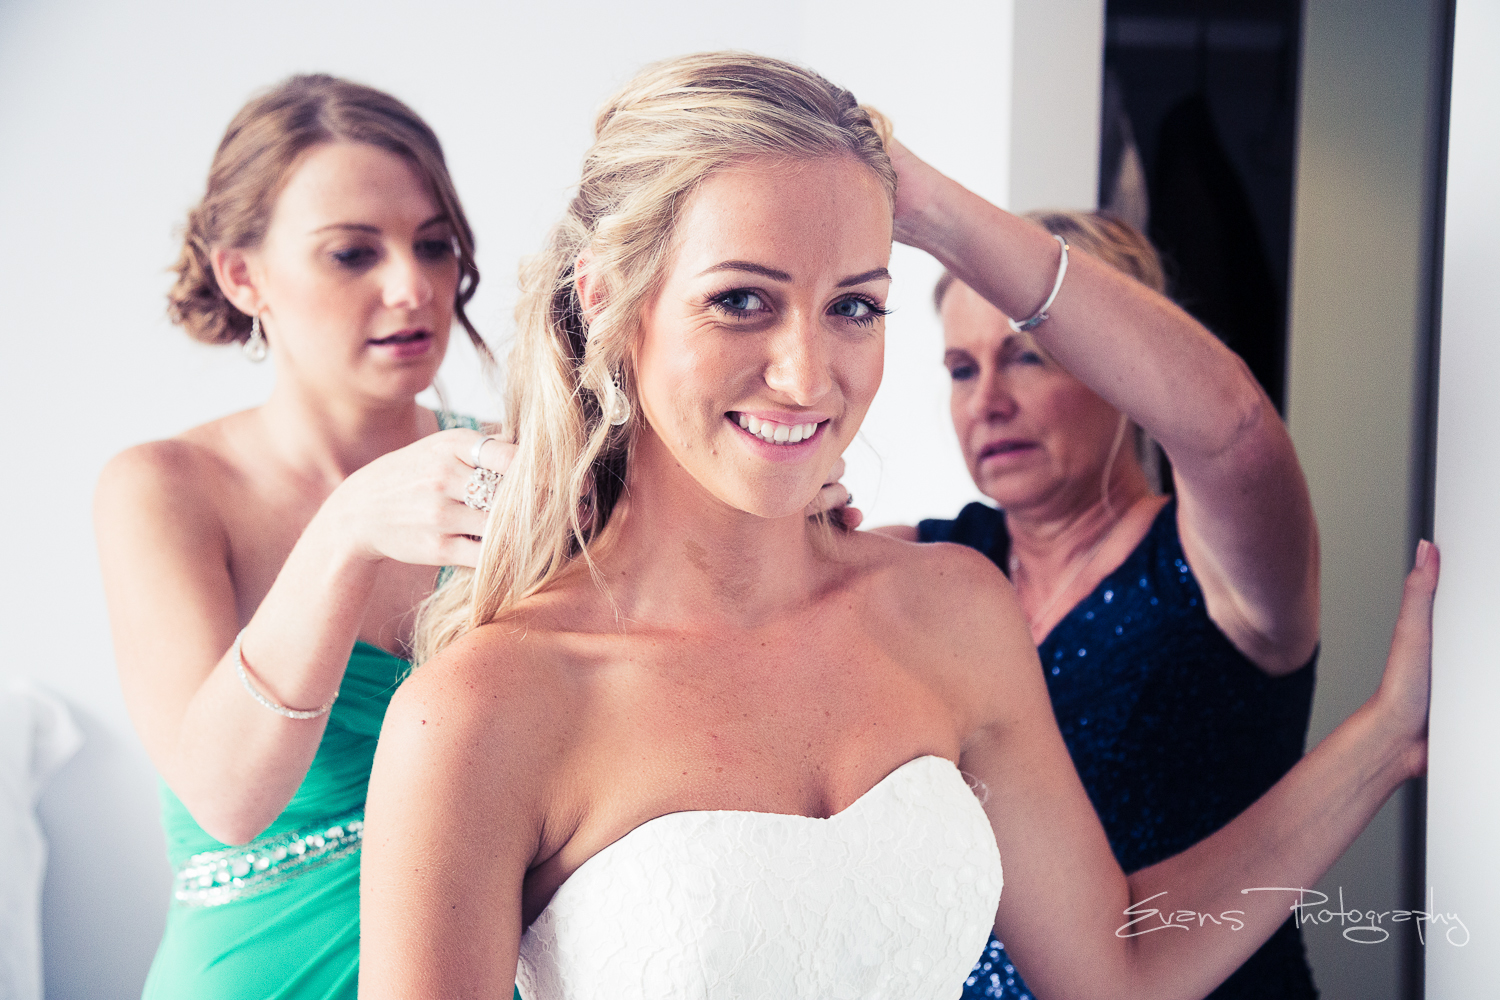
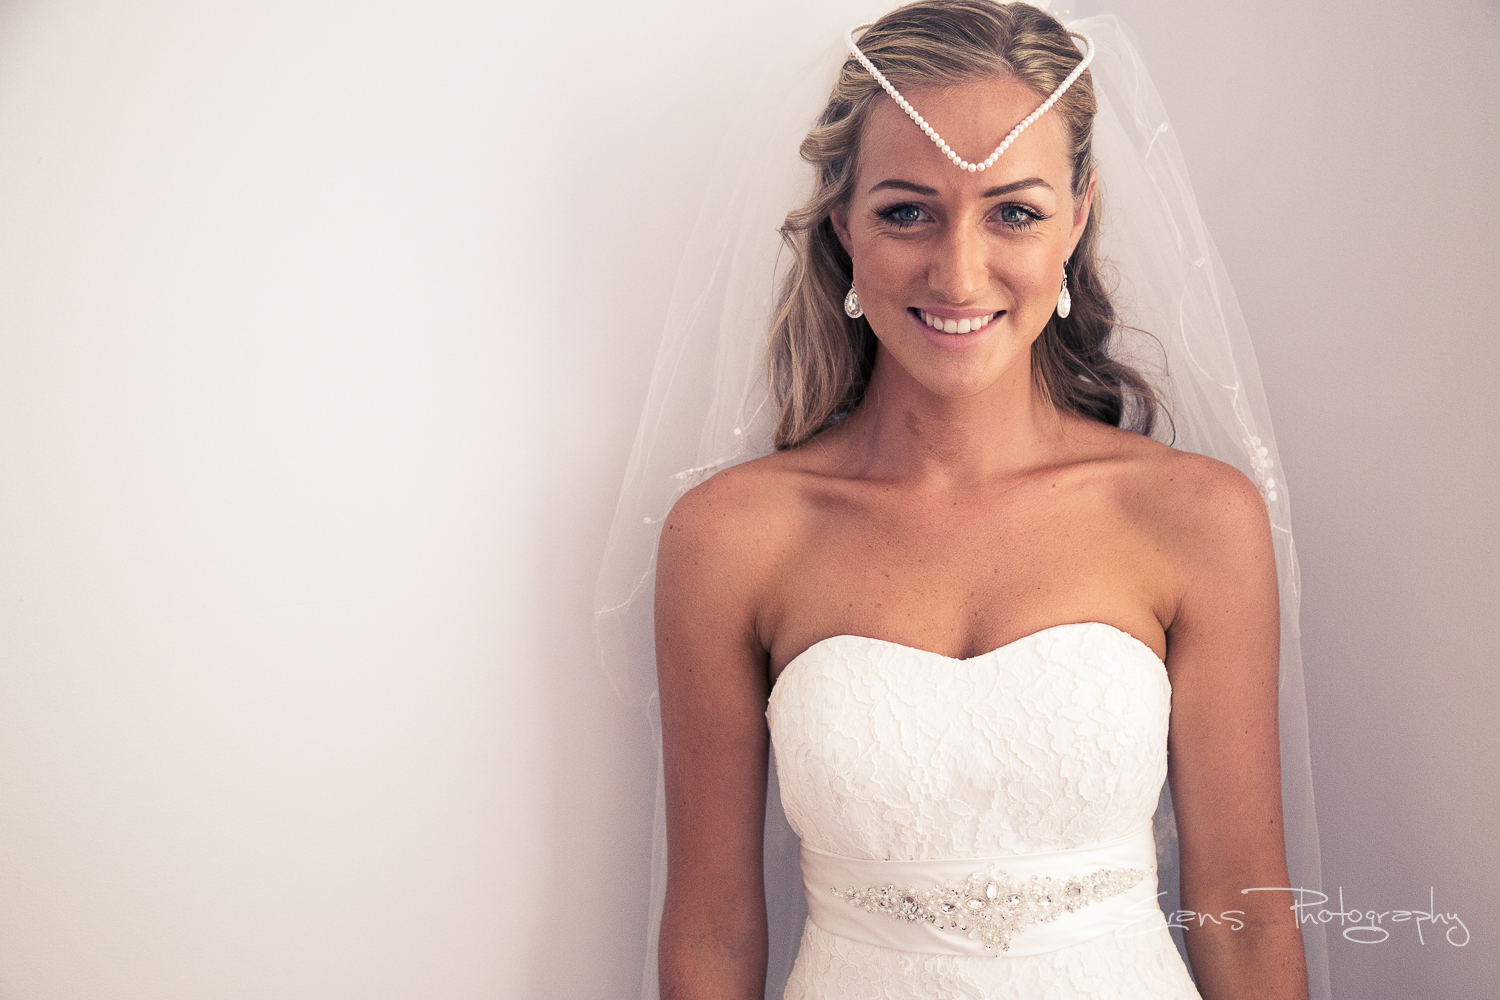
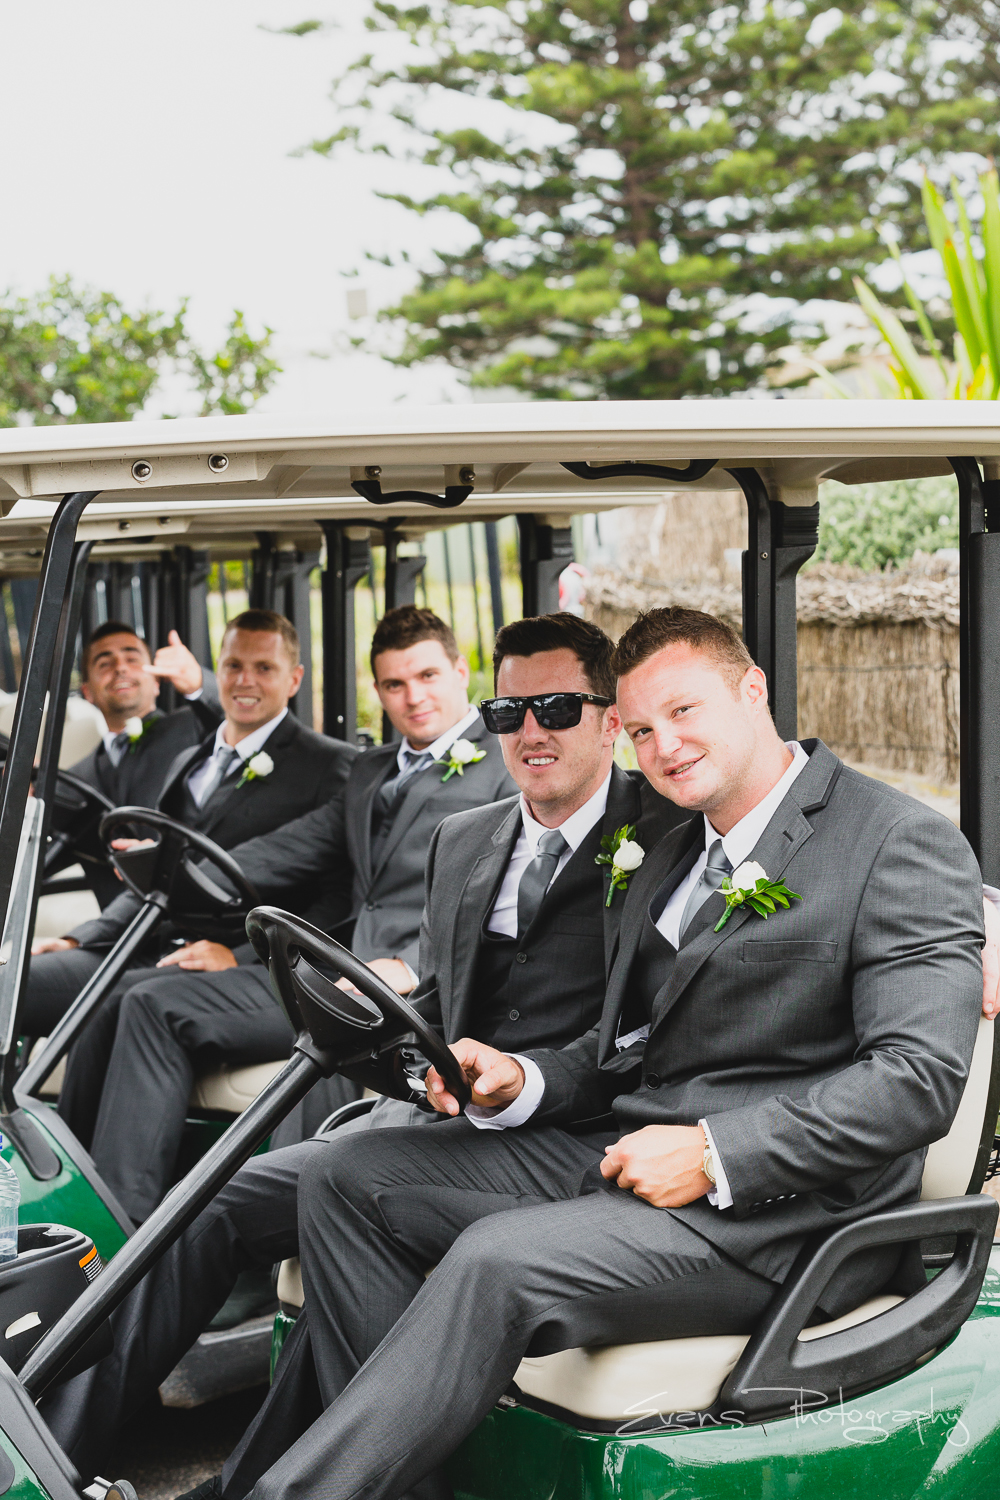
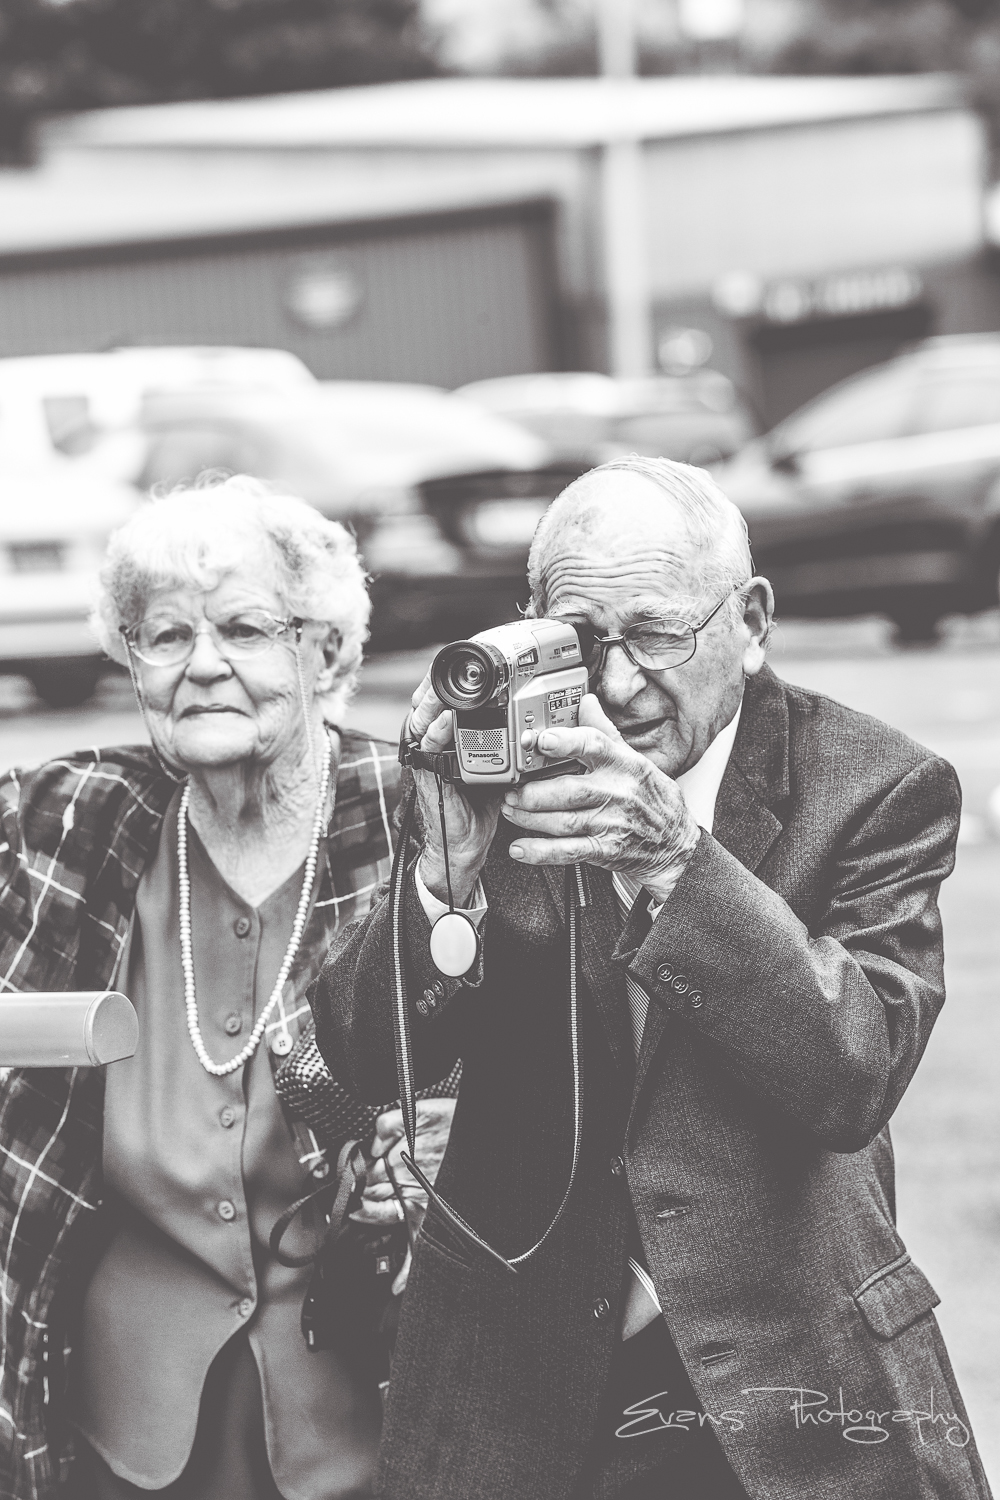
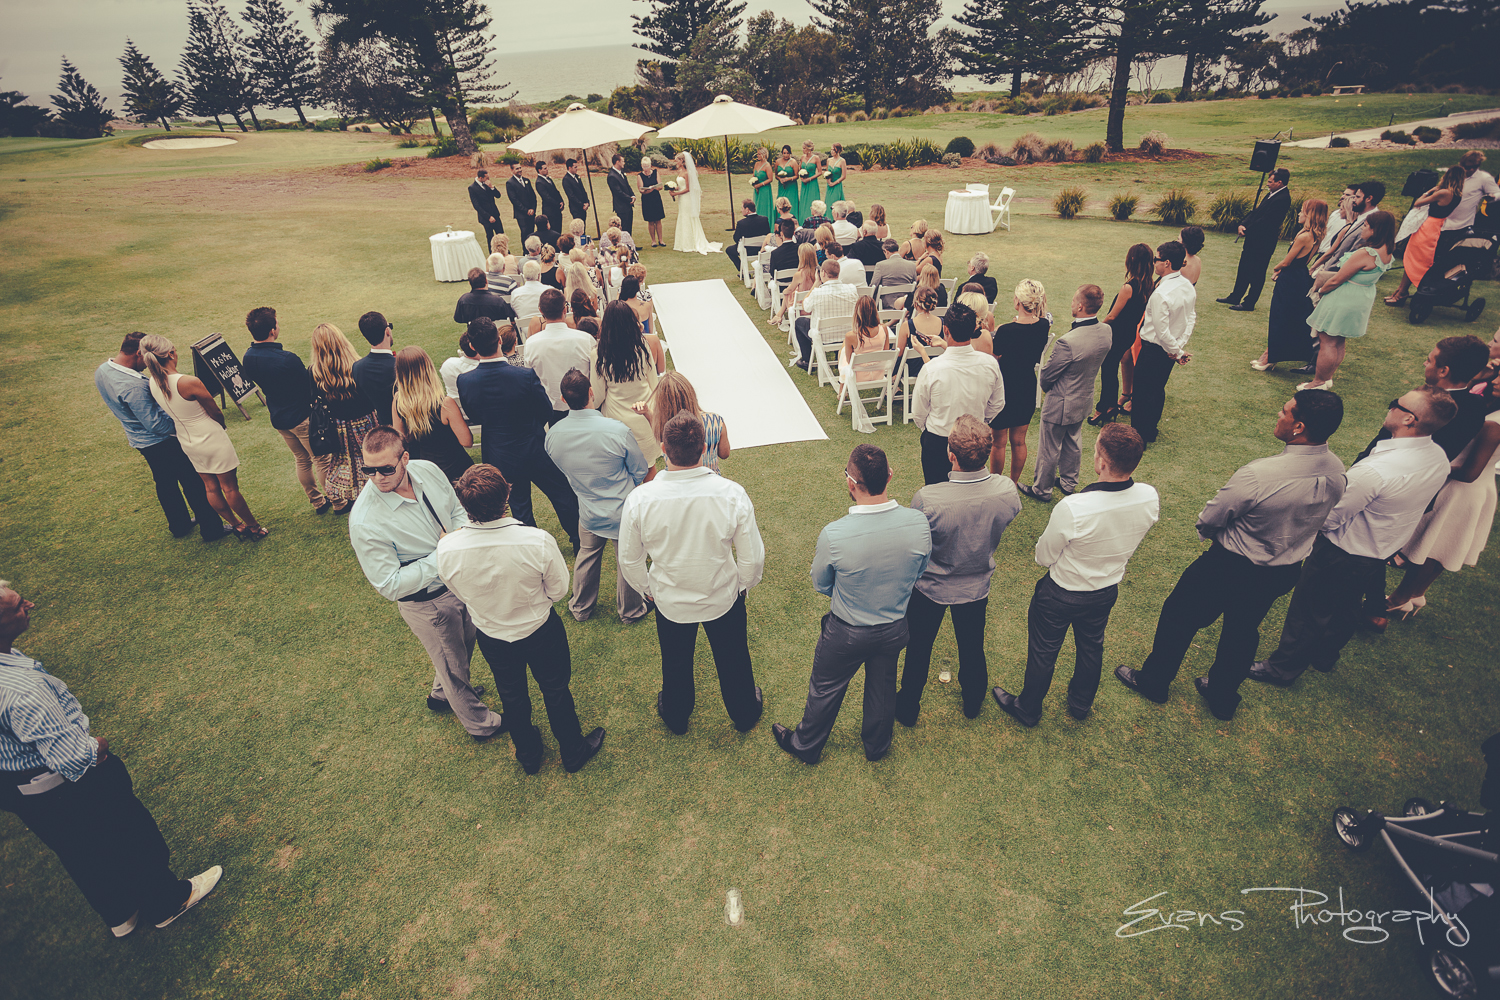
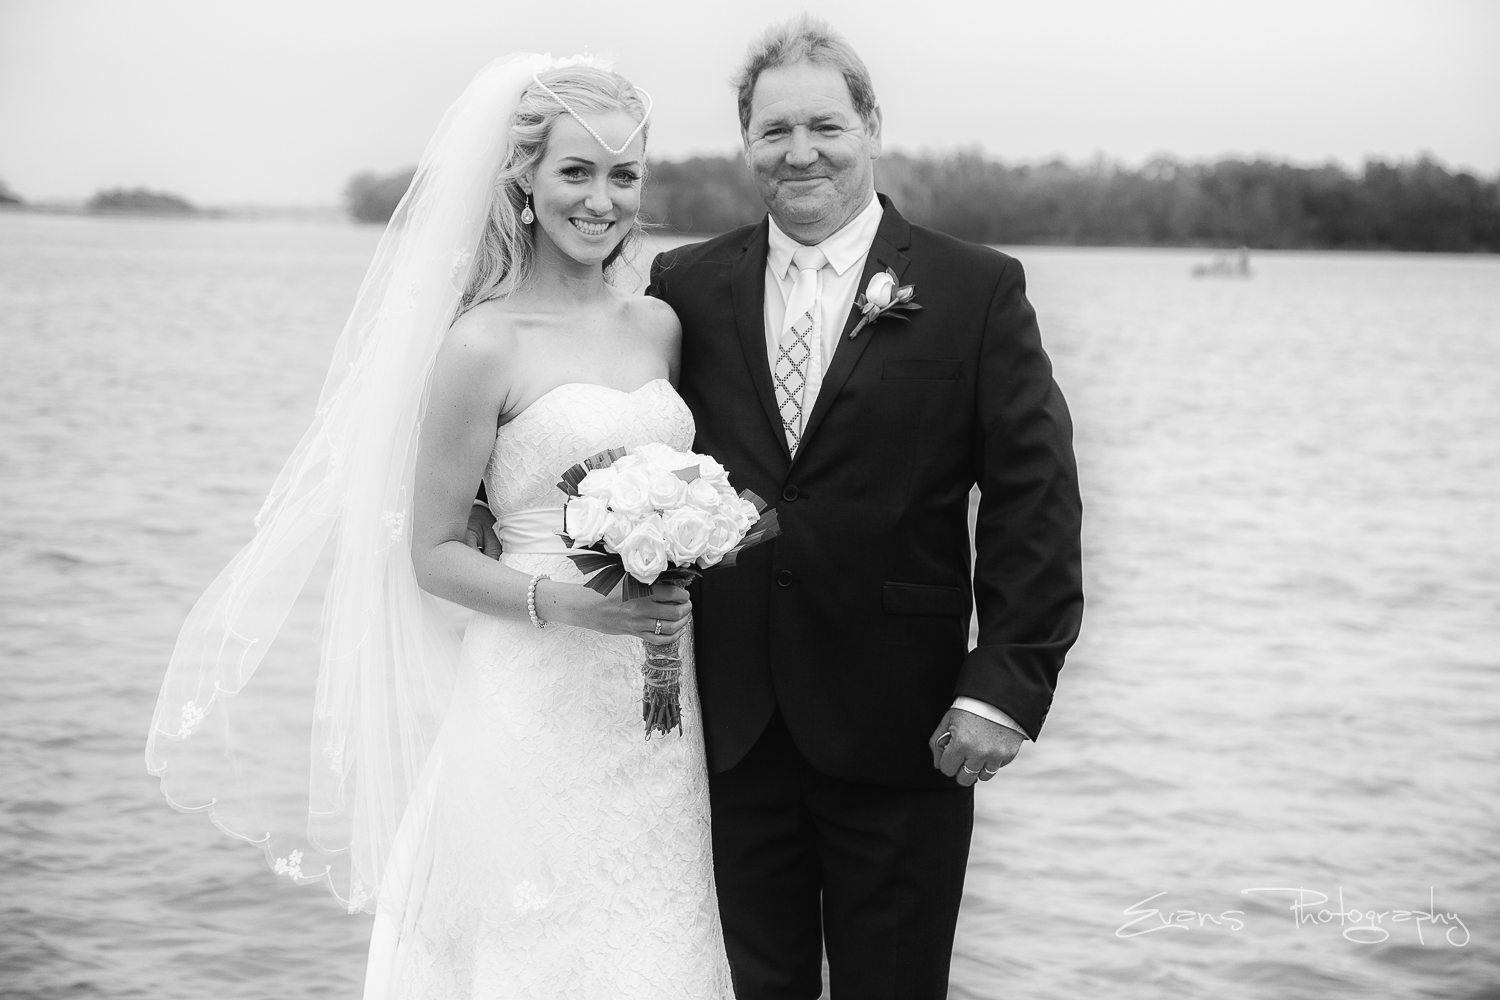
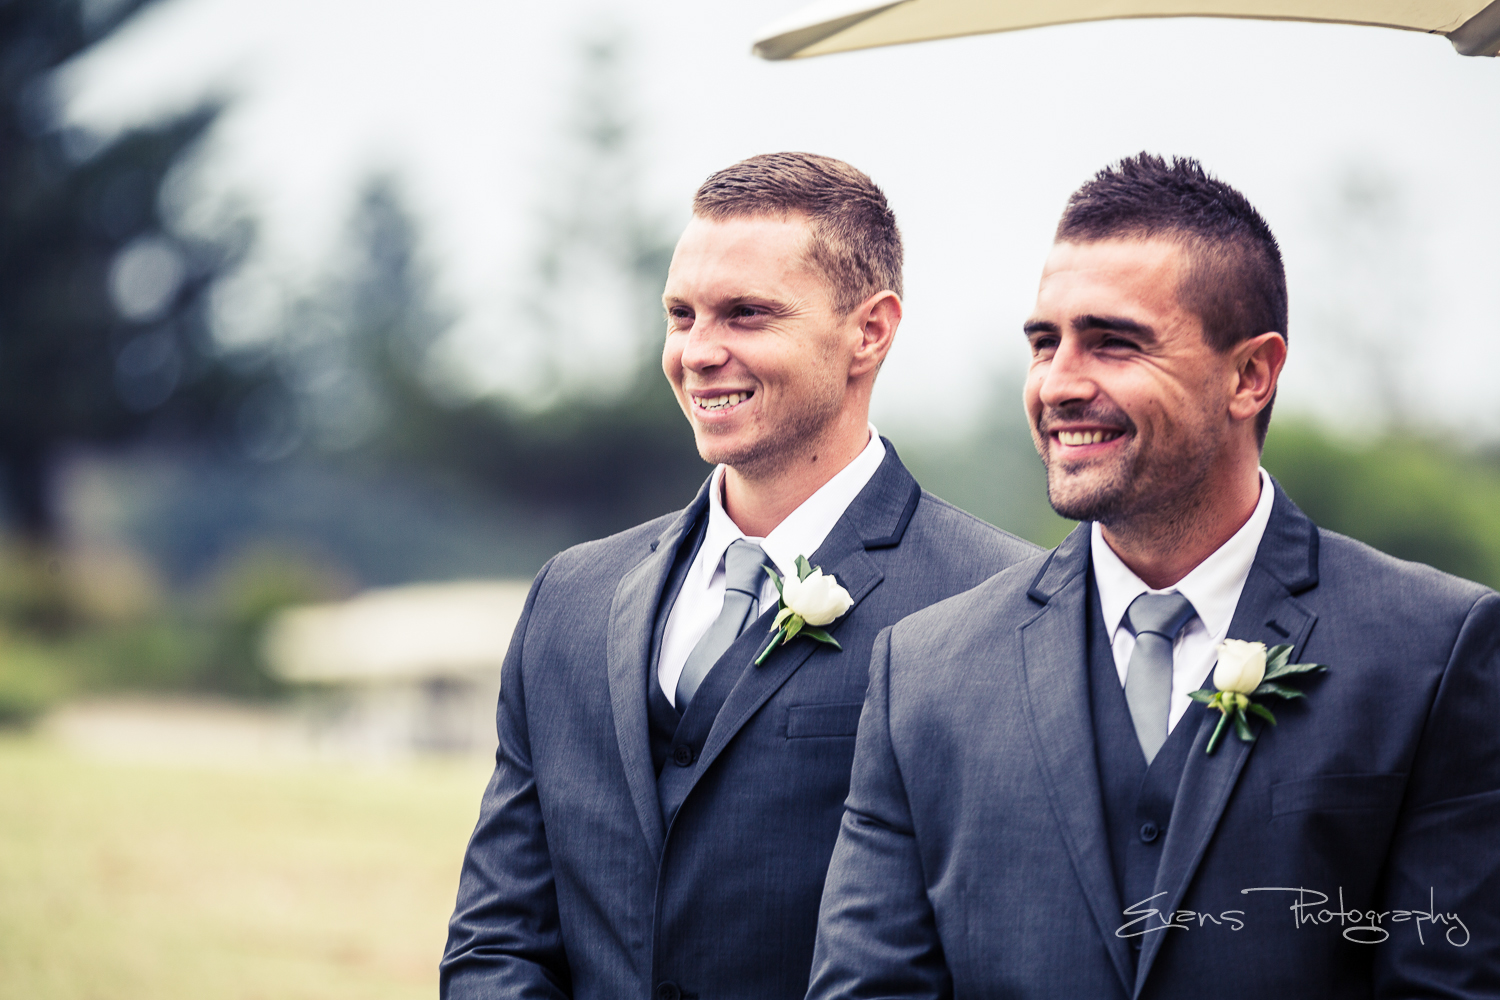
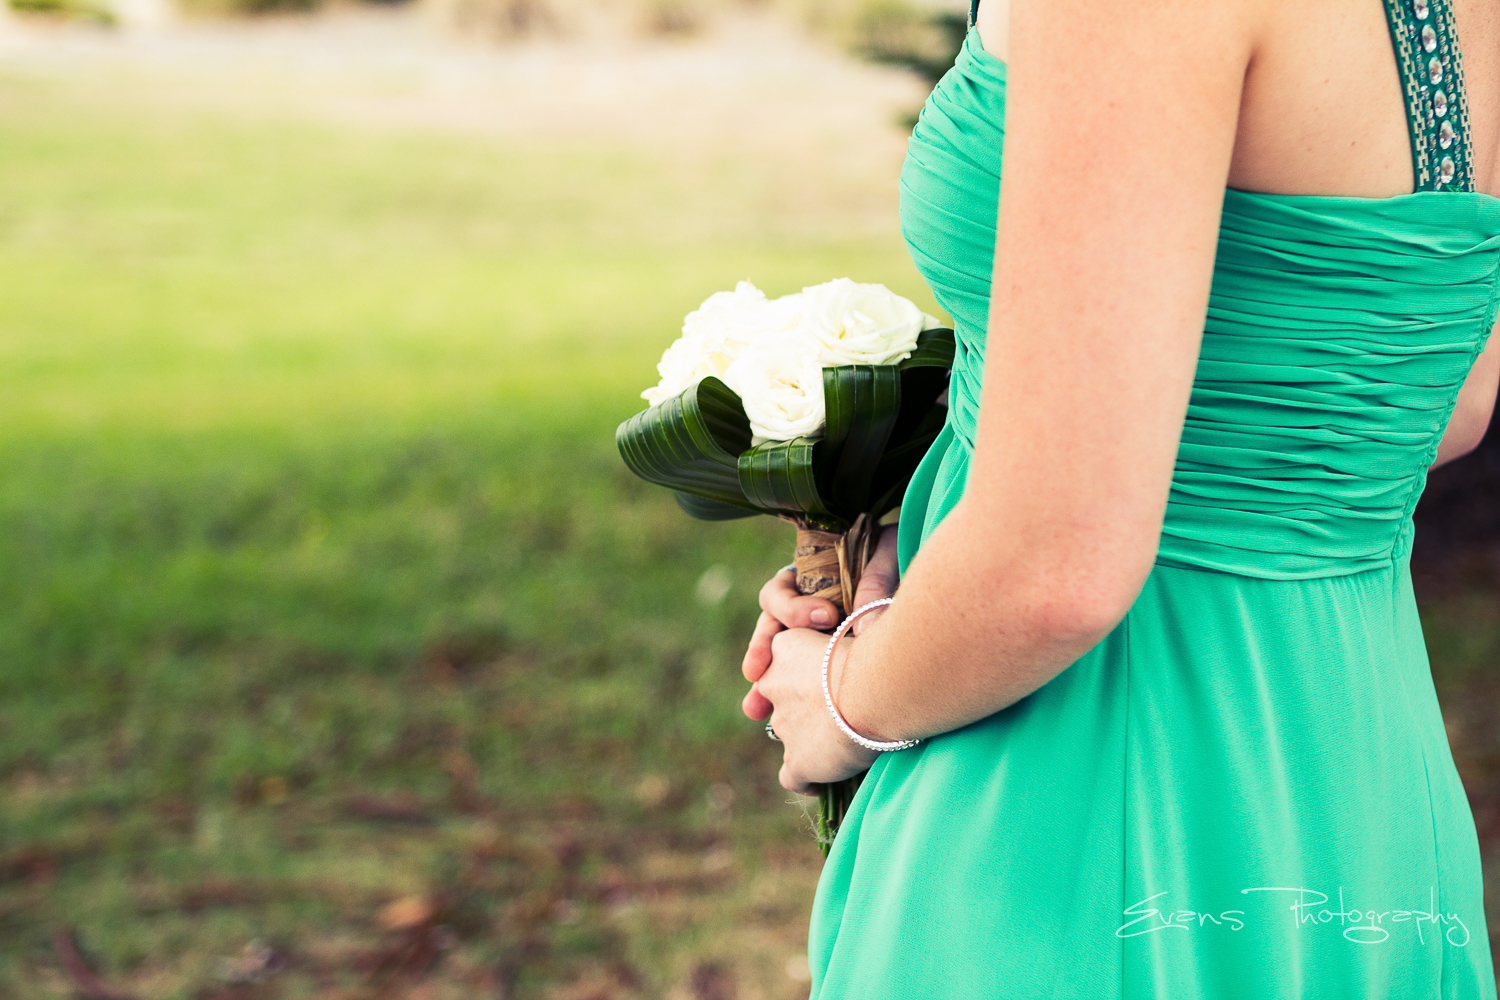
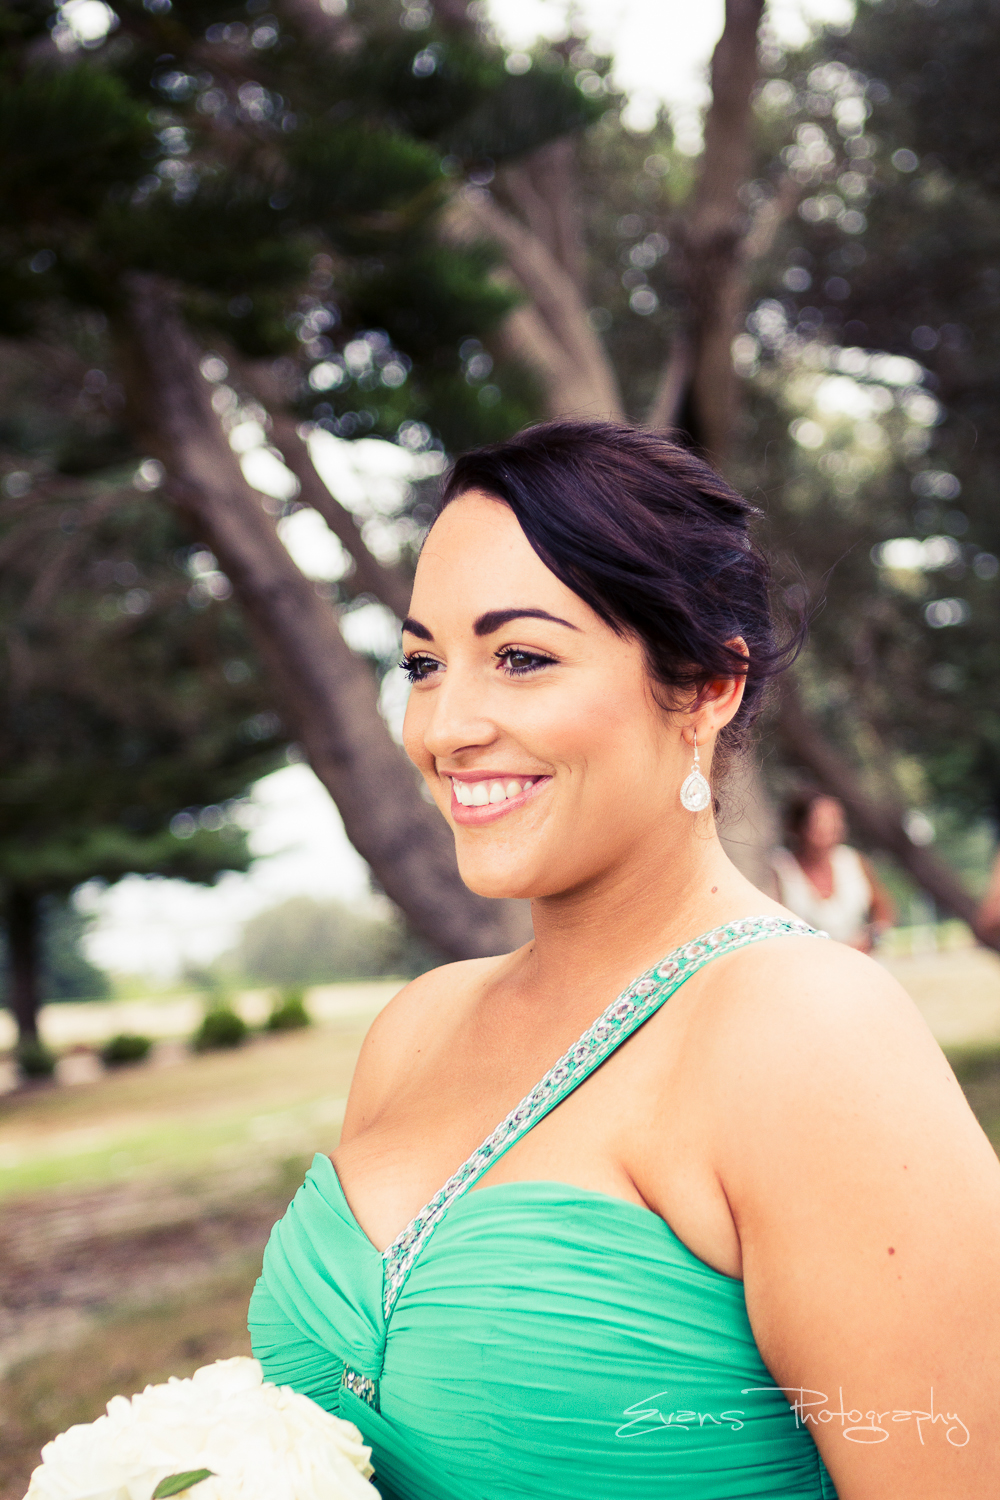
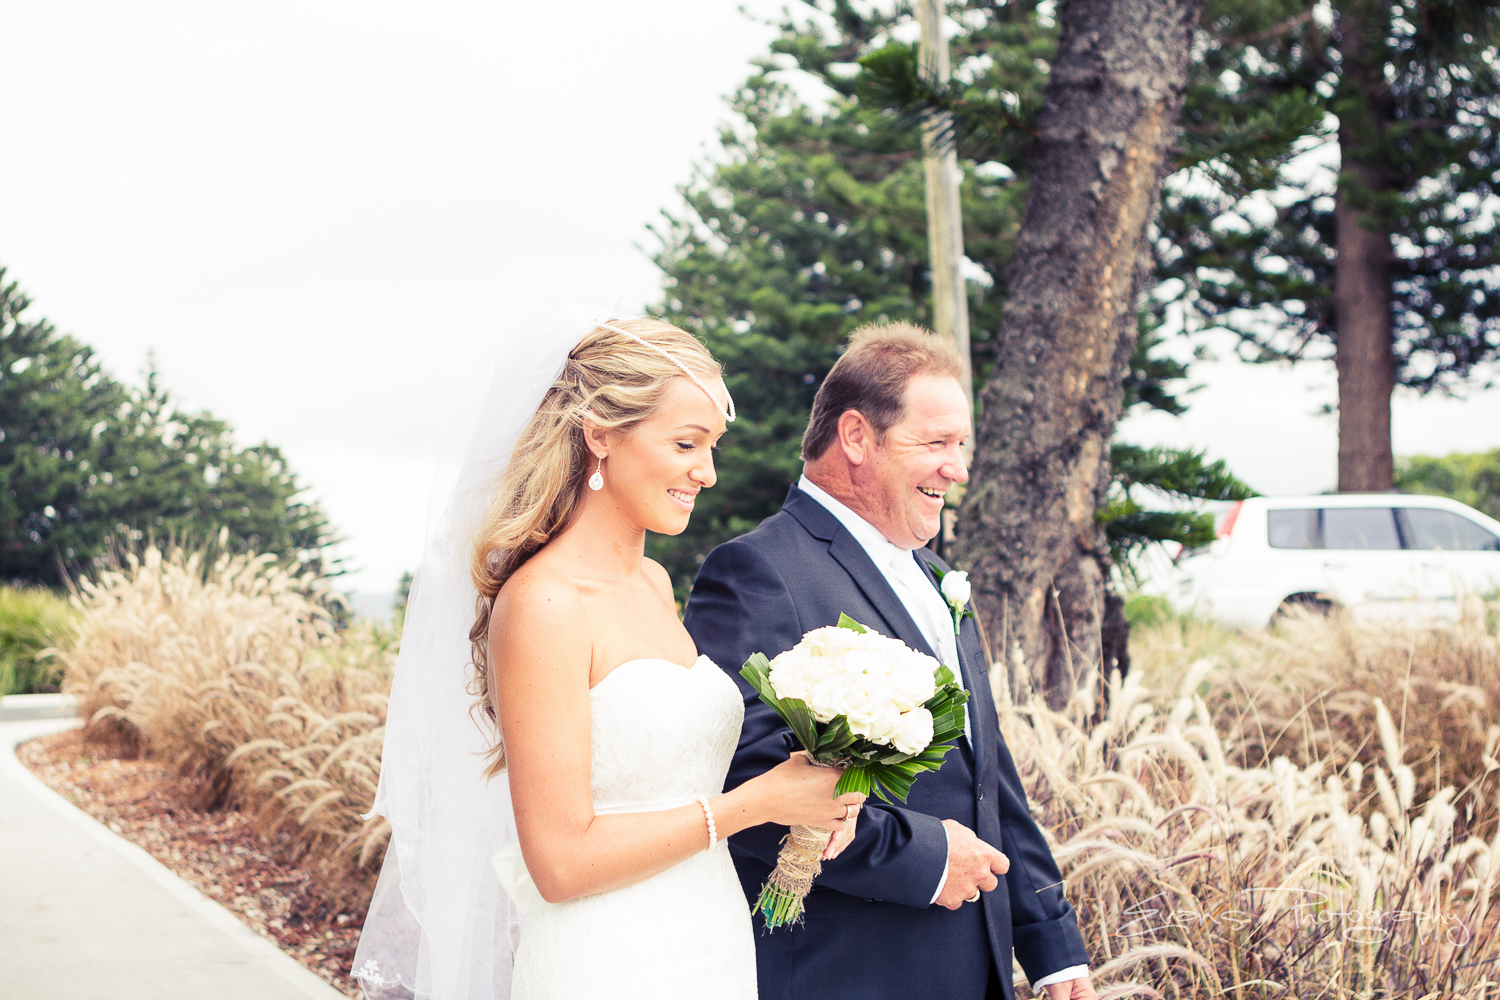
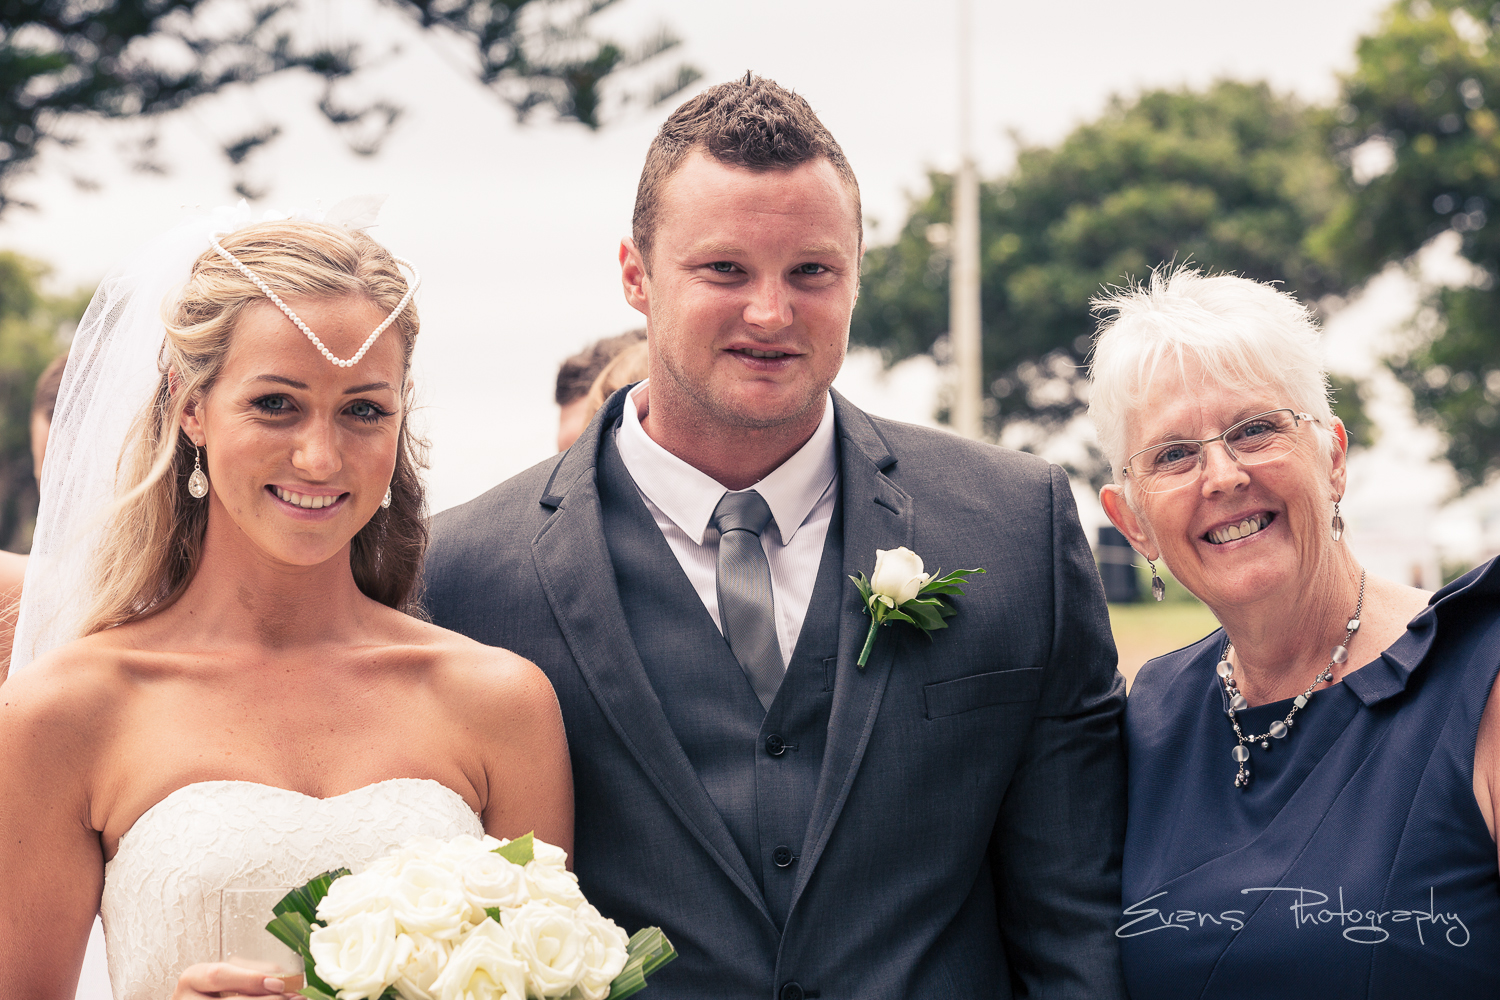
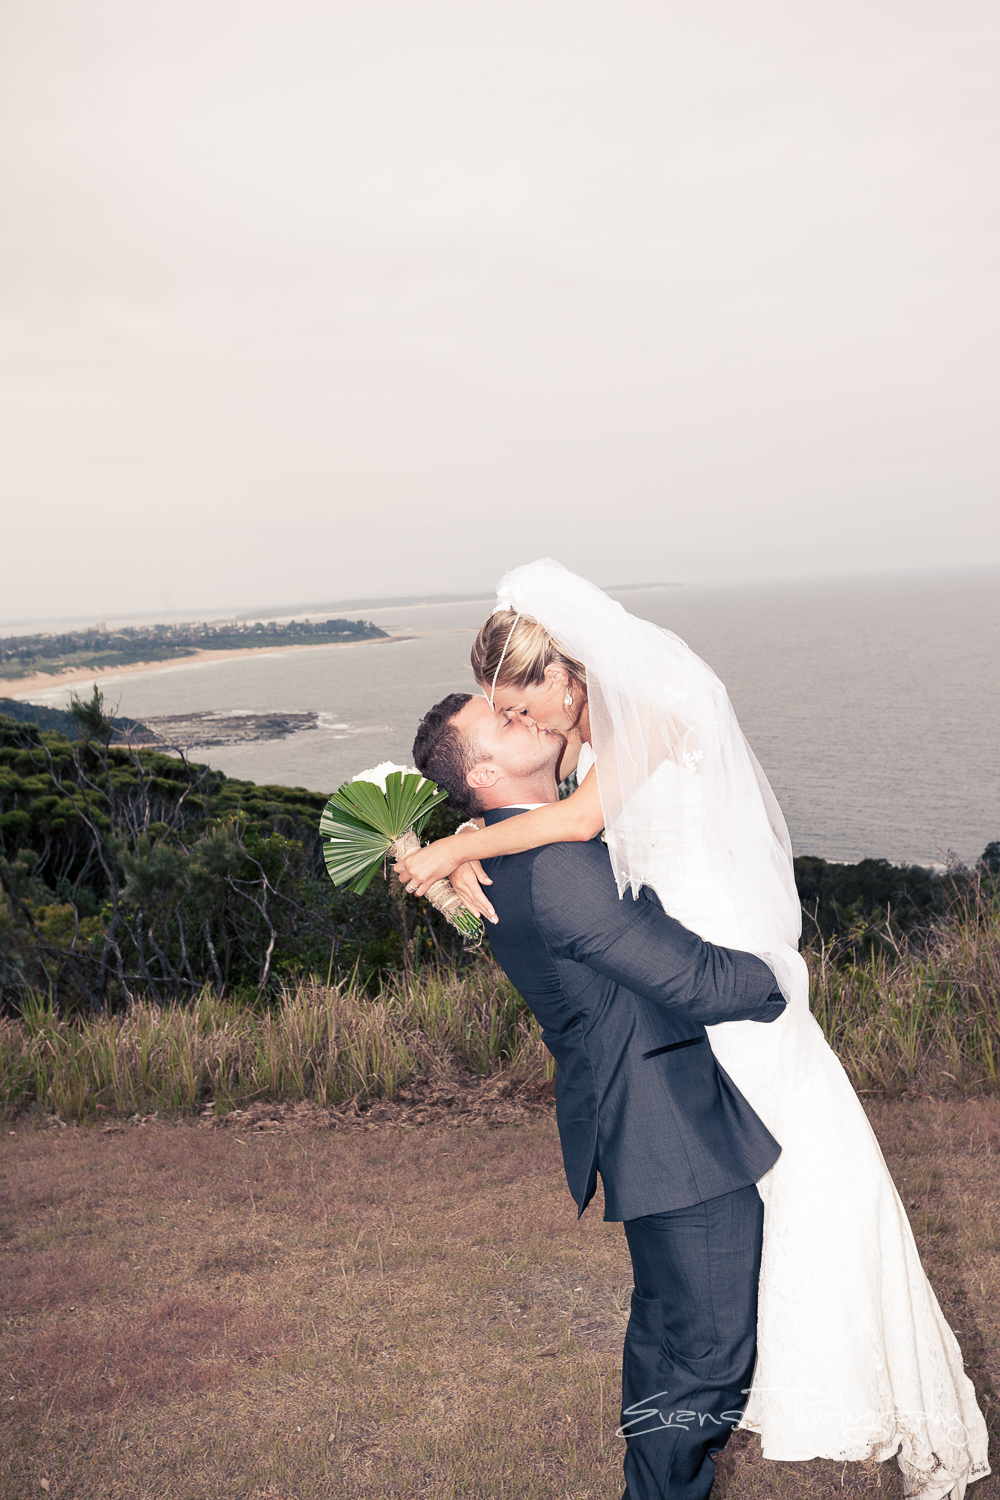
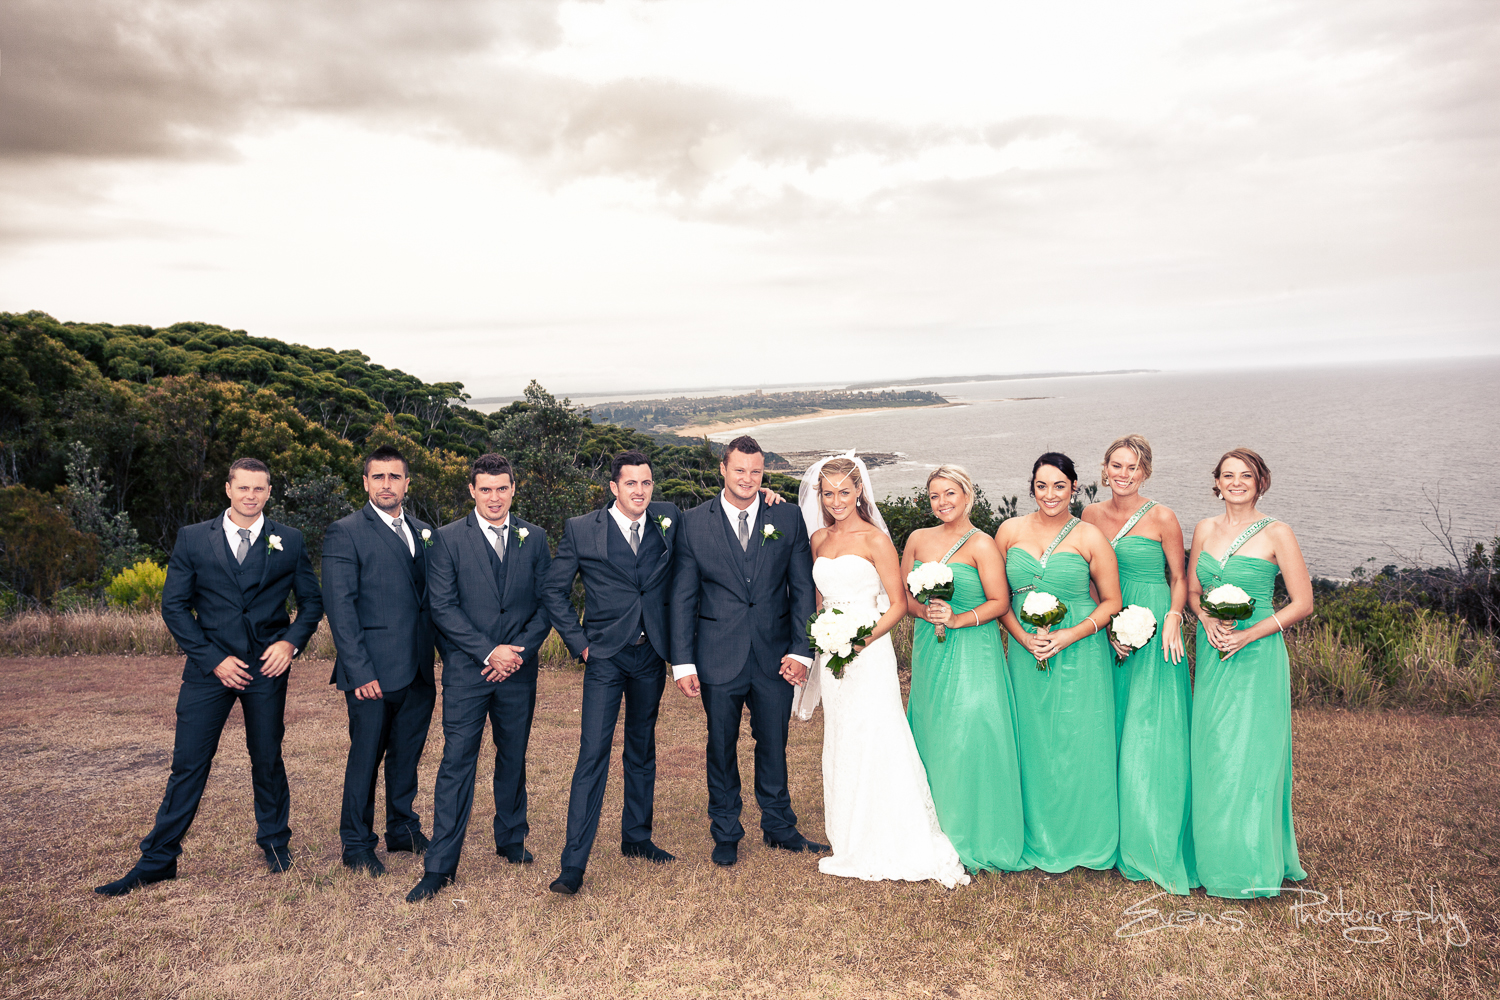
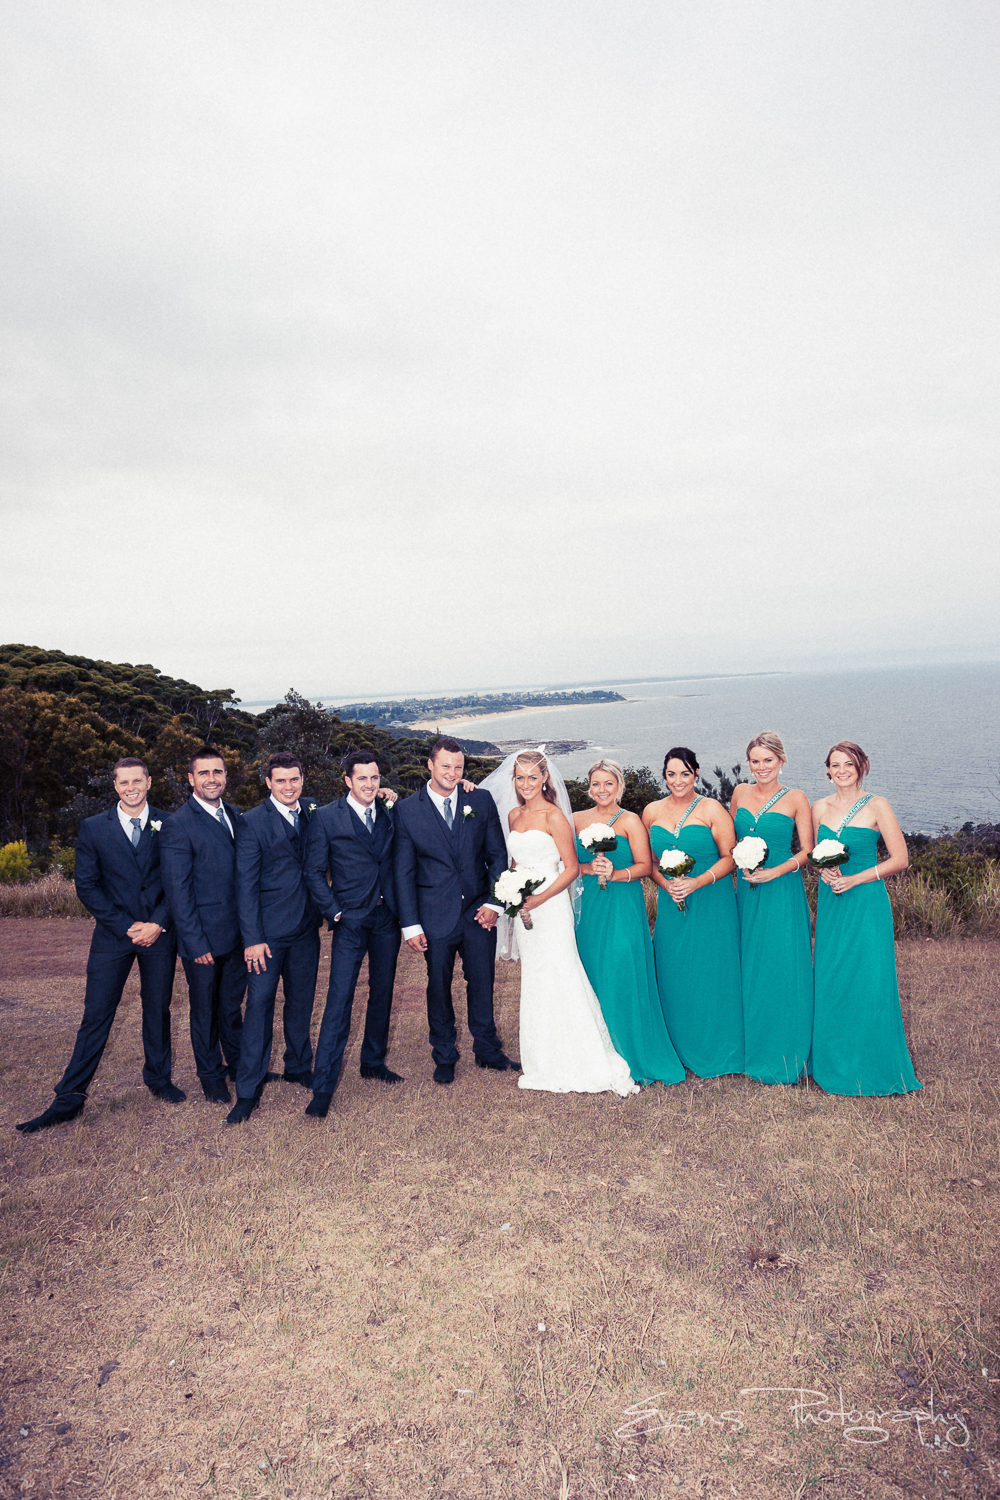
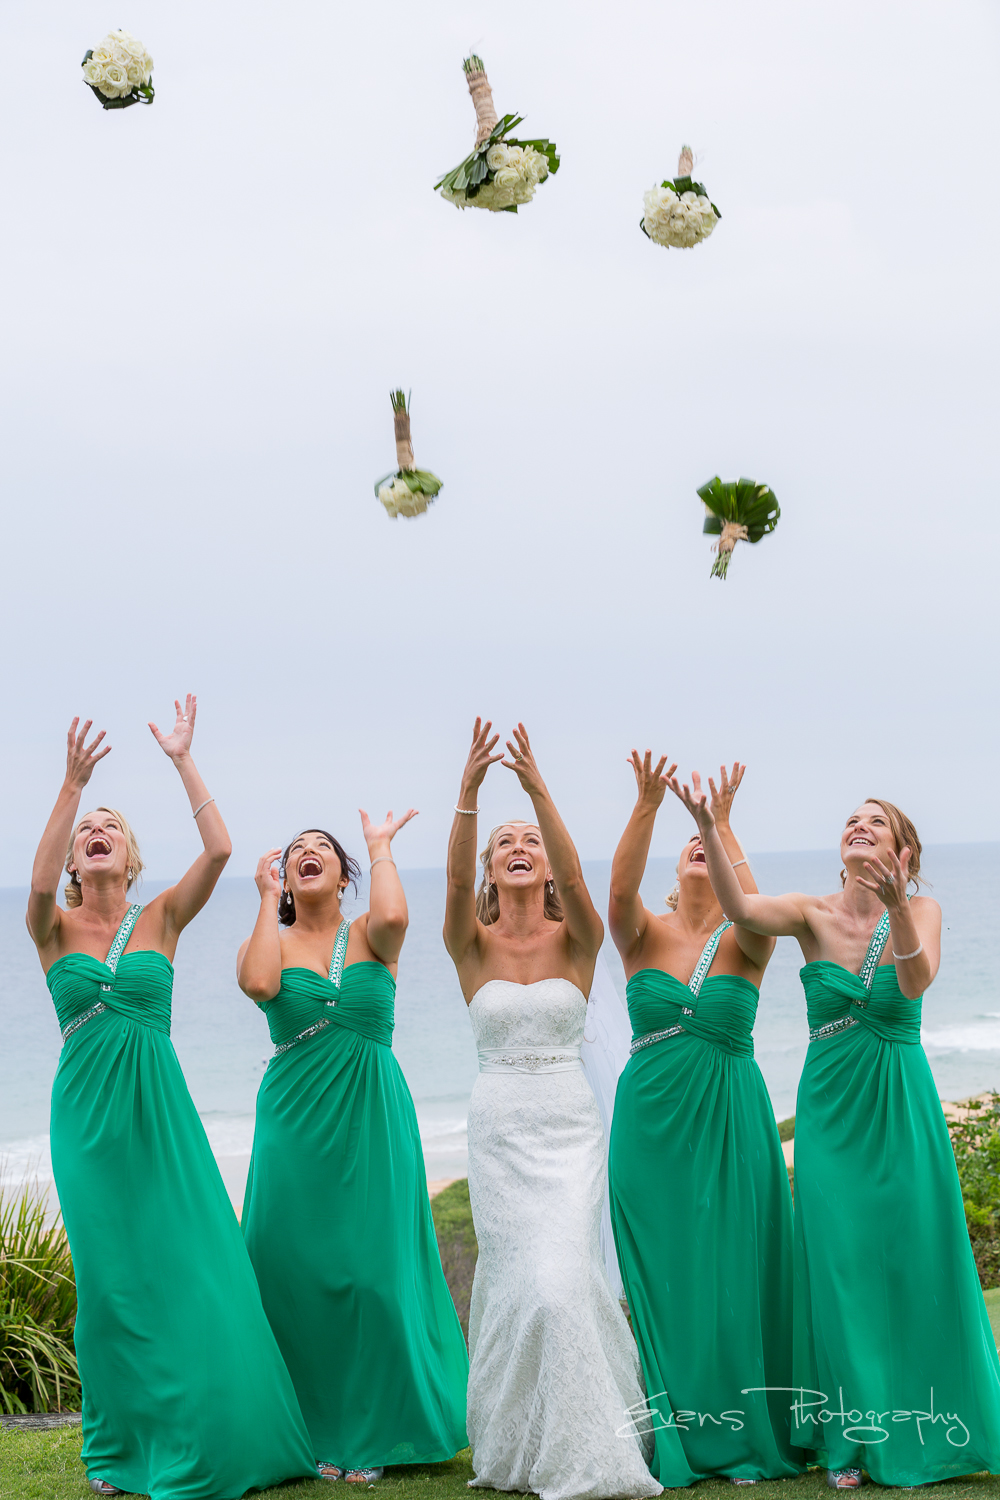
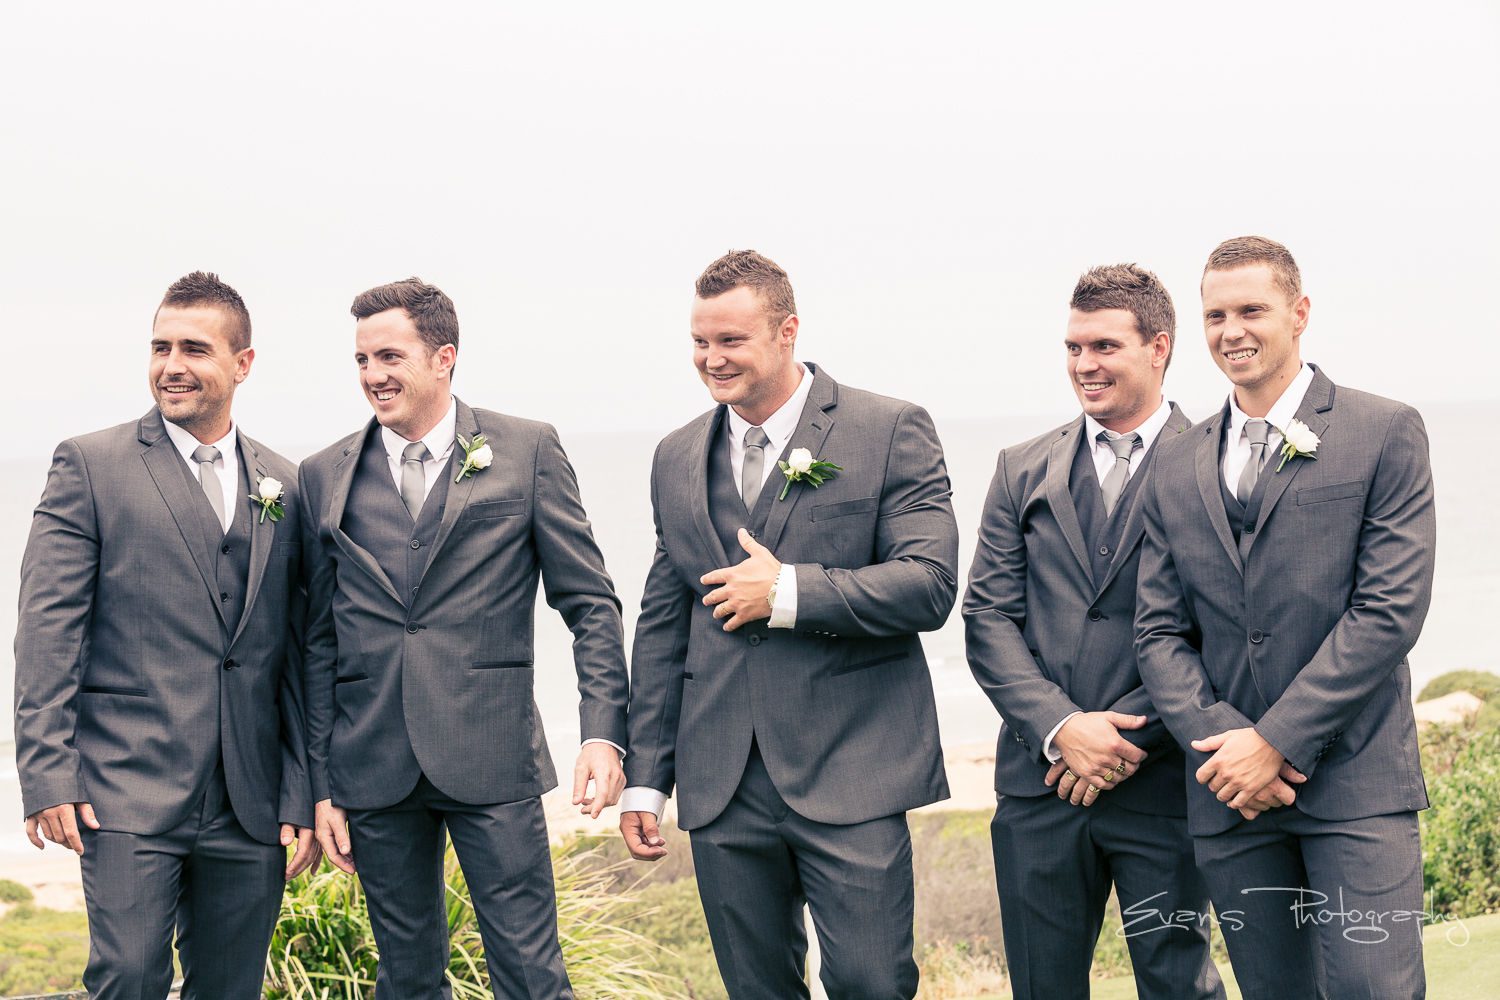
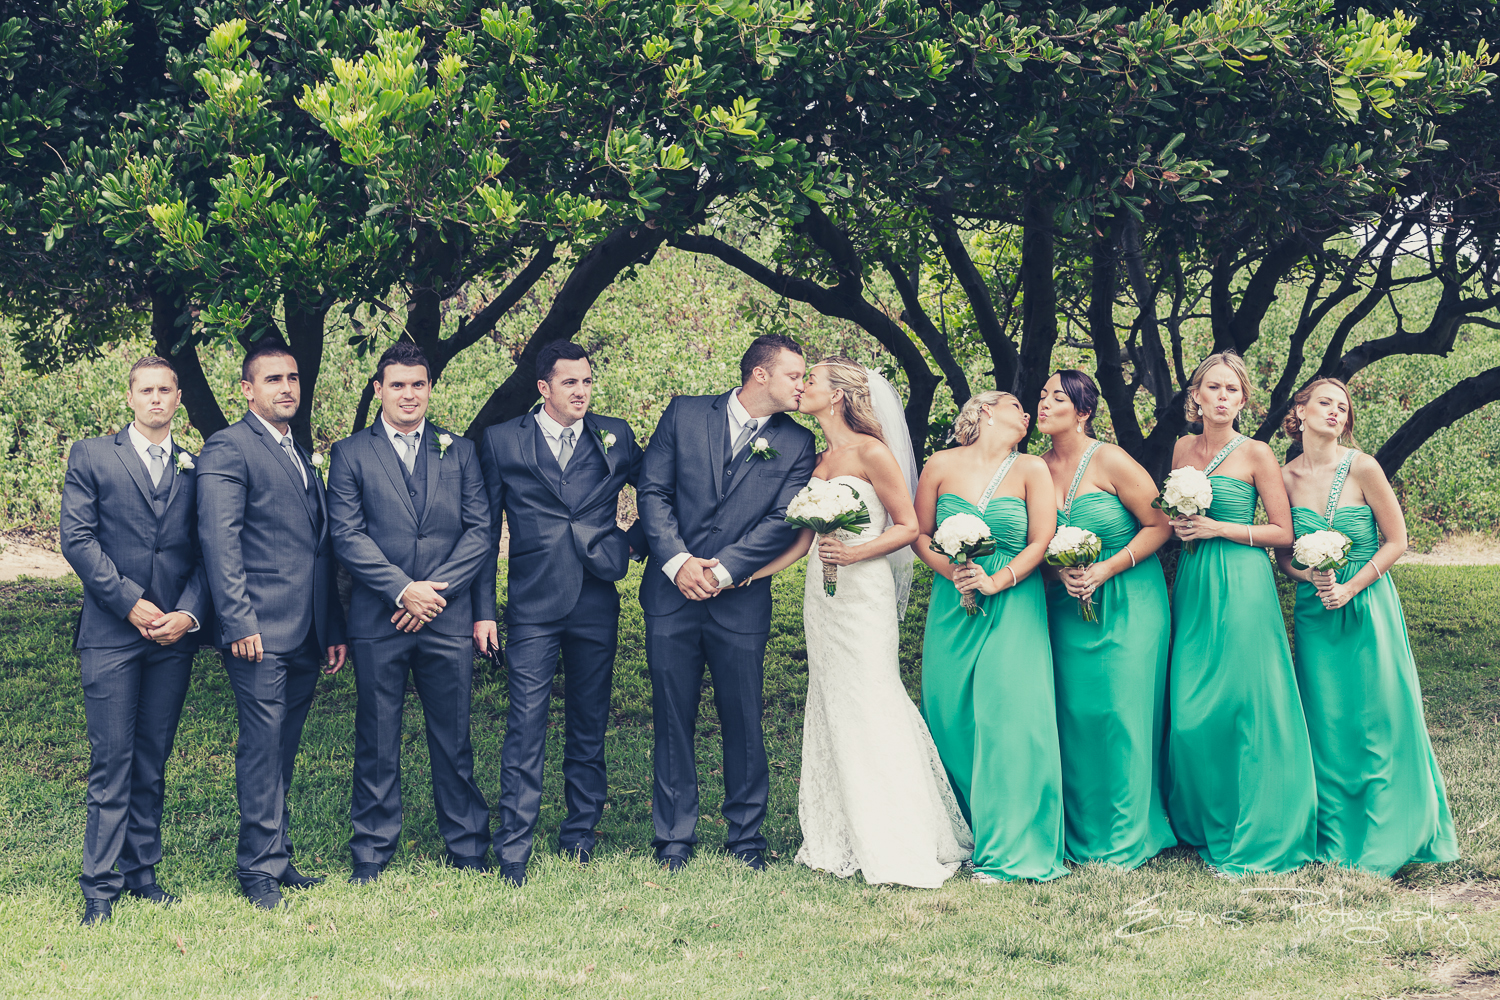
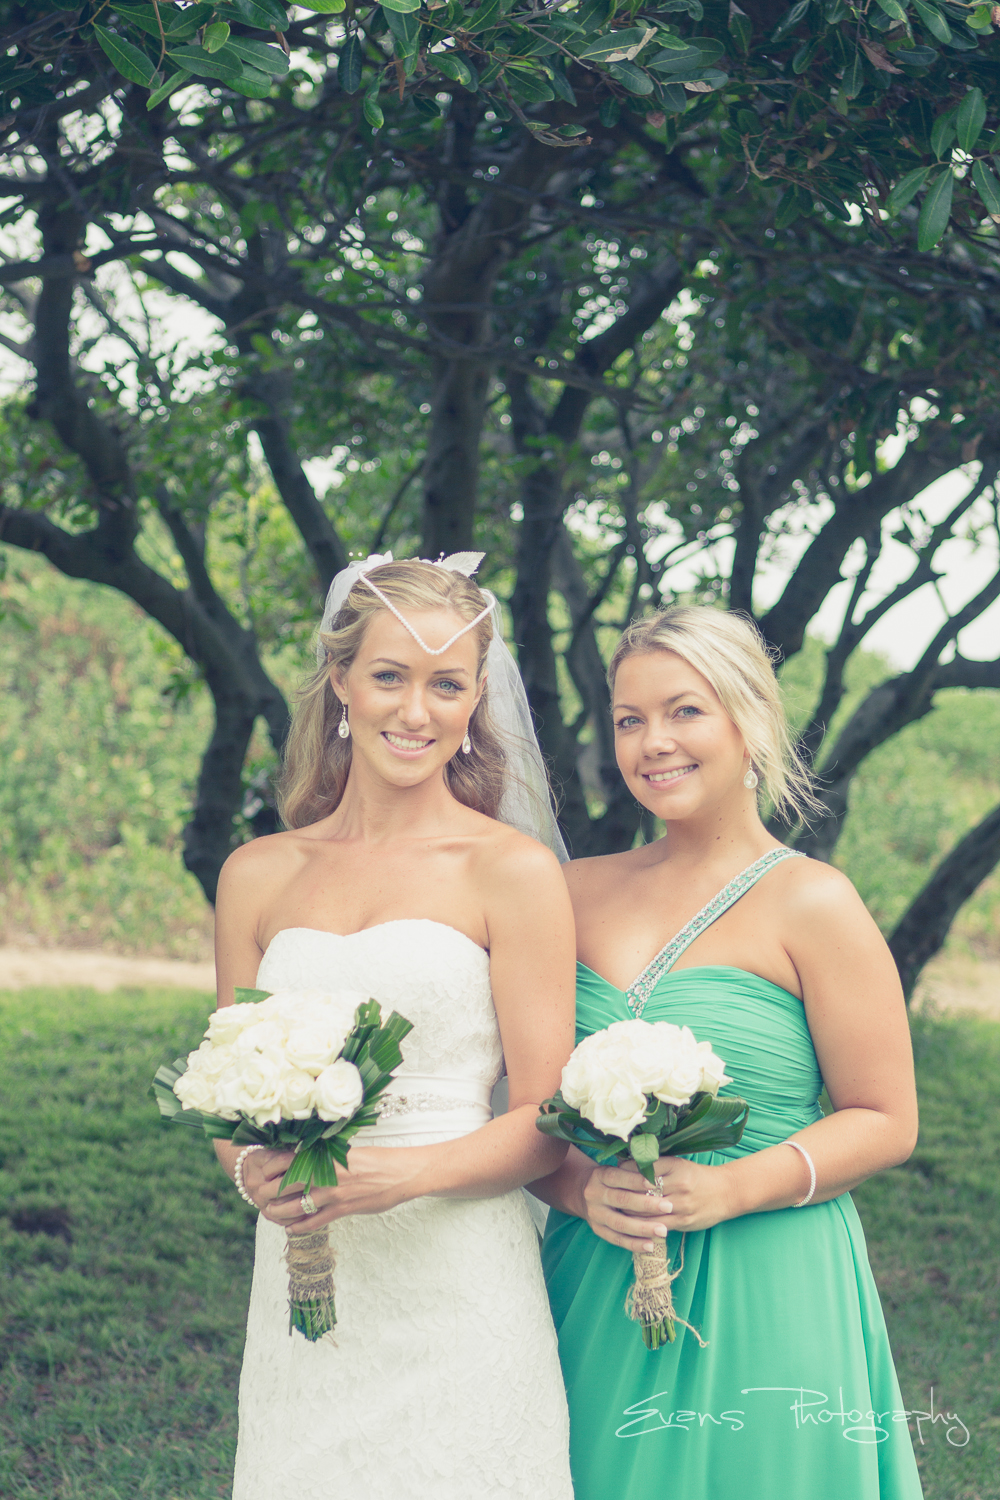
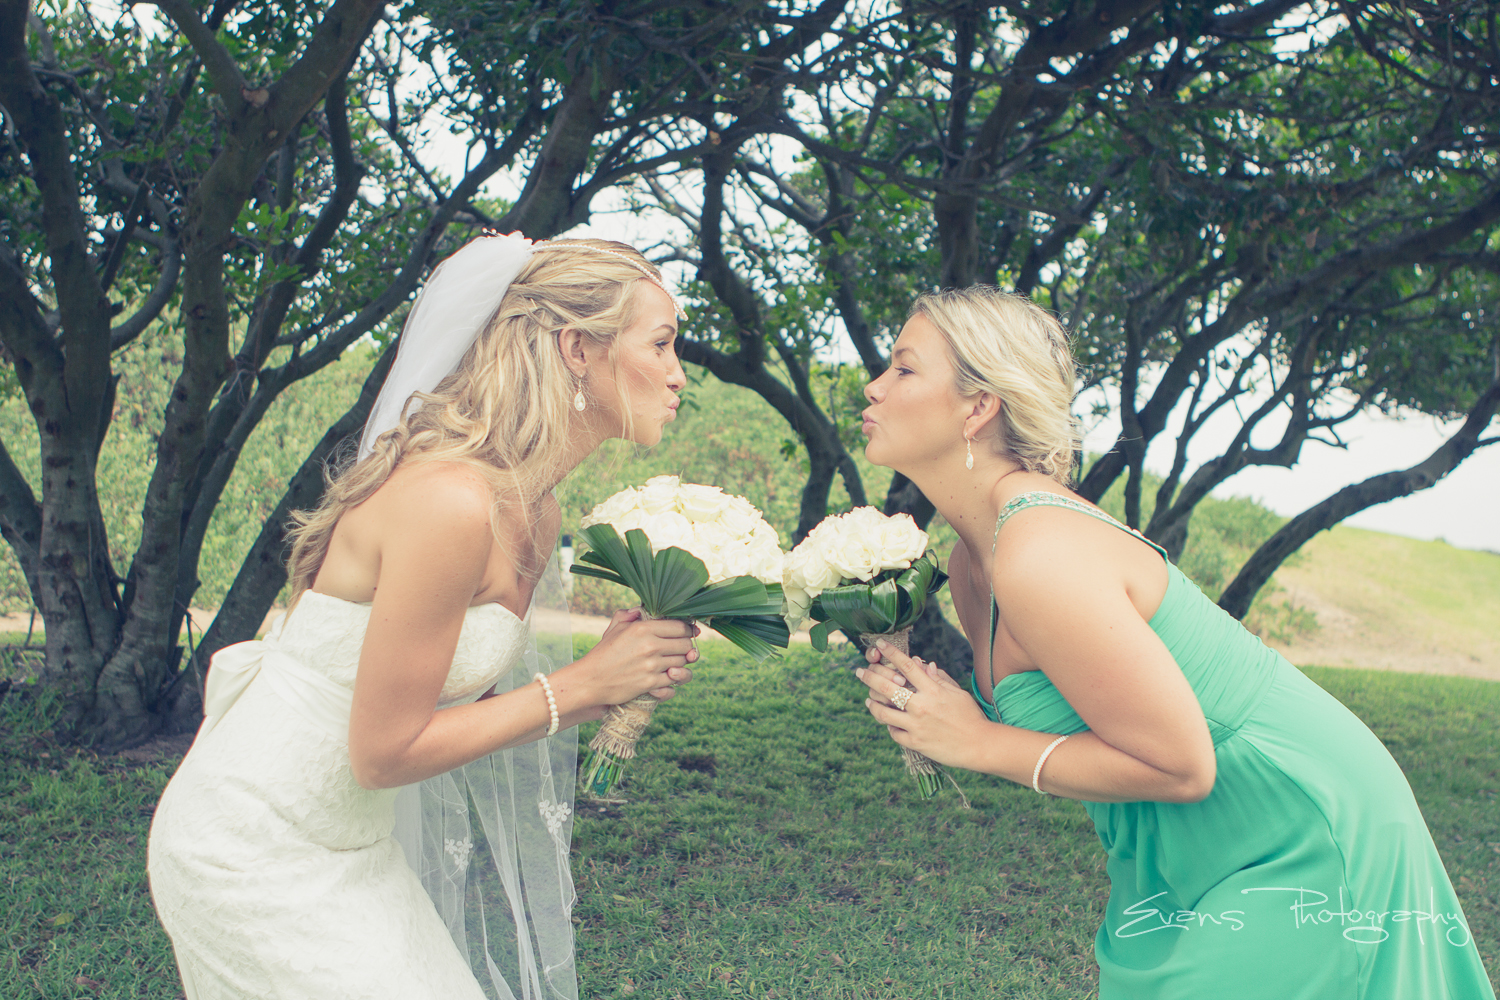
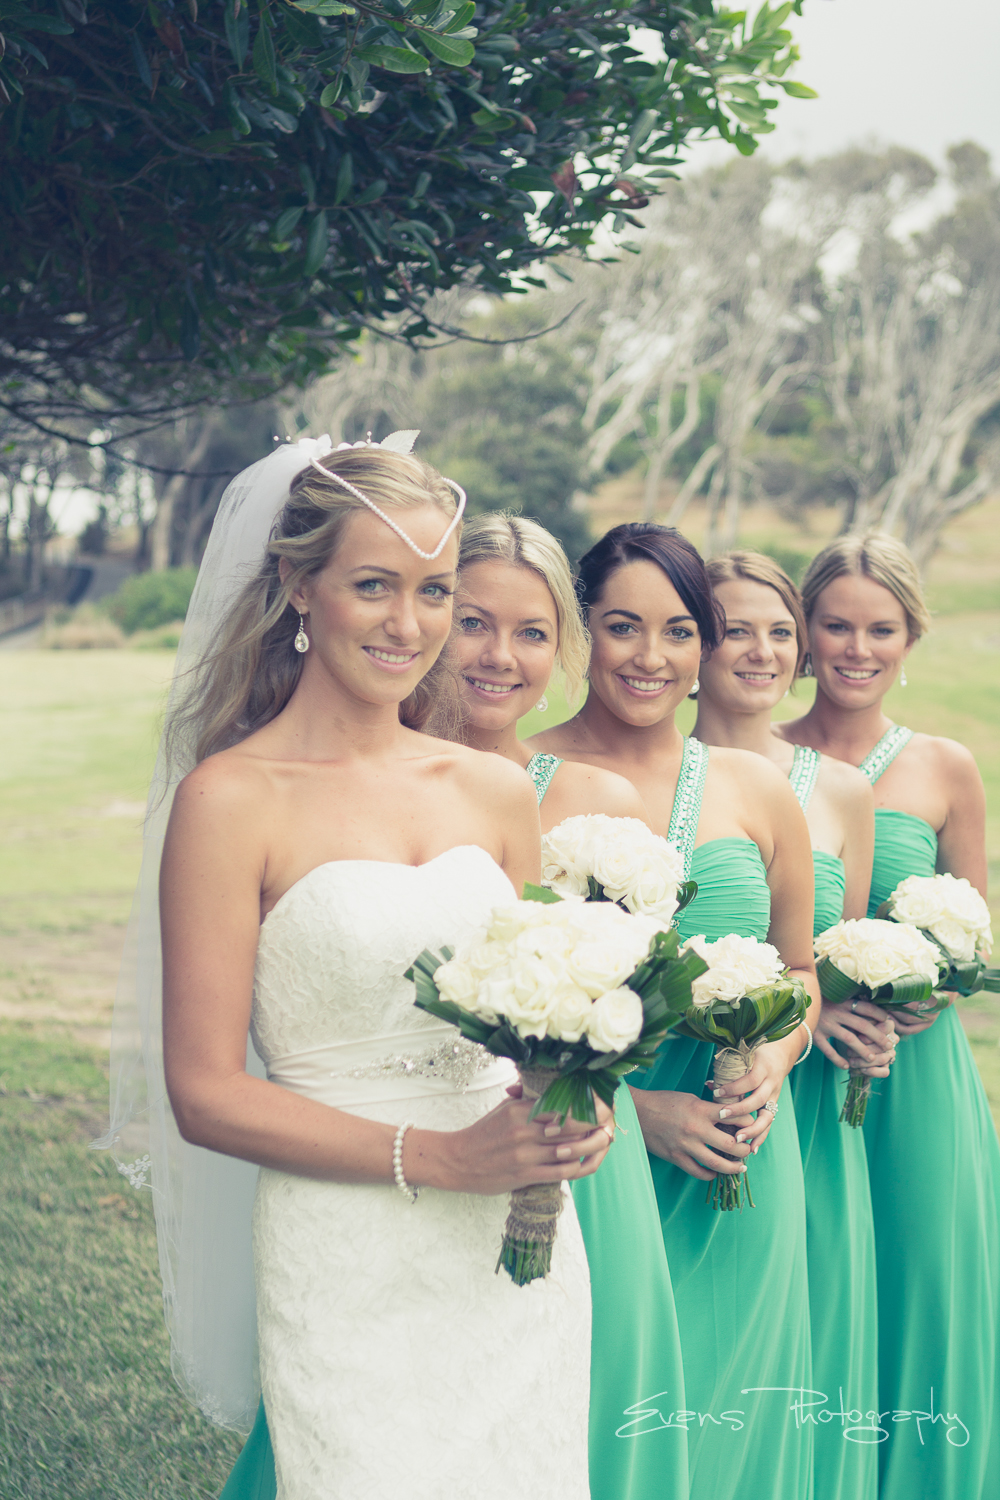
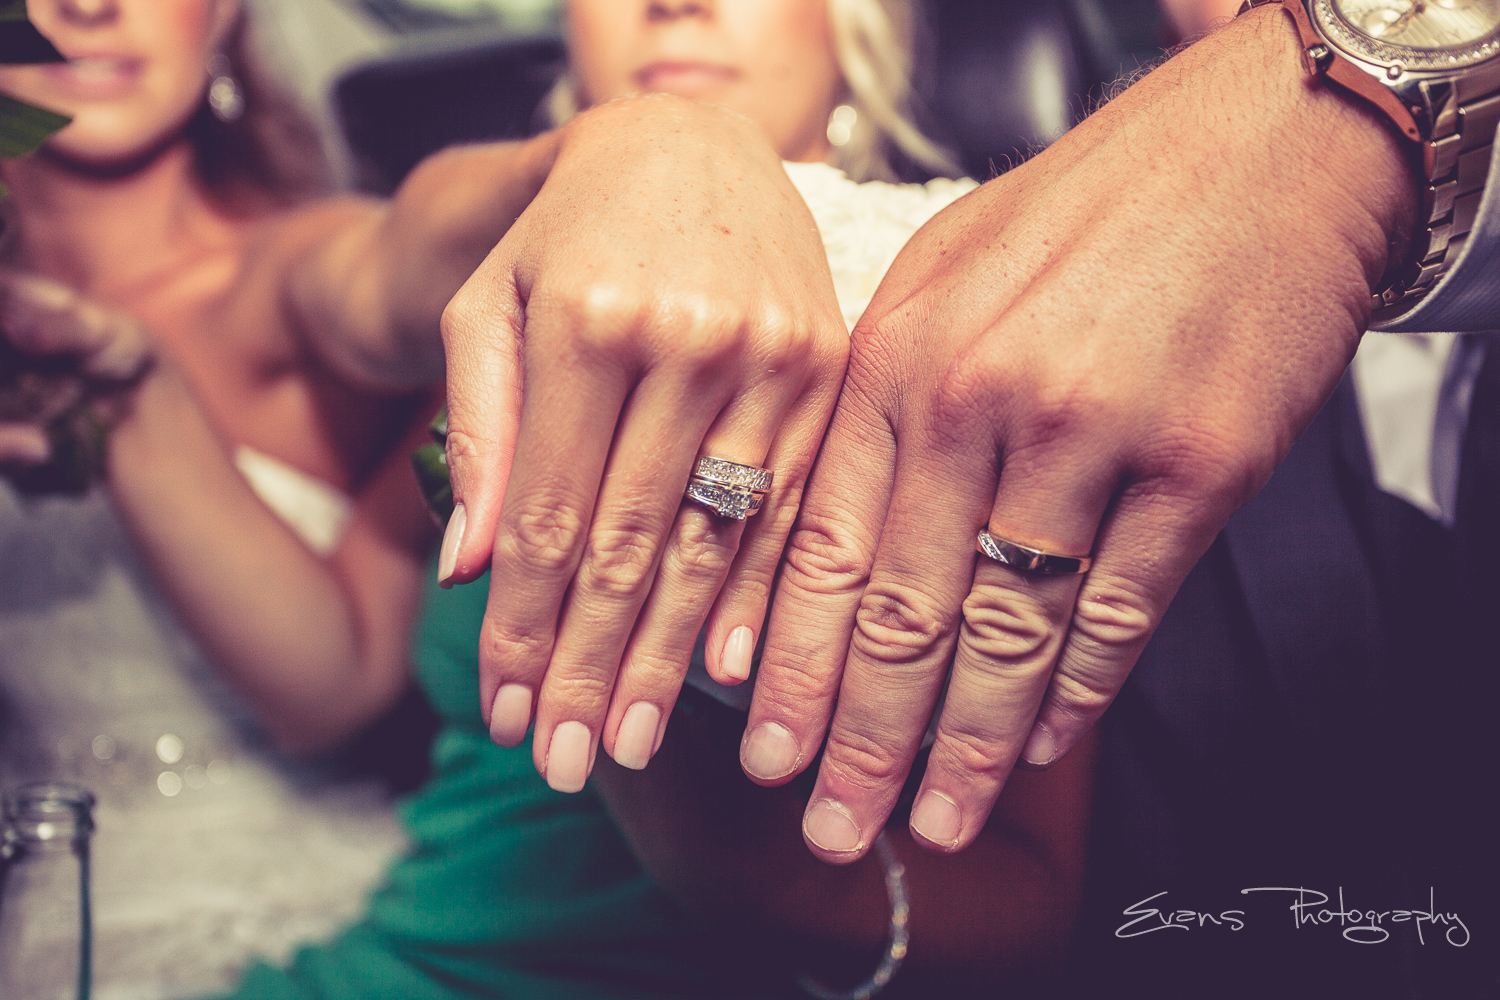
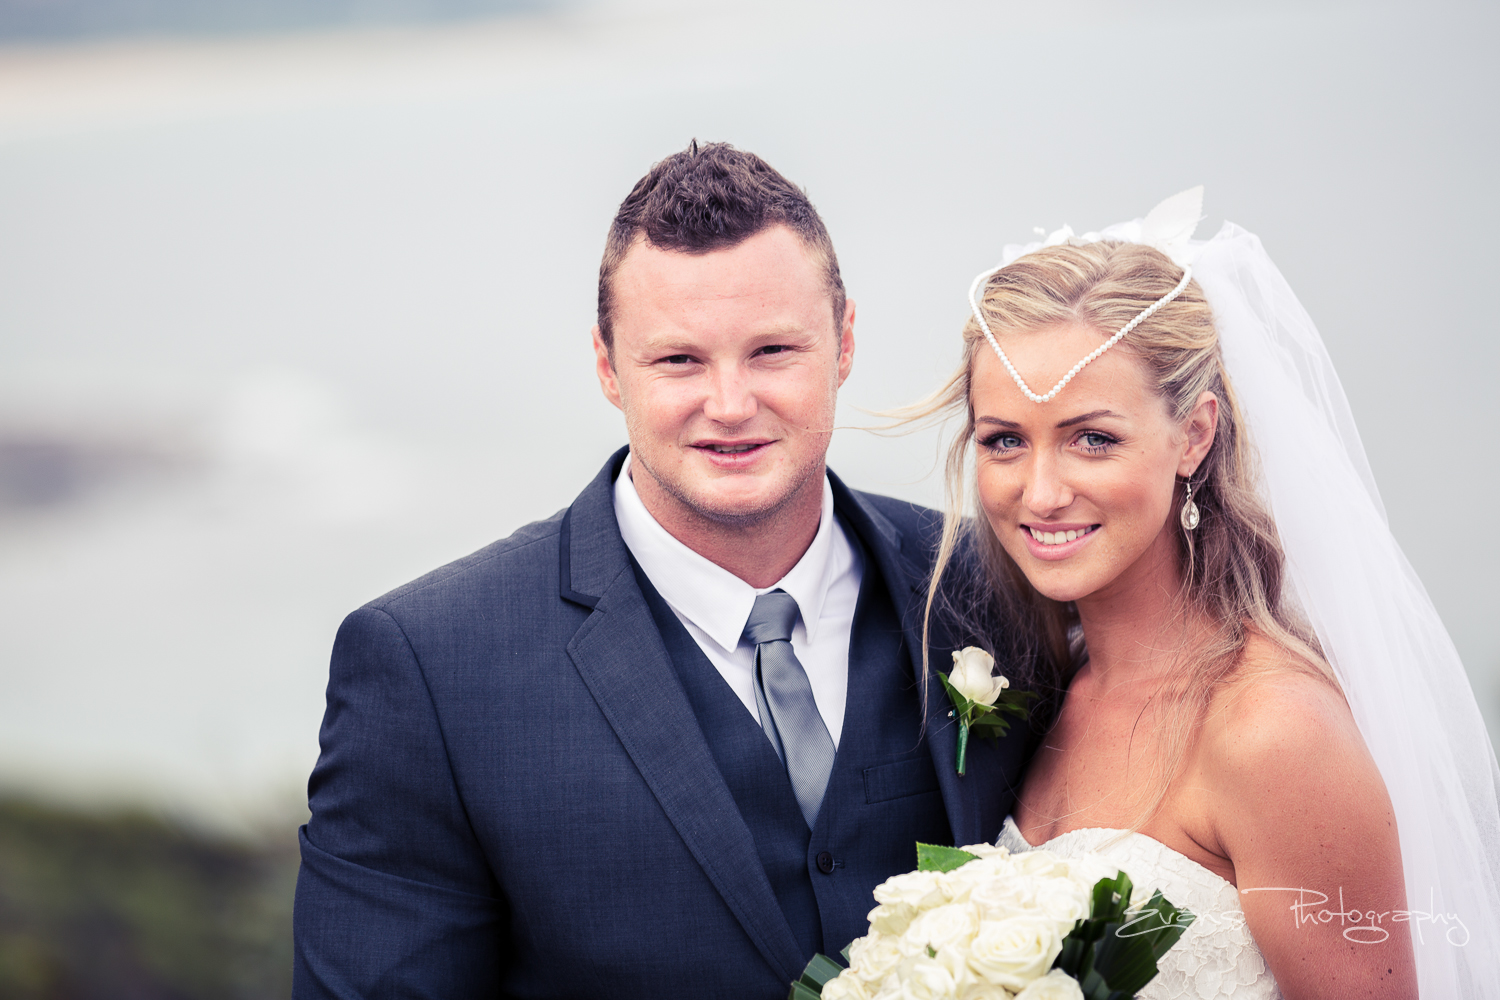
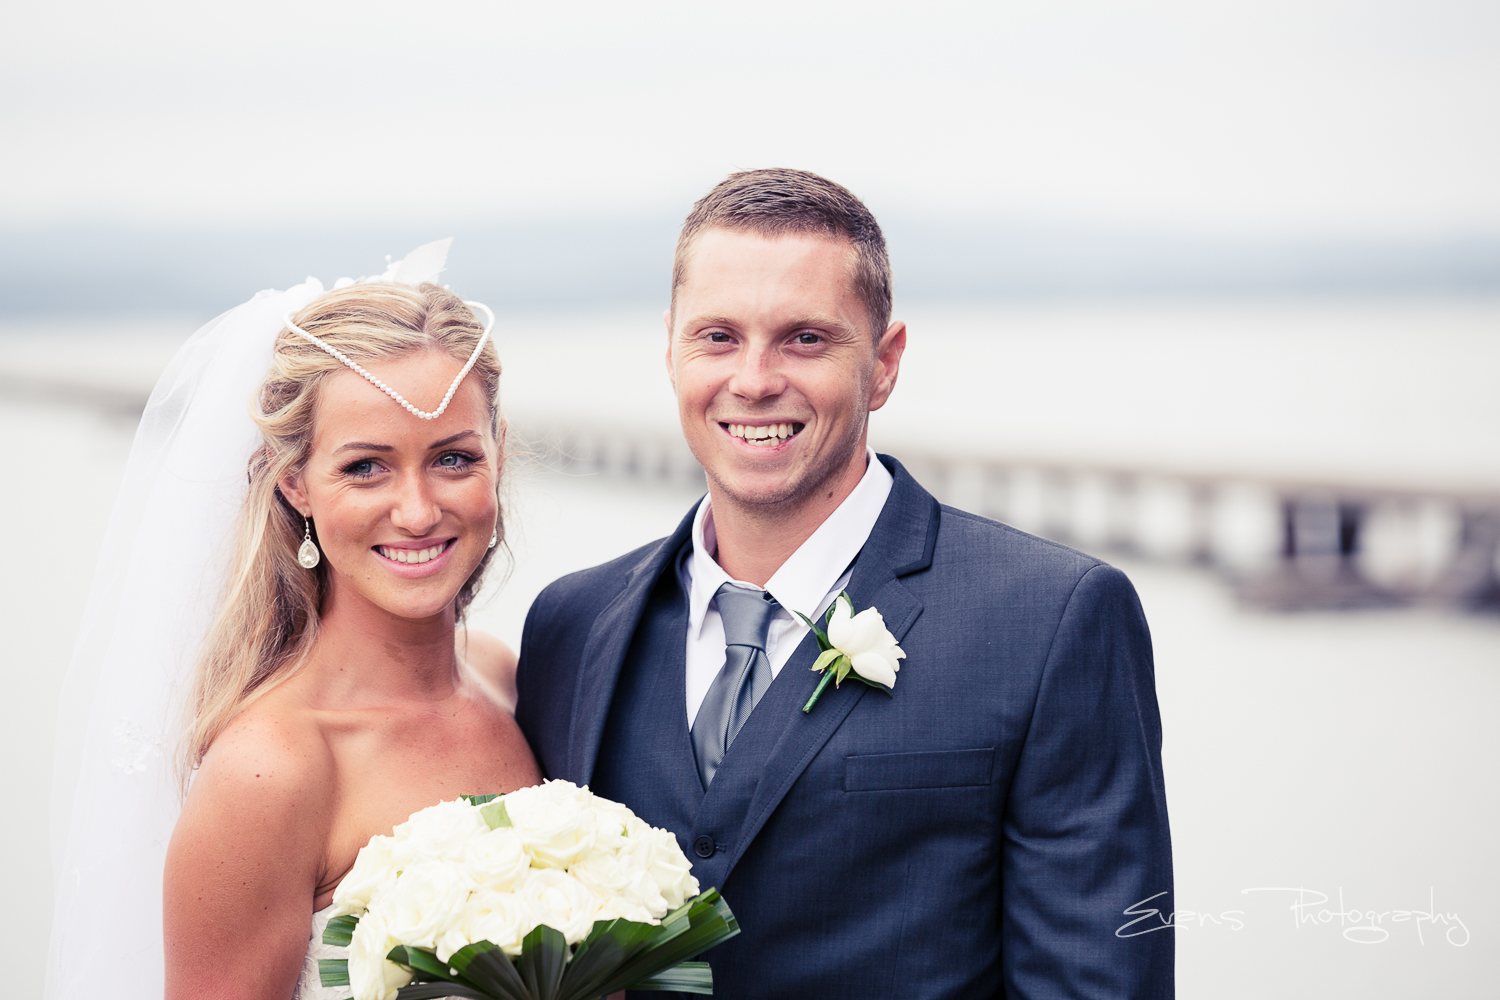
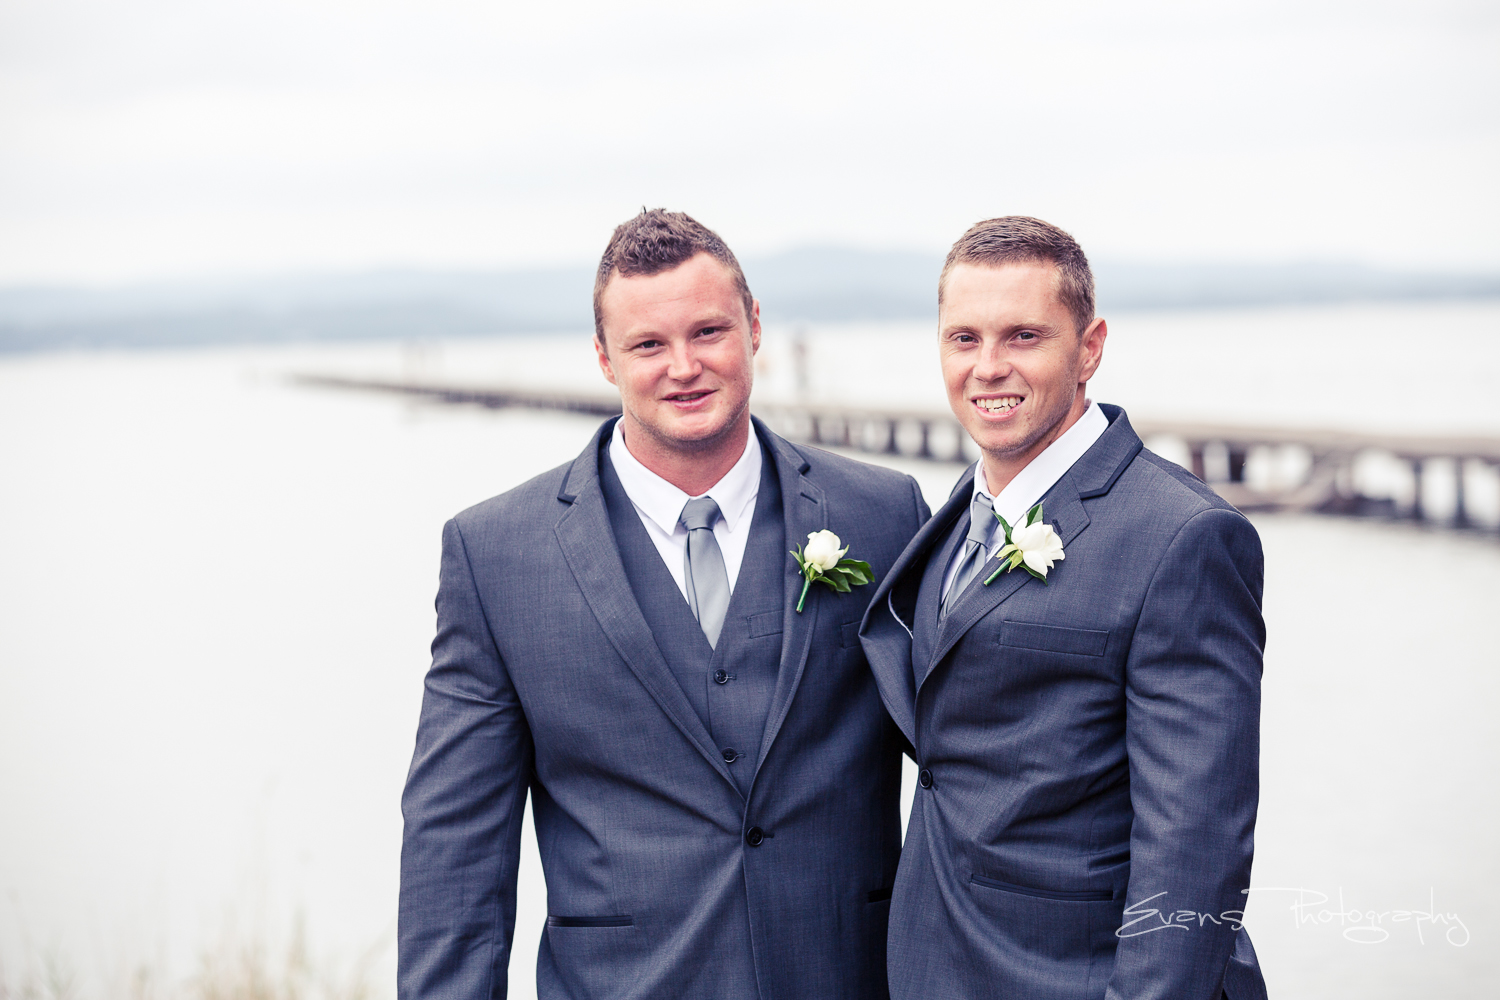
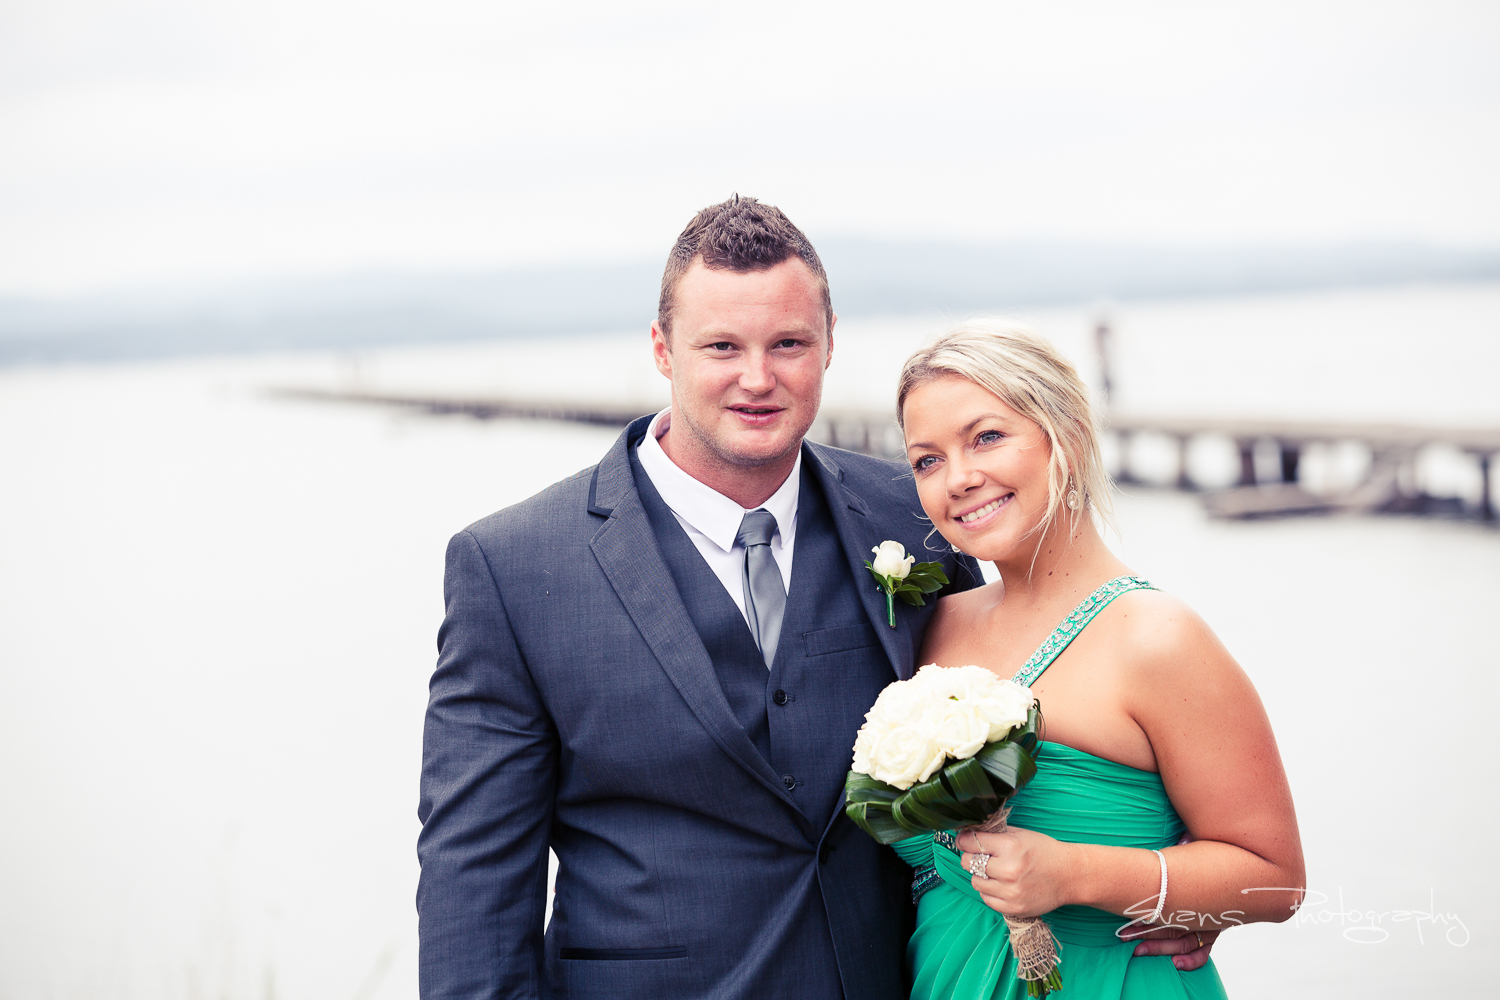
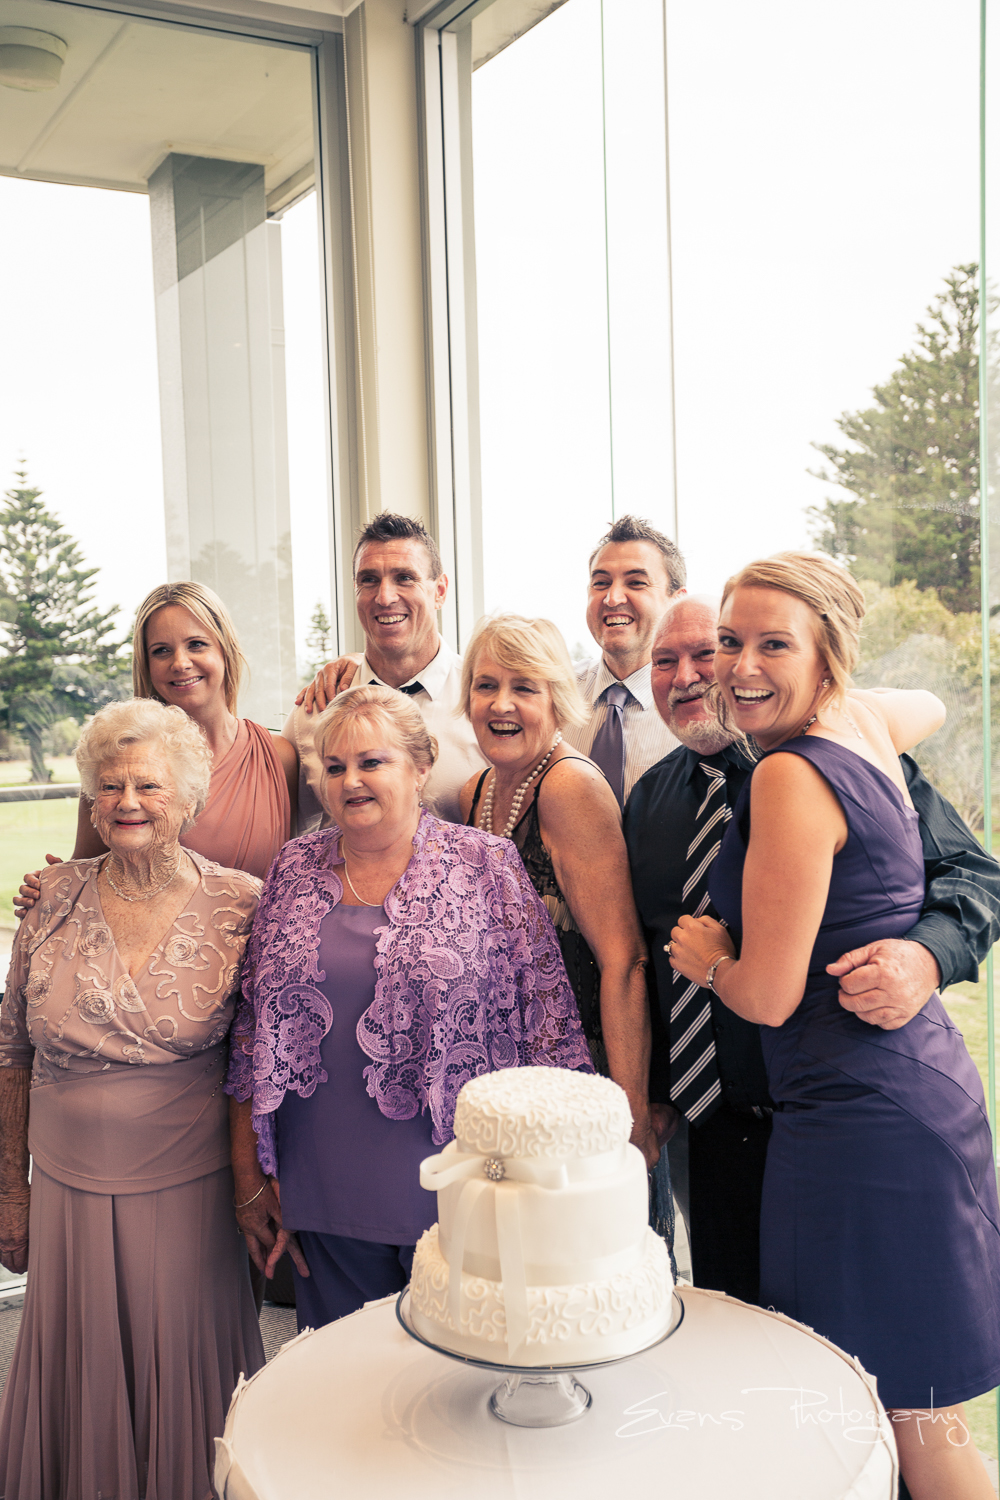
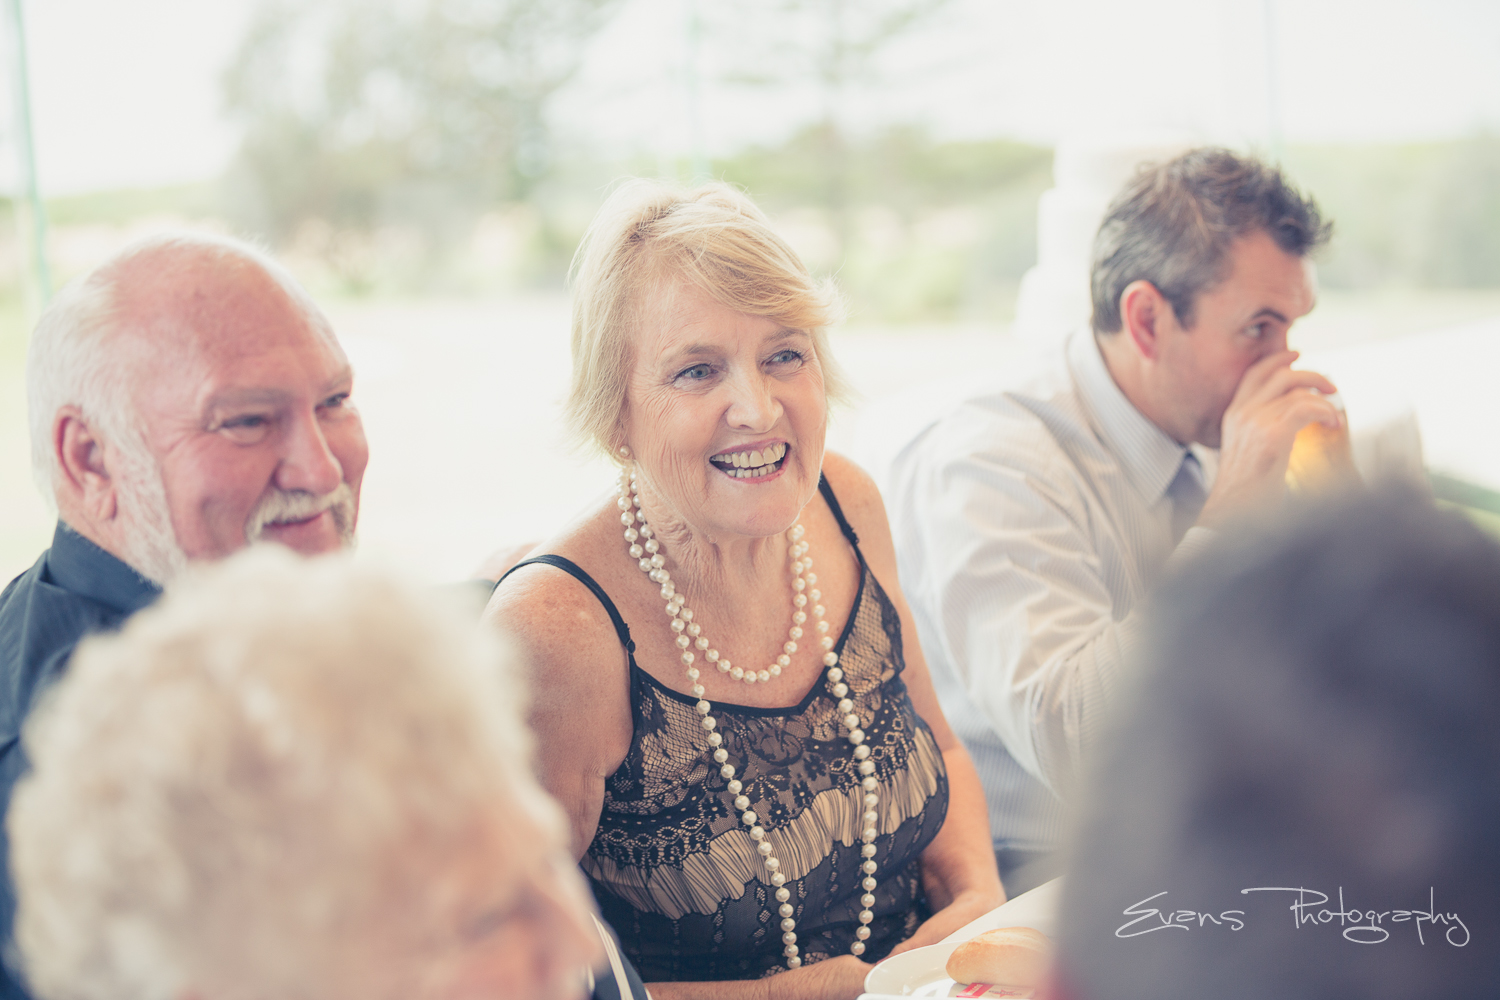
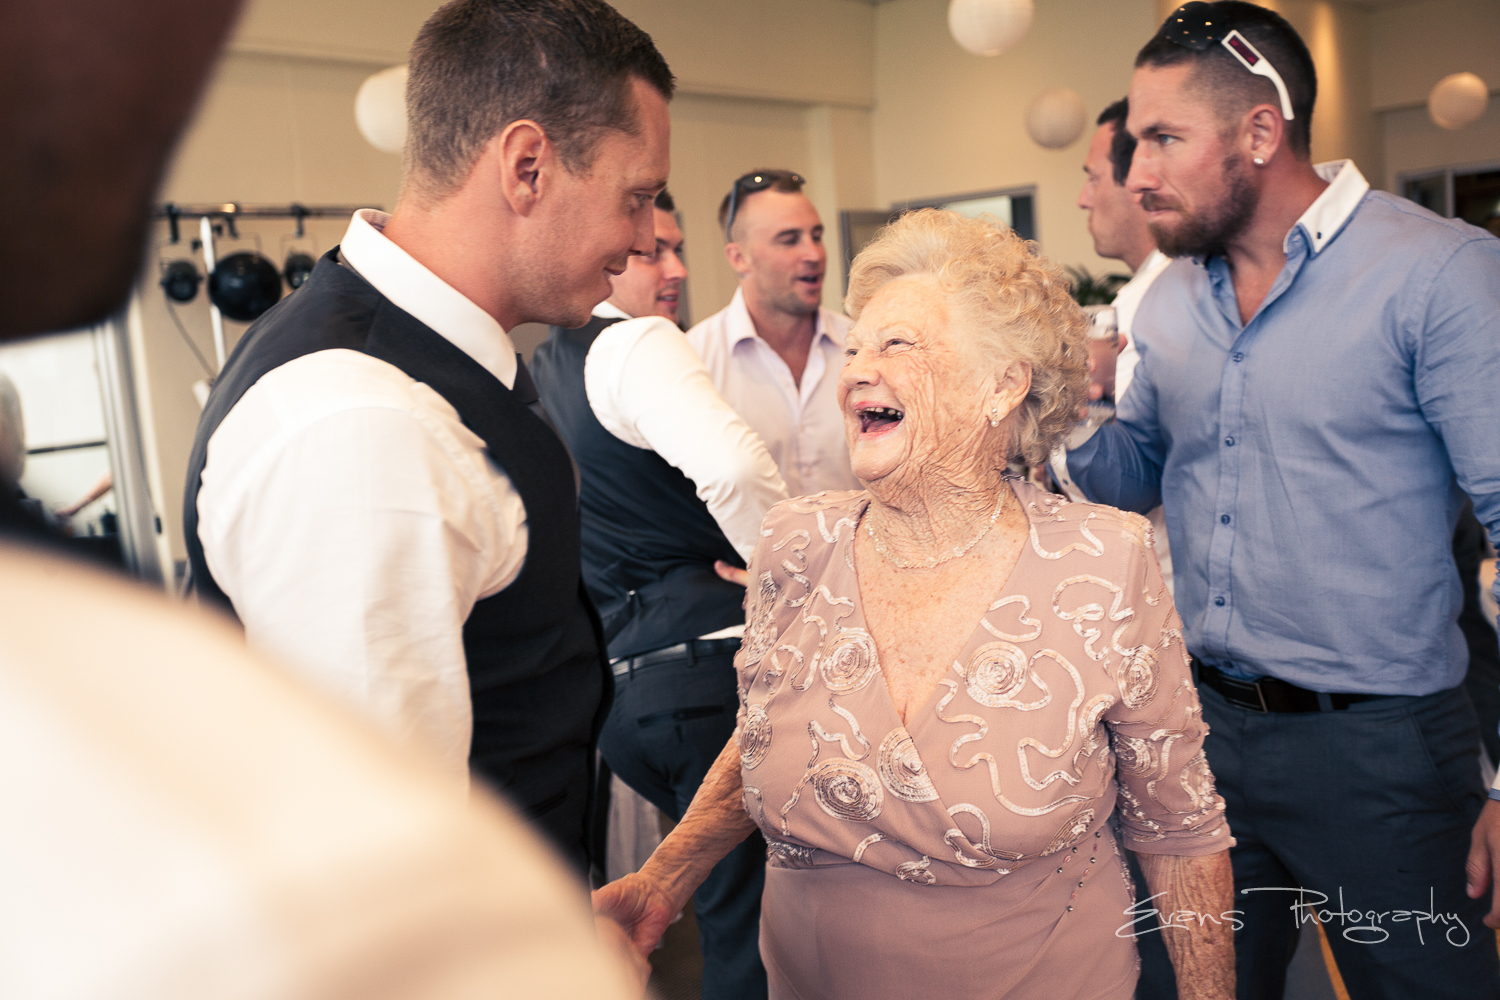
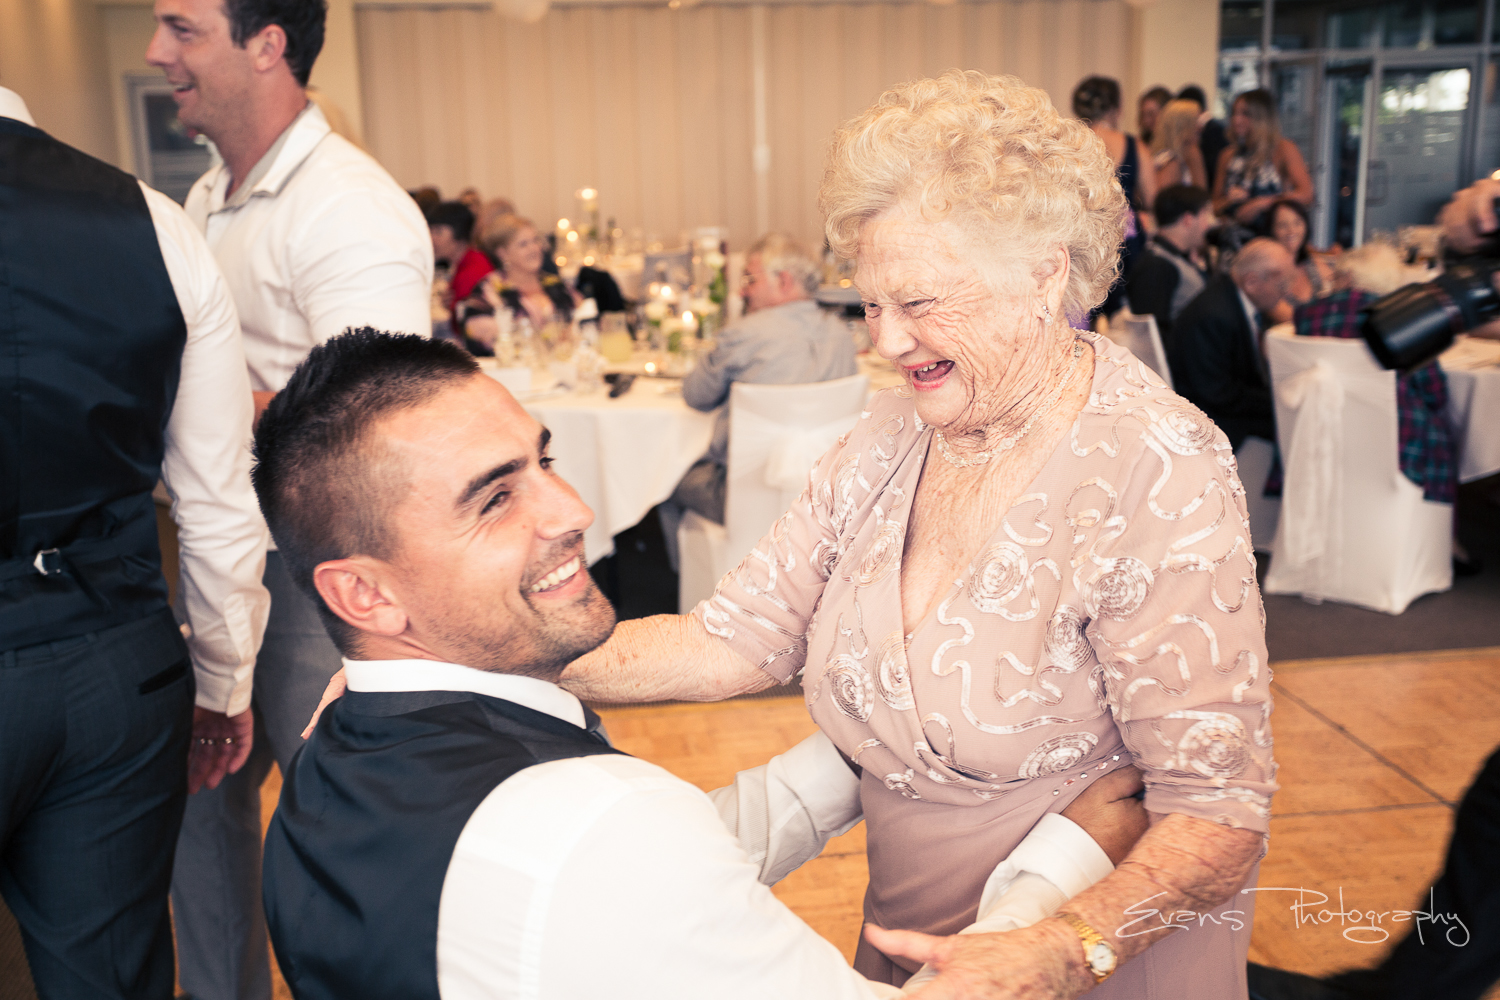
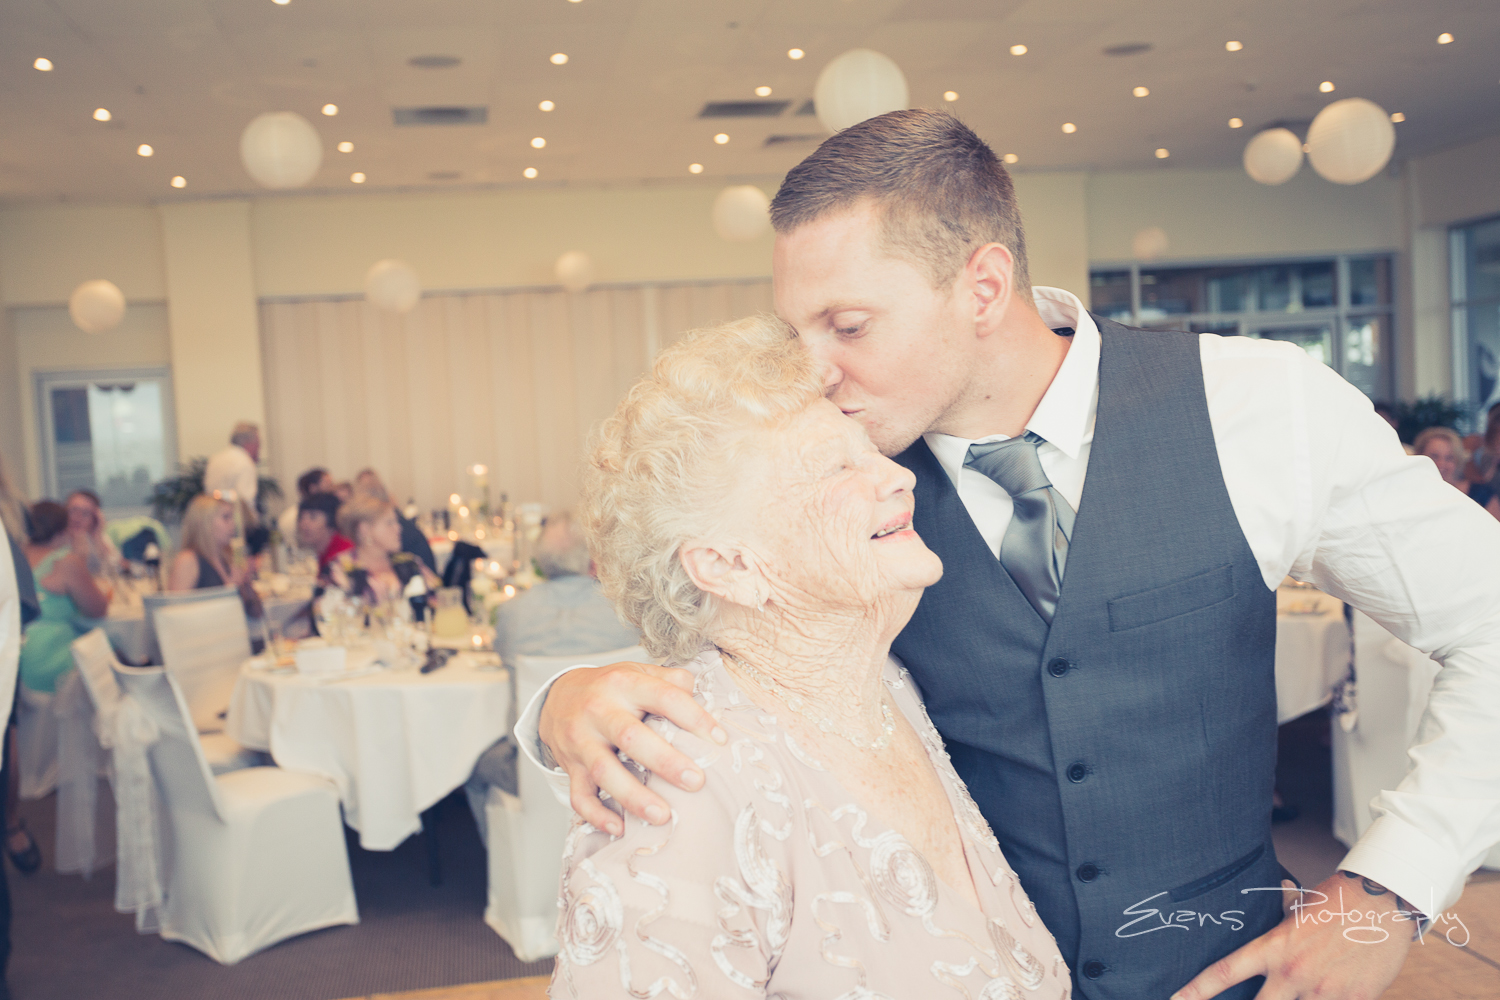
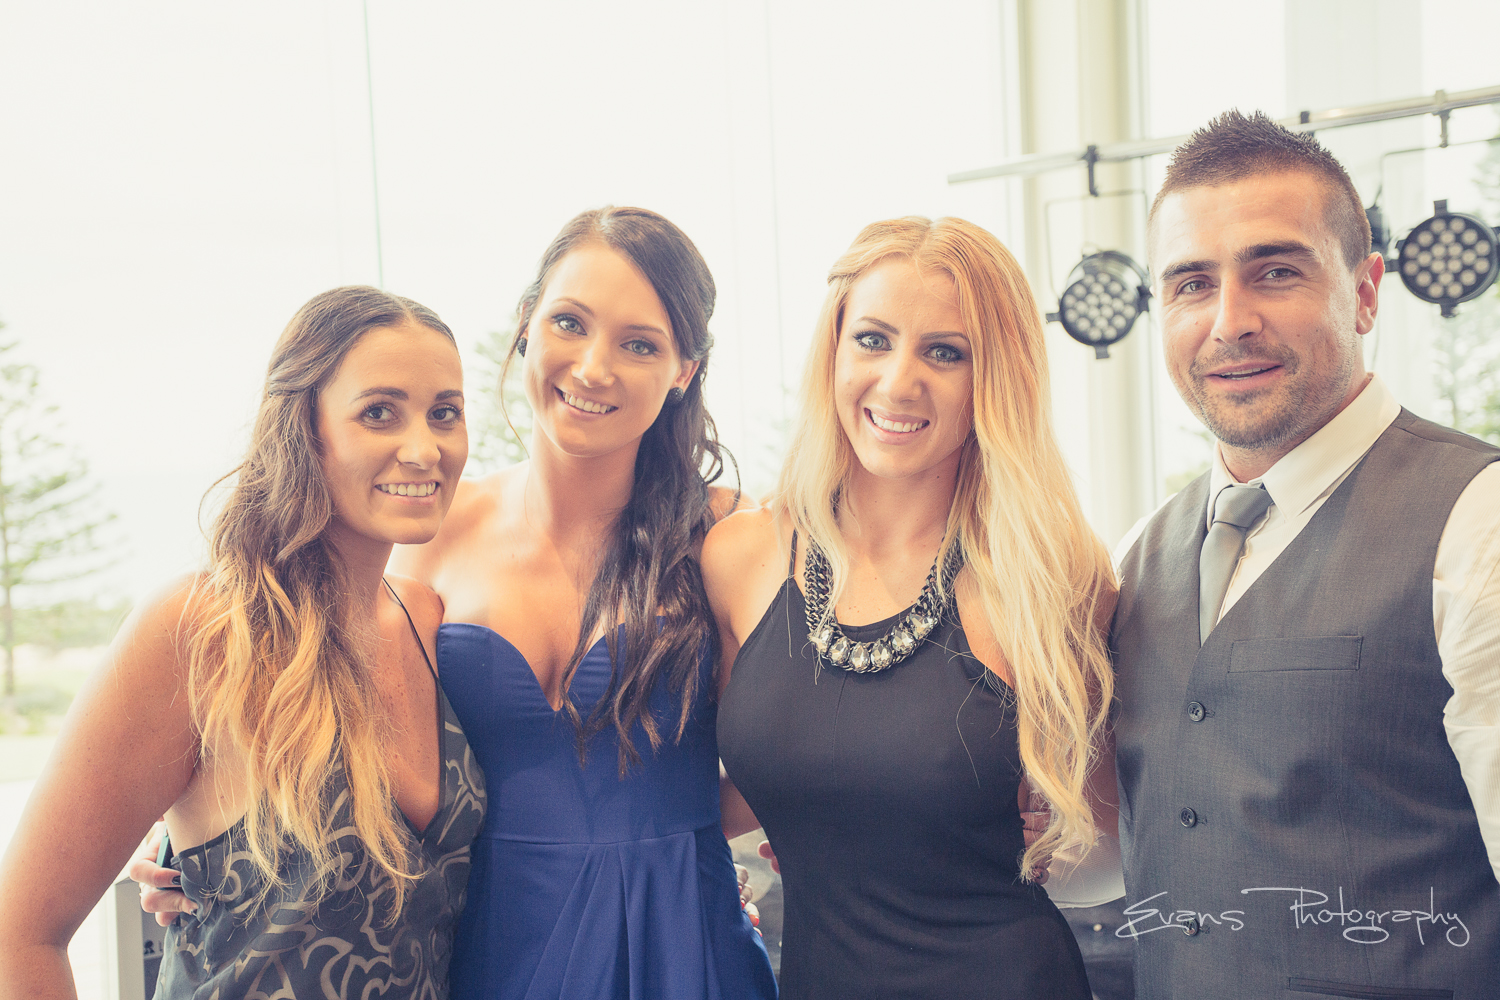
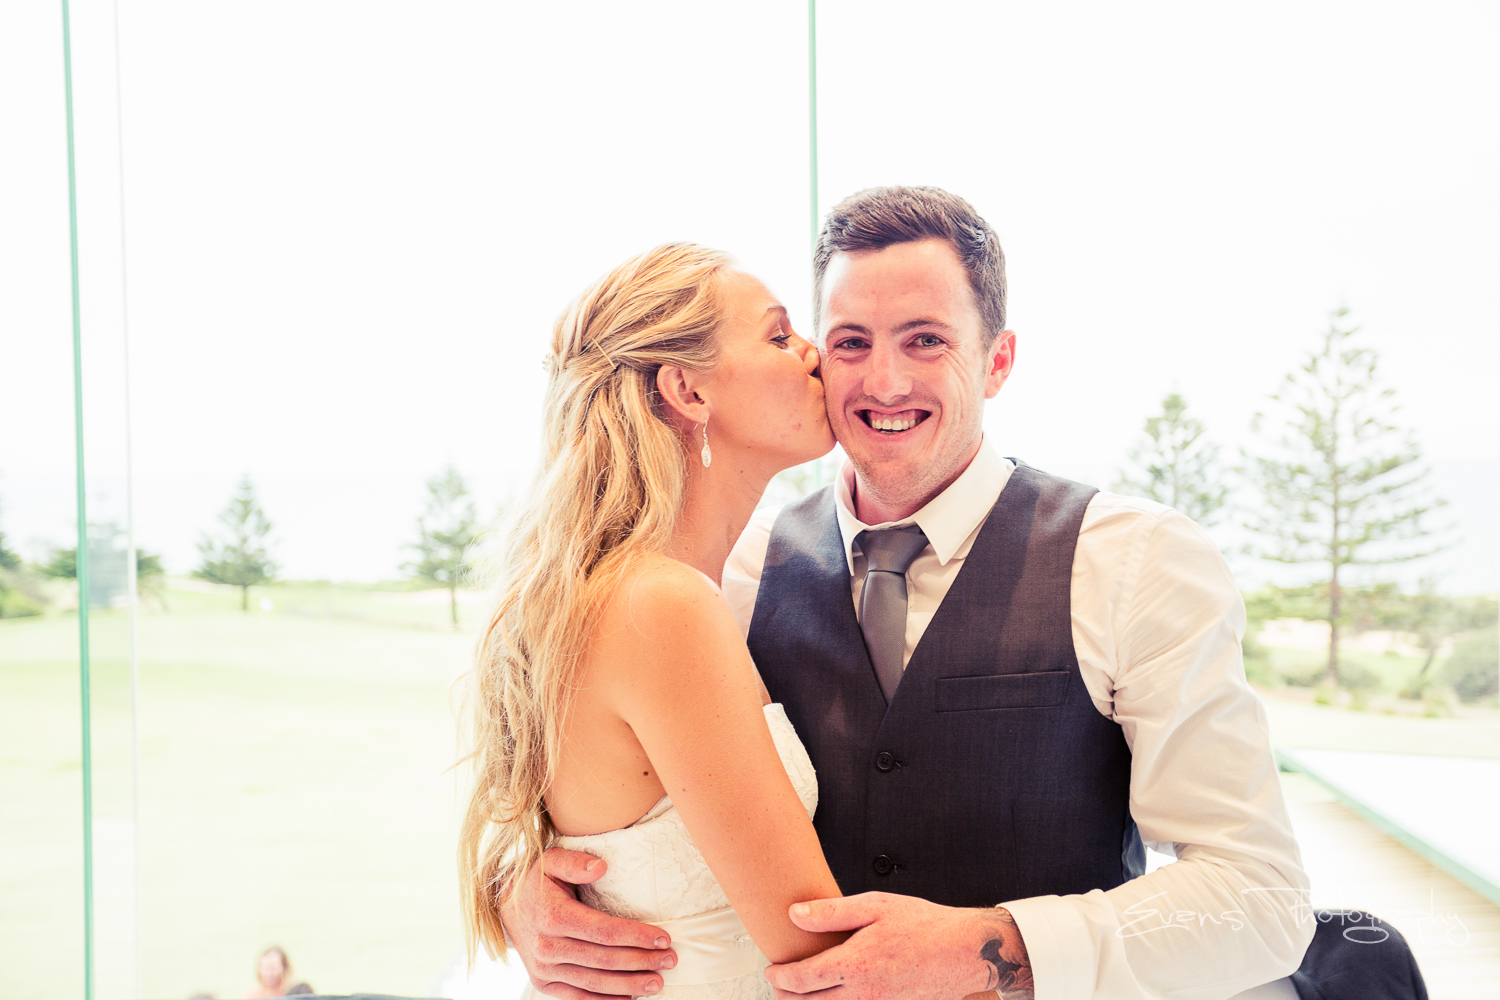
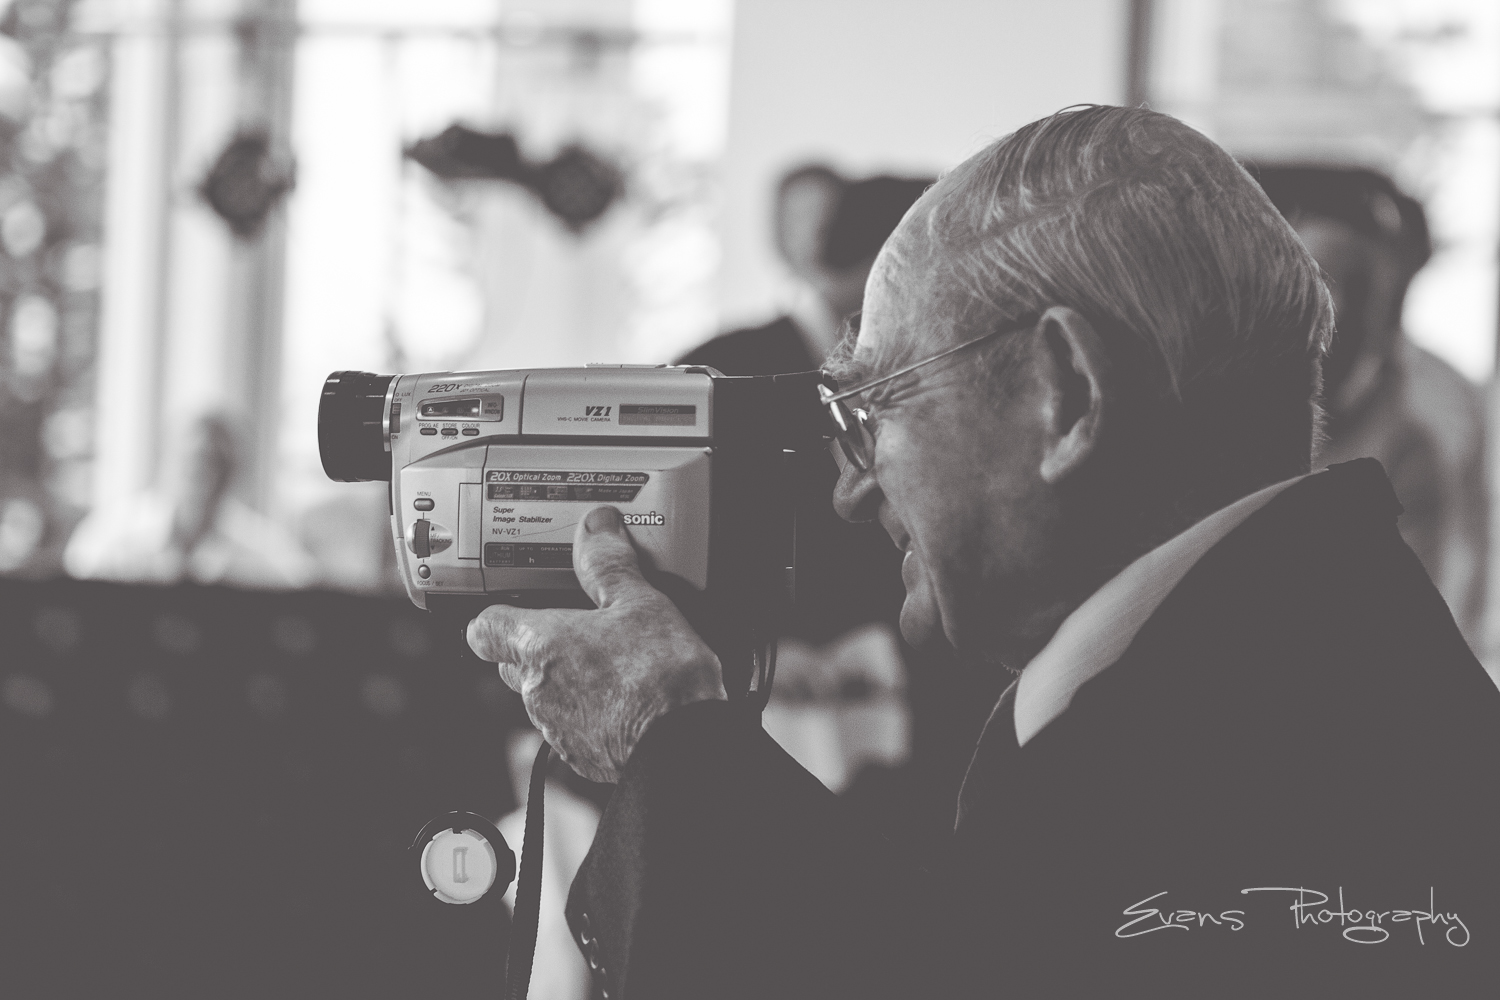
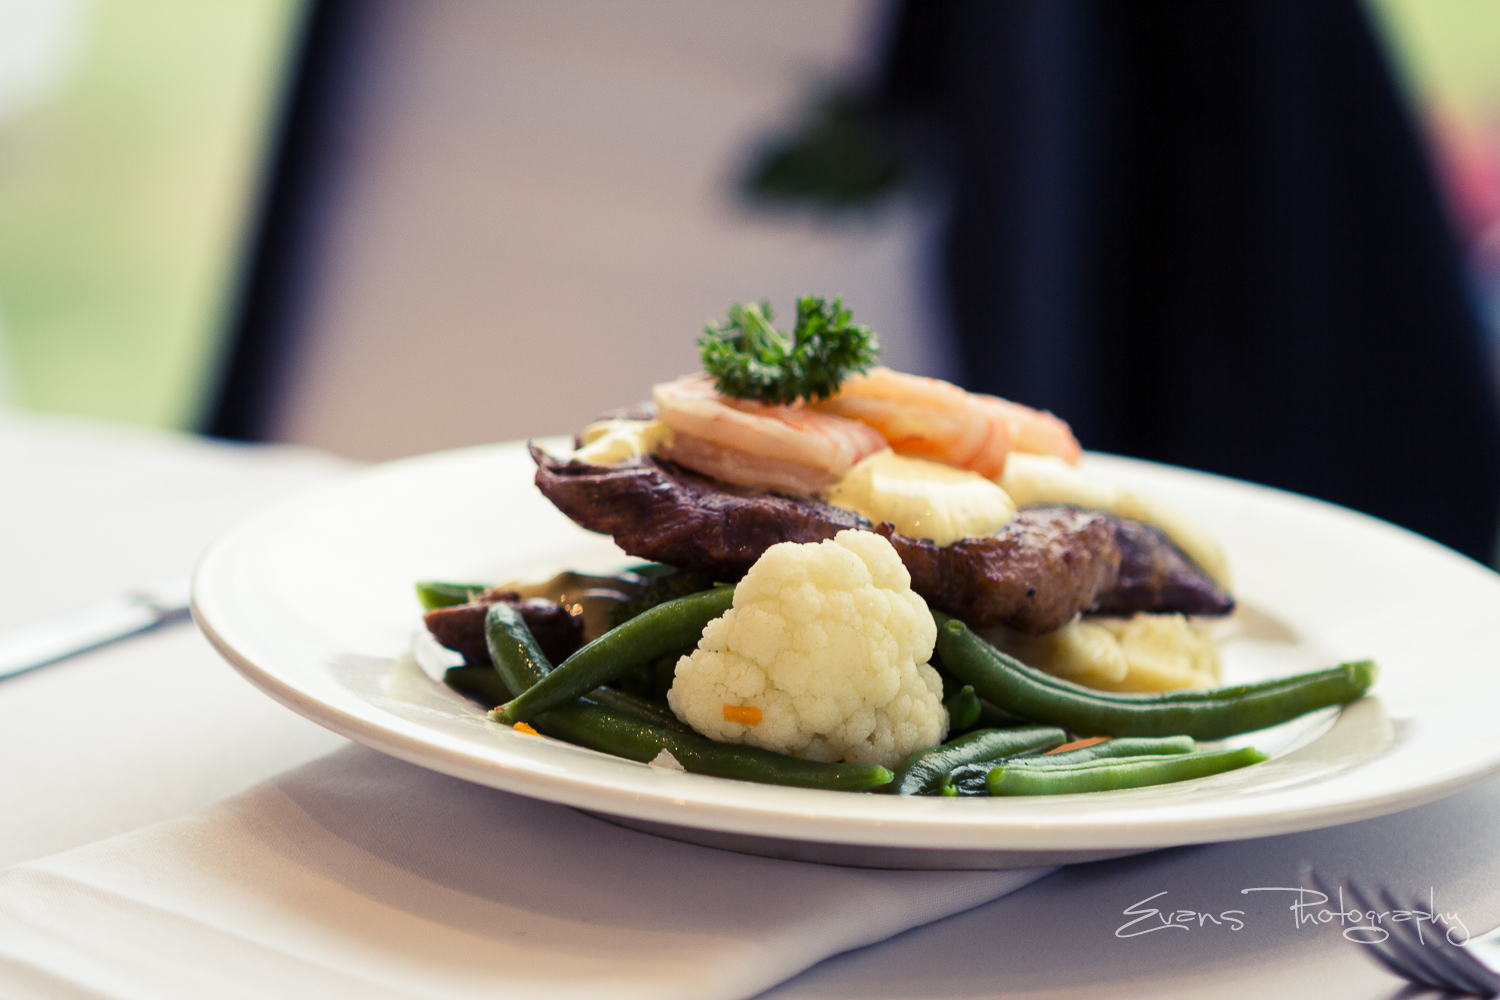
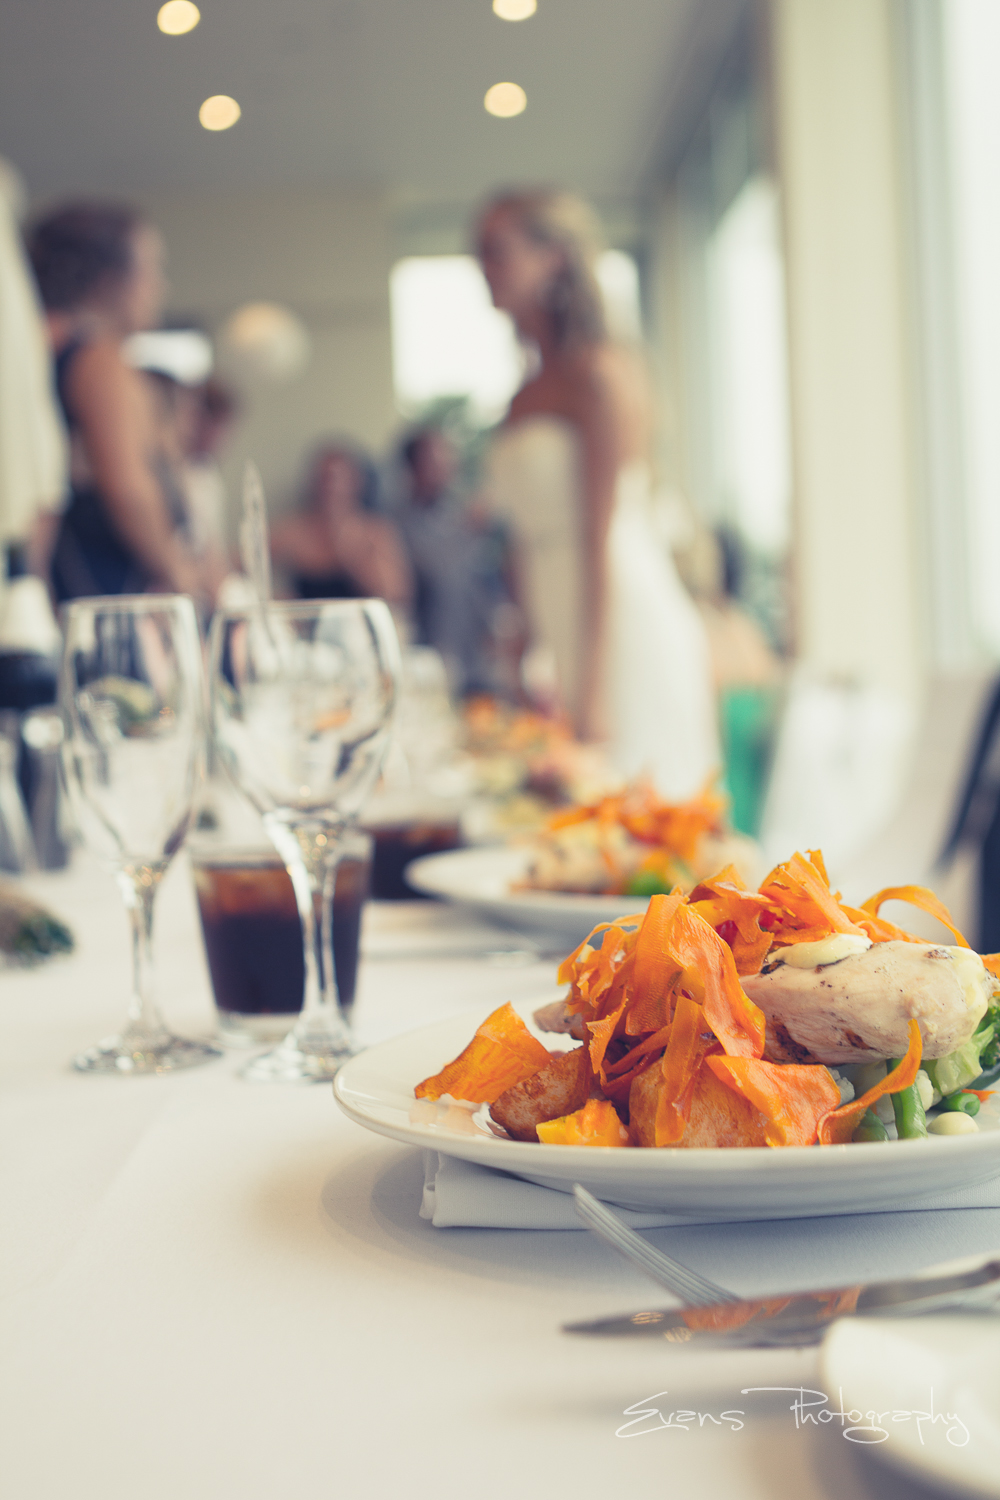
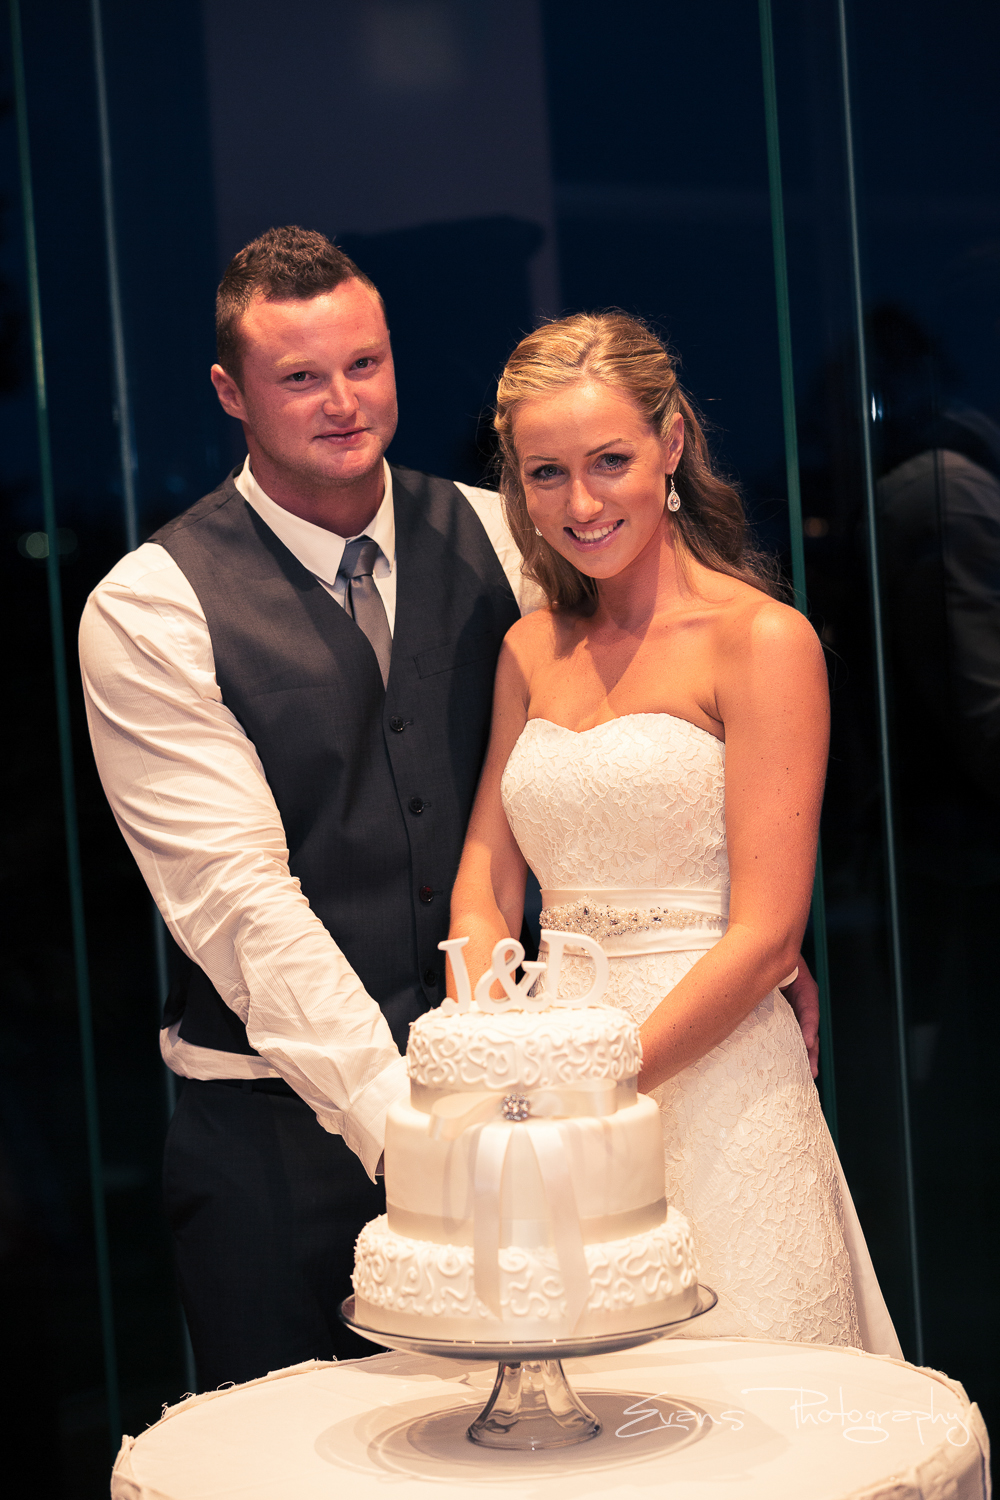
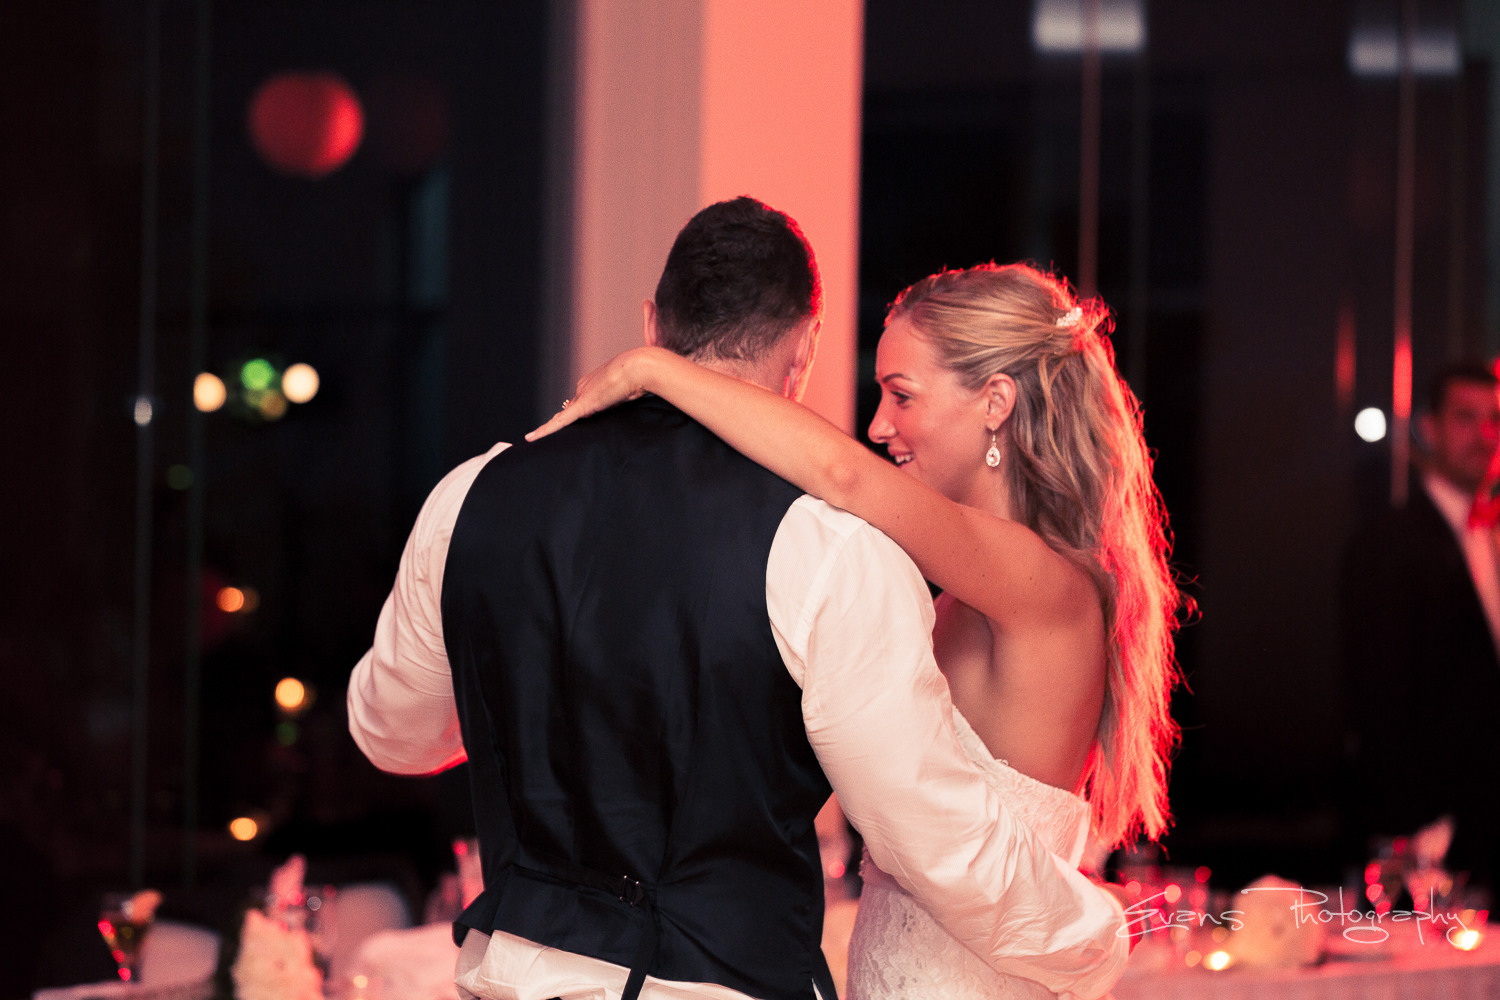
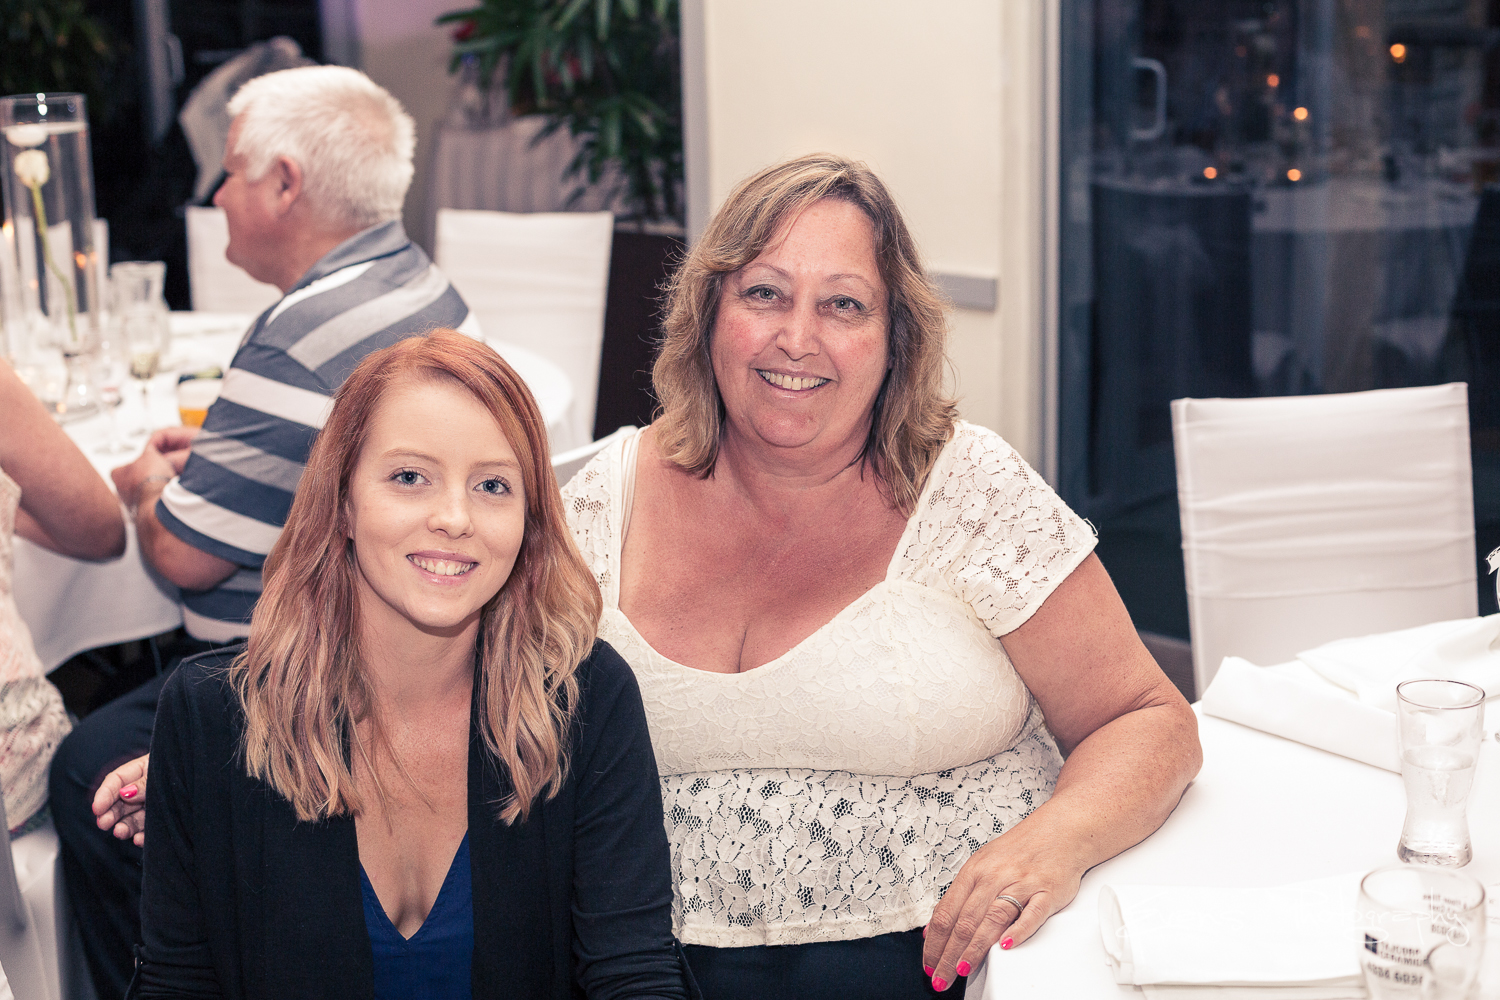
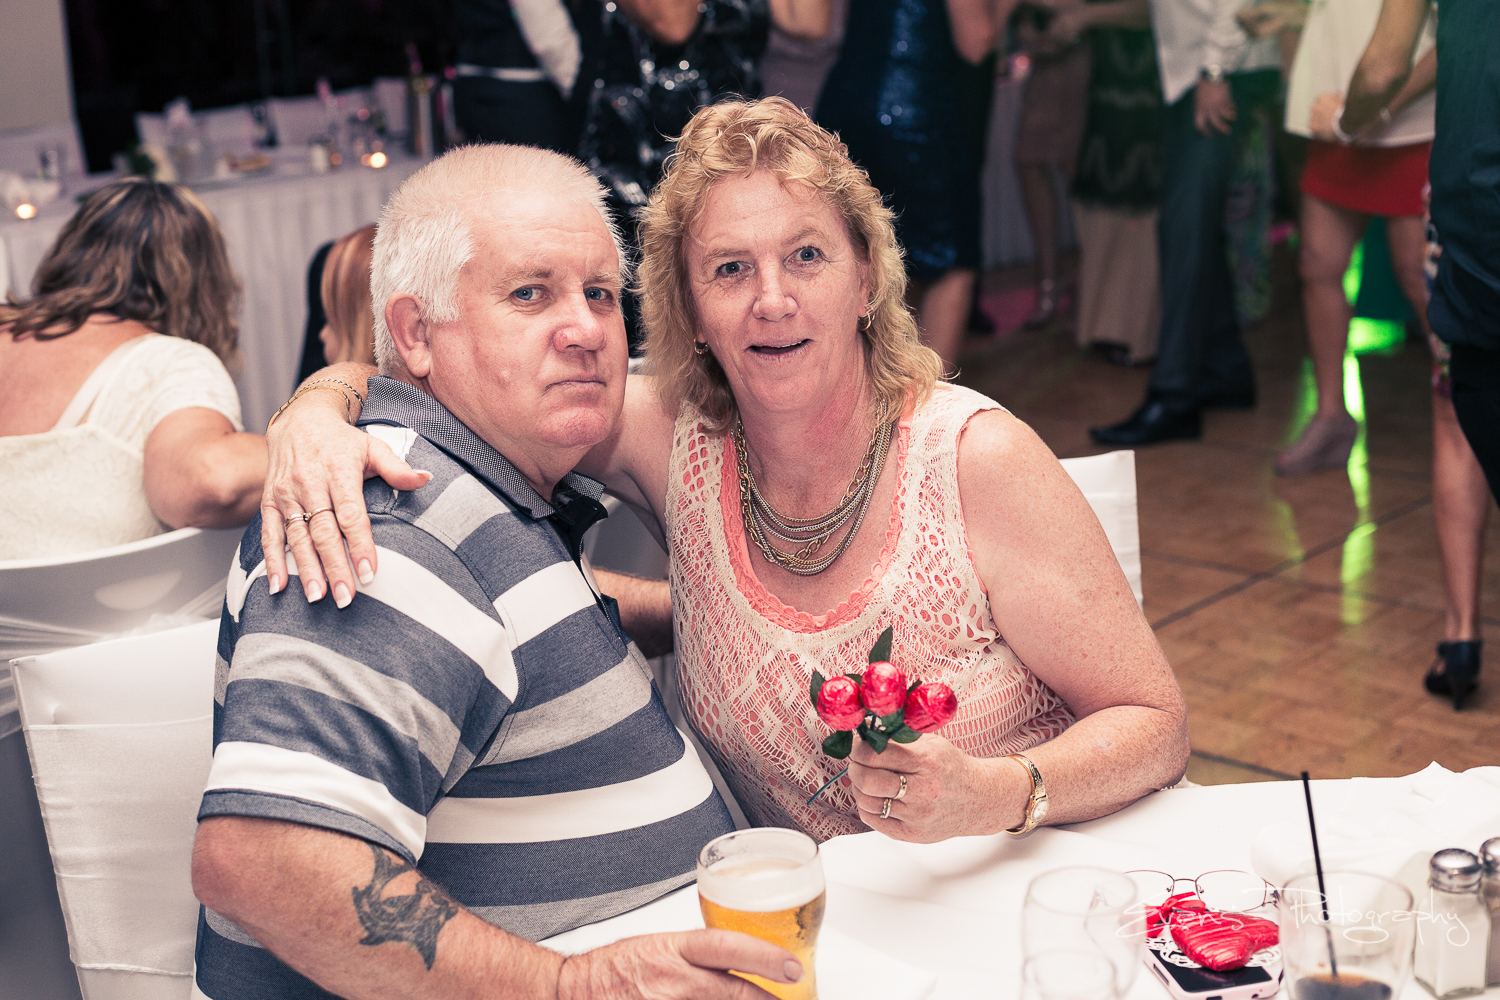
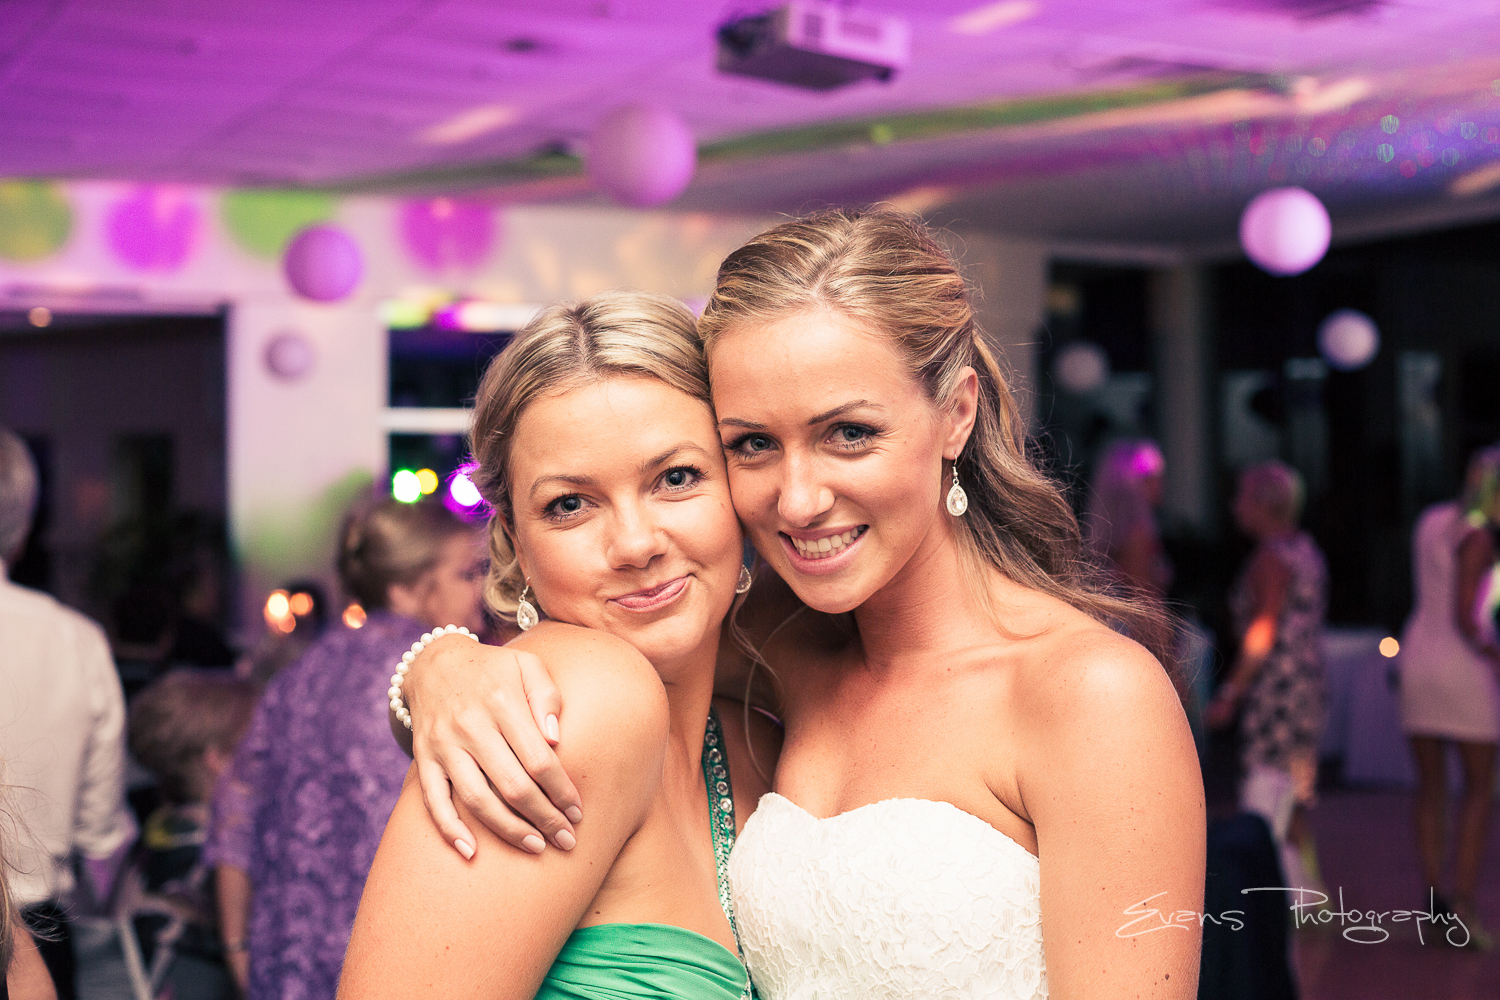
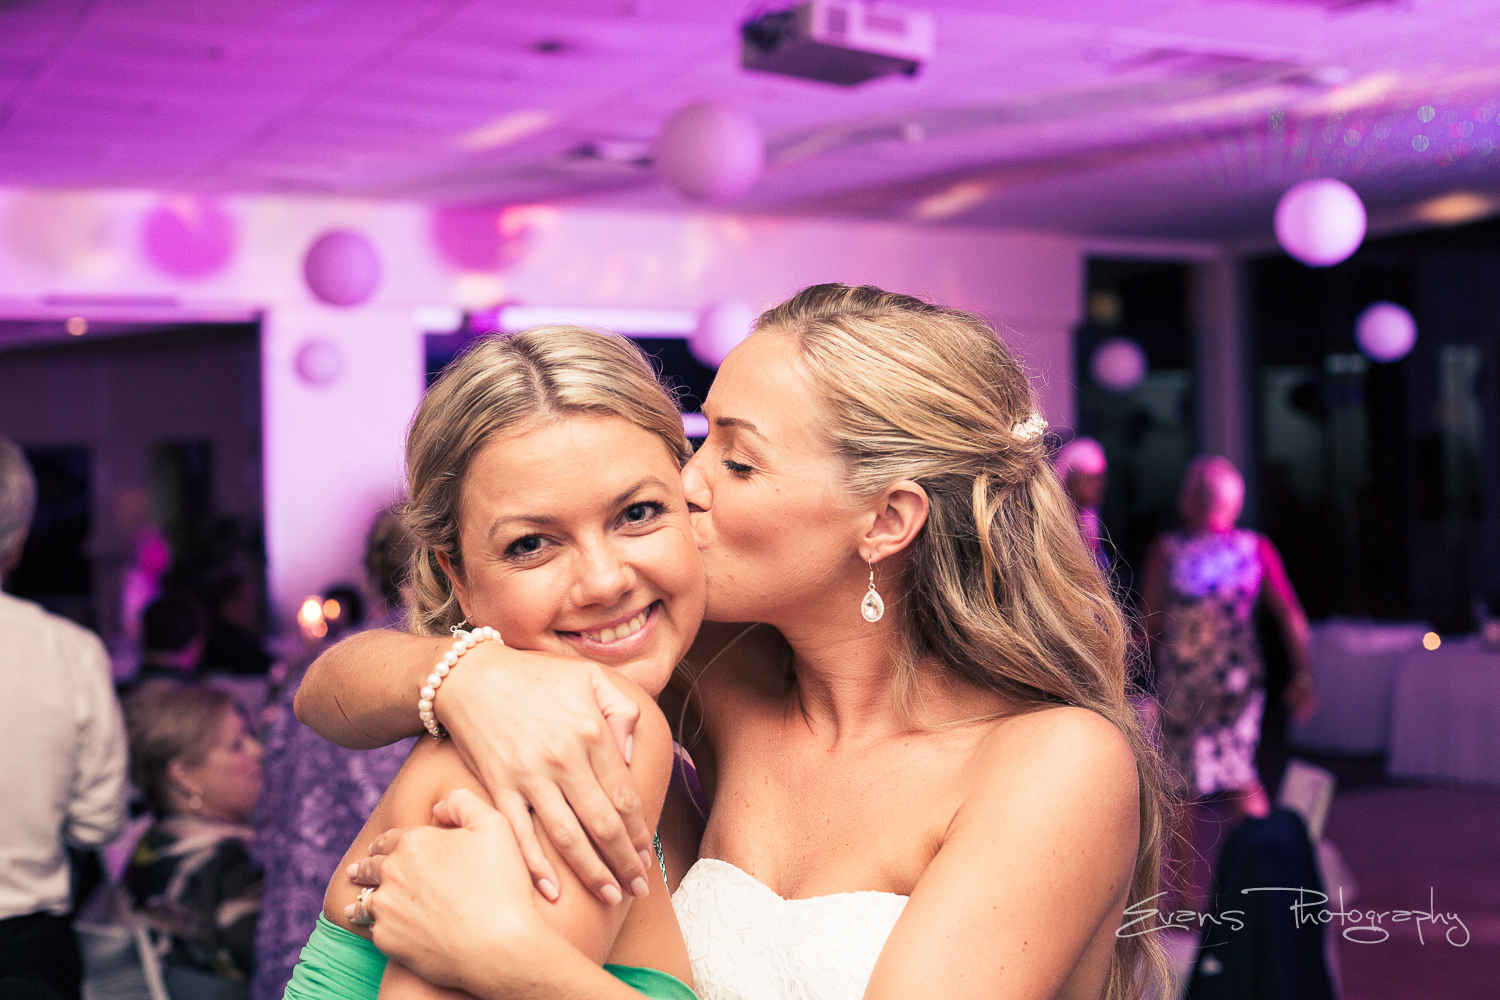
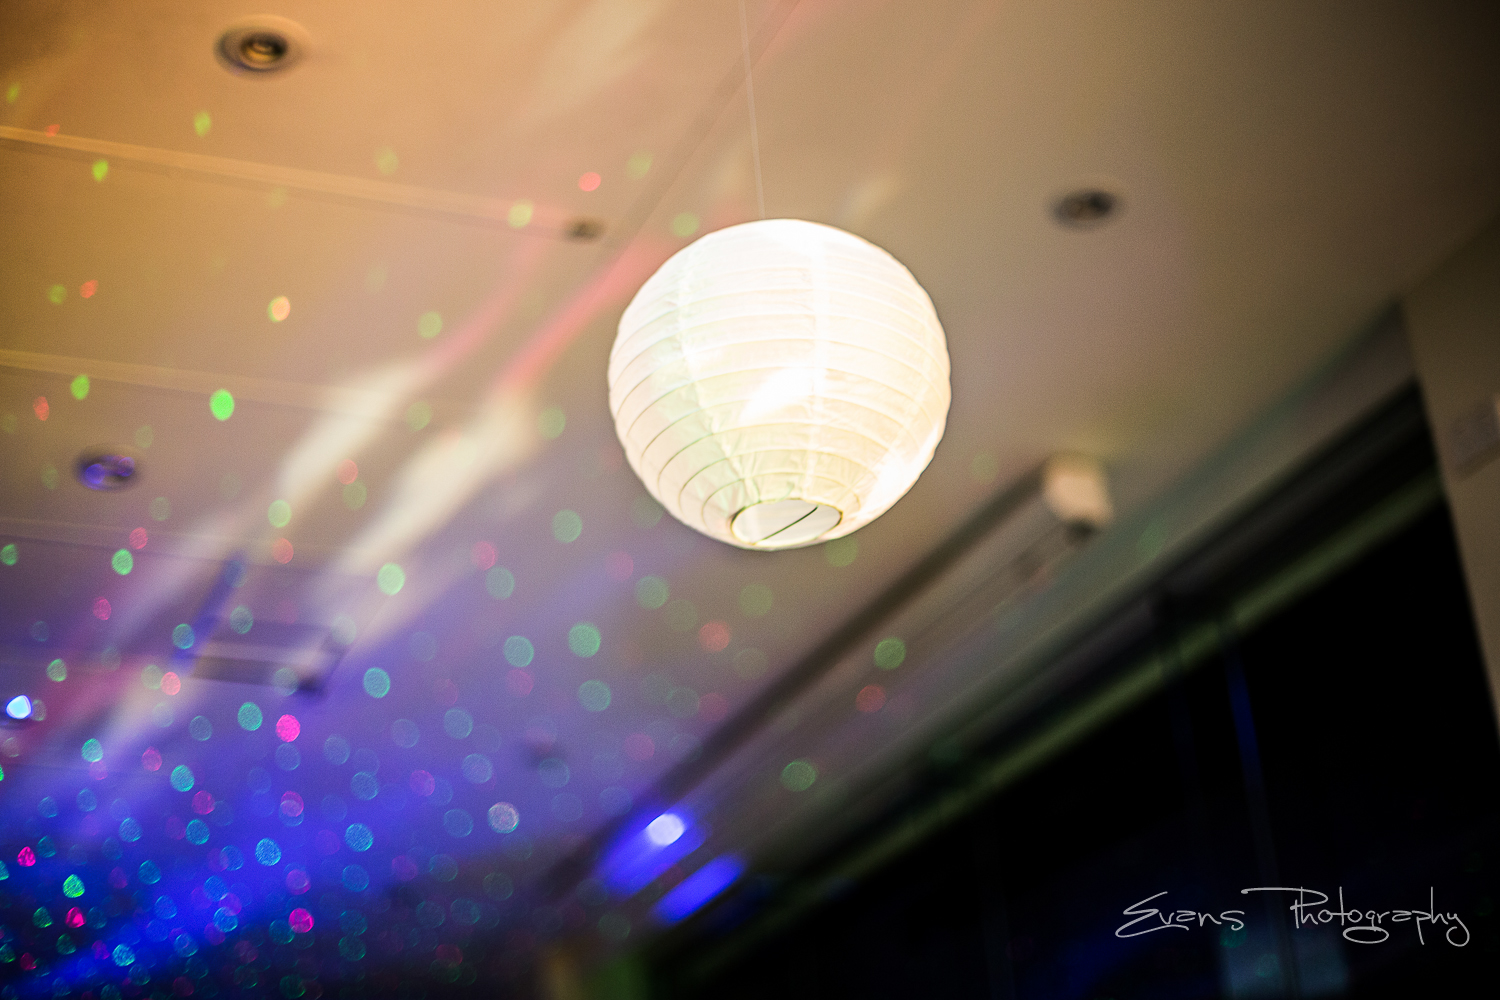
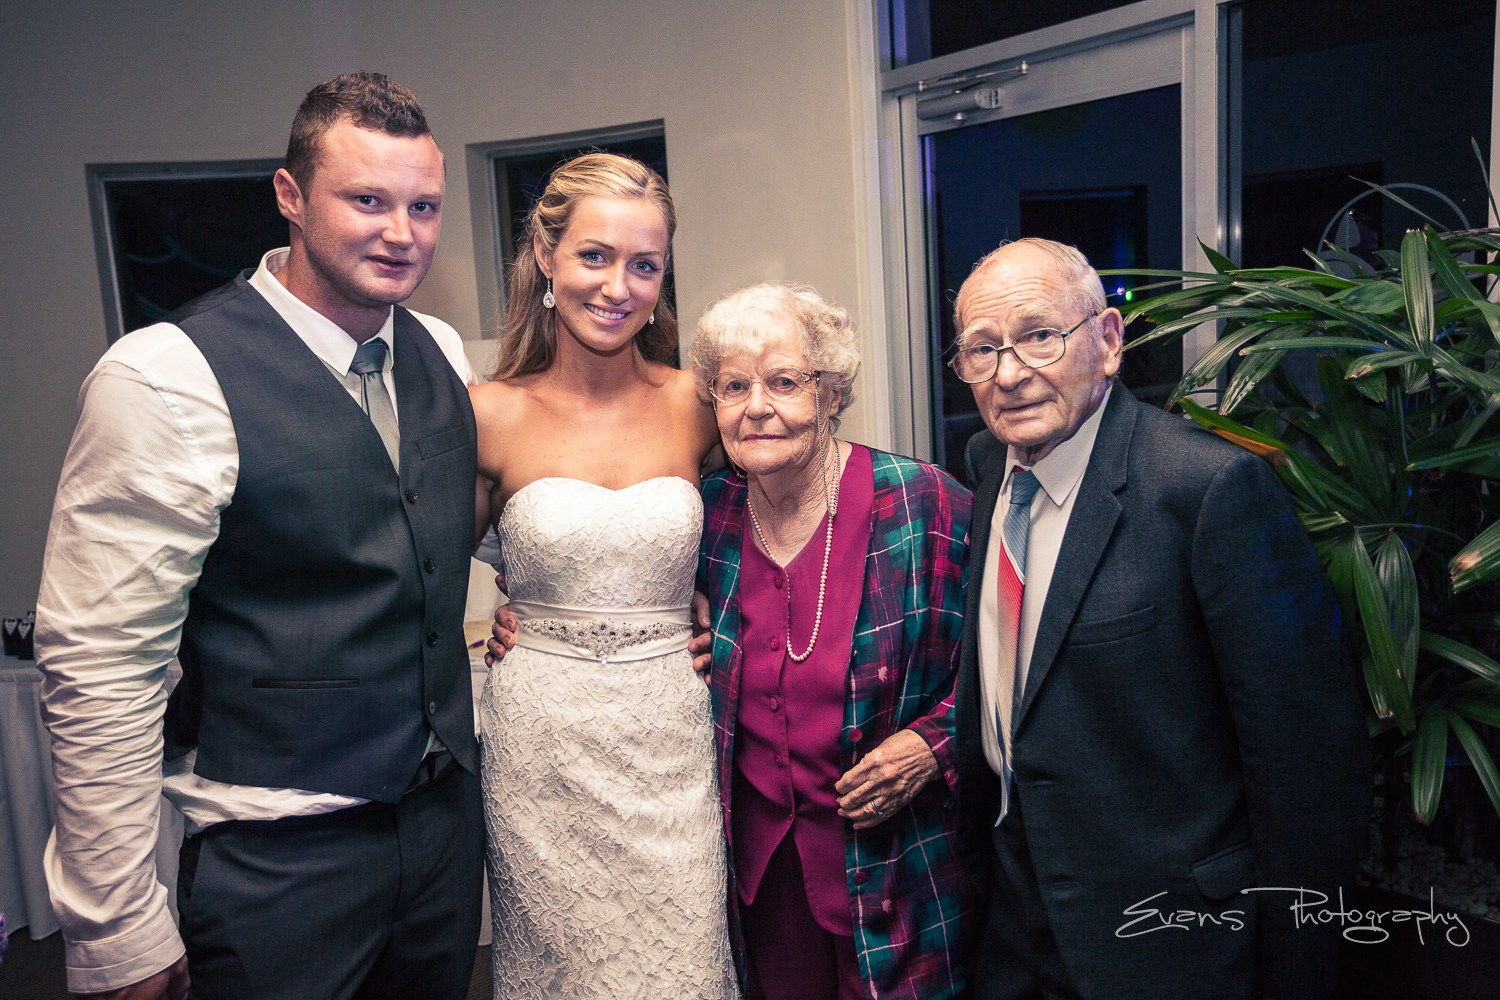
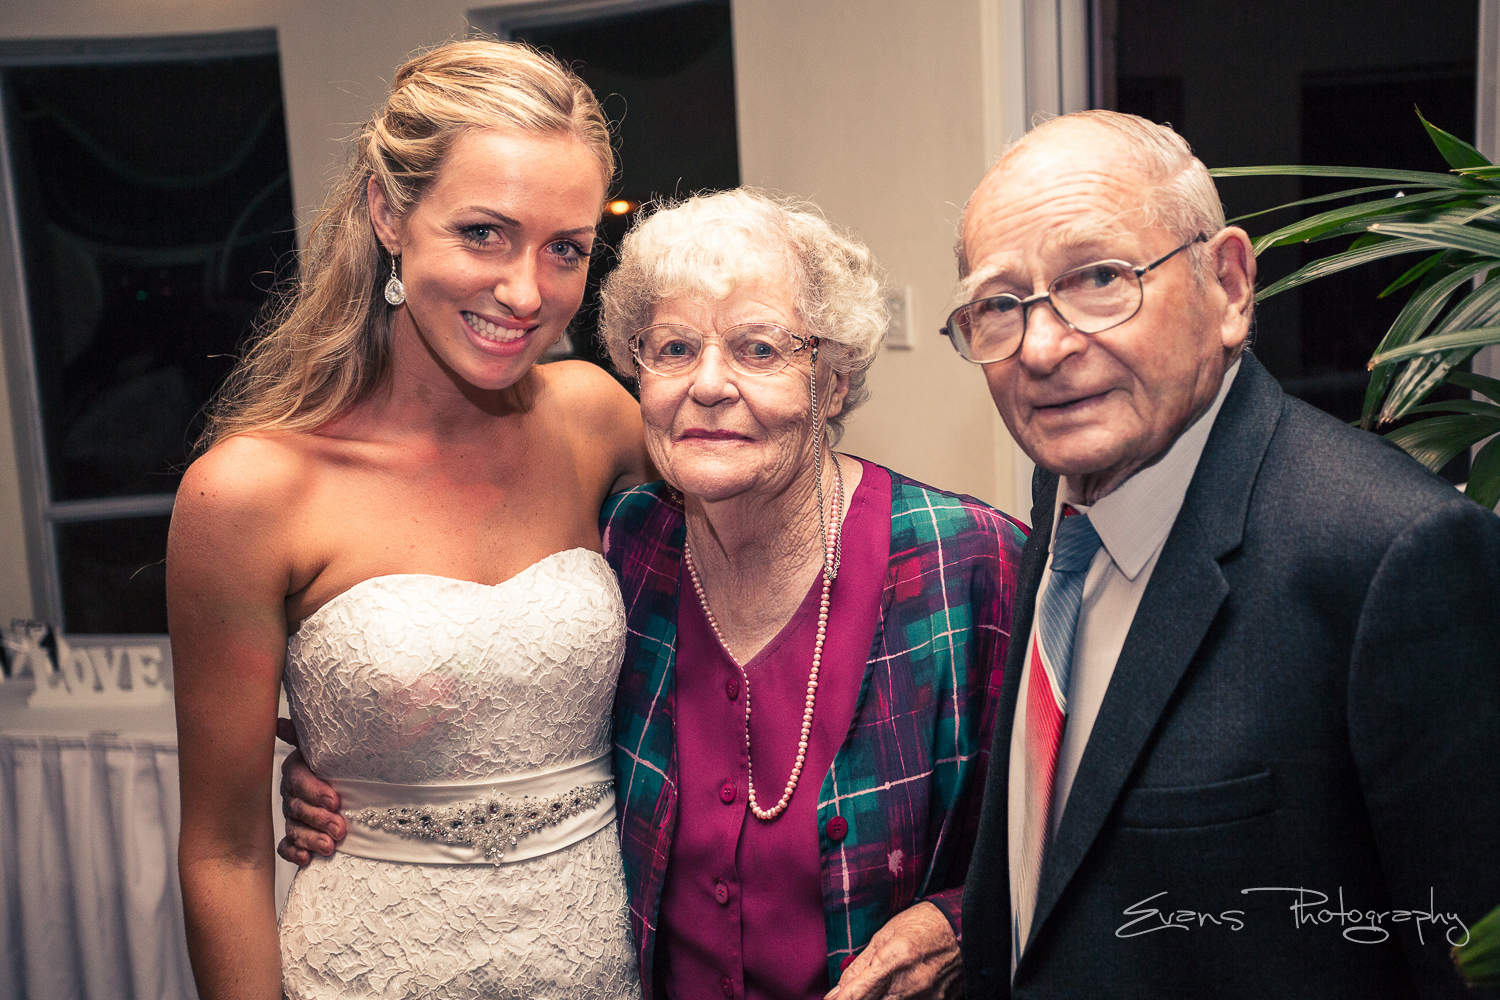
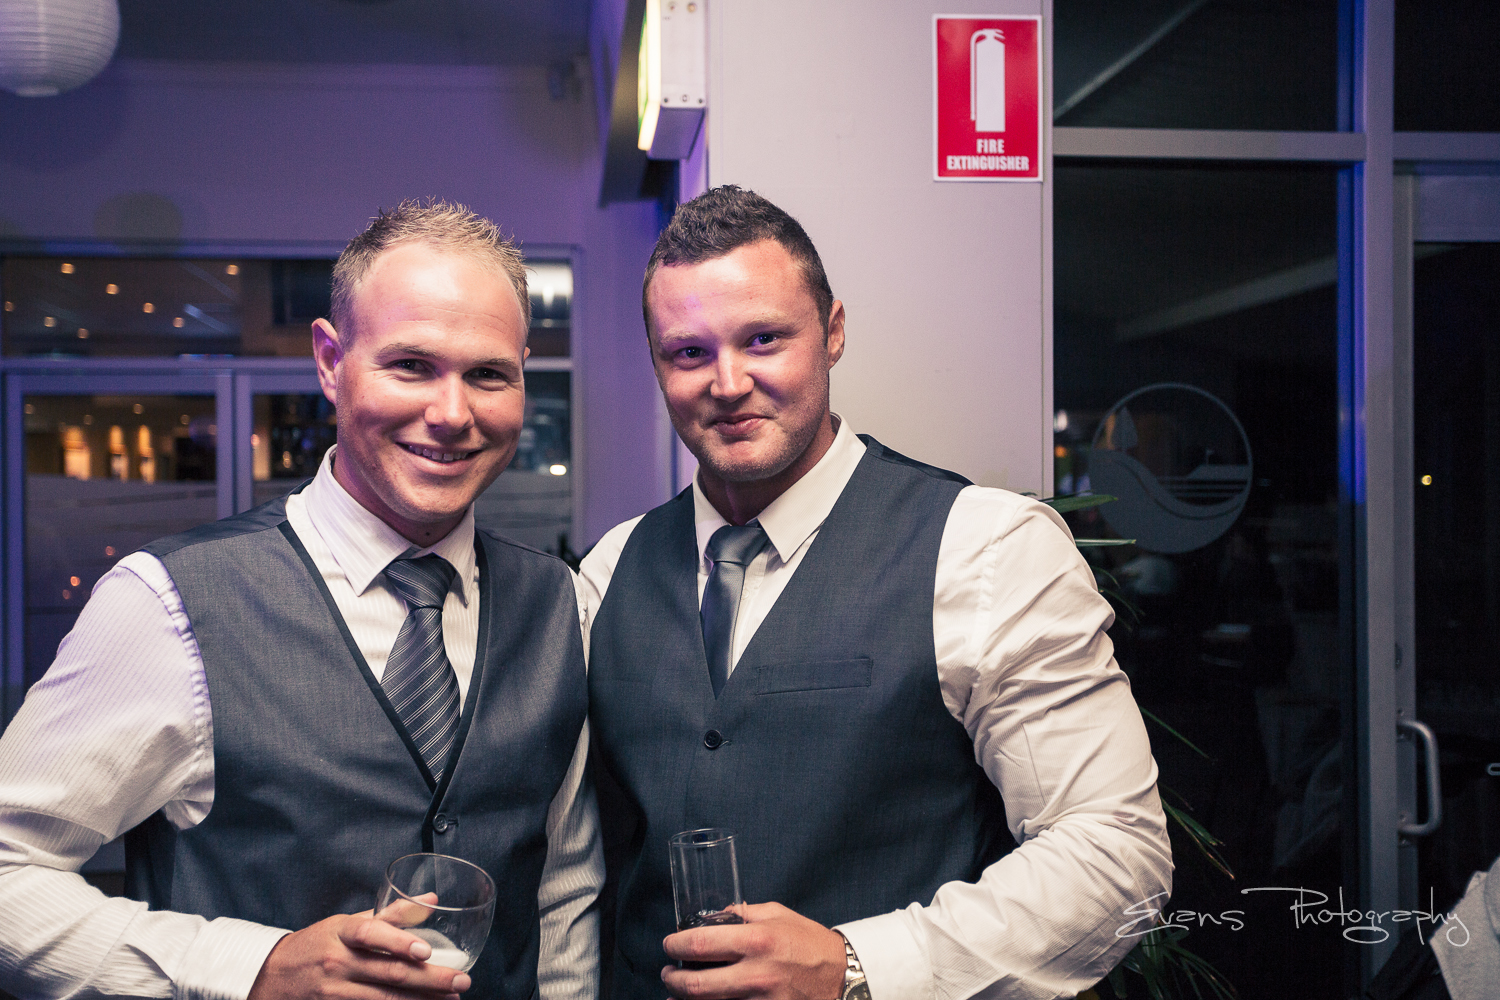
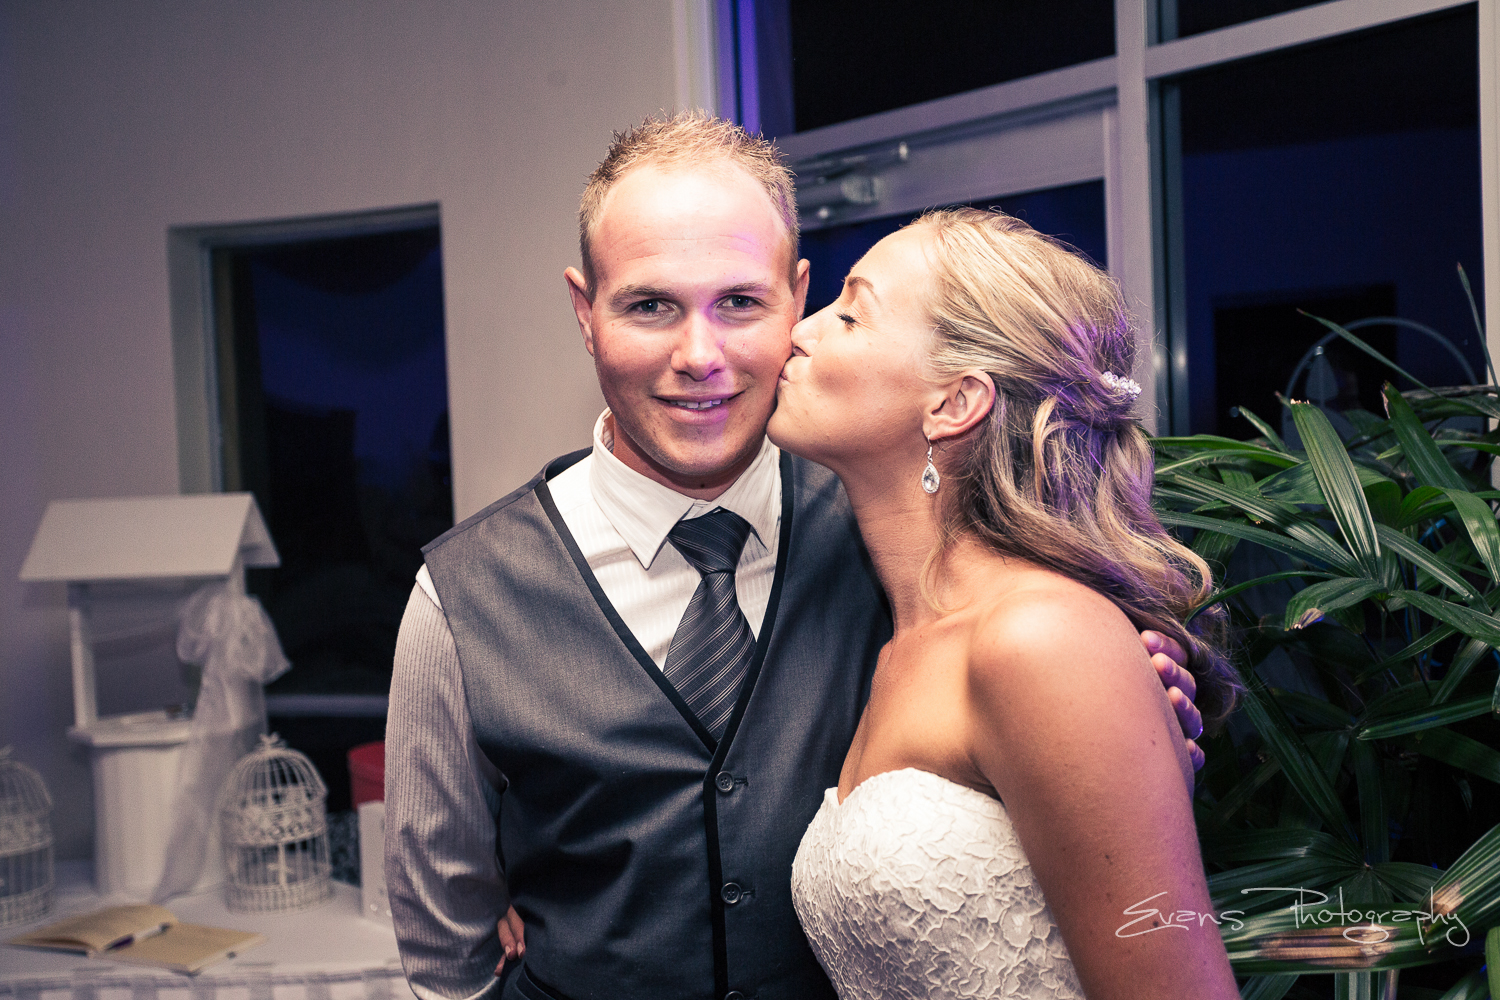
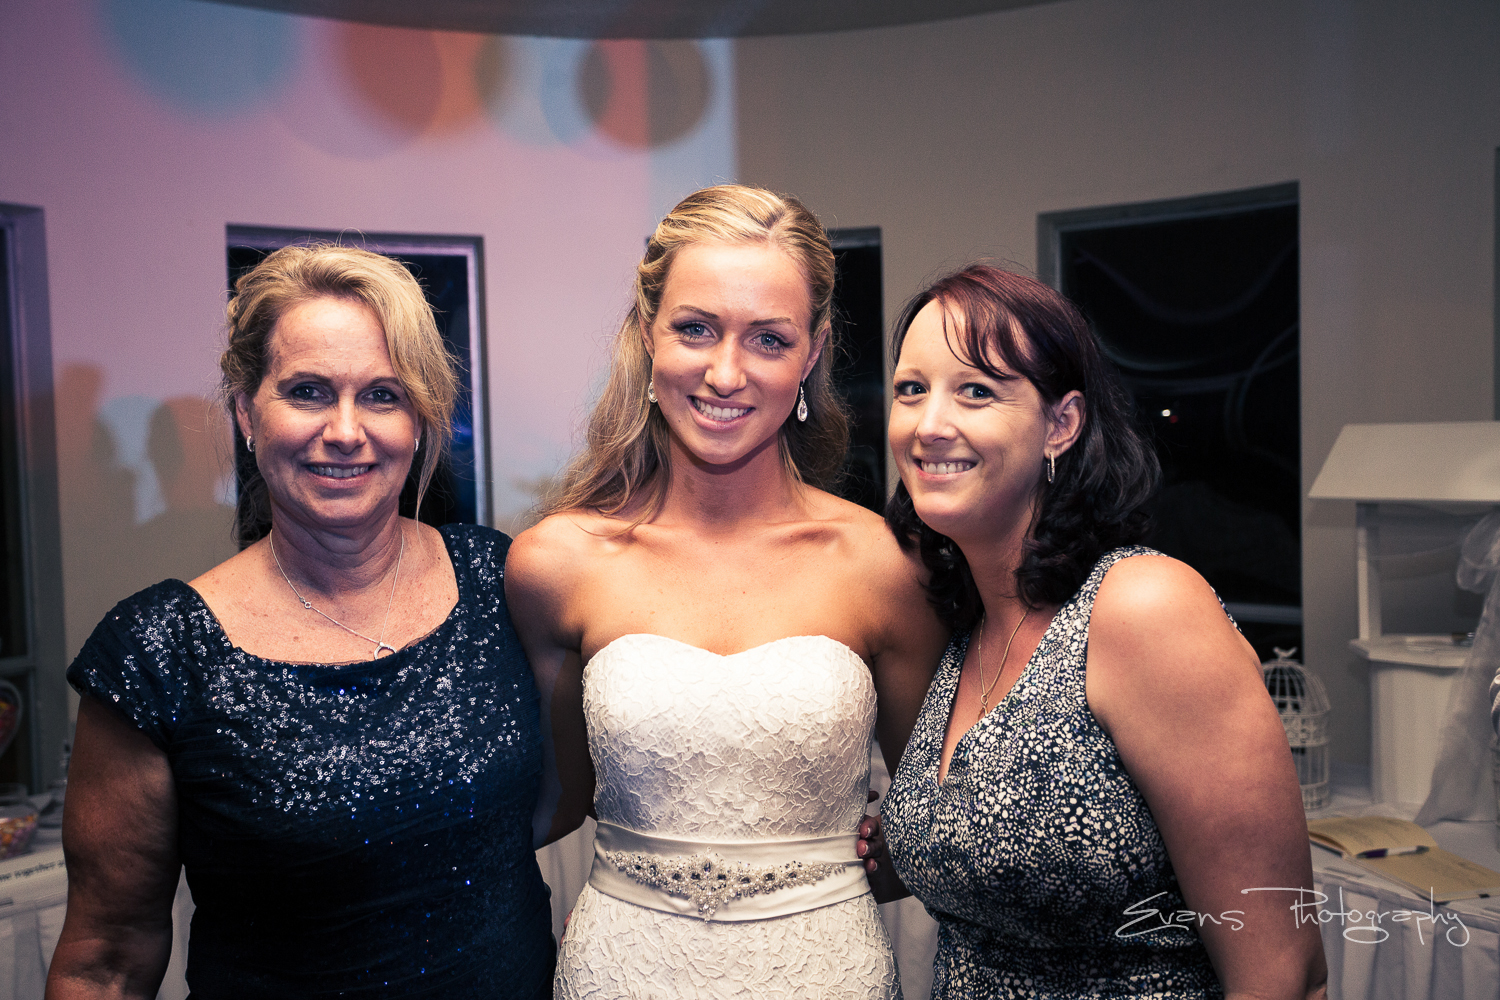
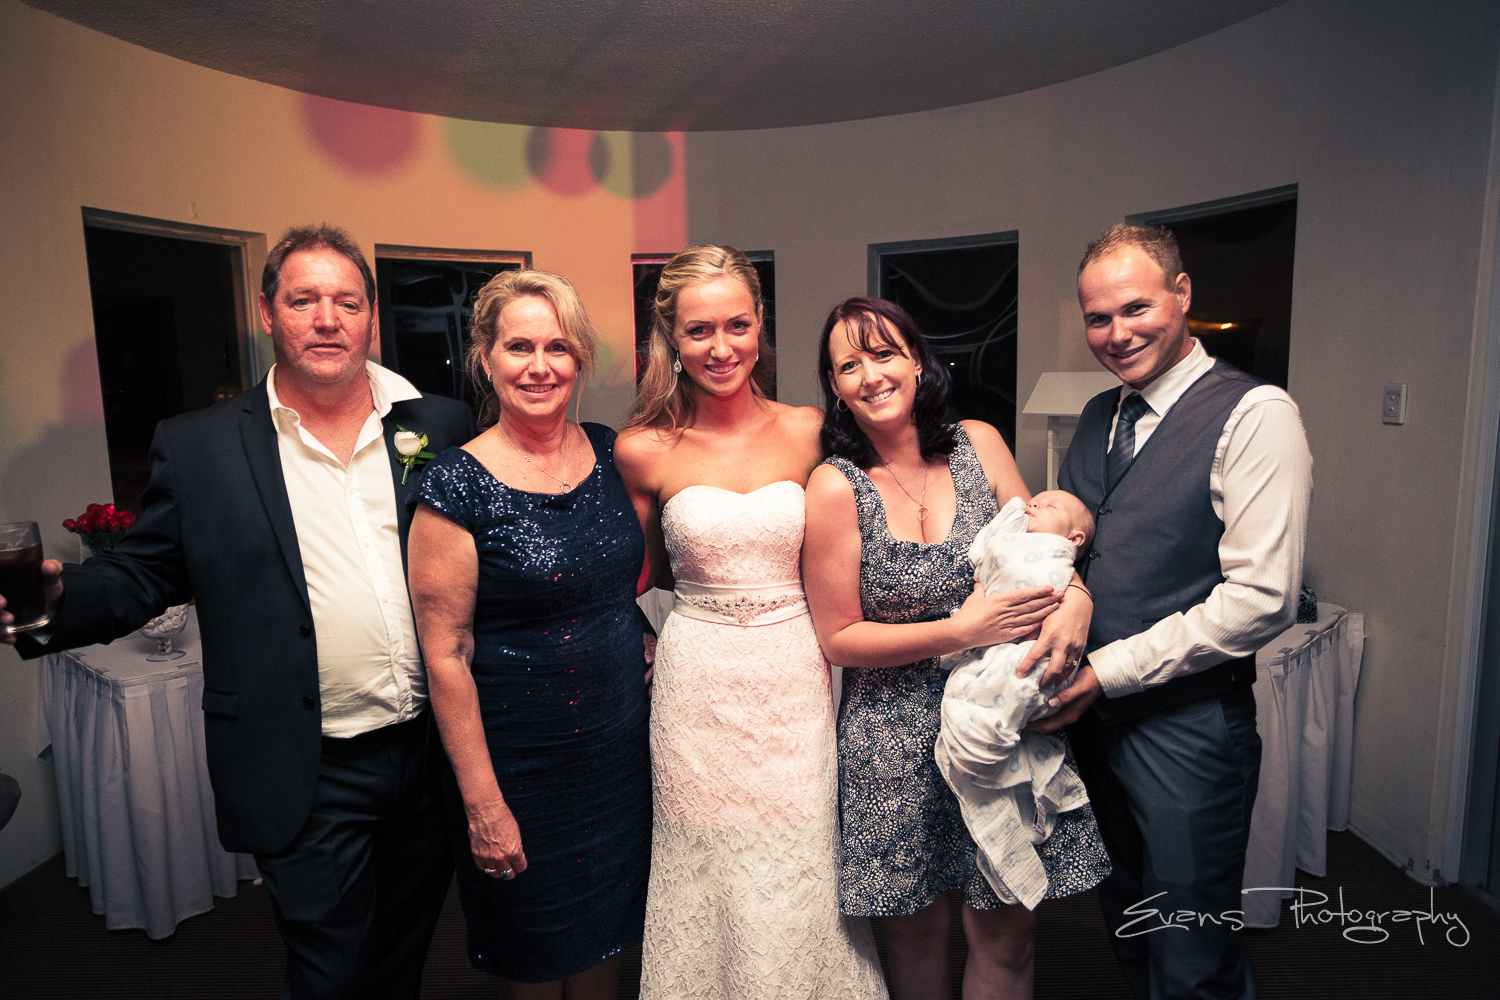
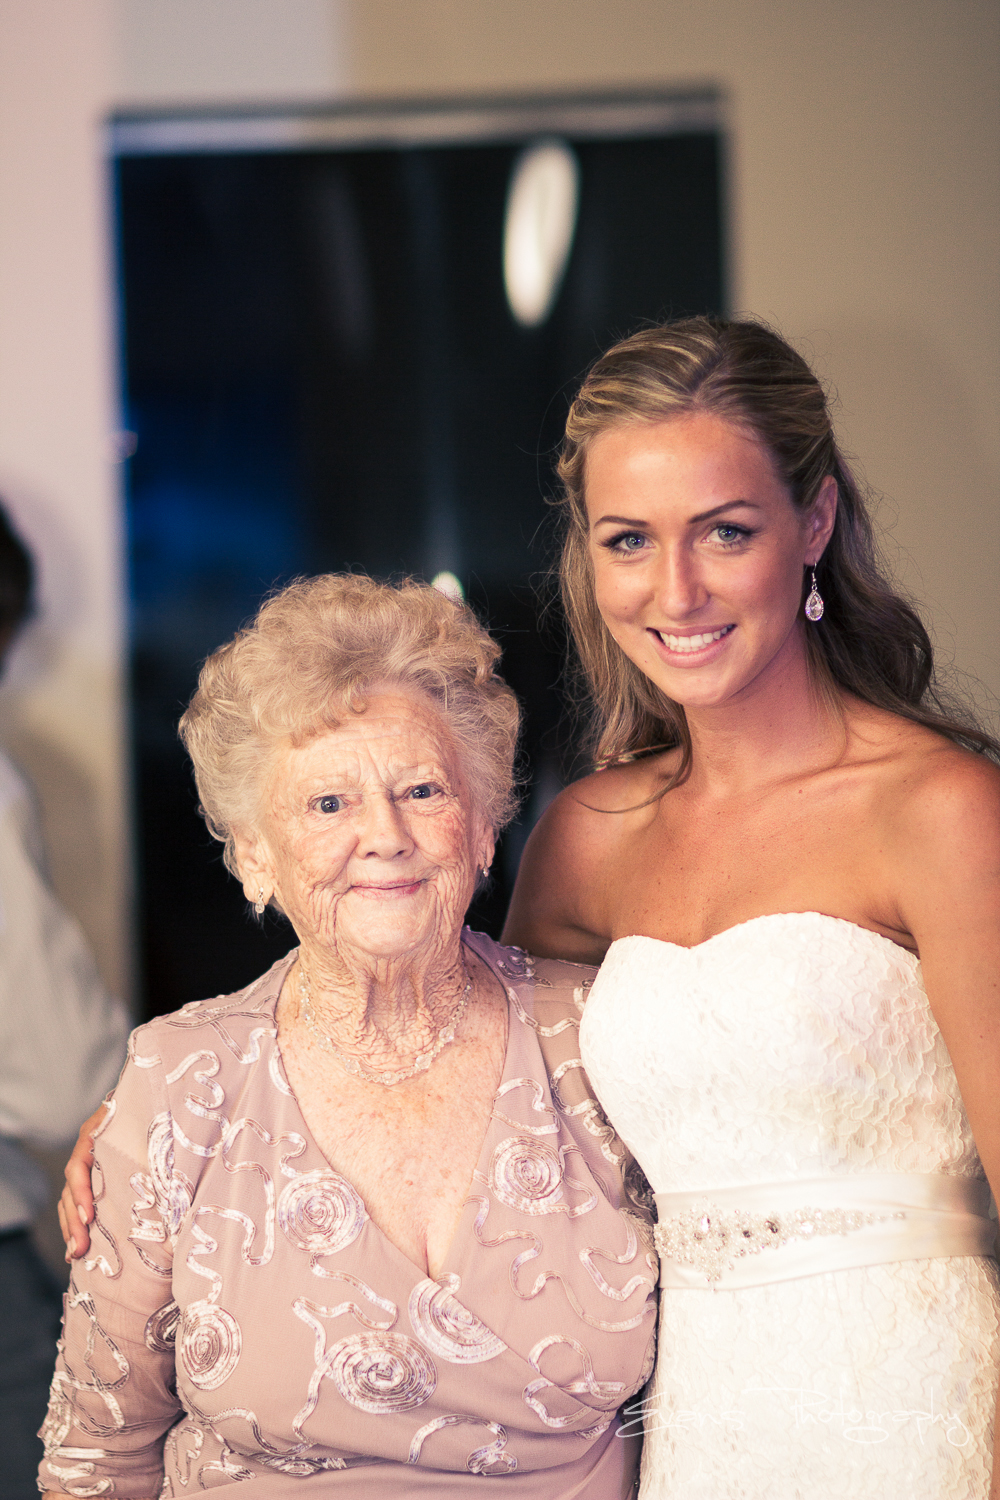
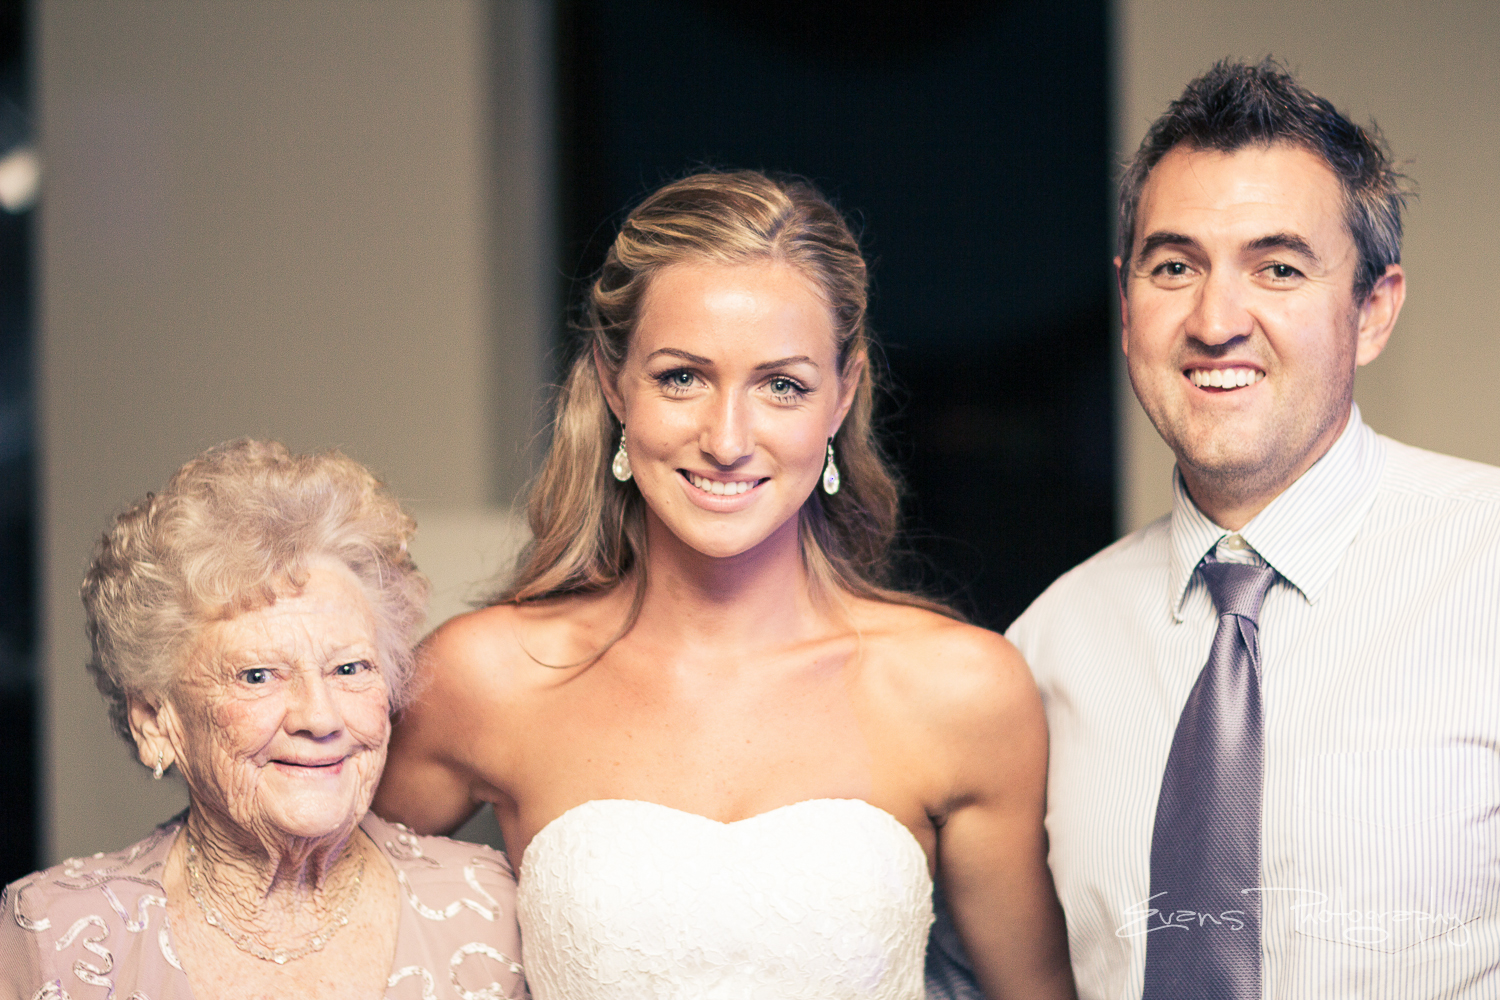
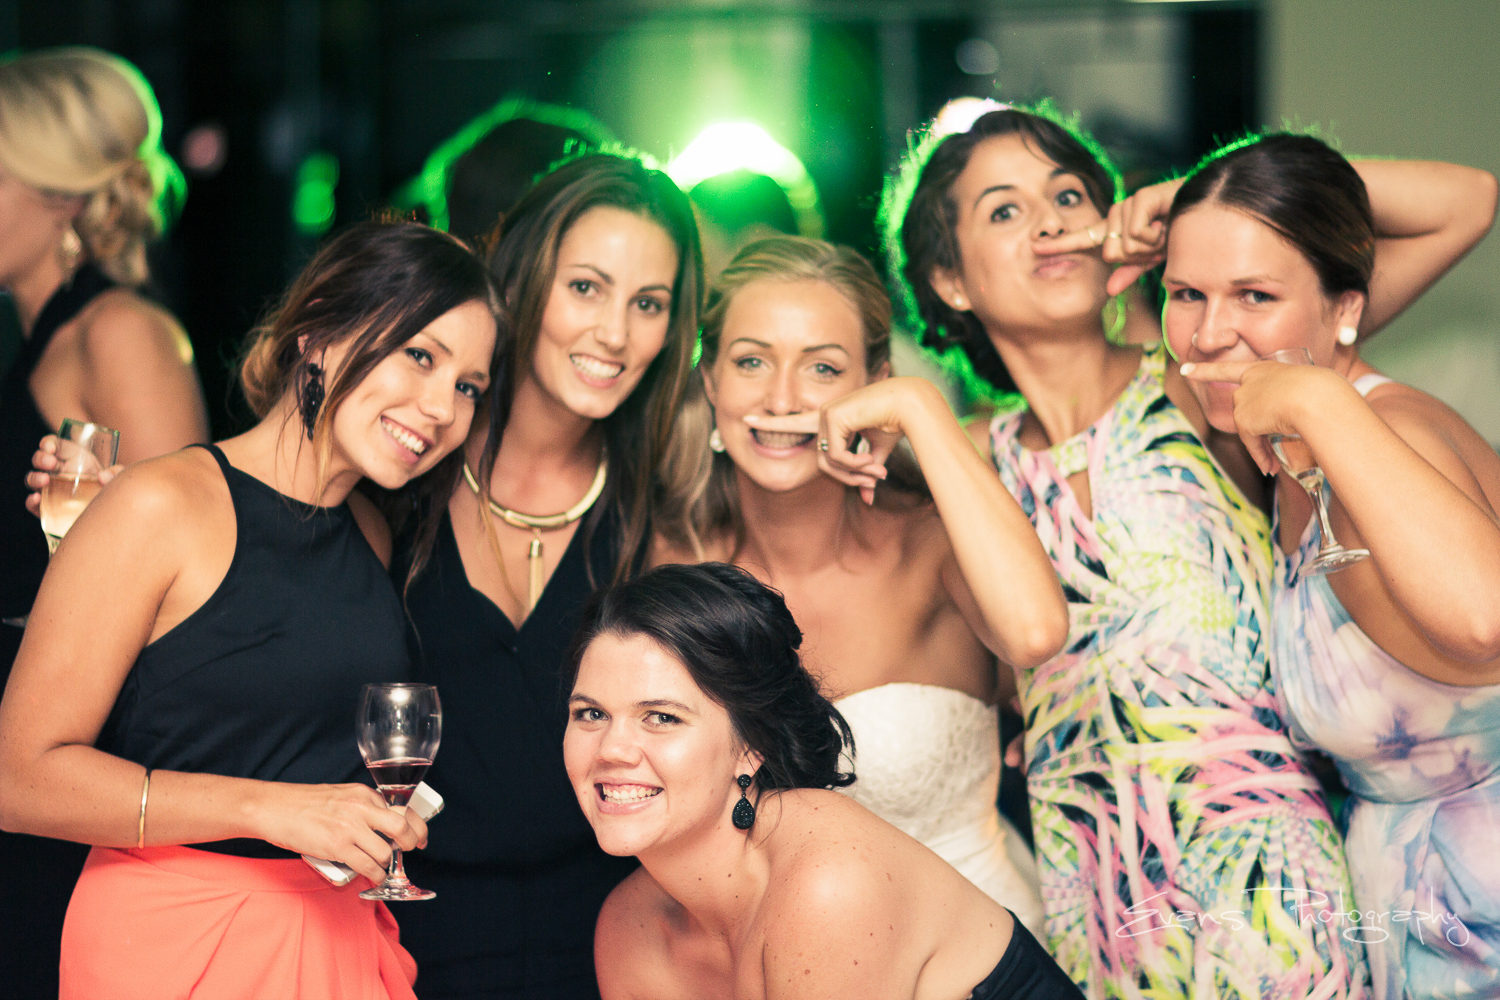
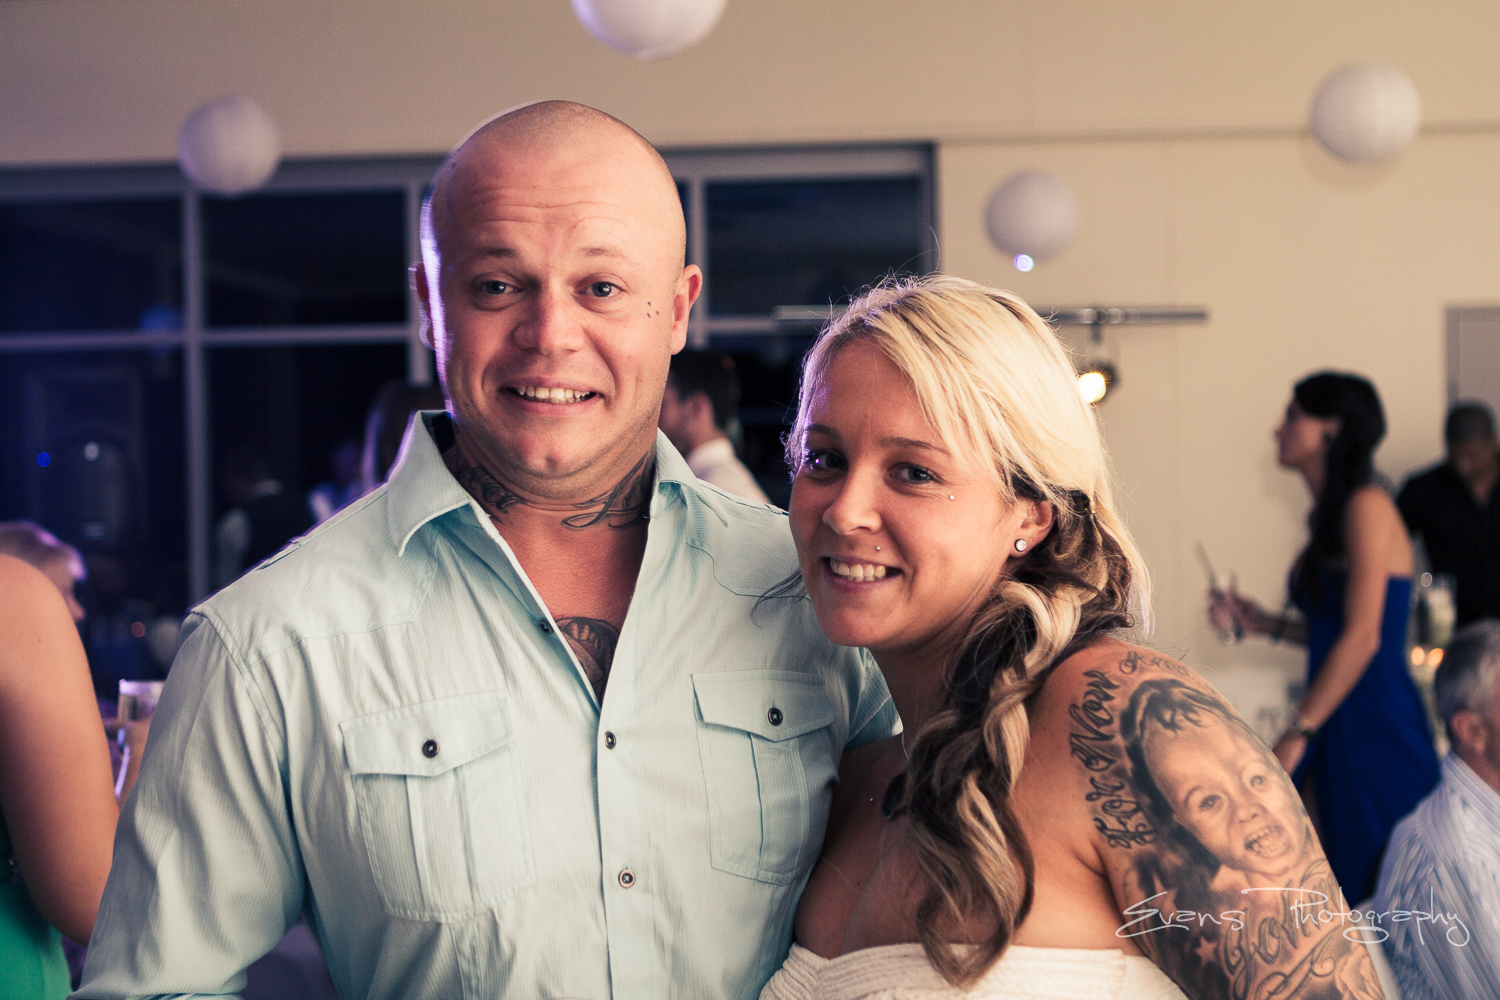
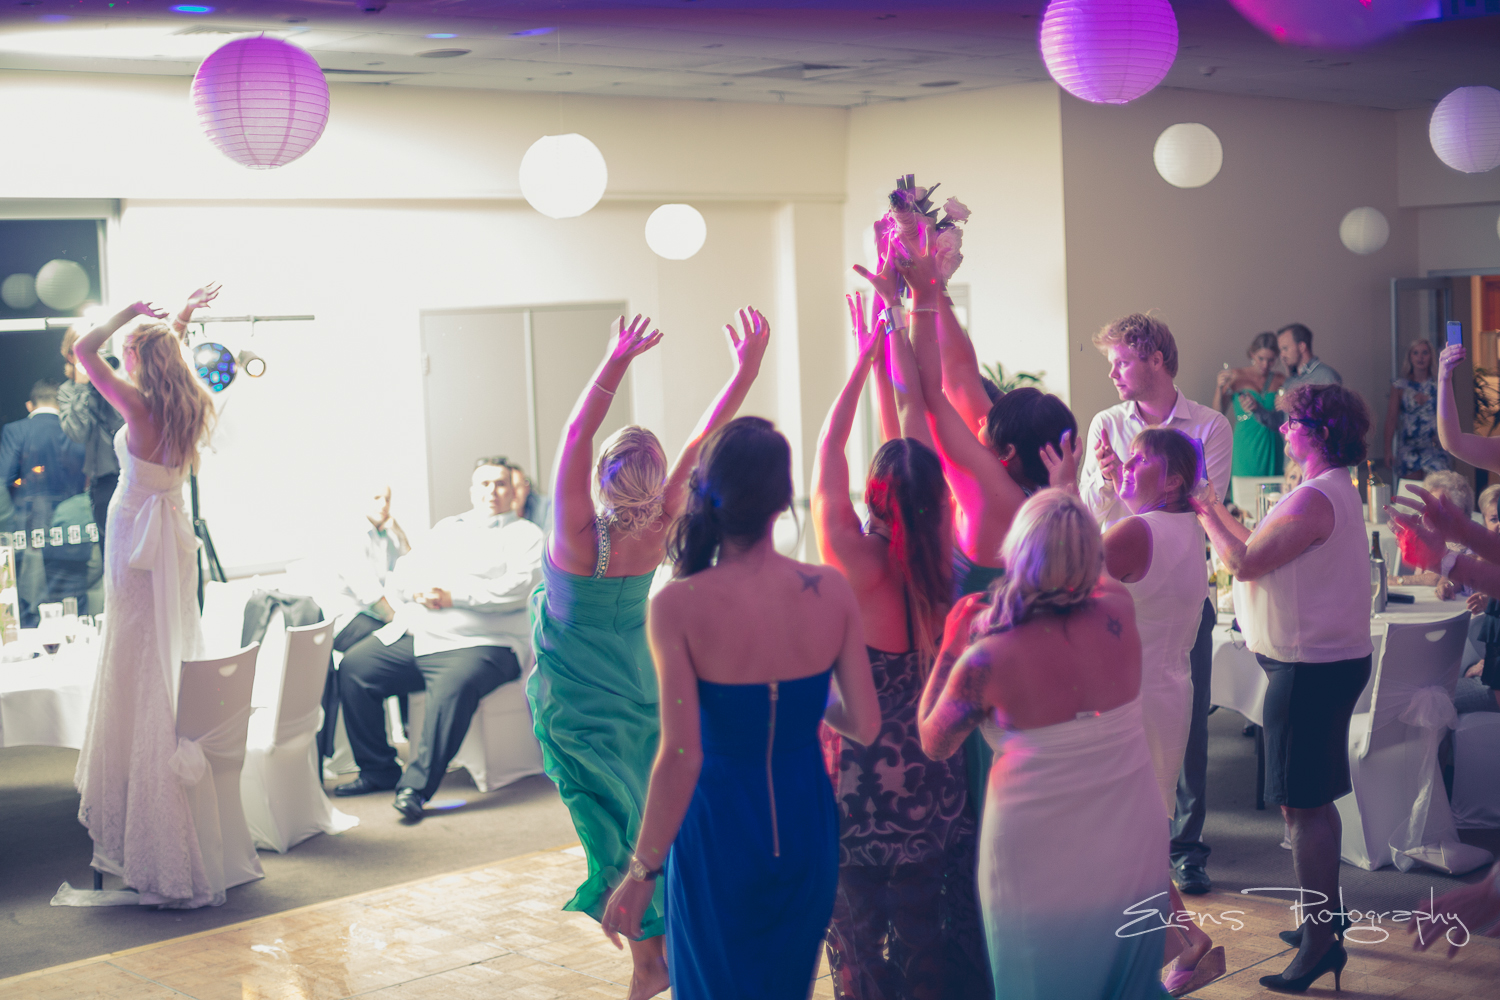
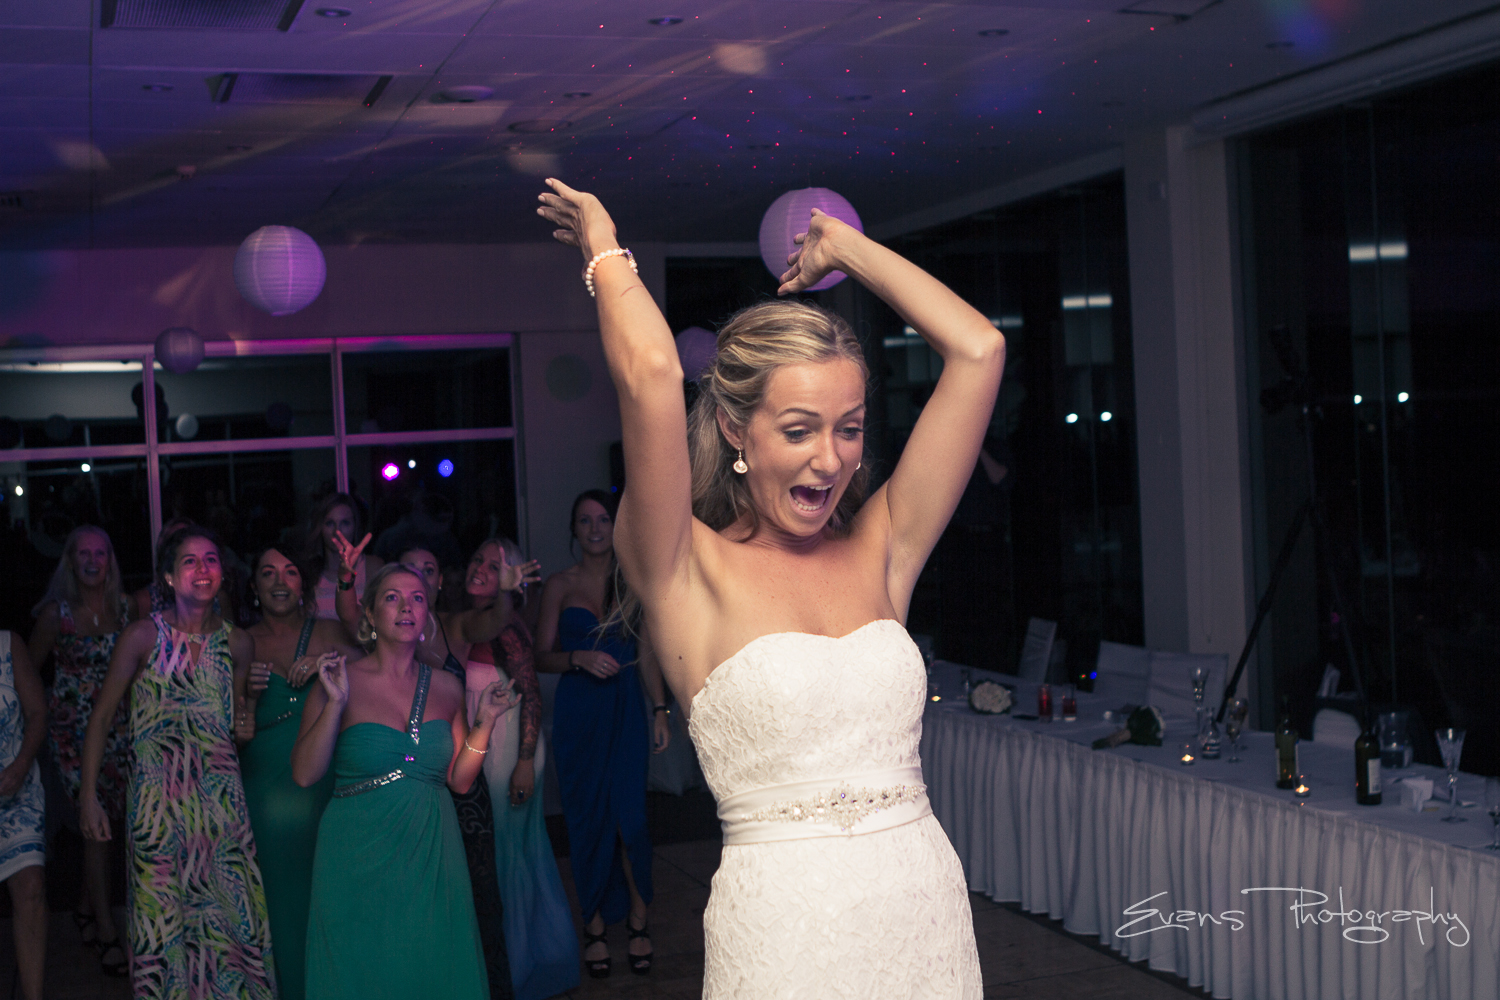
My Sisters Wedding! I was mainly filming for this wedding, however I took a few pictures here and there. Enjoy!


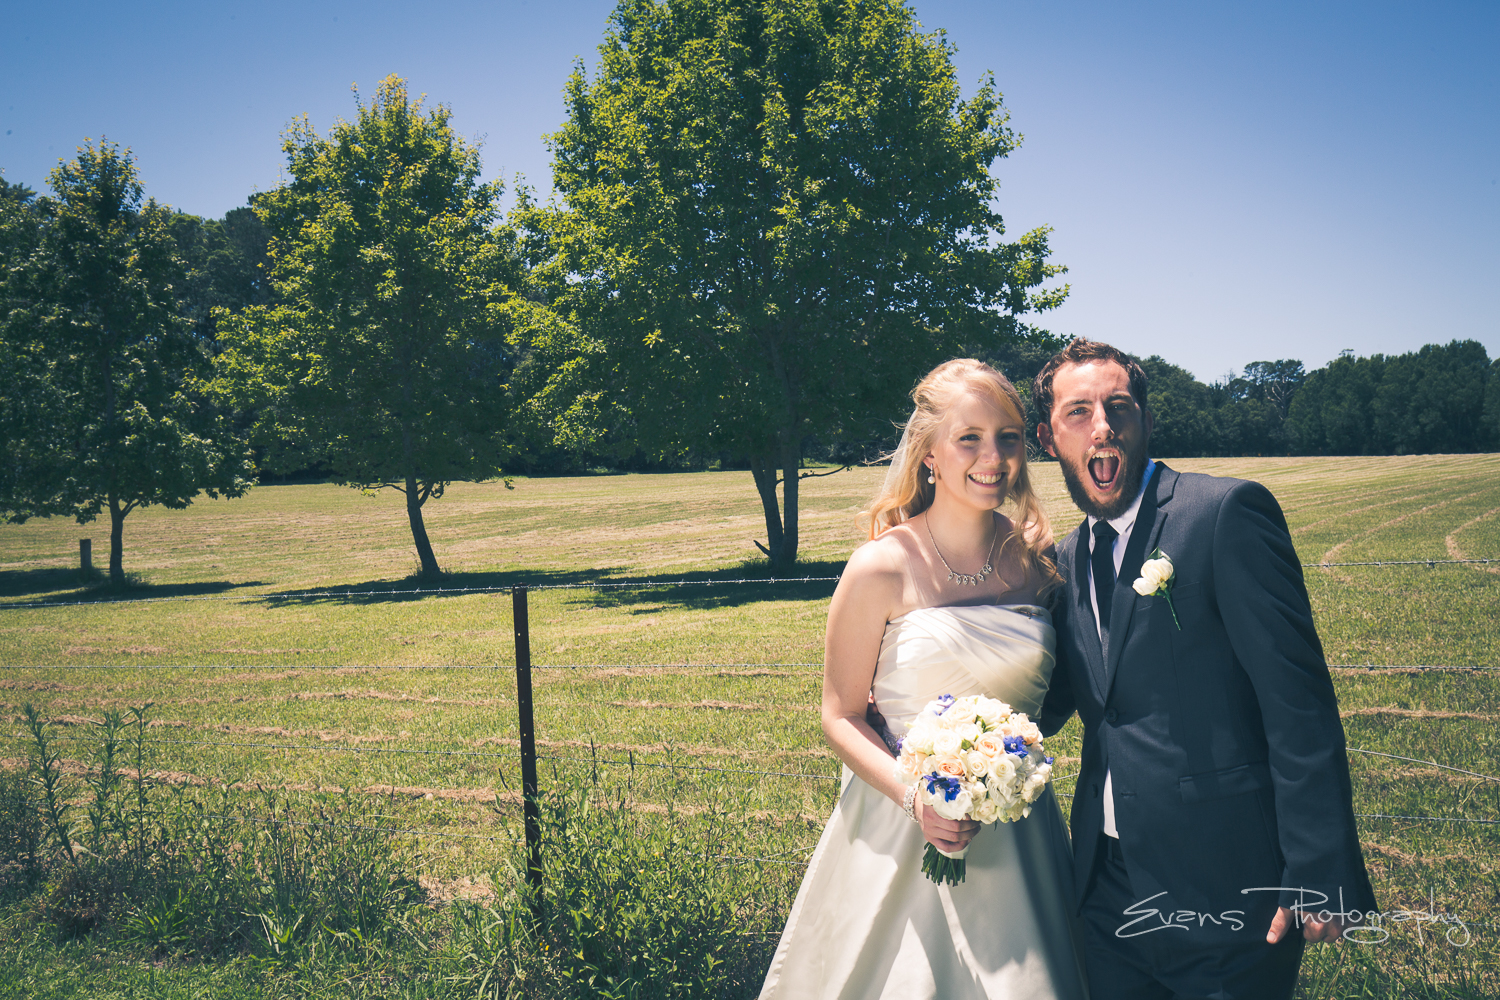
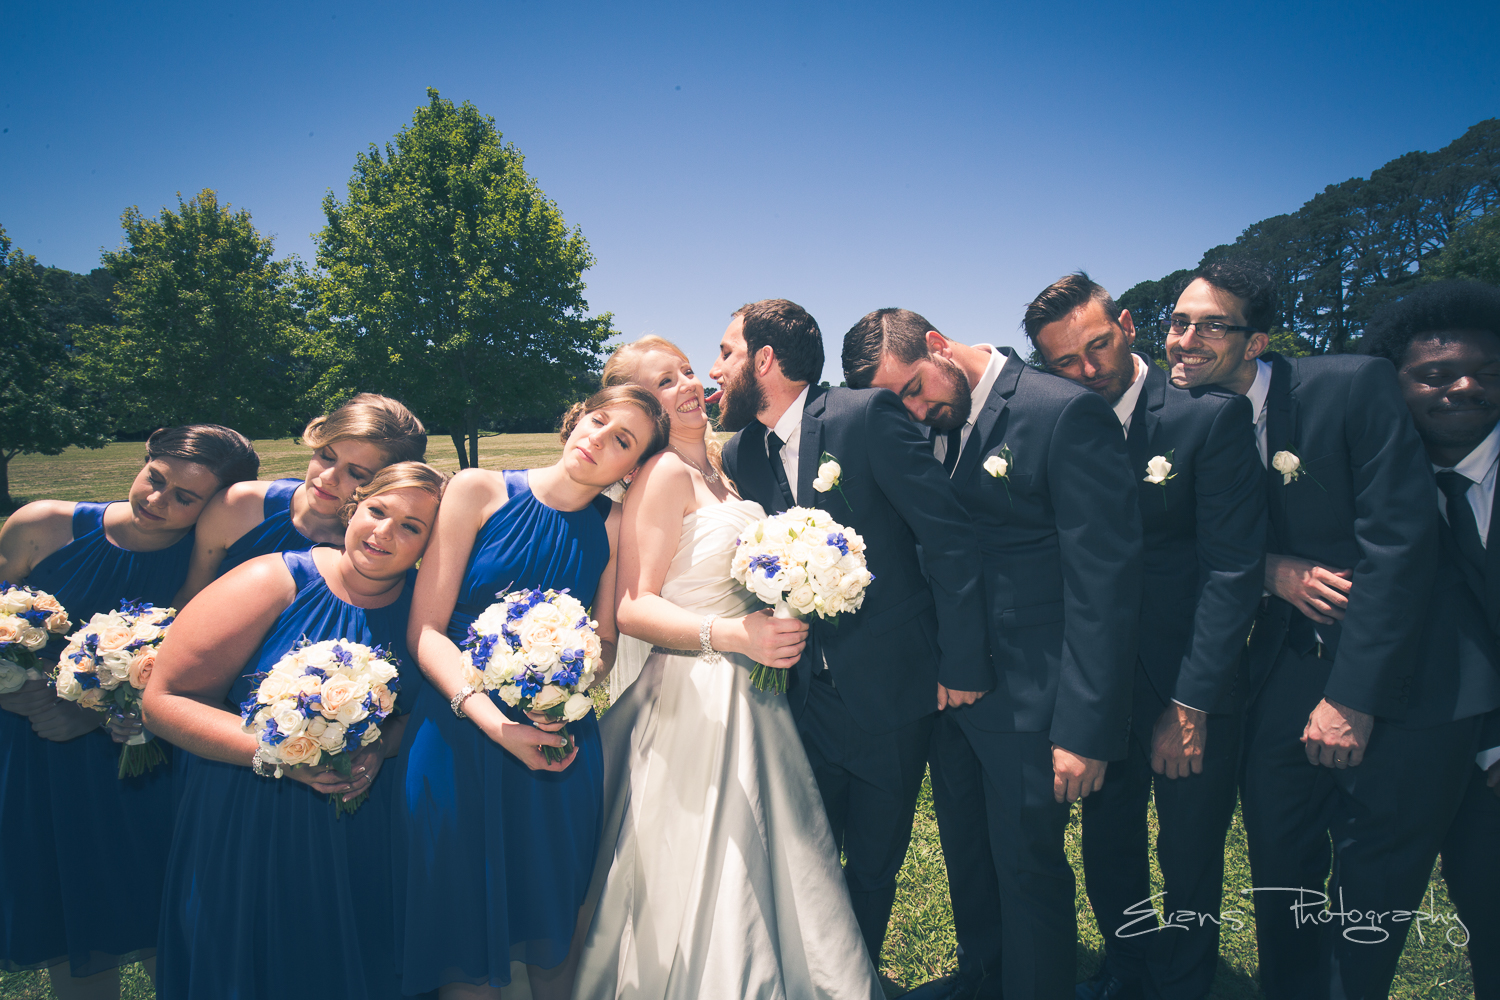
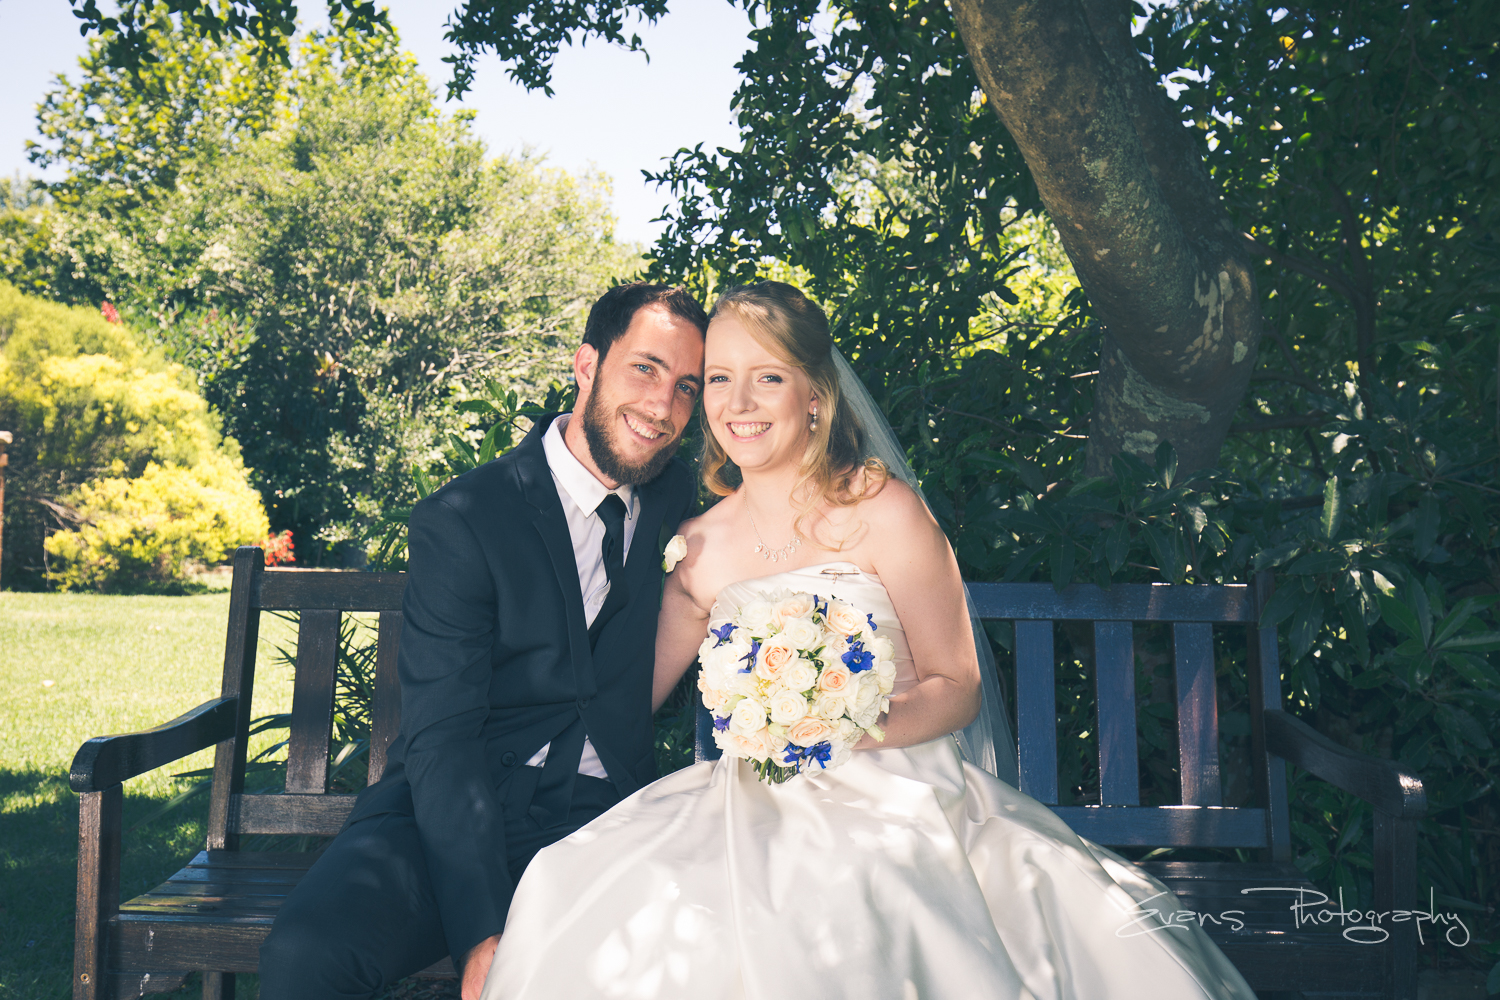
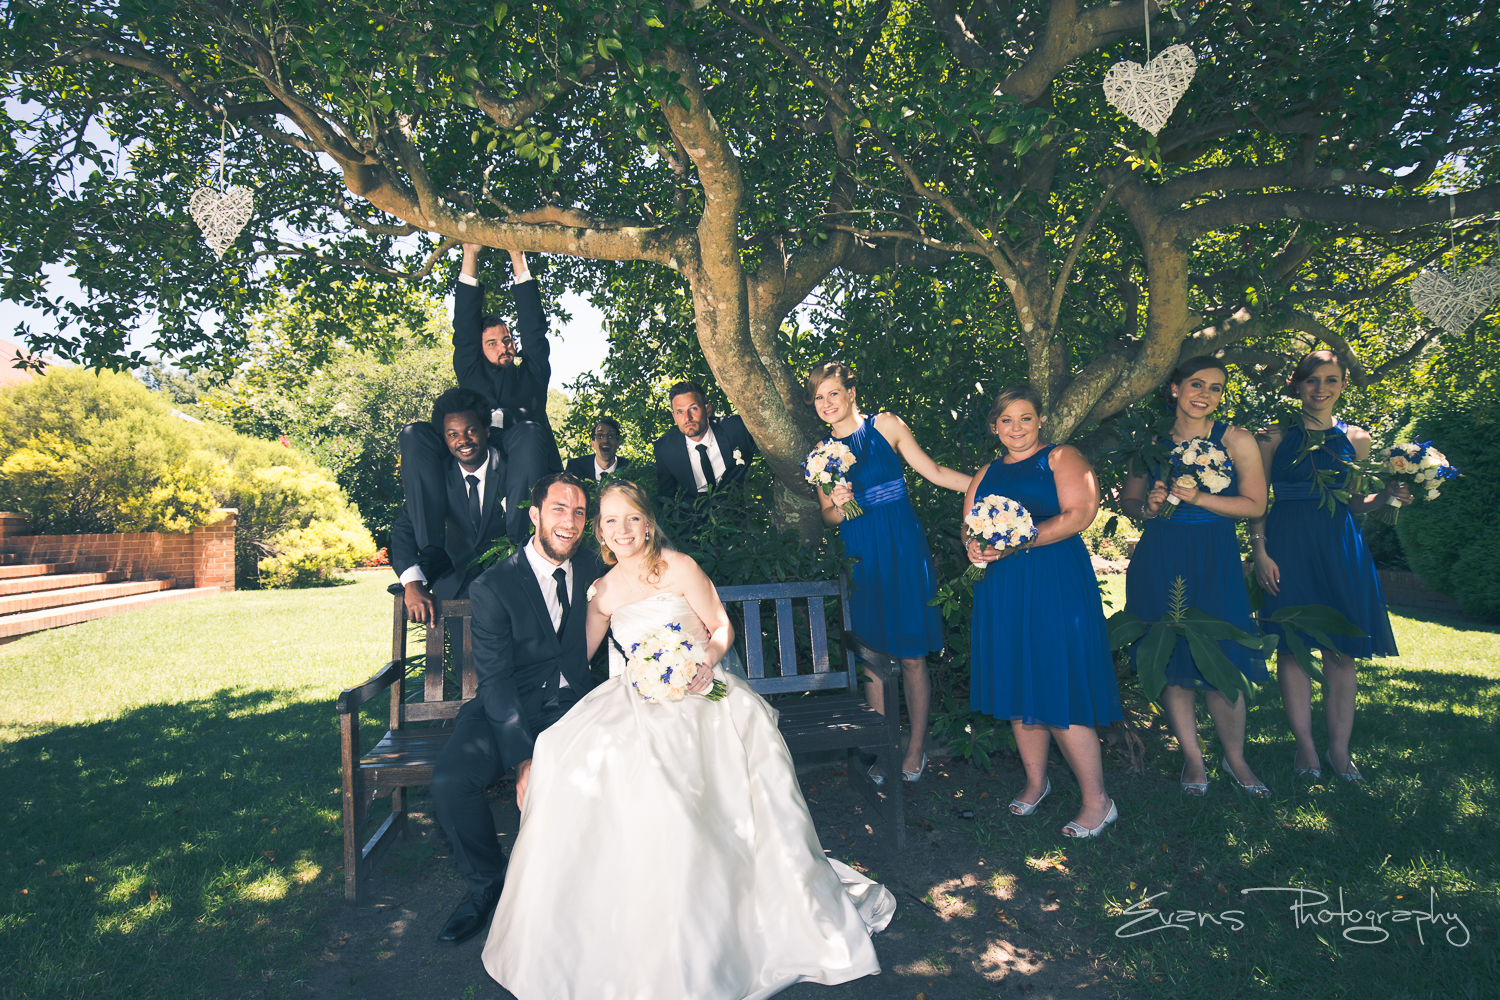
Mar
01
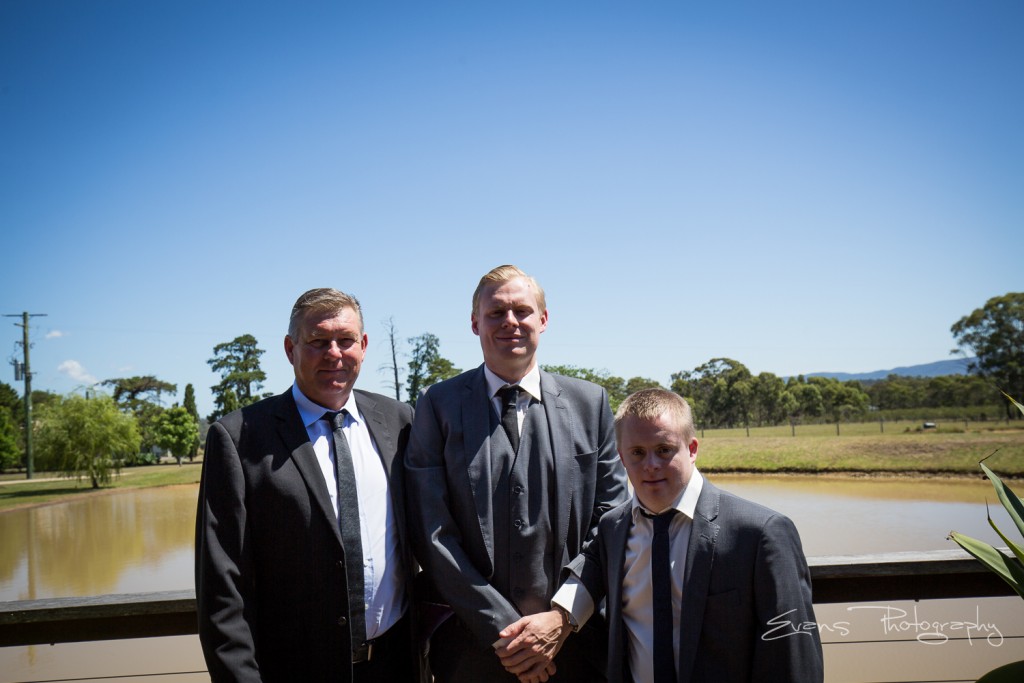
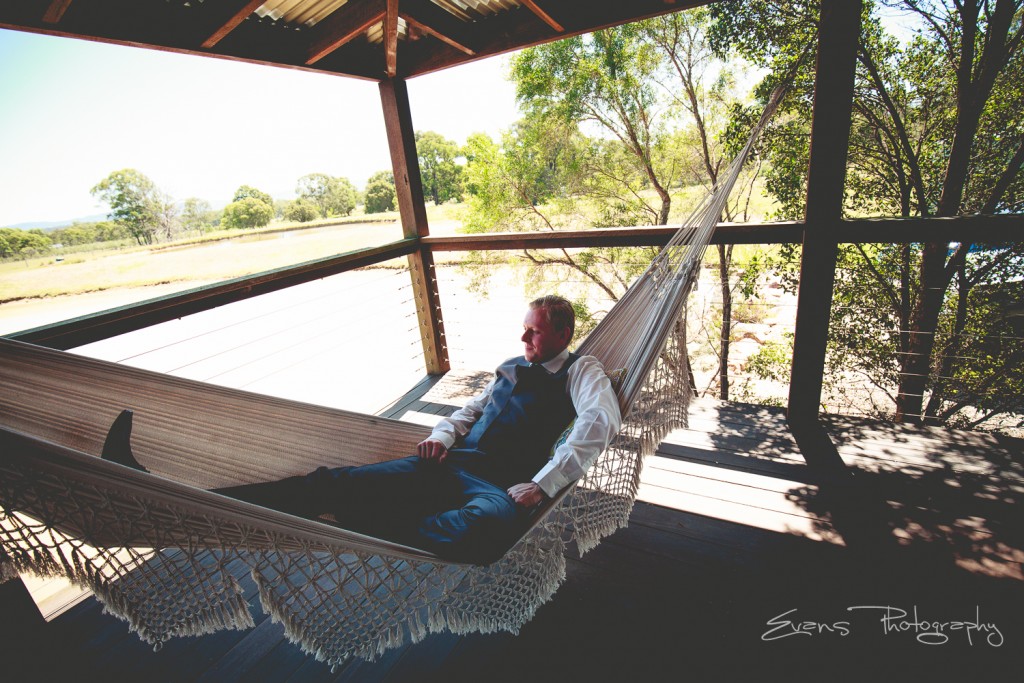
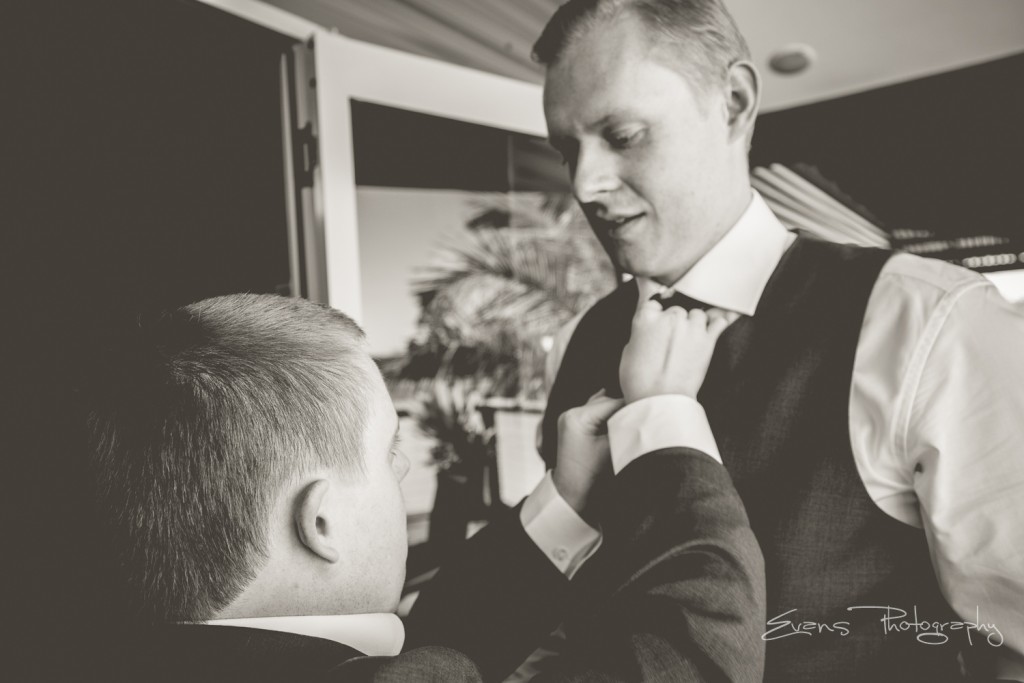
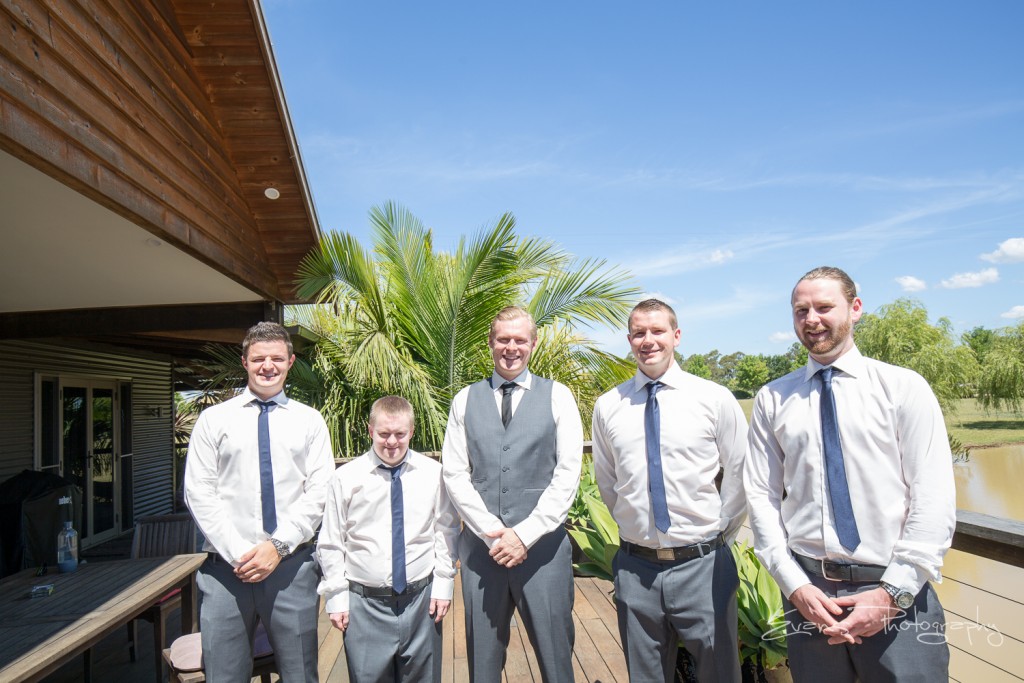
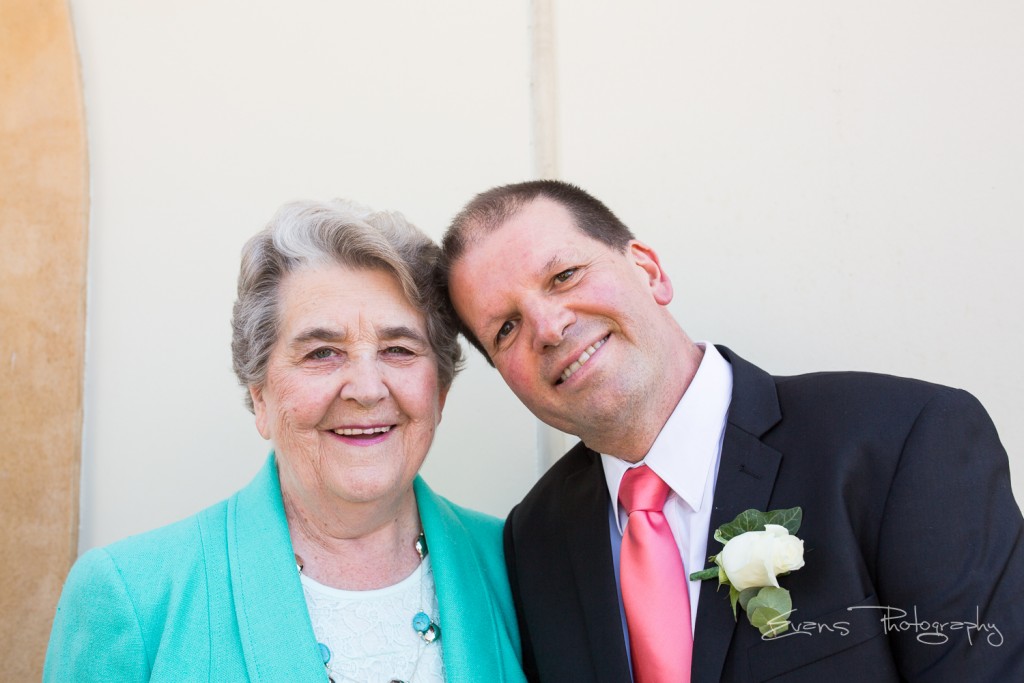
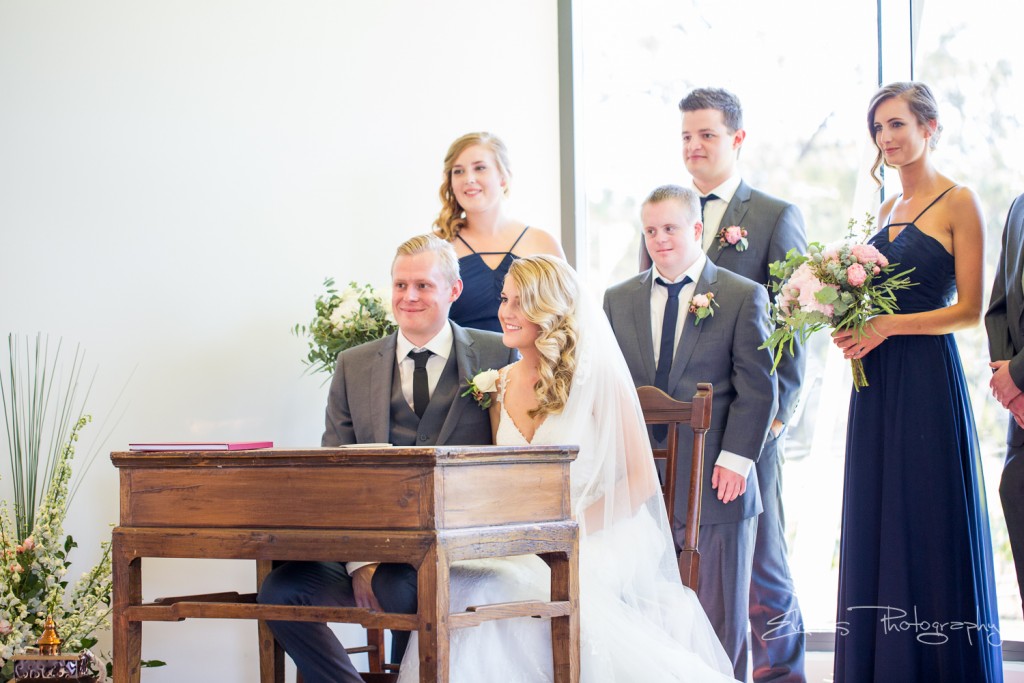
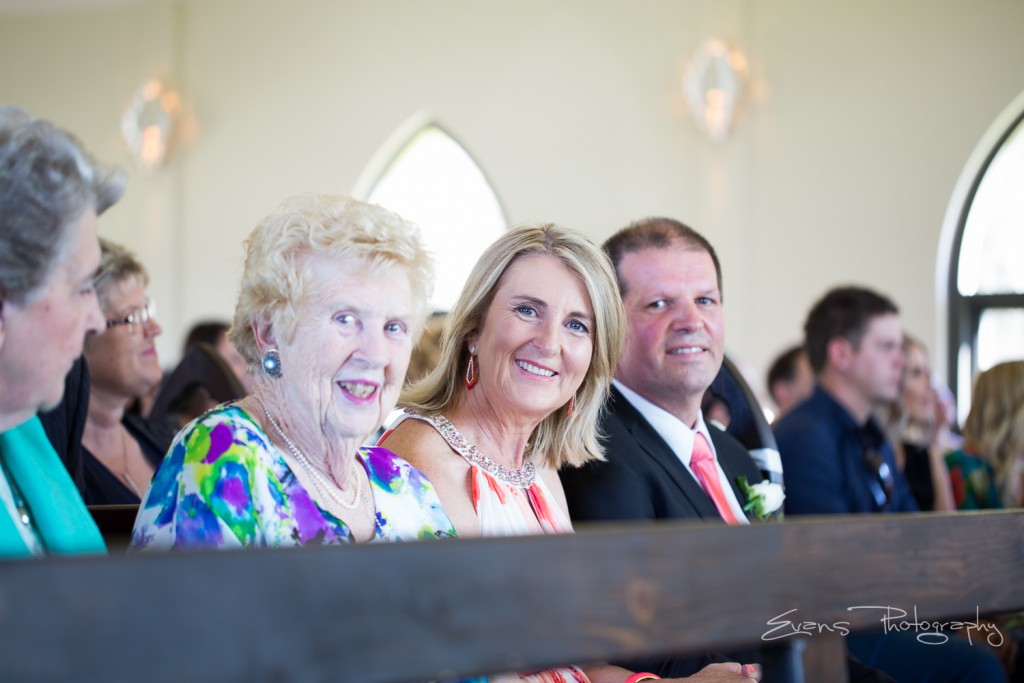
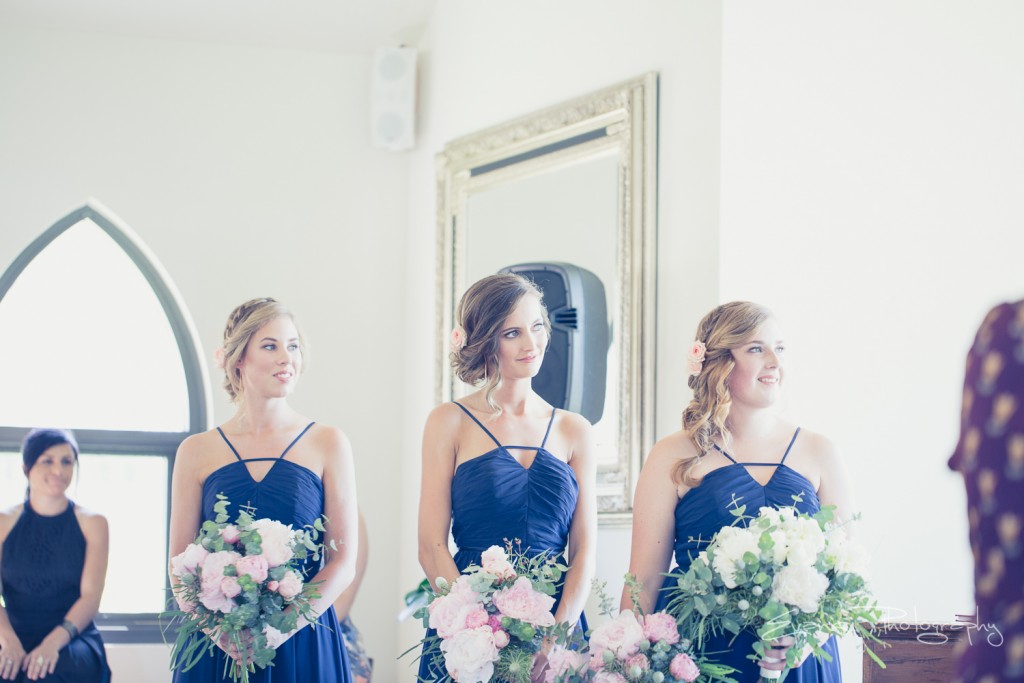
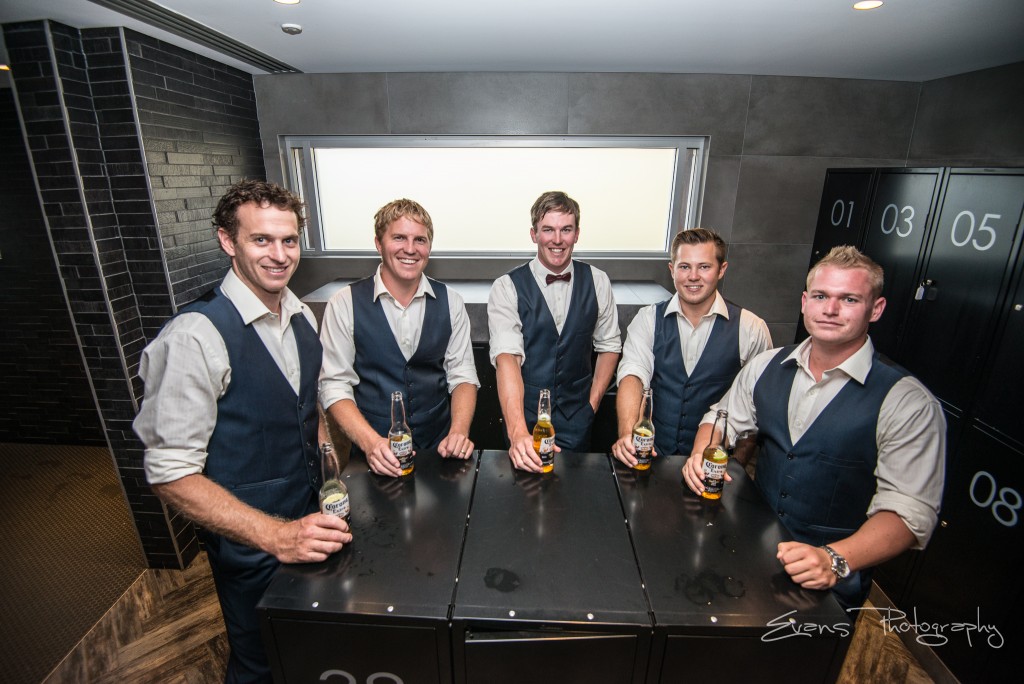
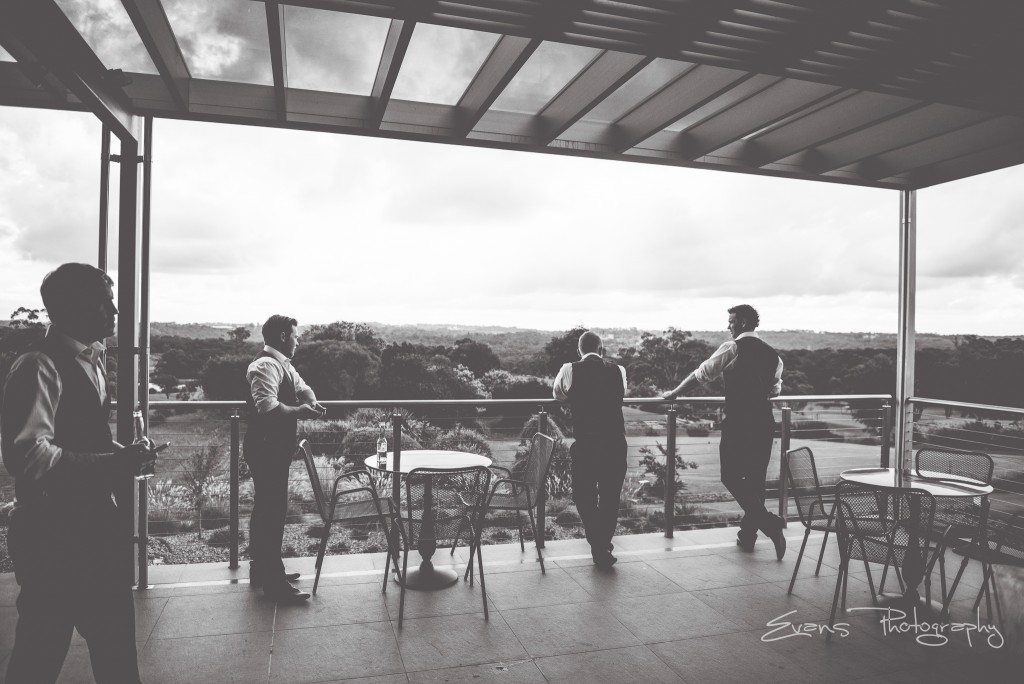
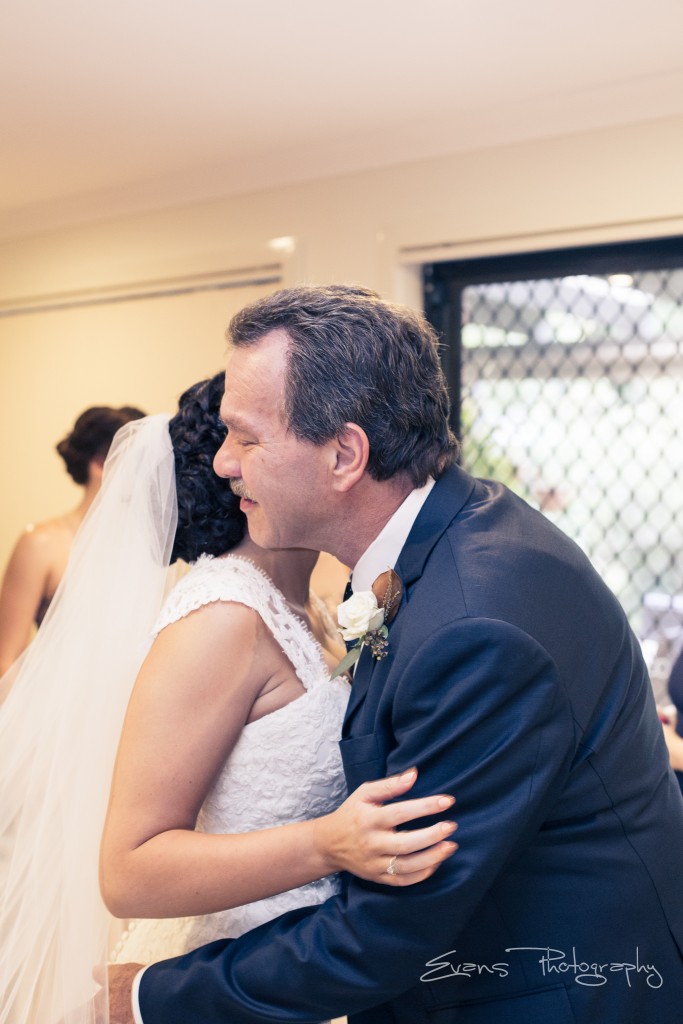
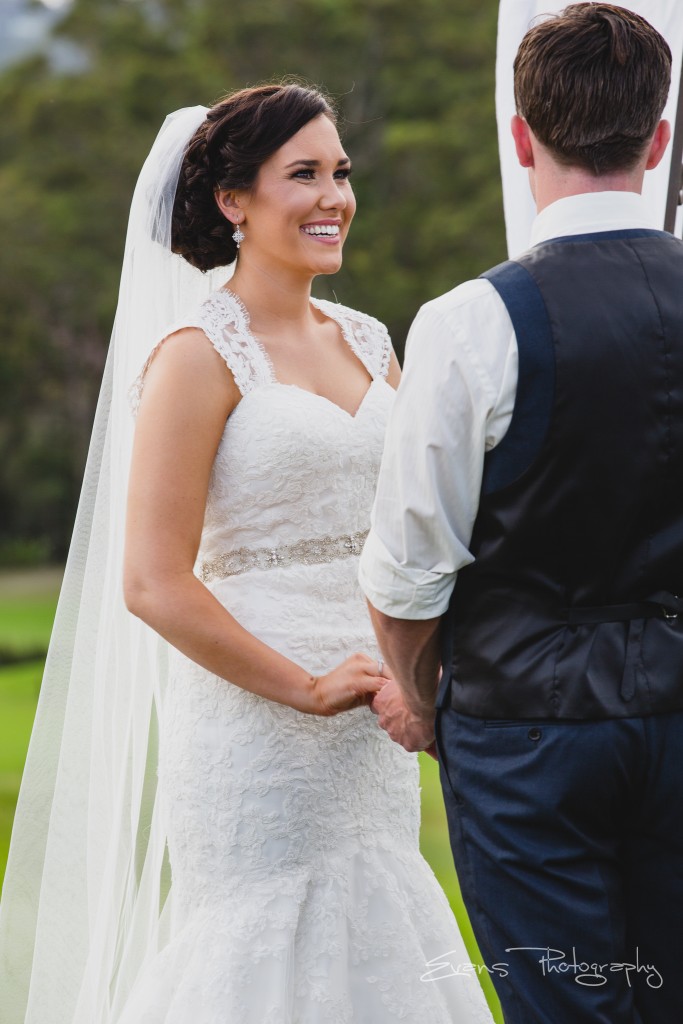
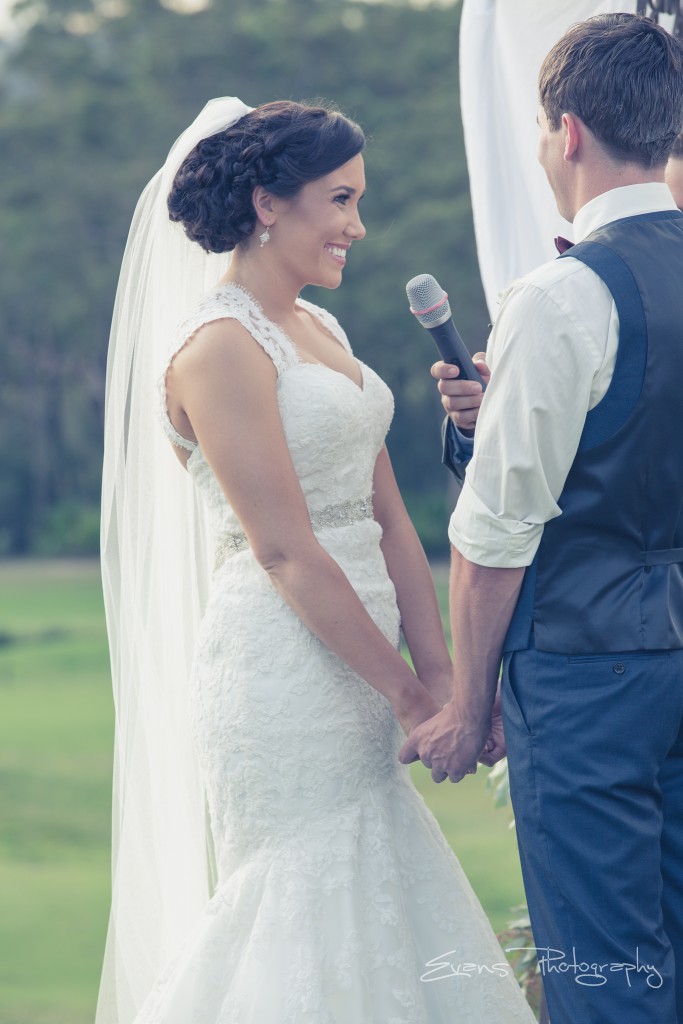
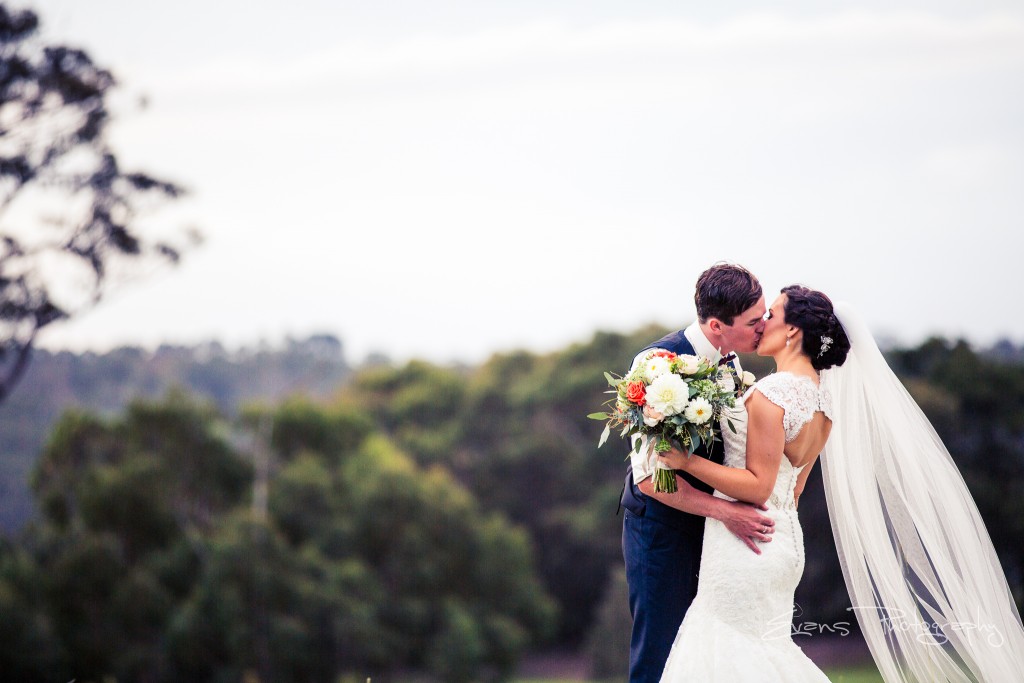
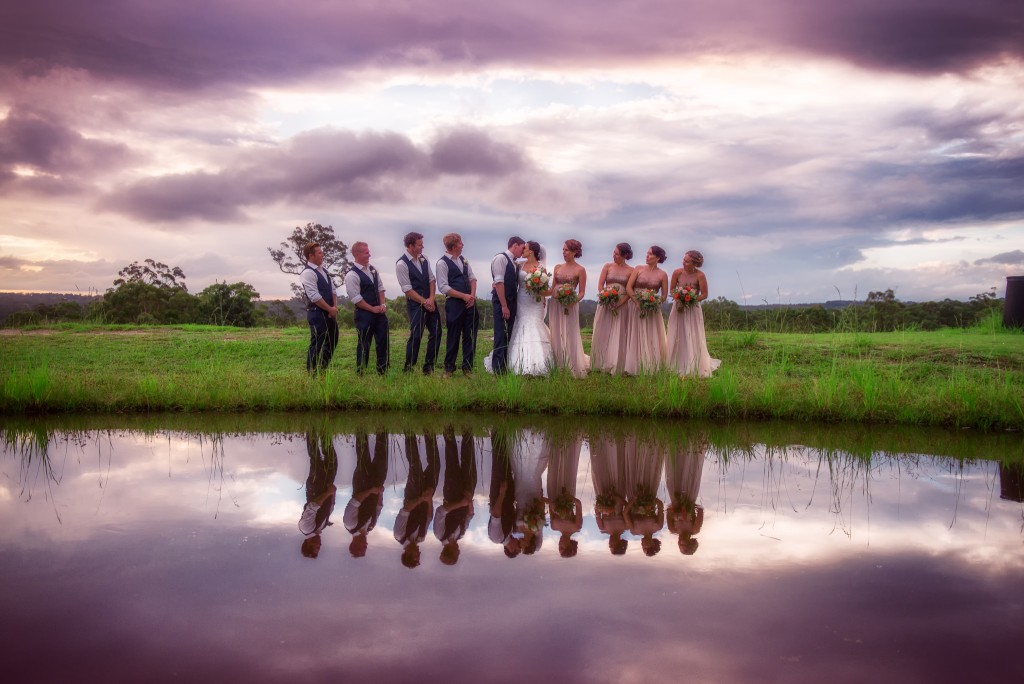
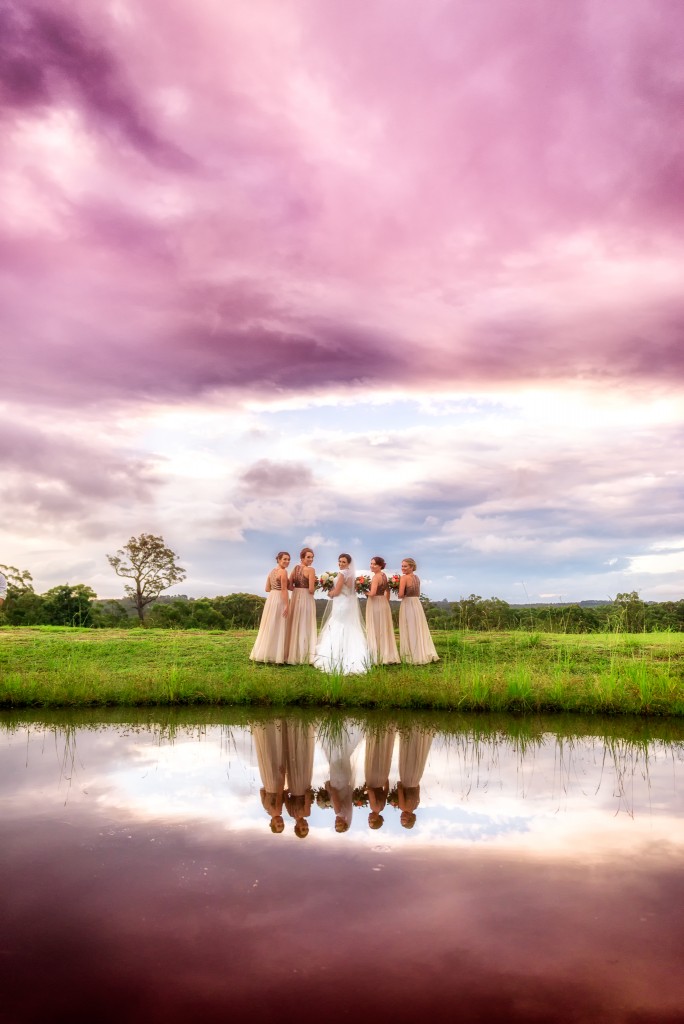
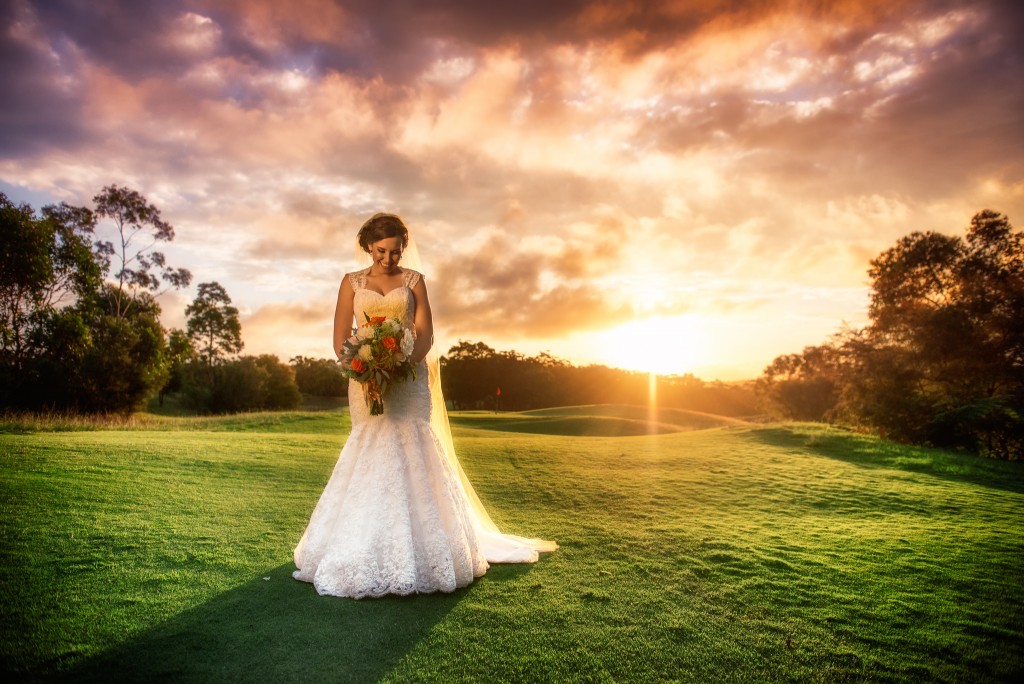
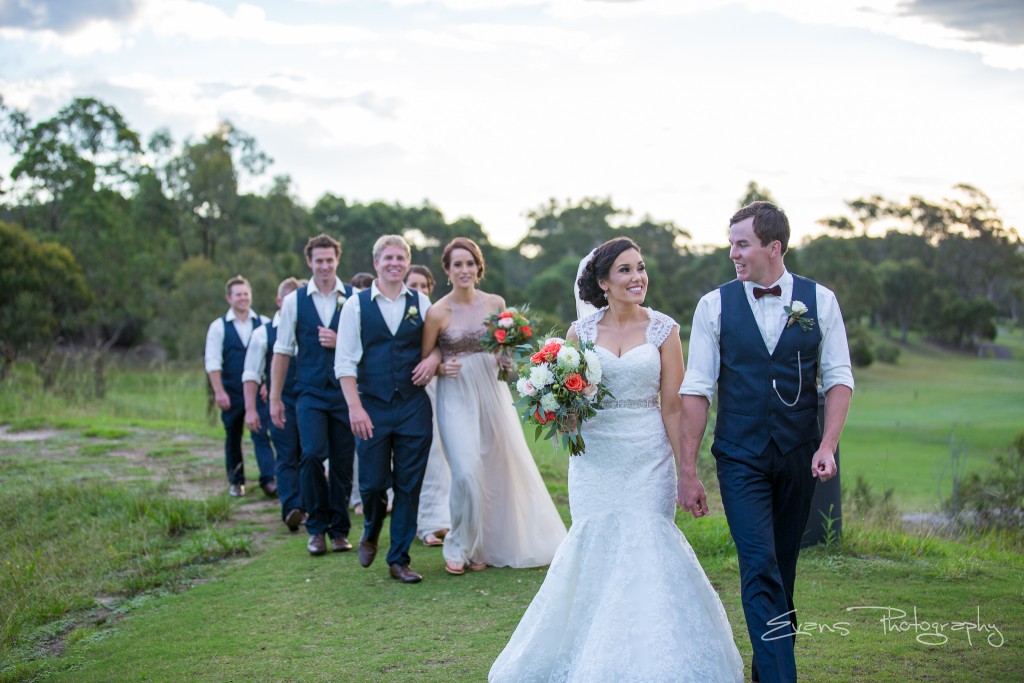
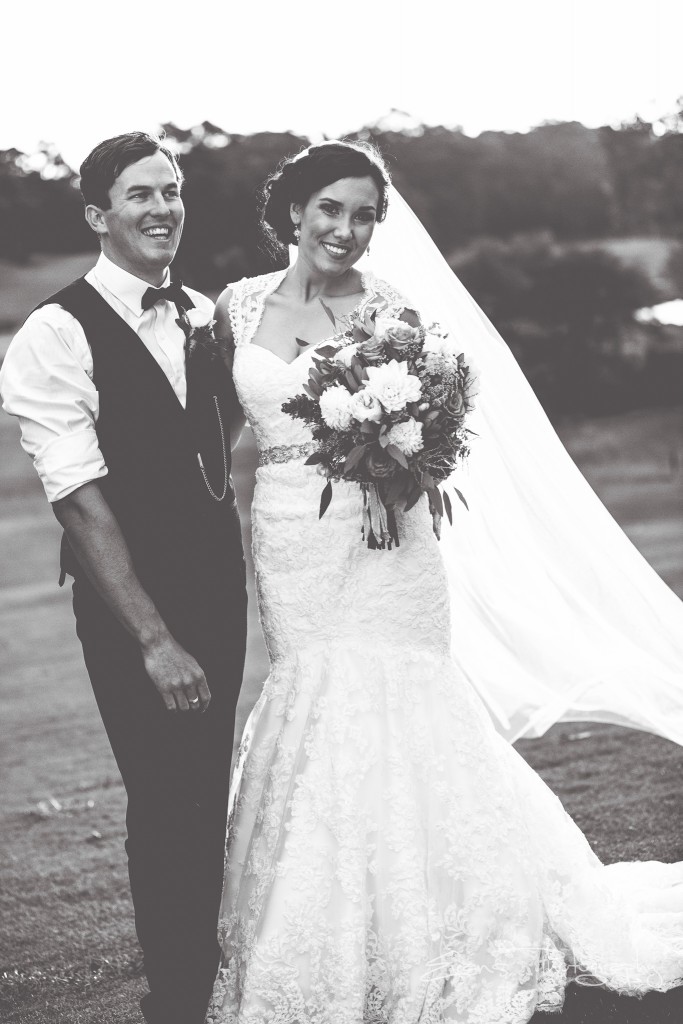
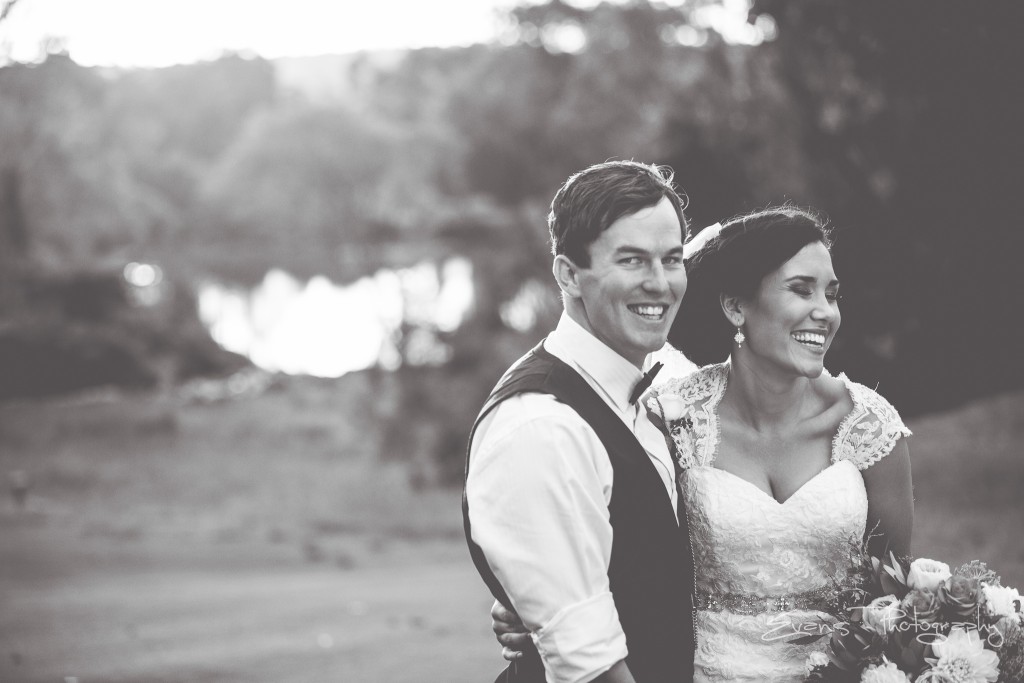
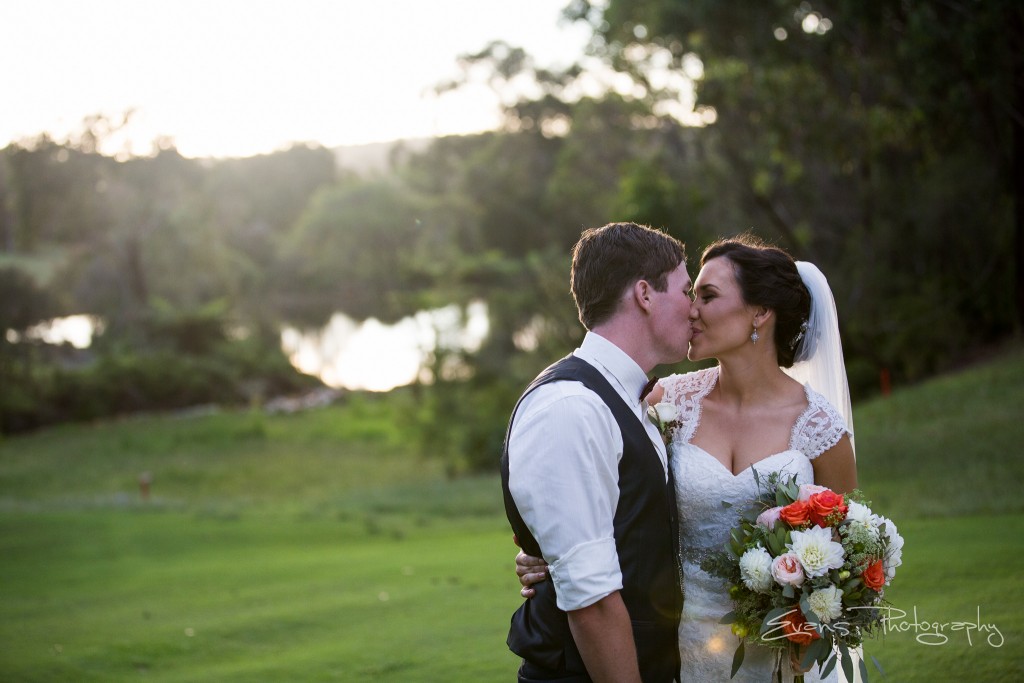
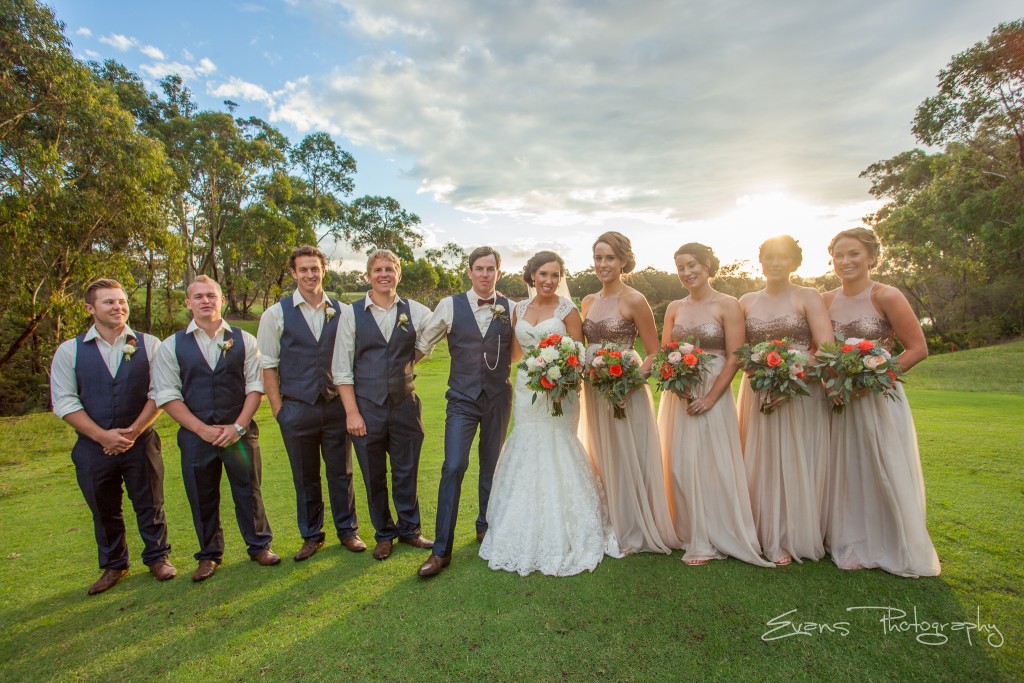
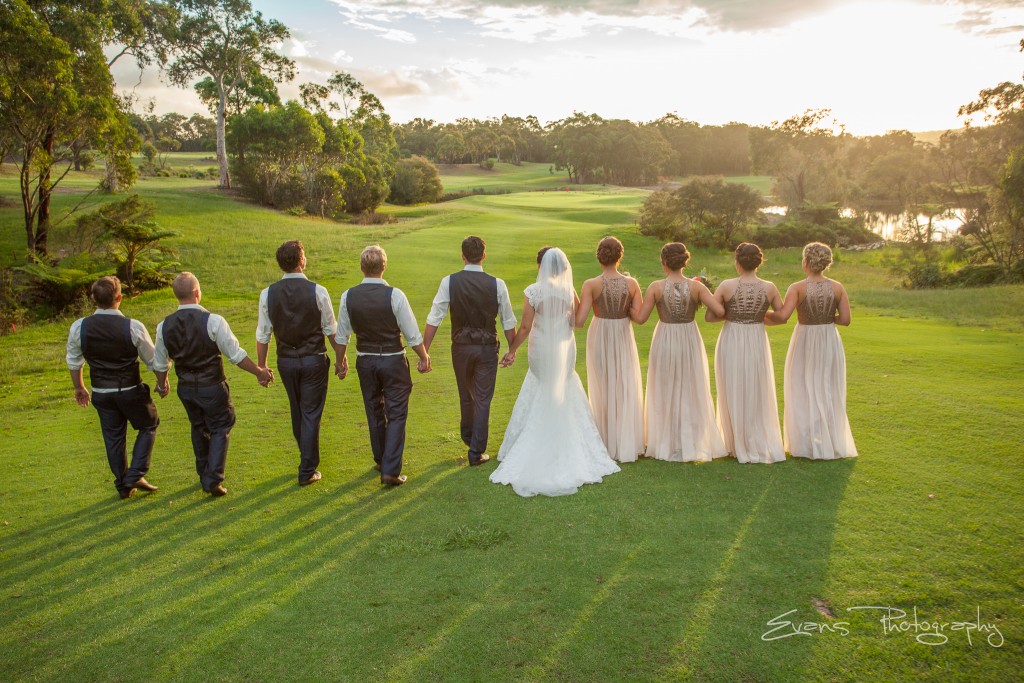
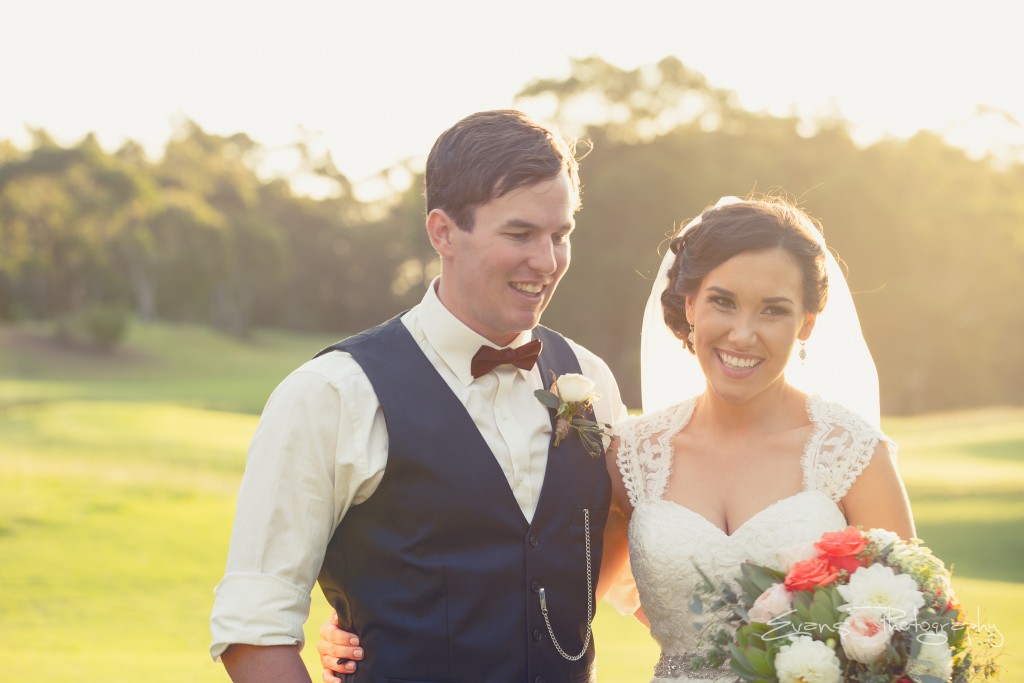
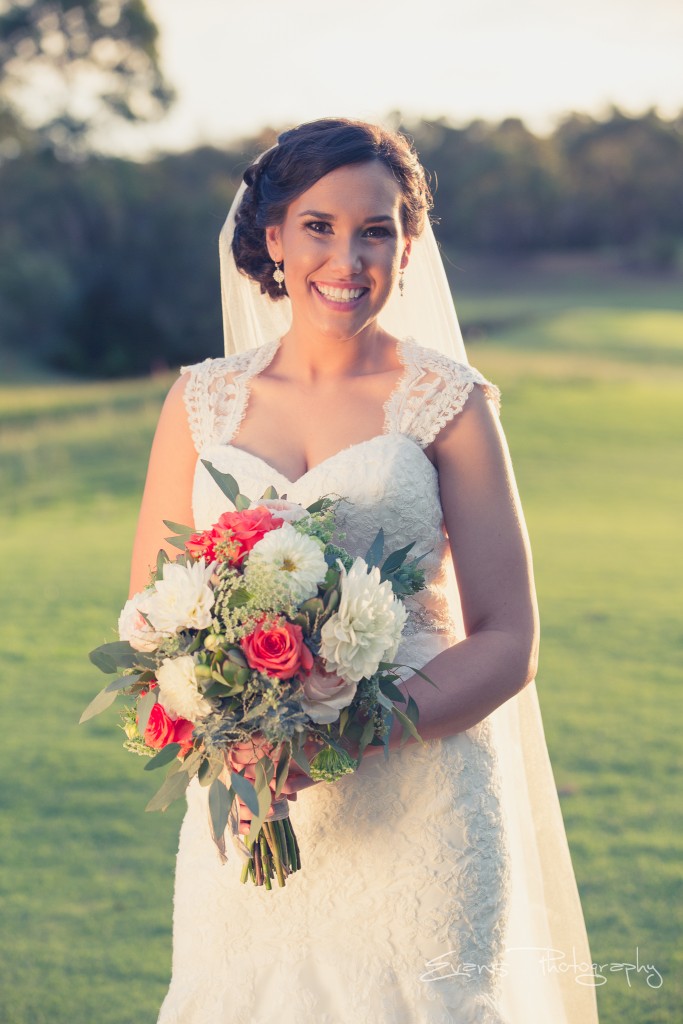
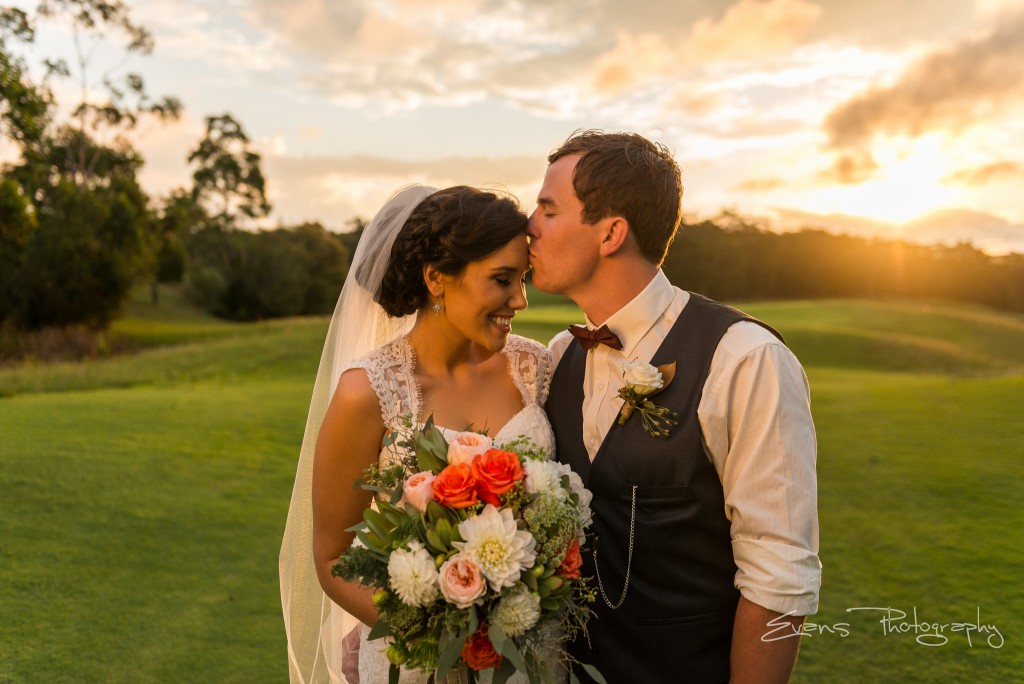
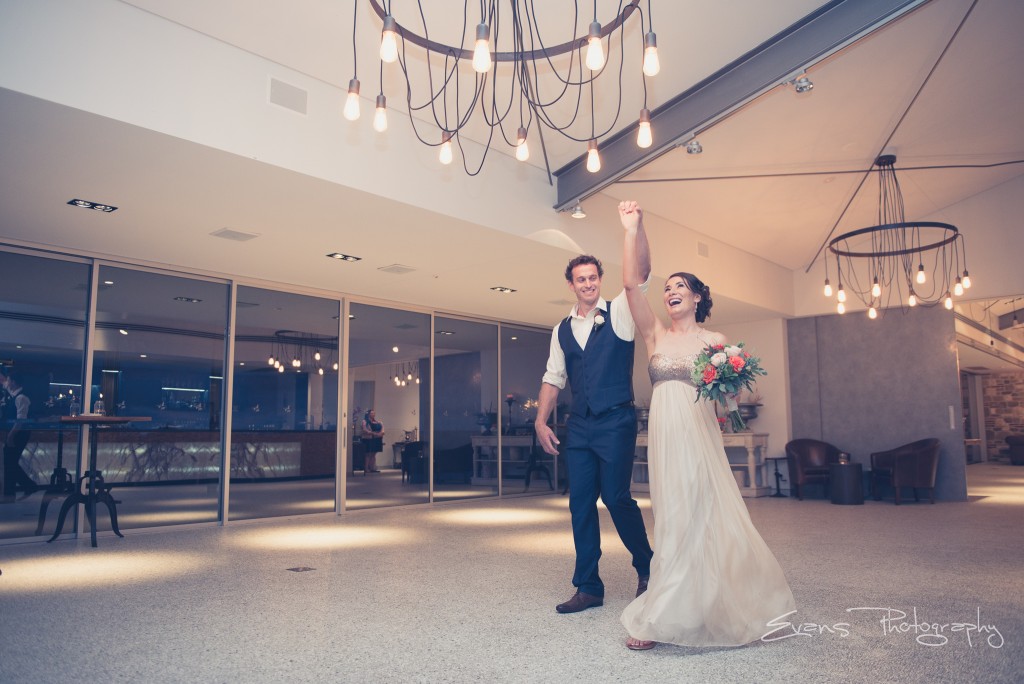
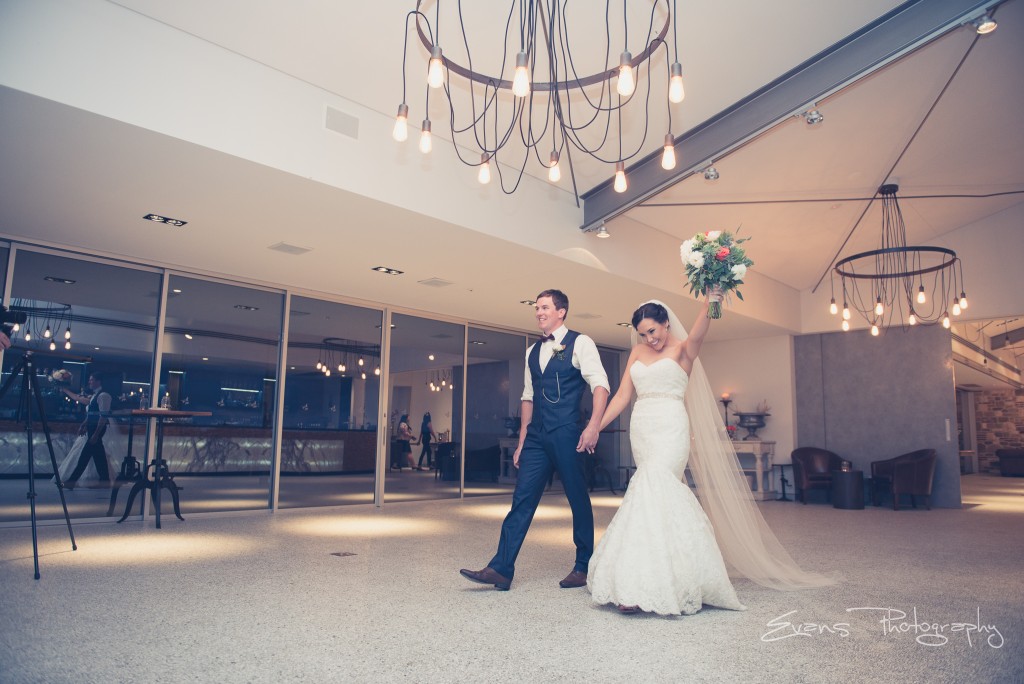
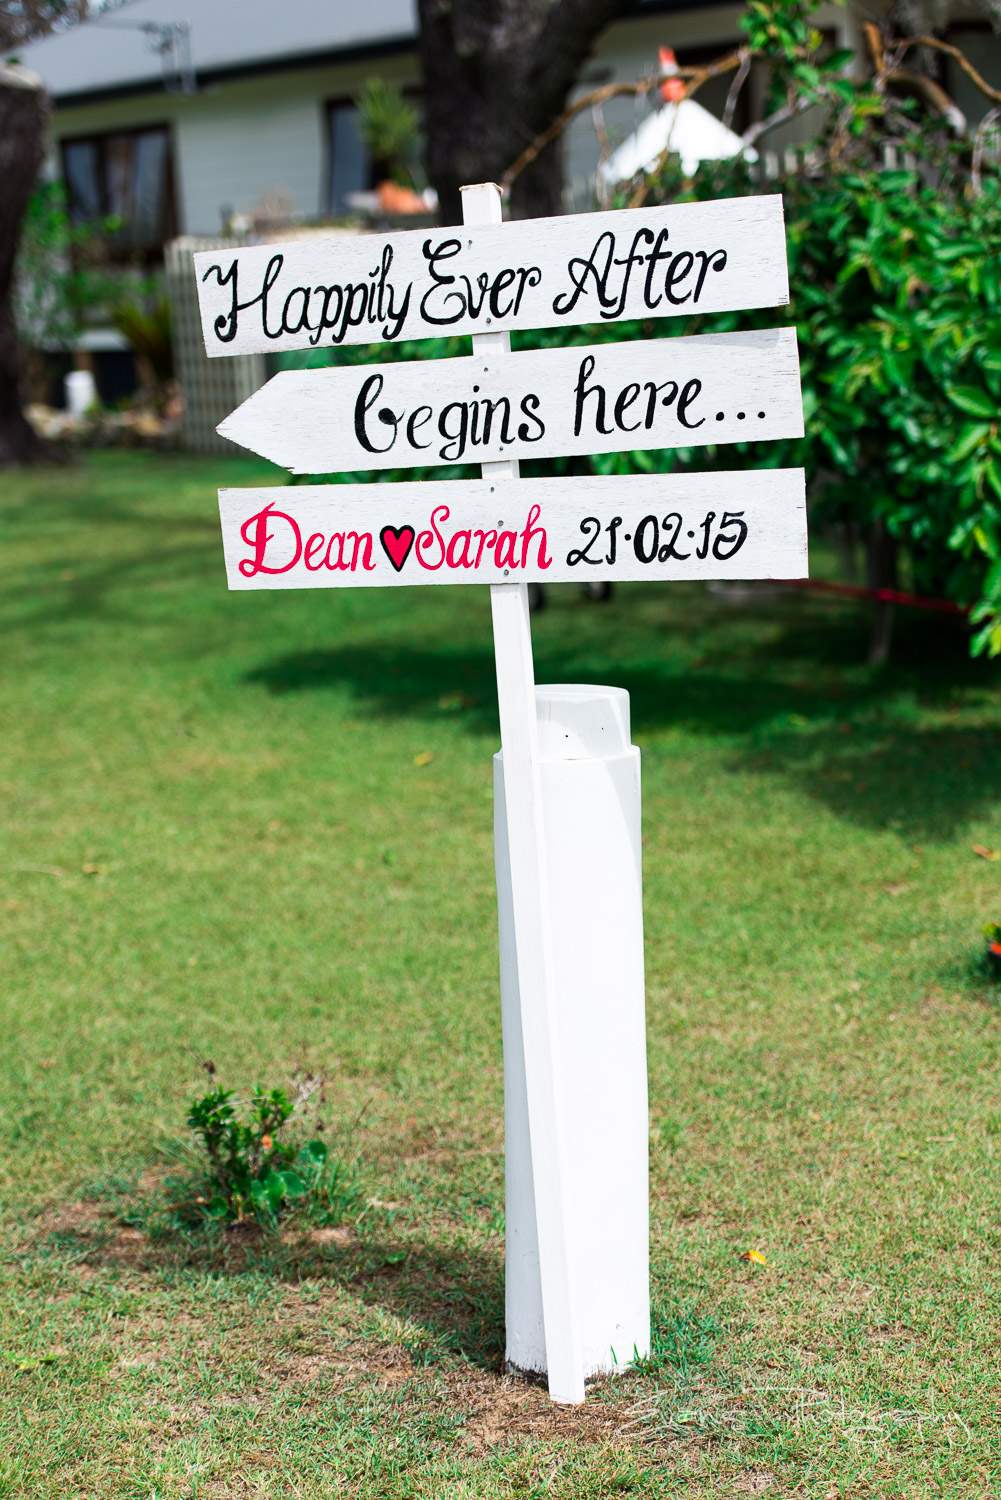
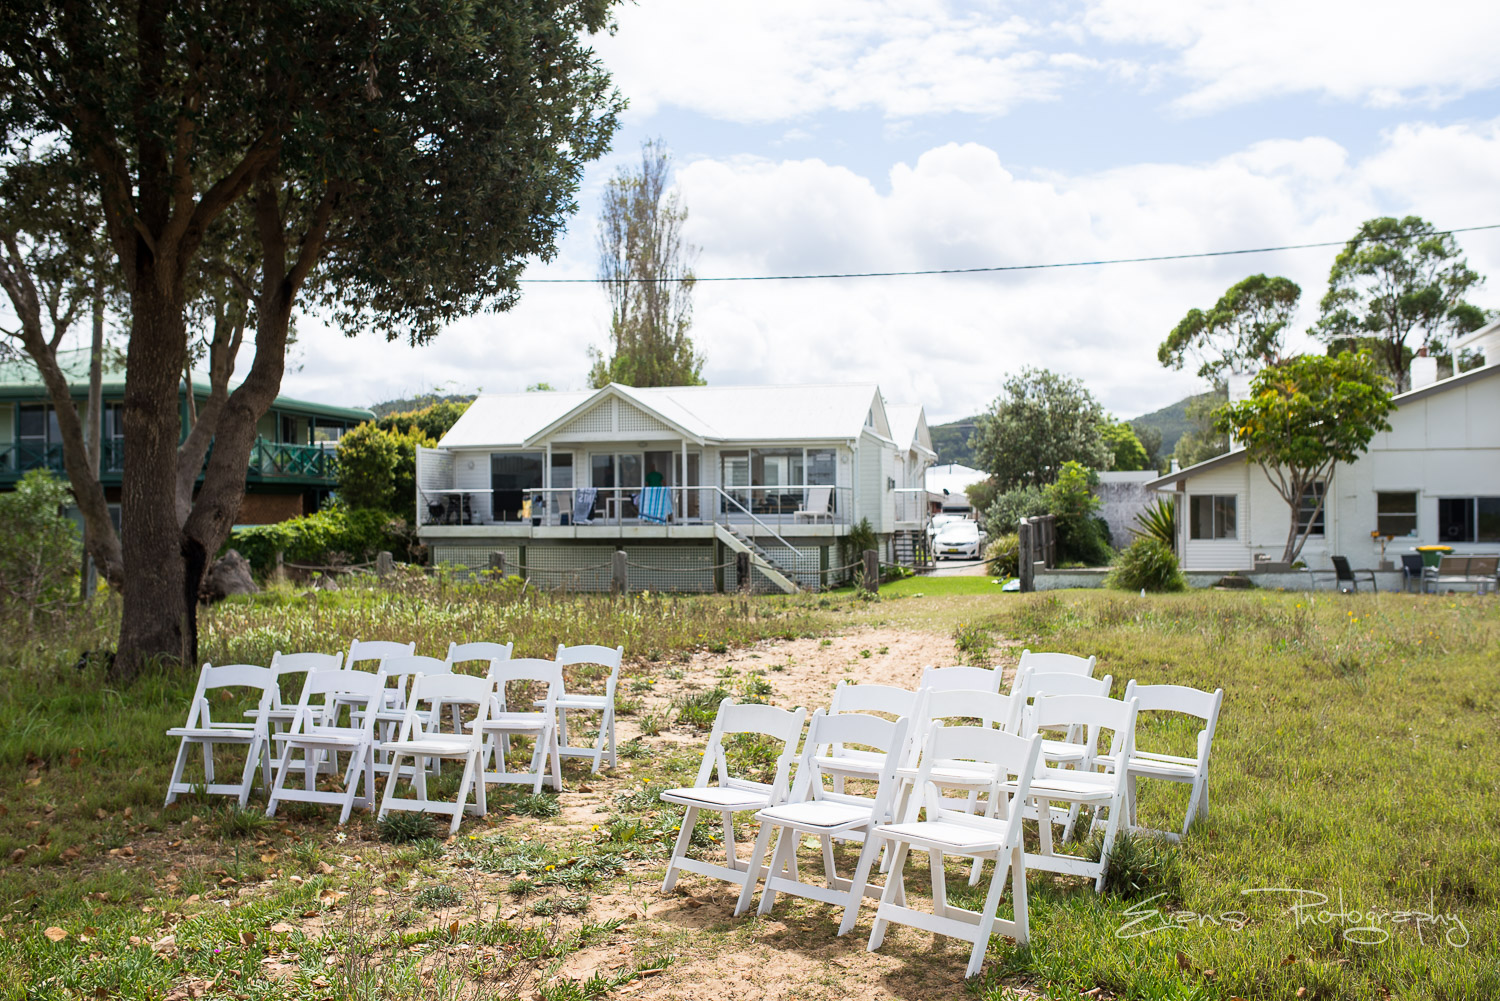
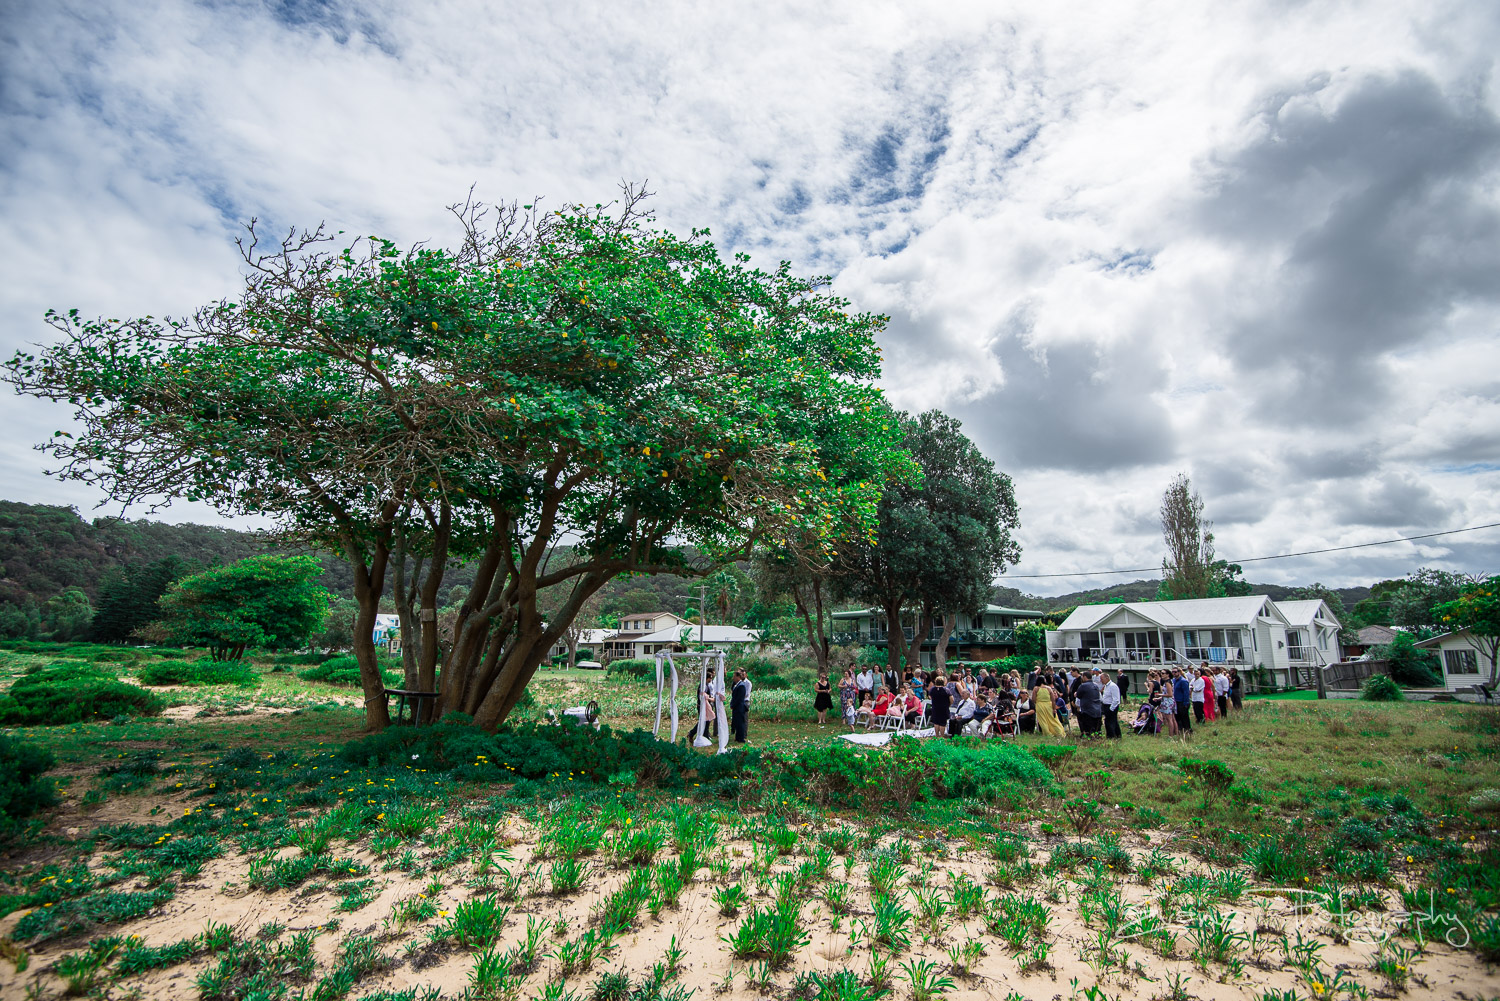
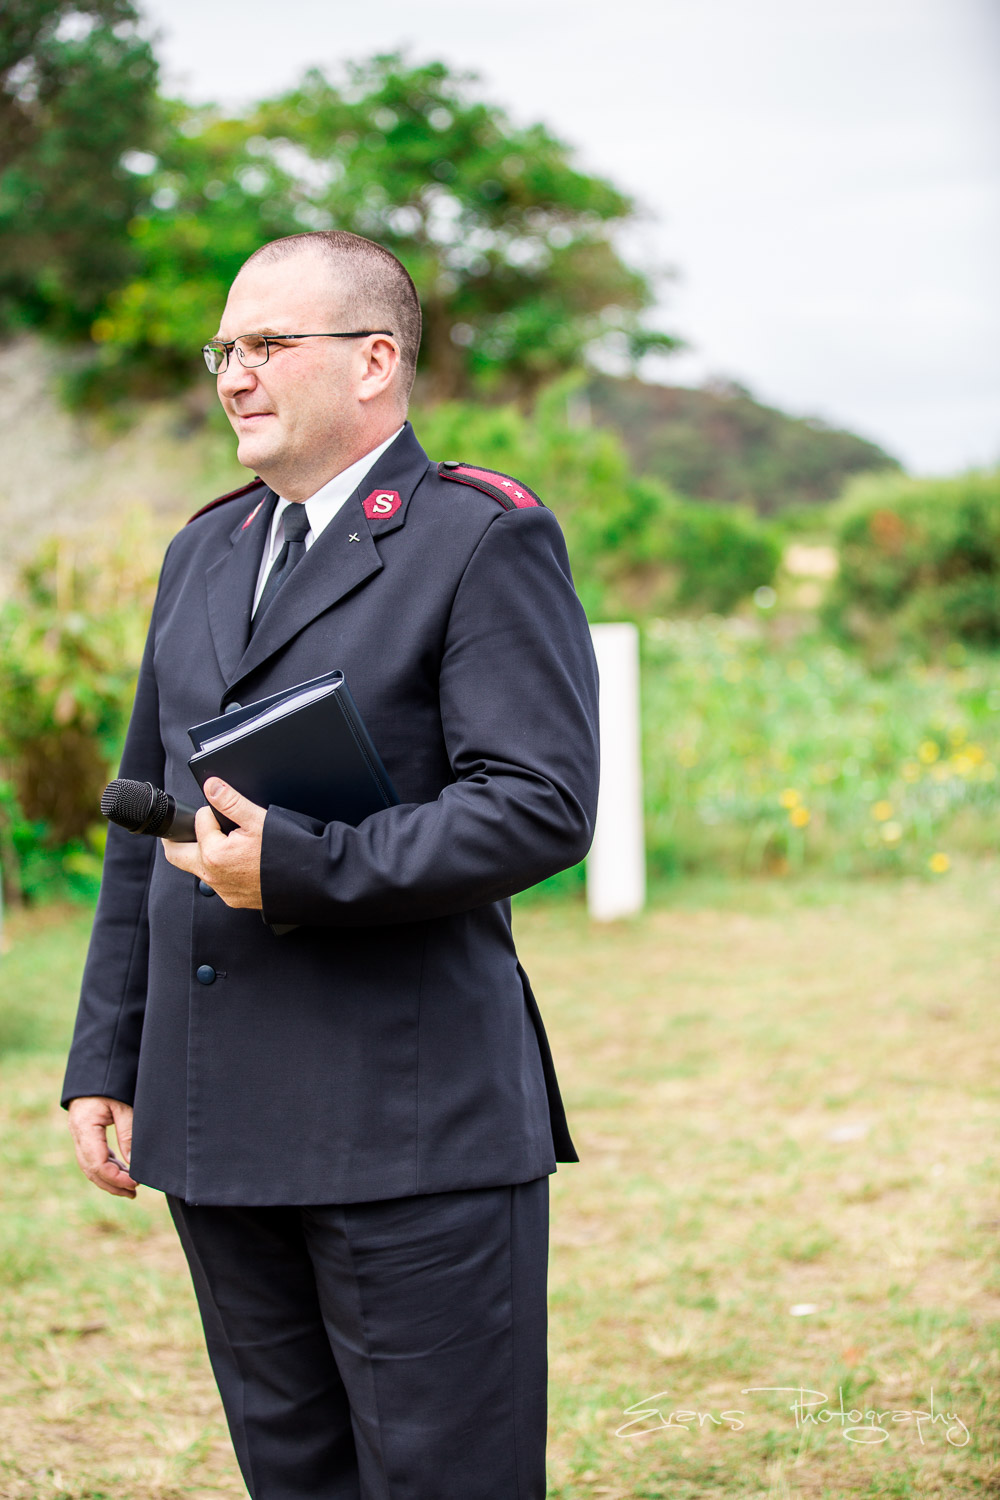
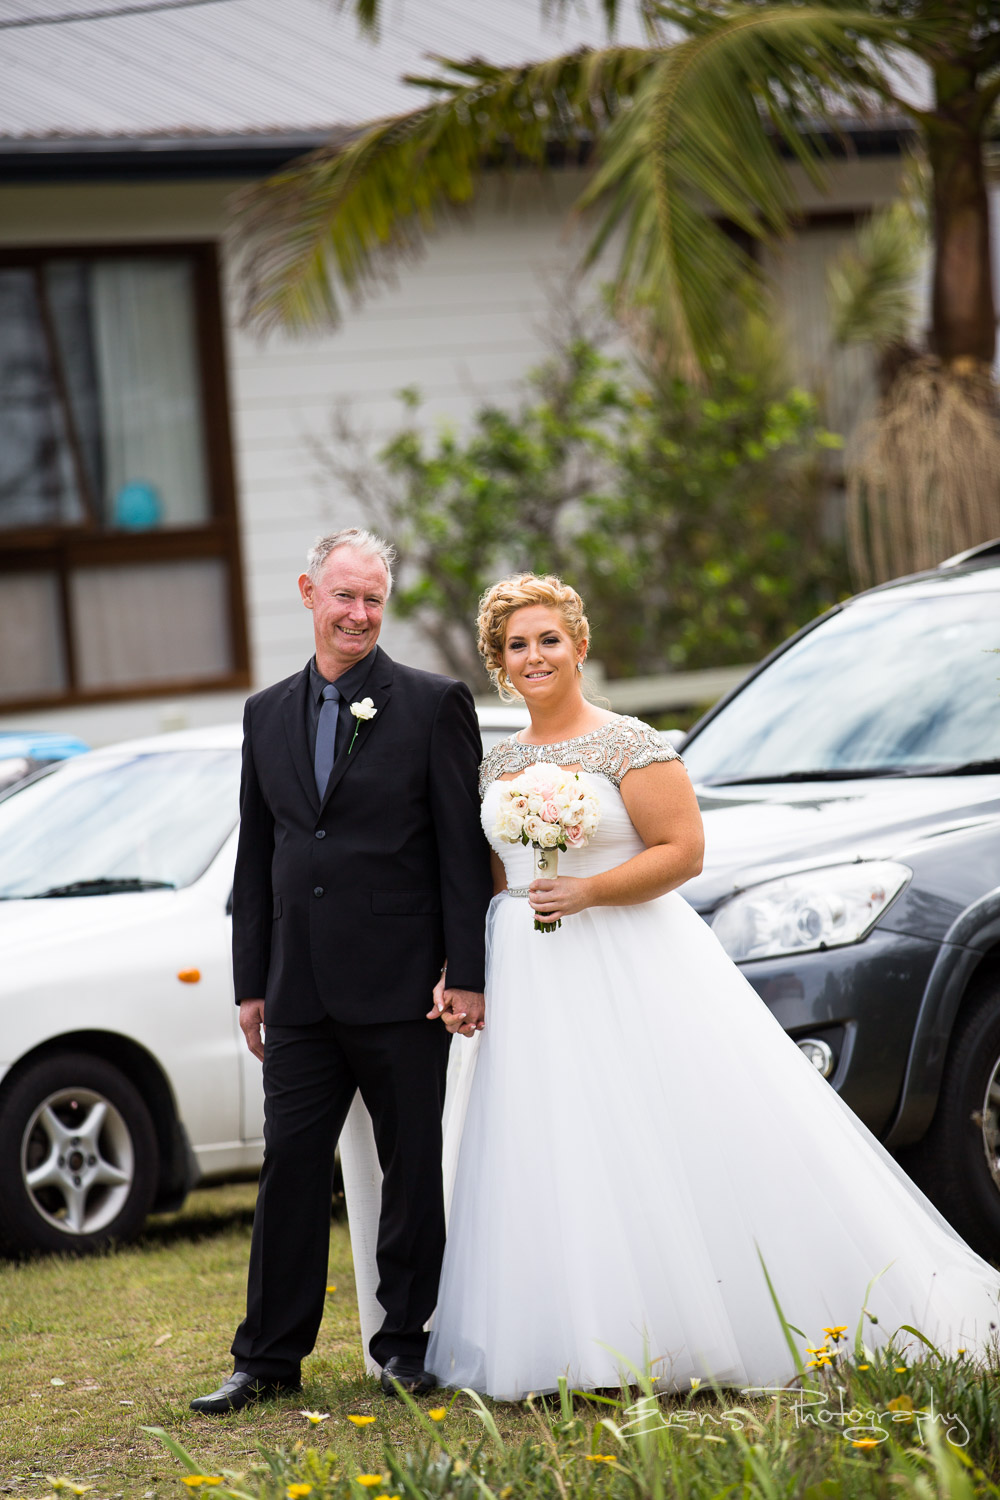
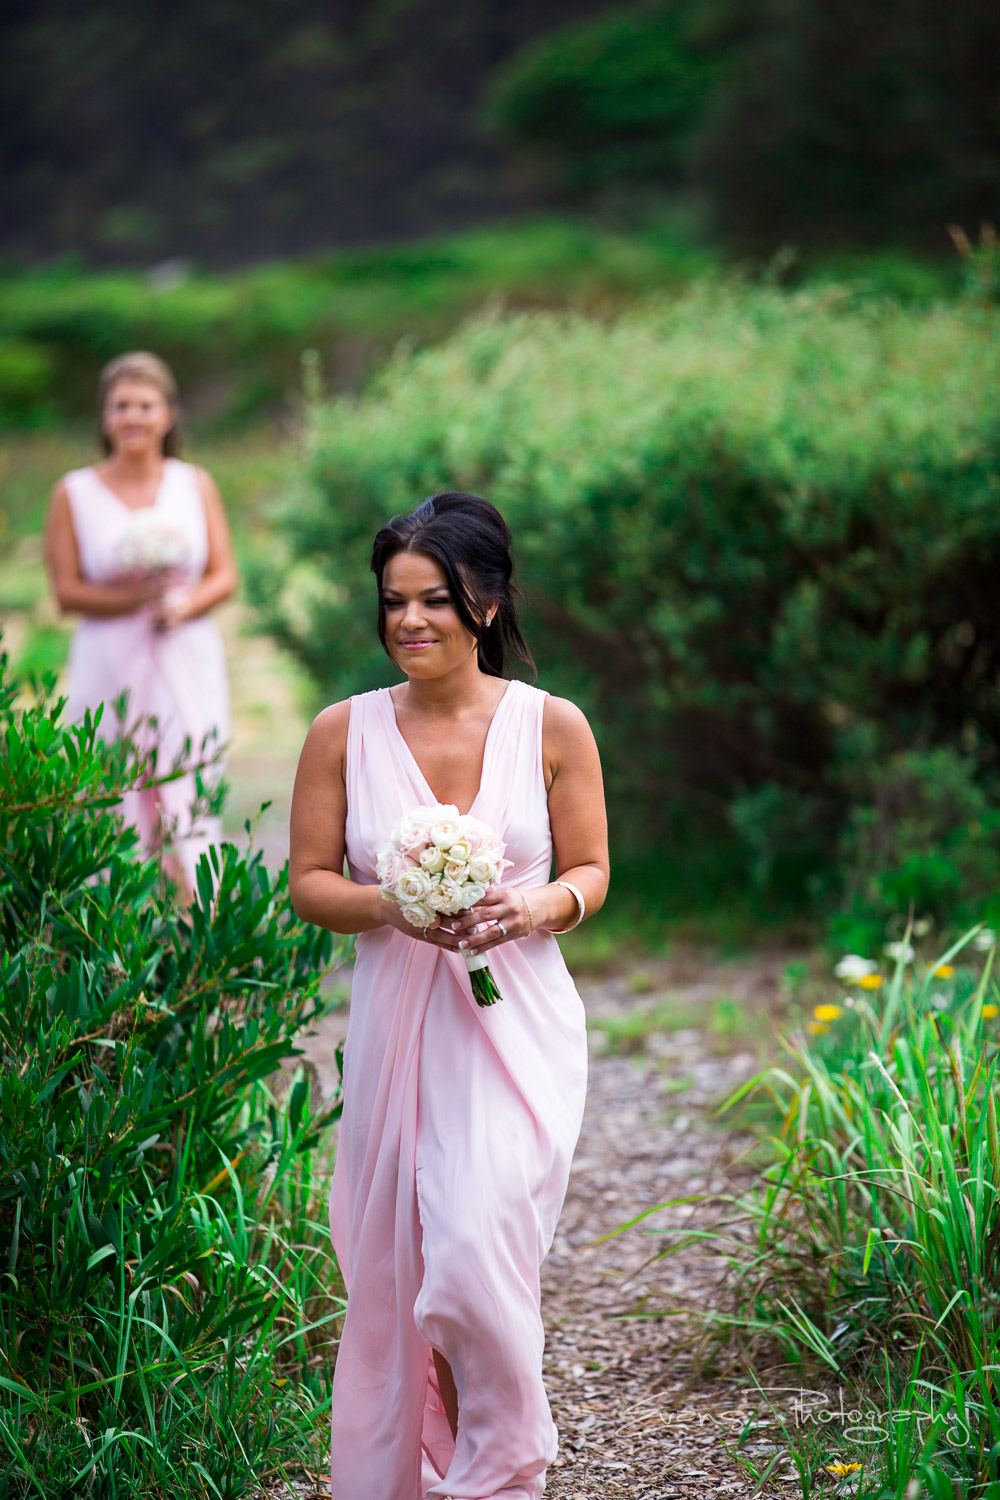
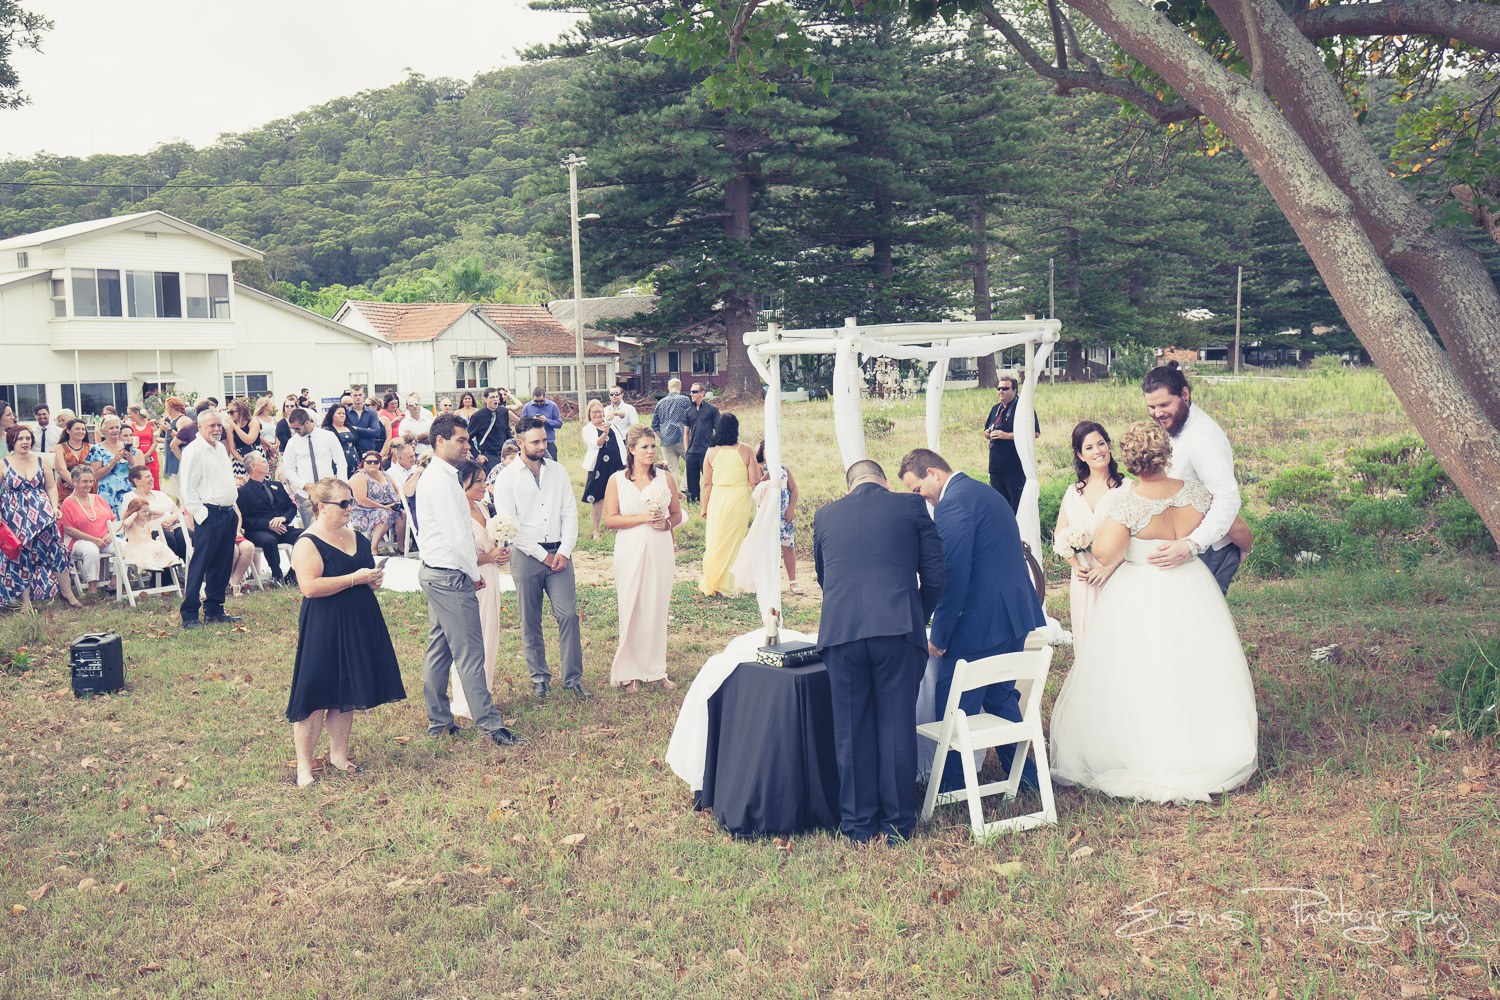
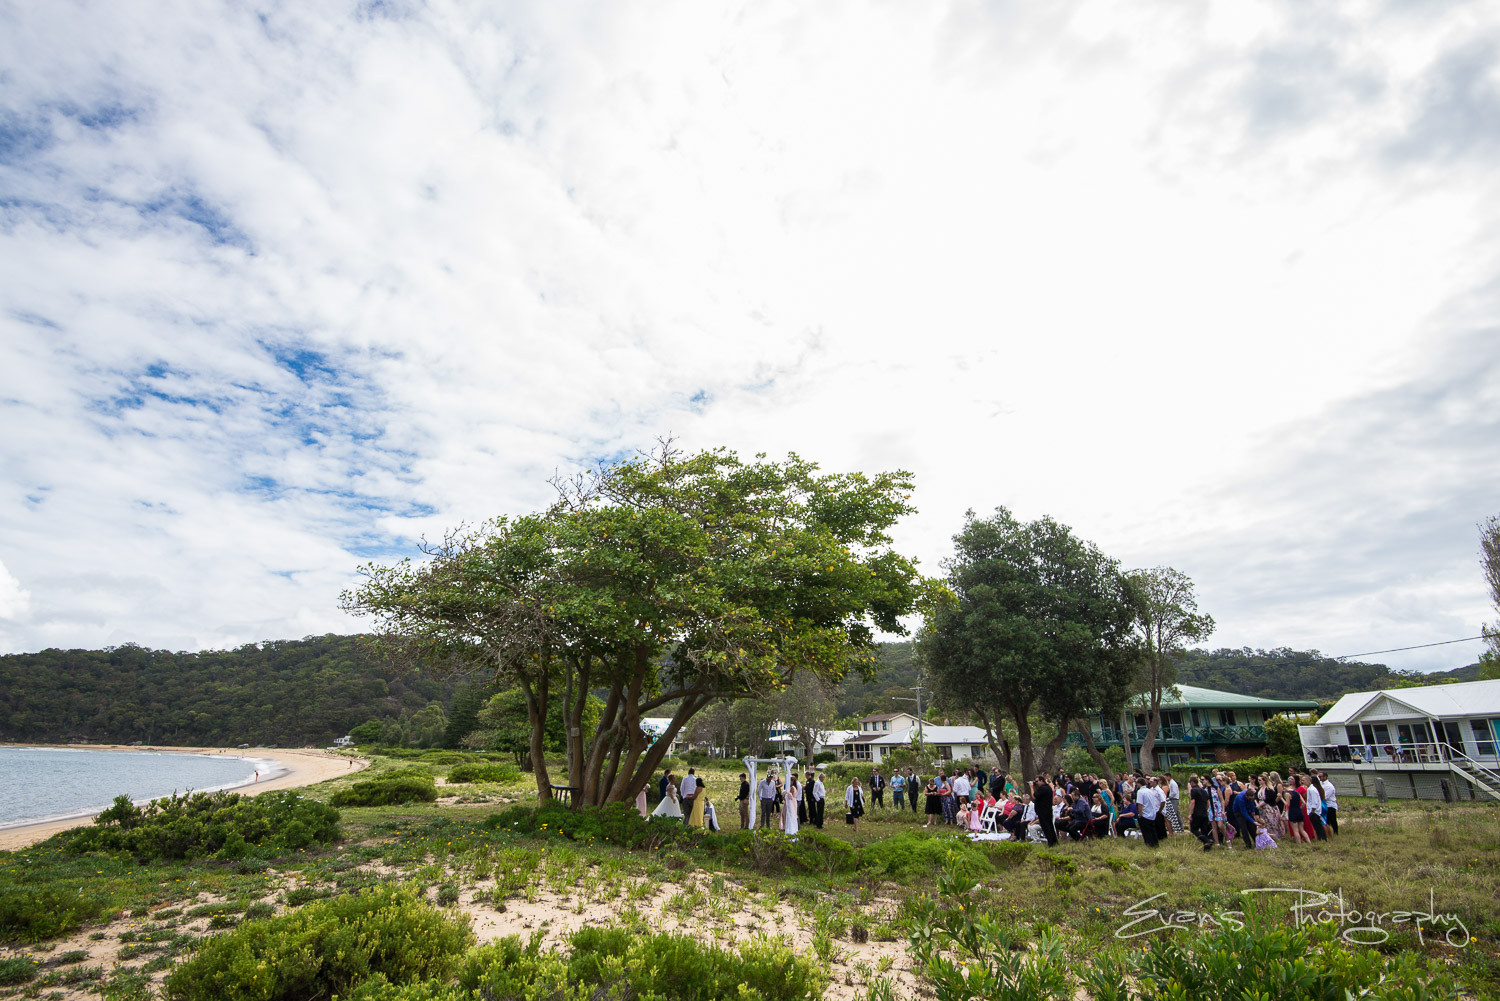
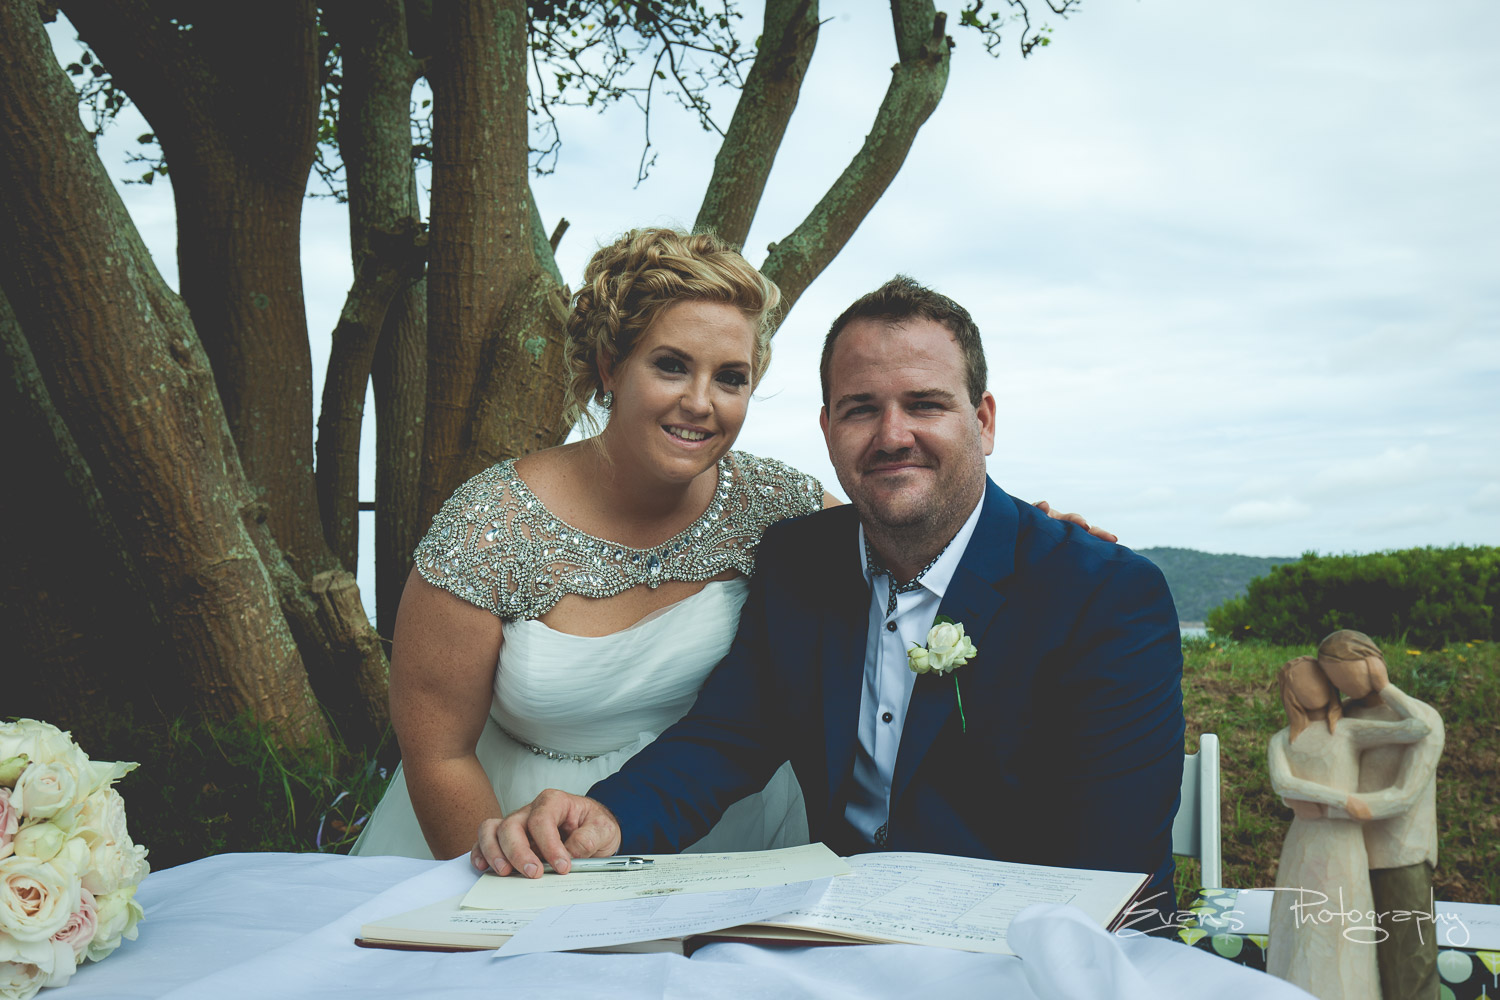
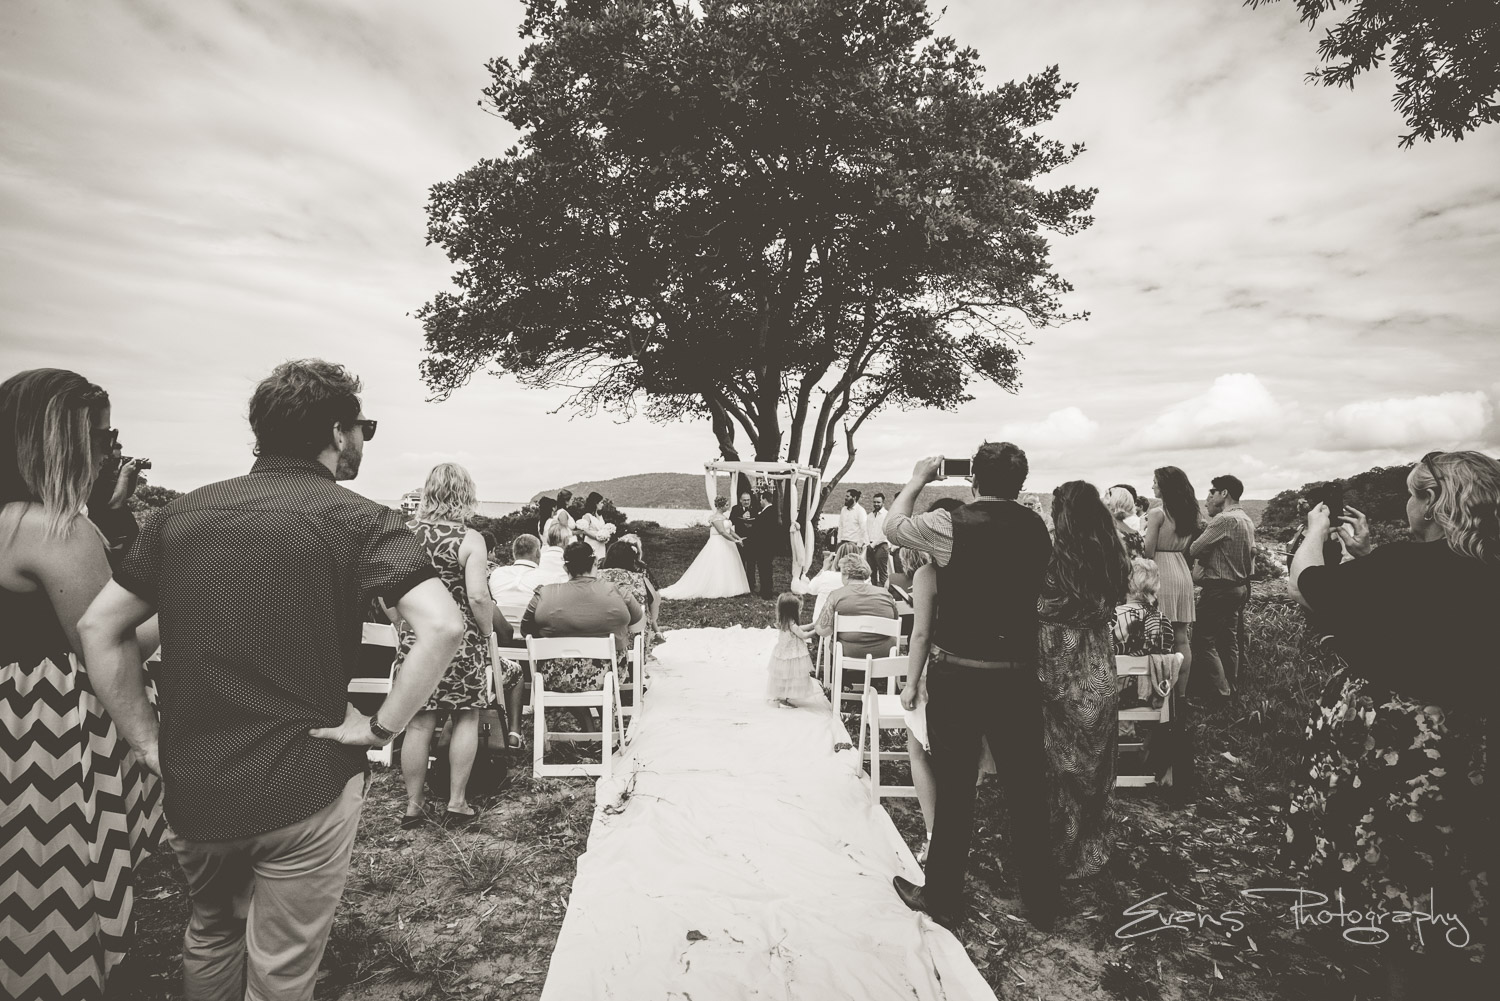
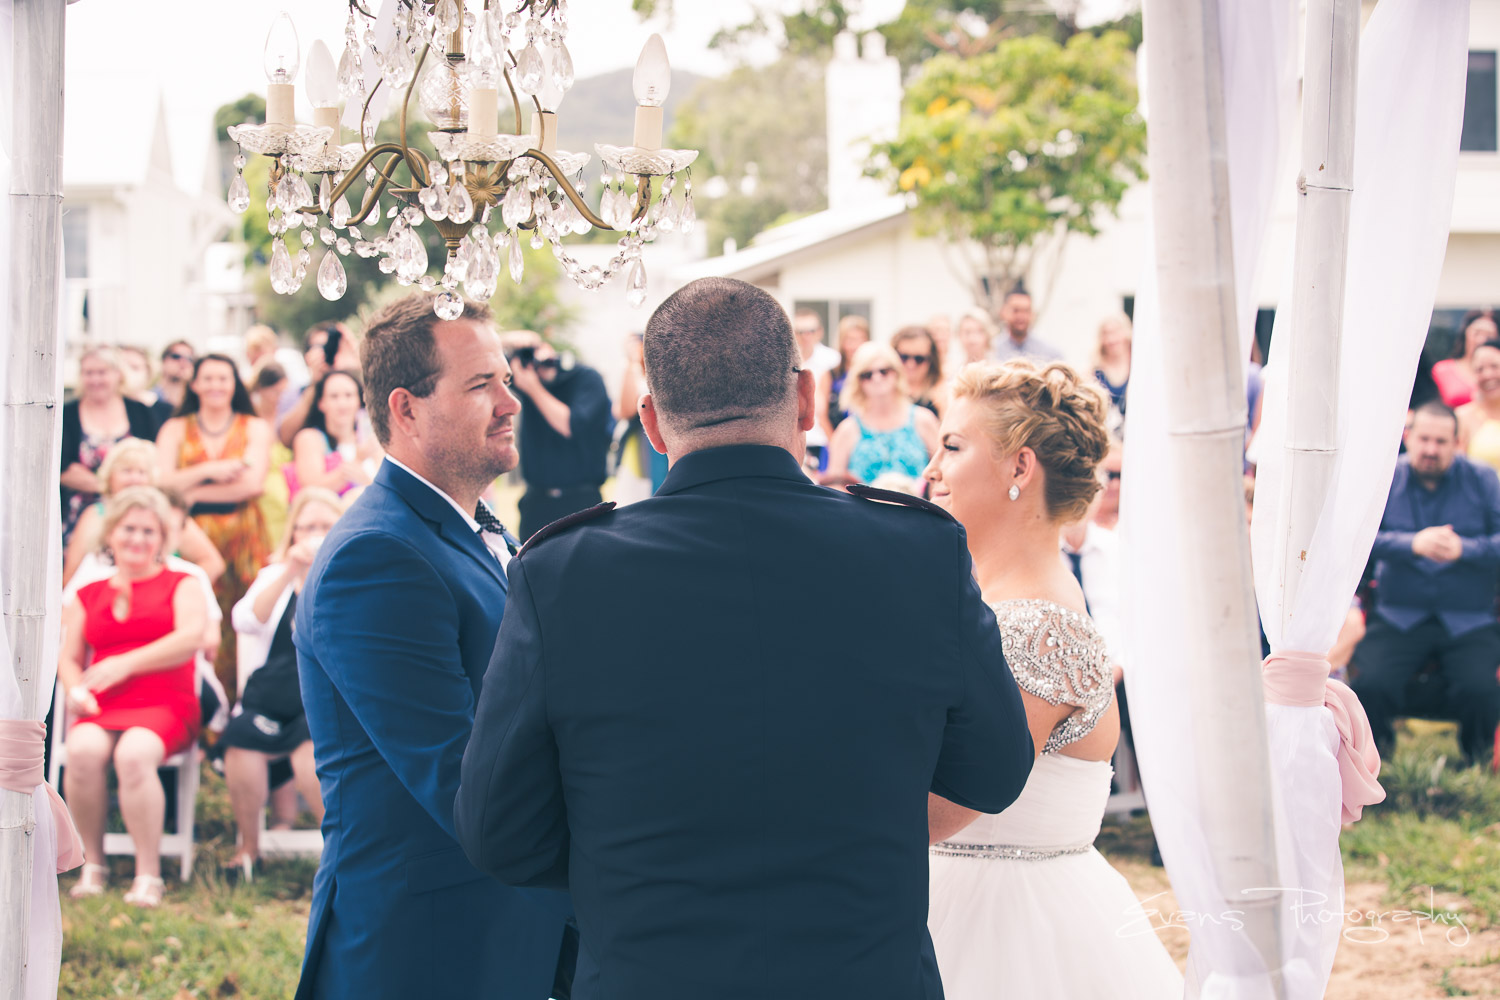
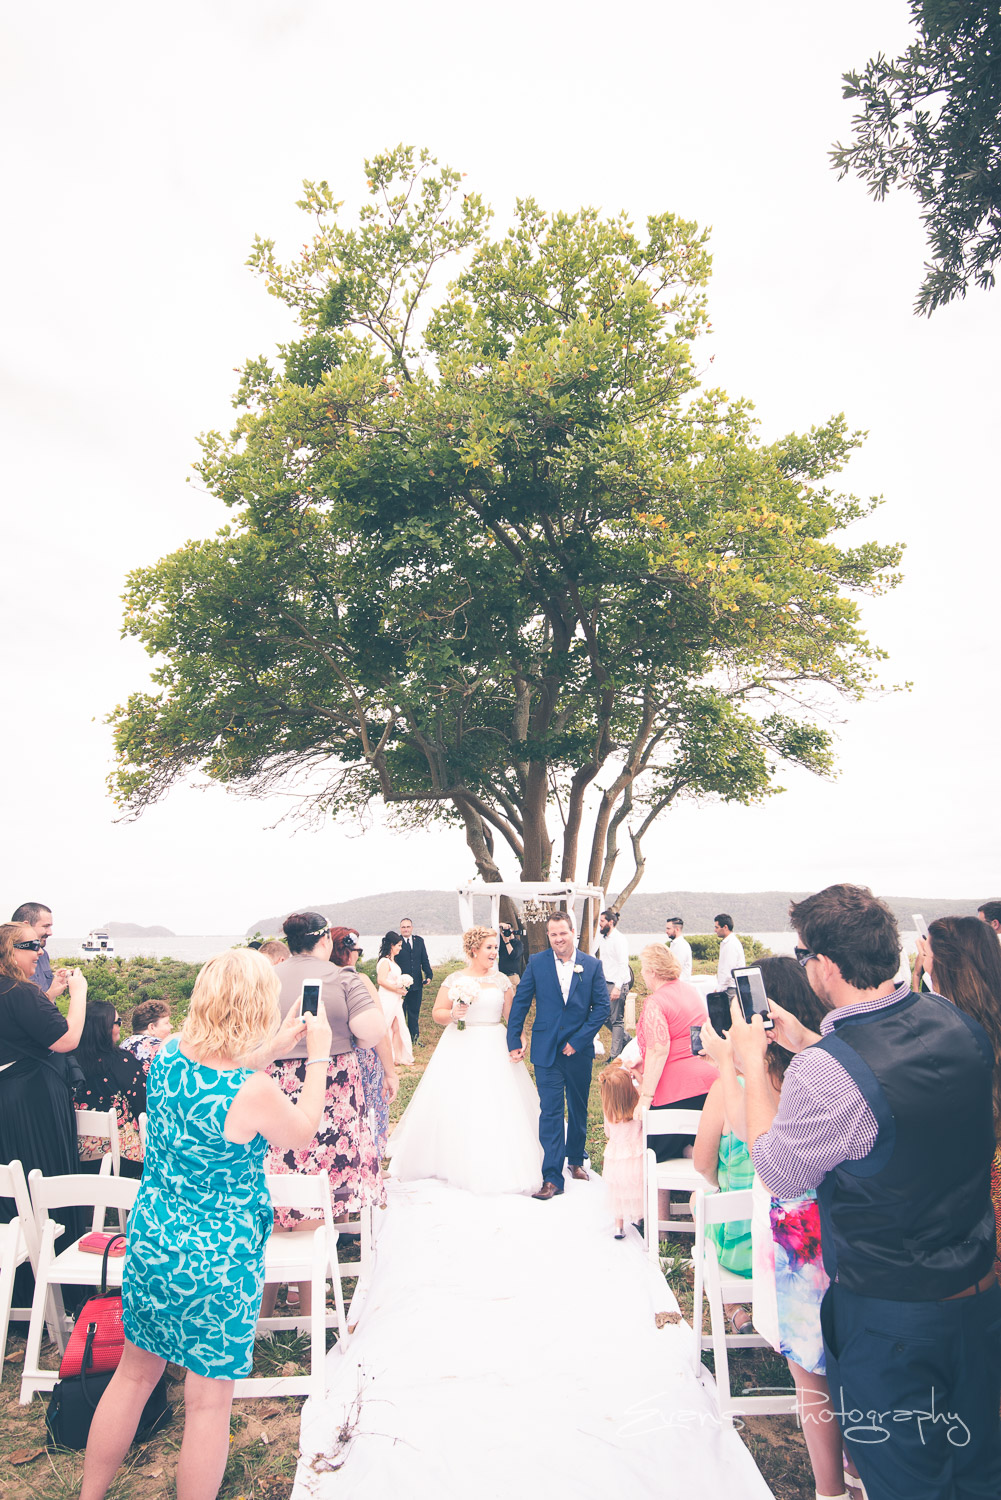
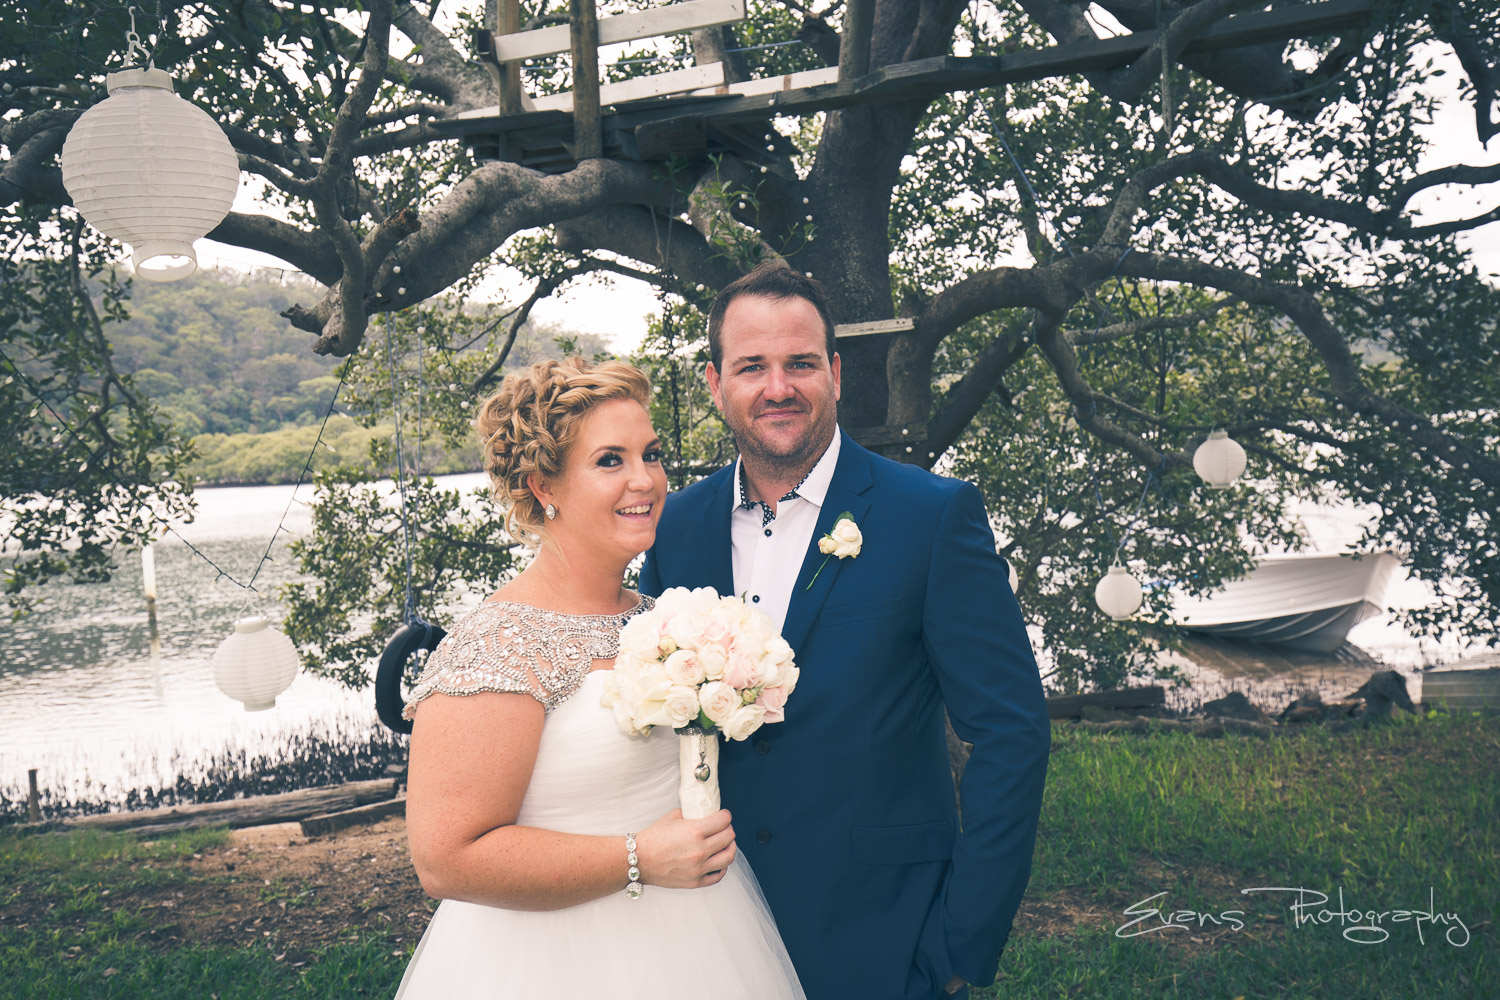
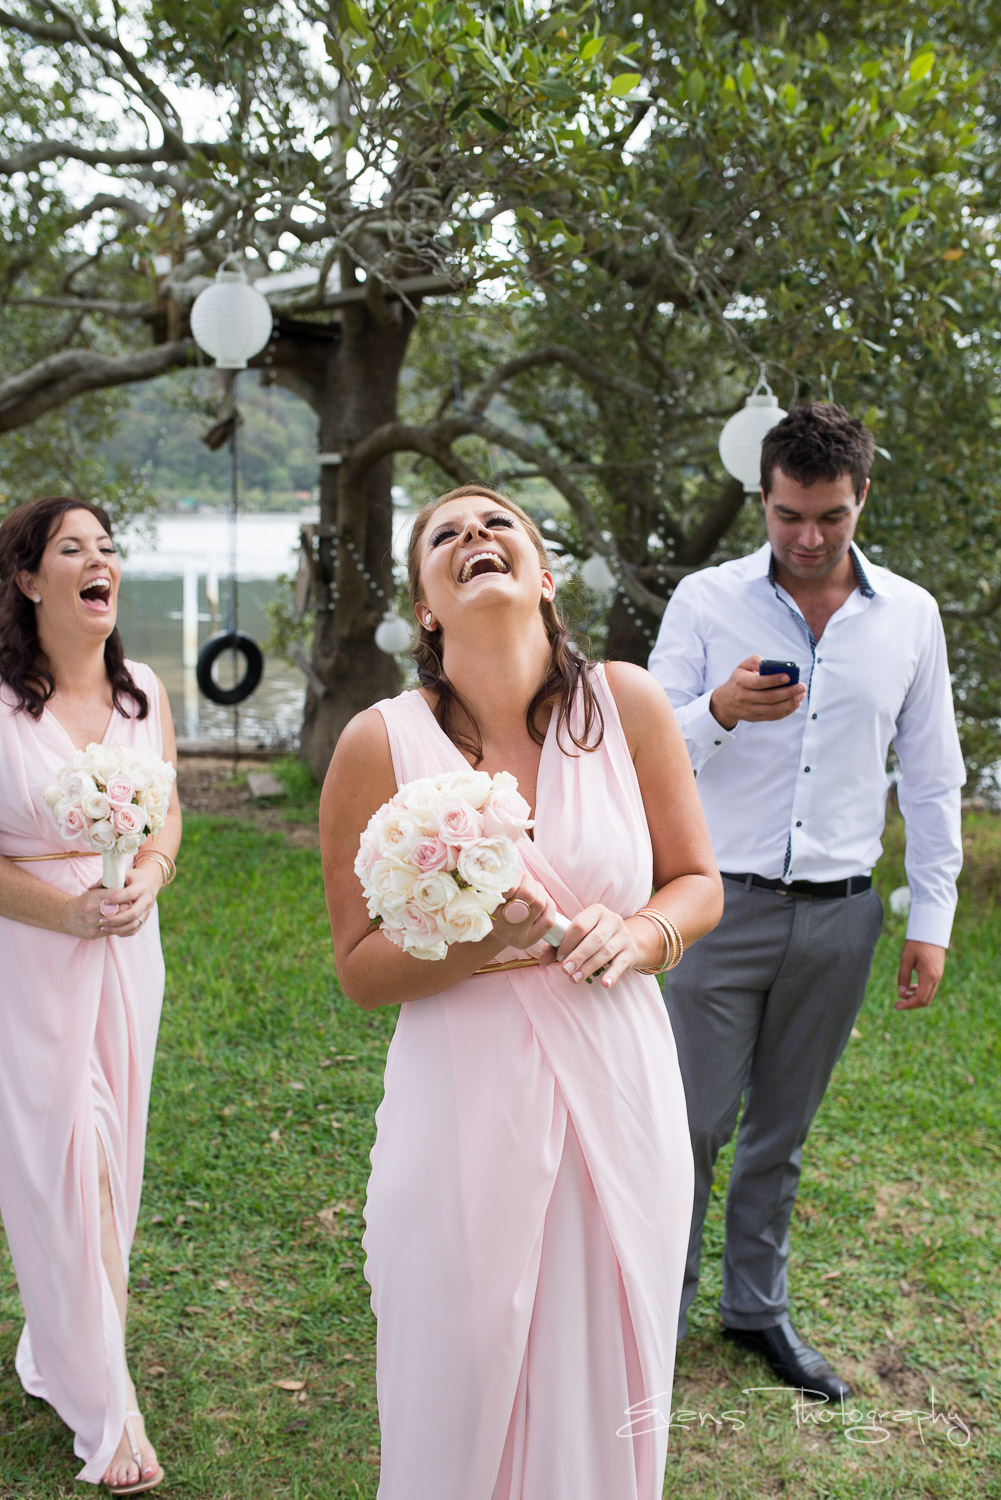
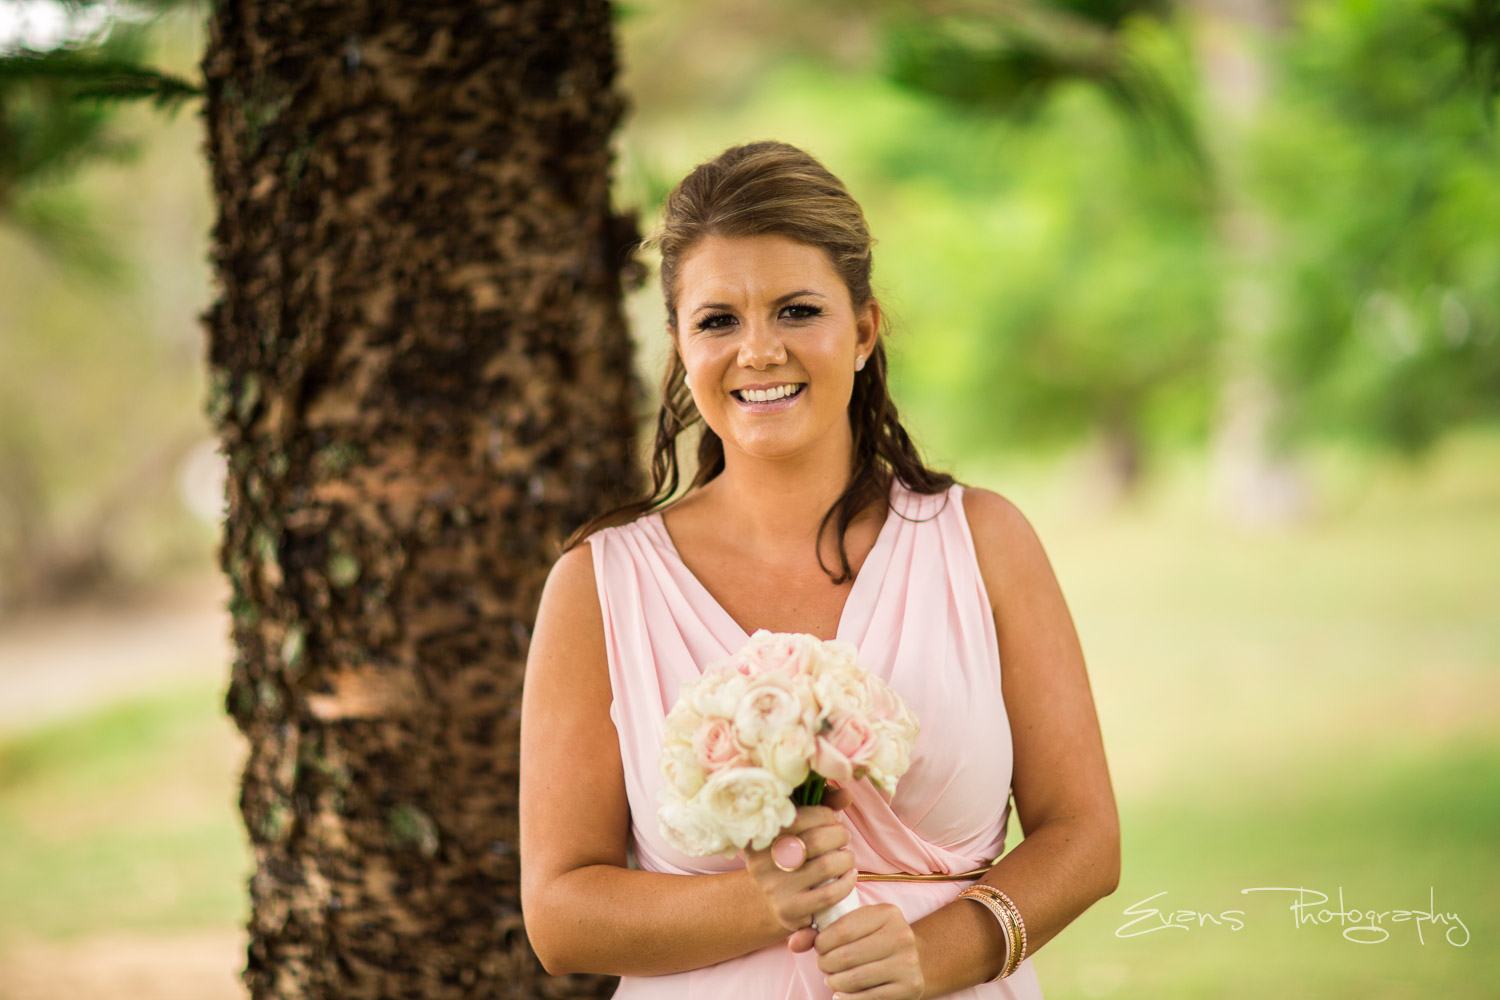
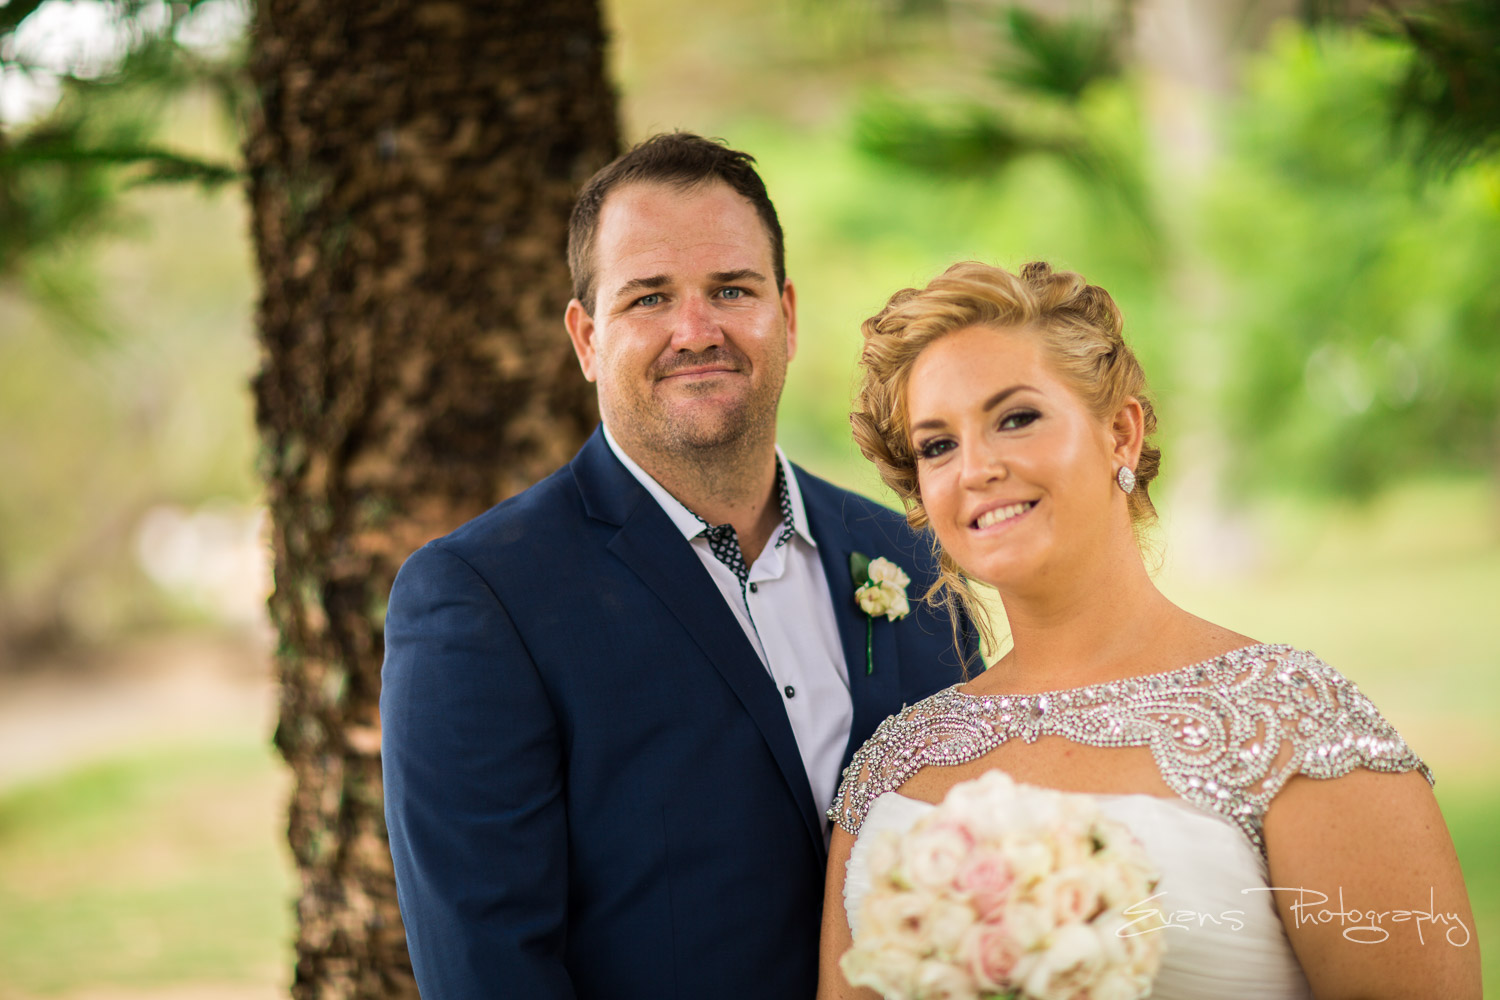
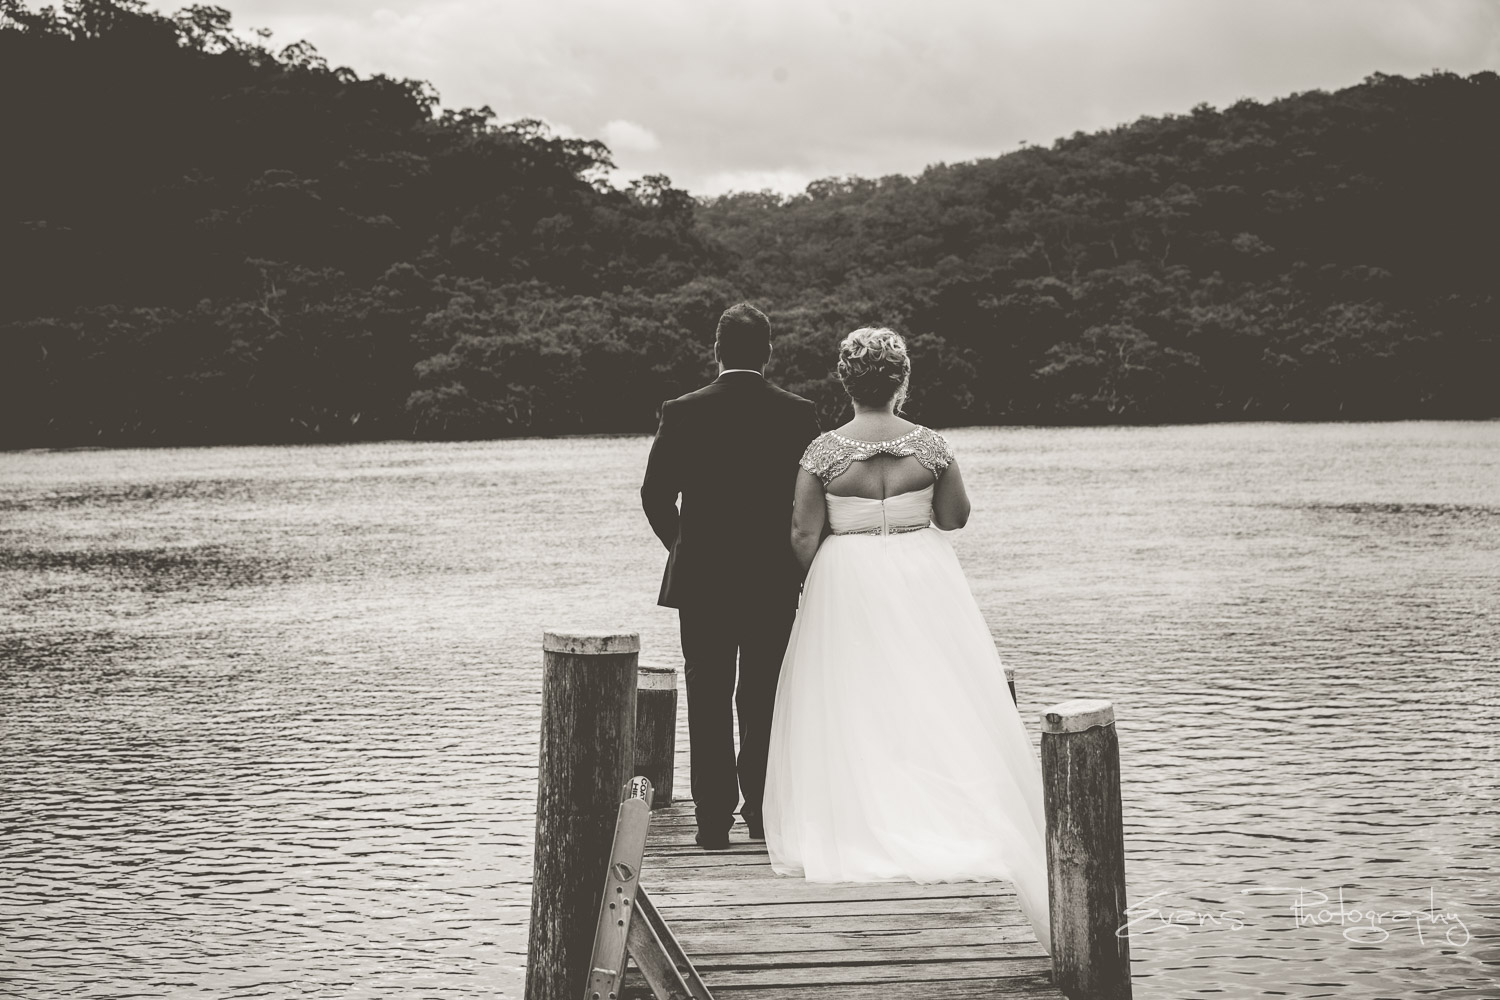
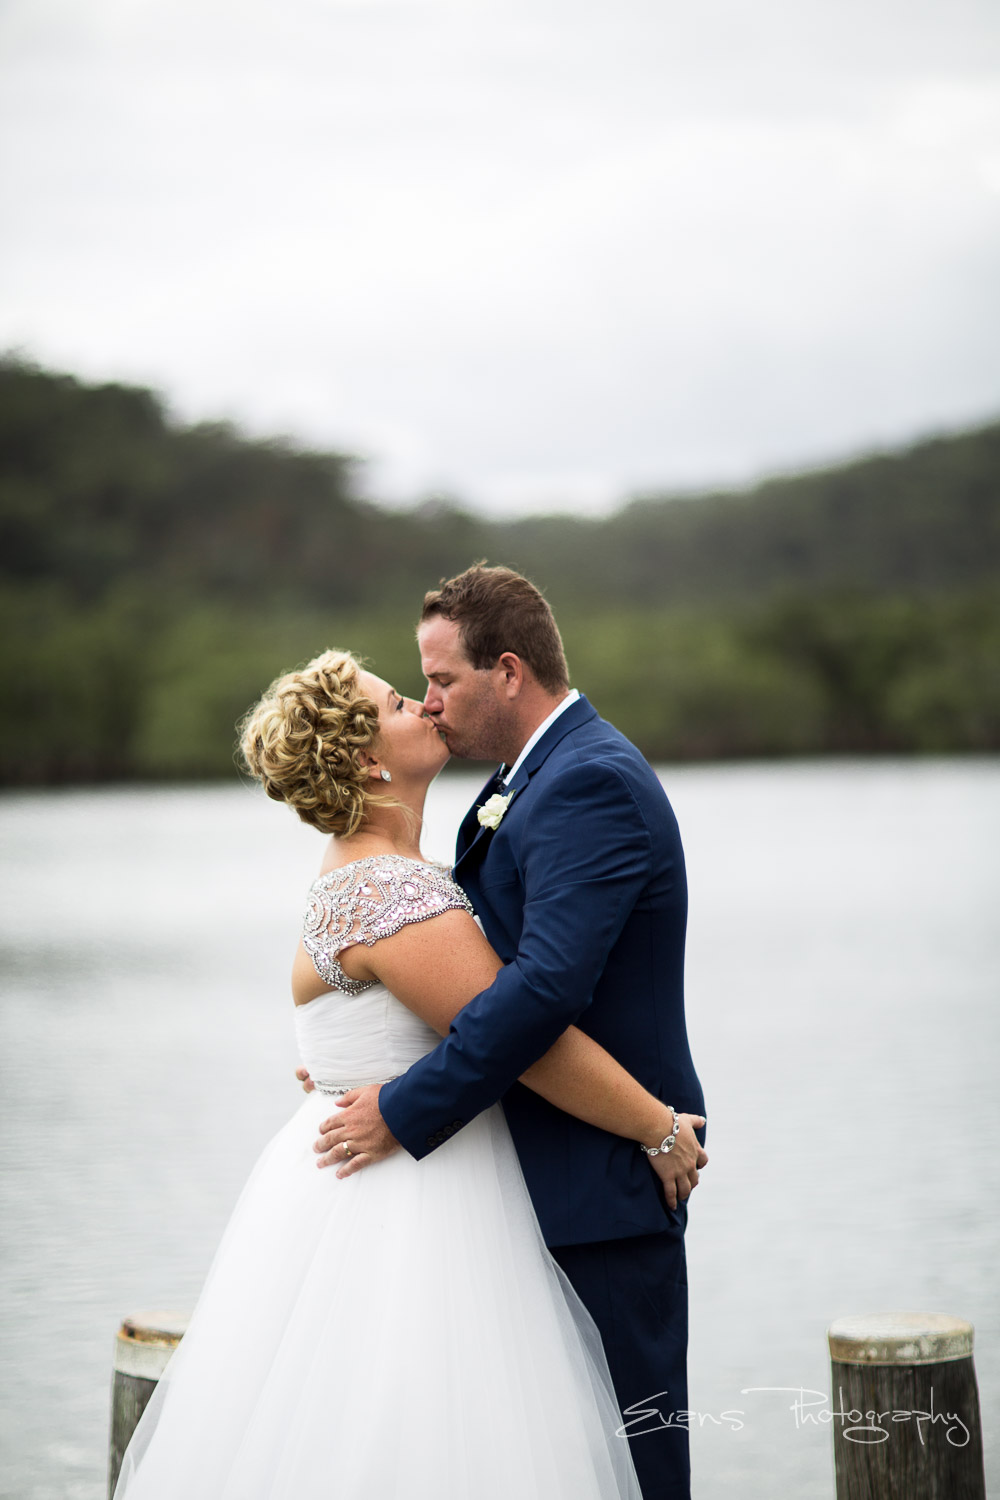
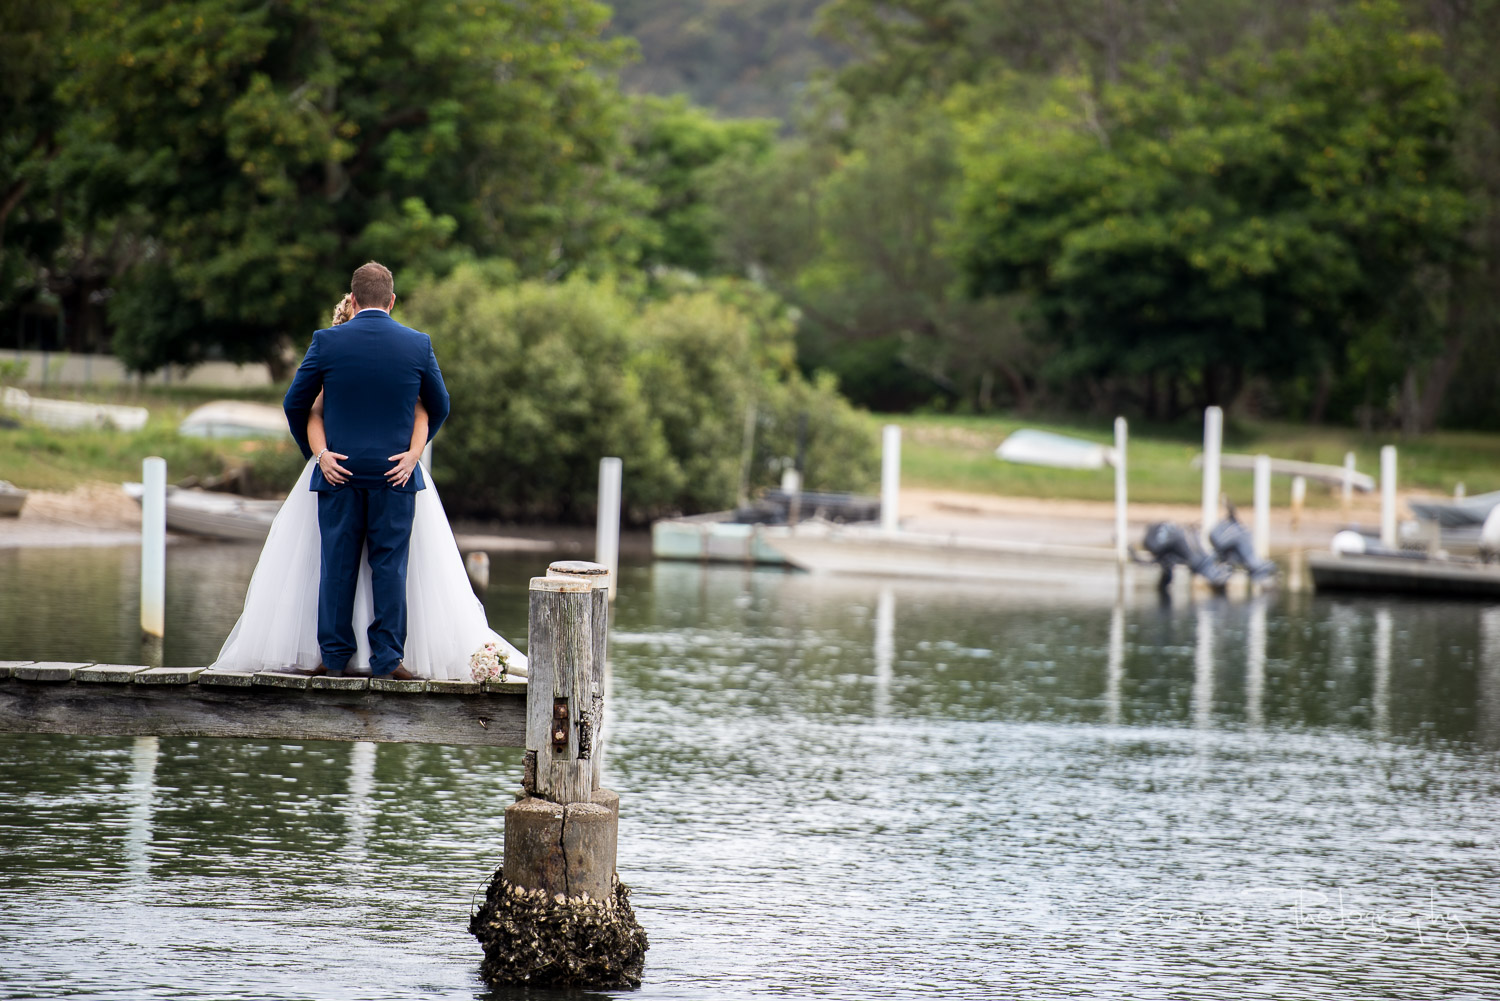
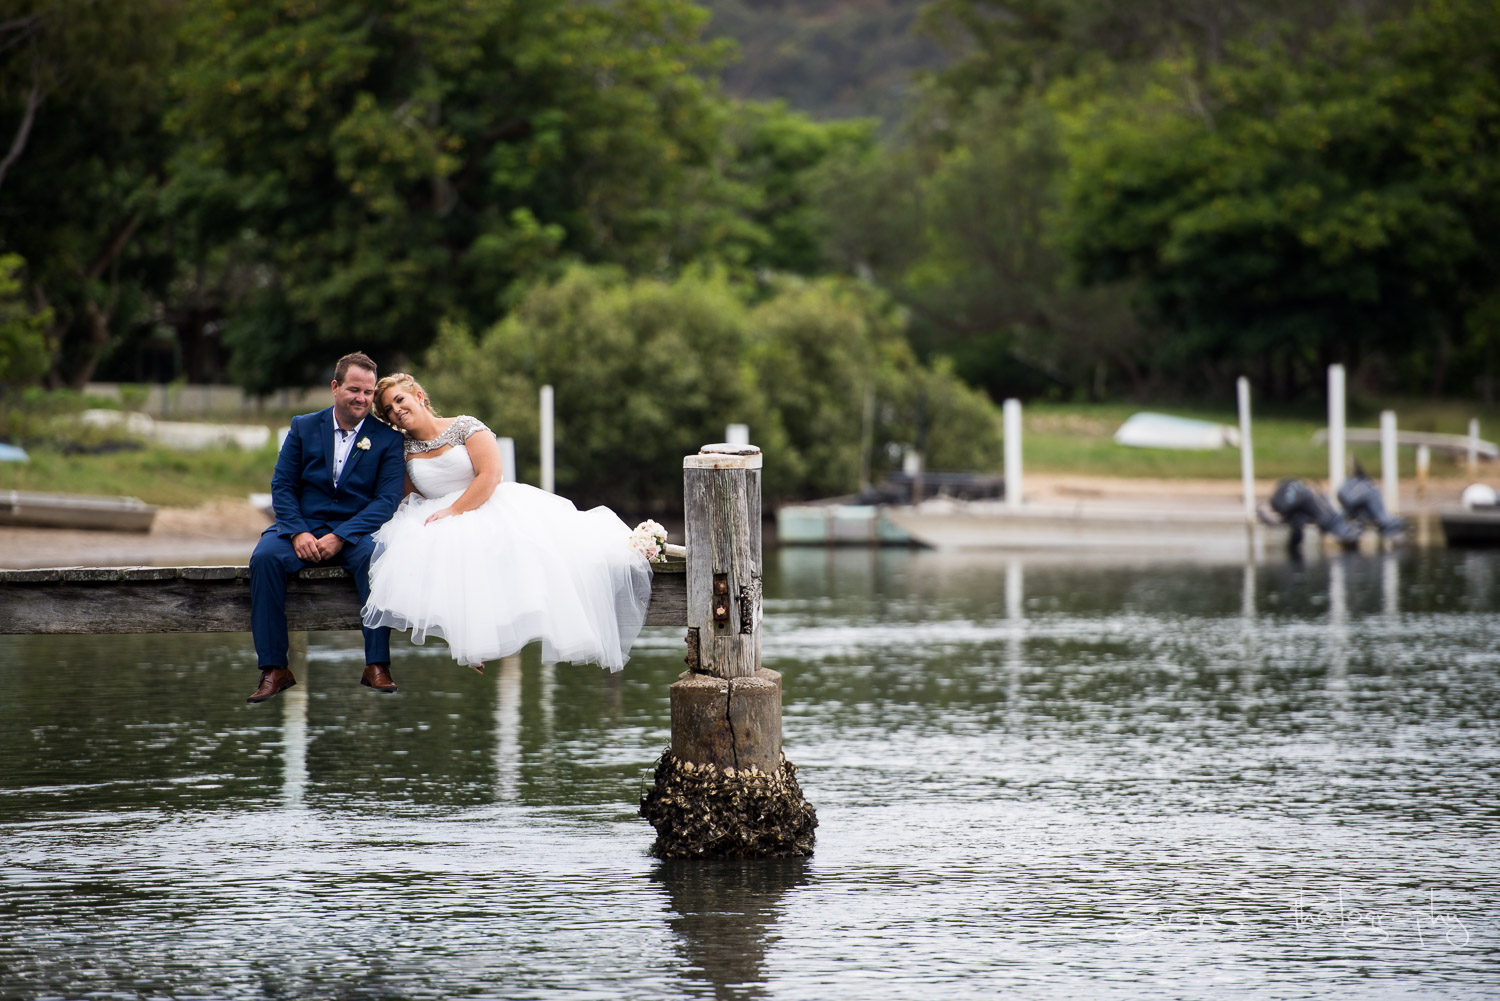
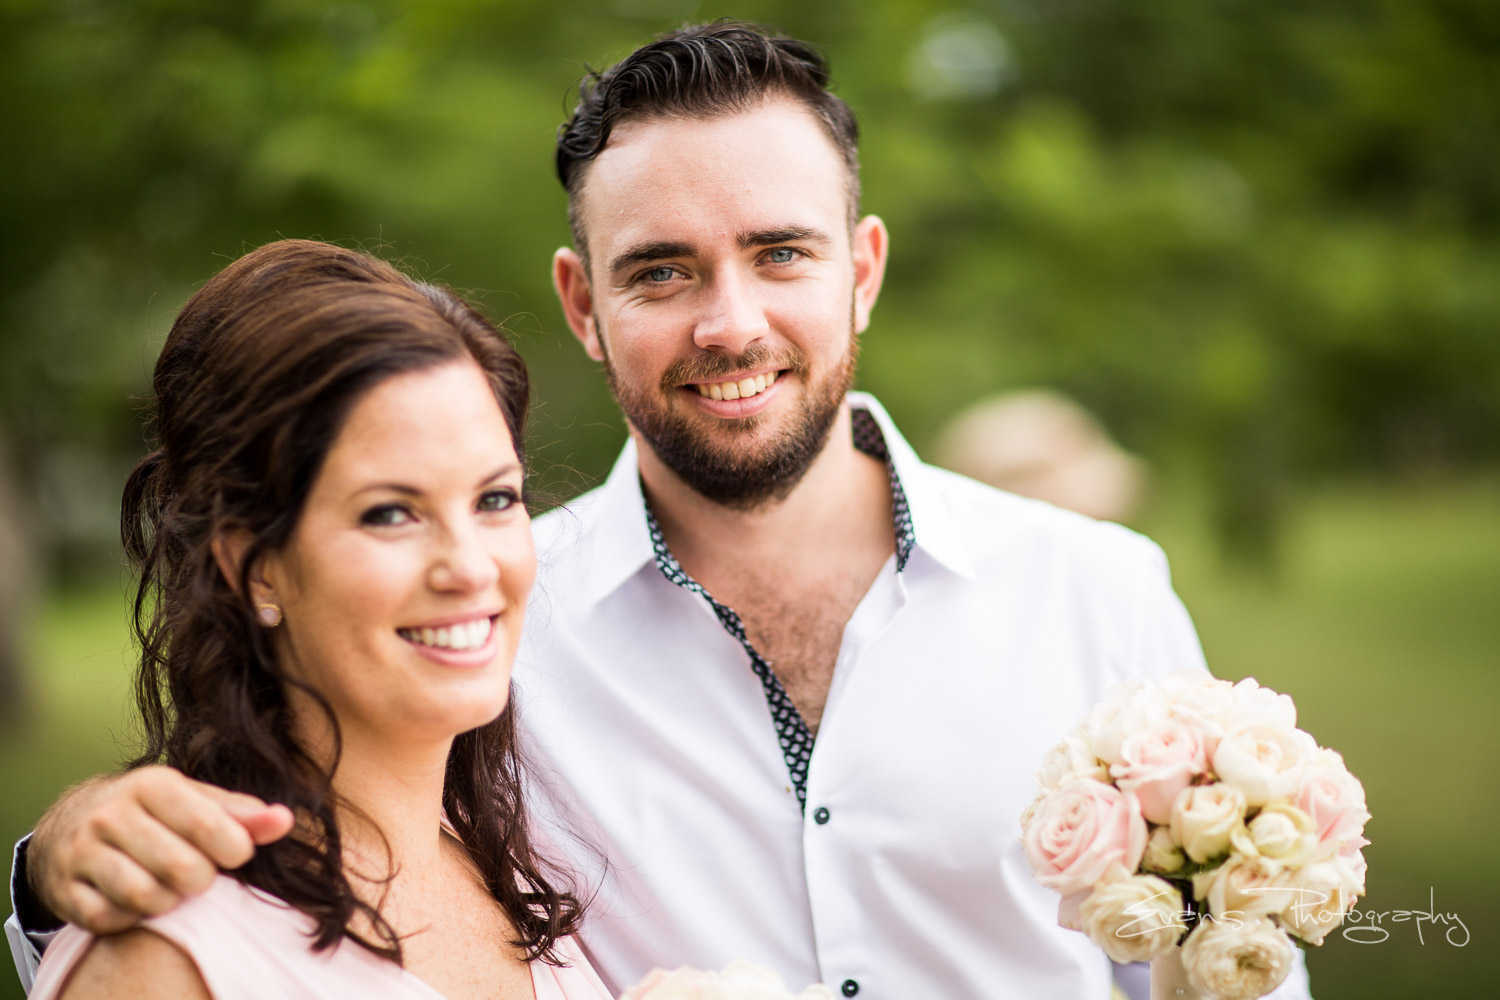
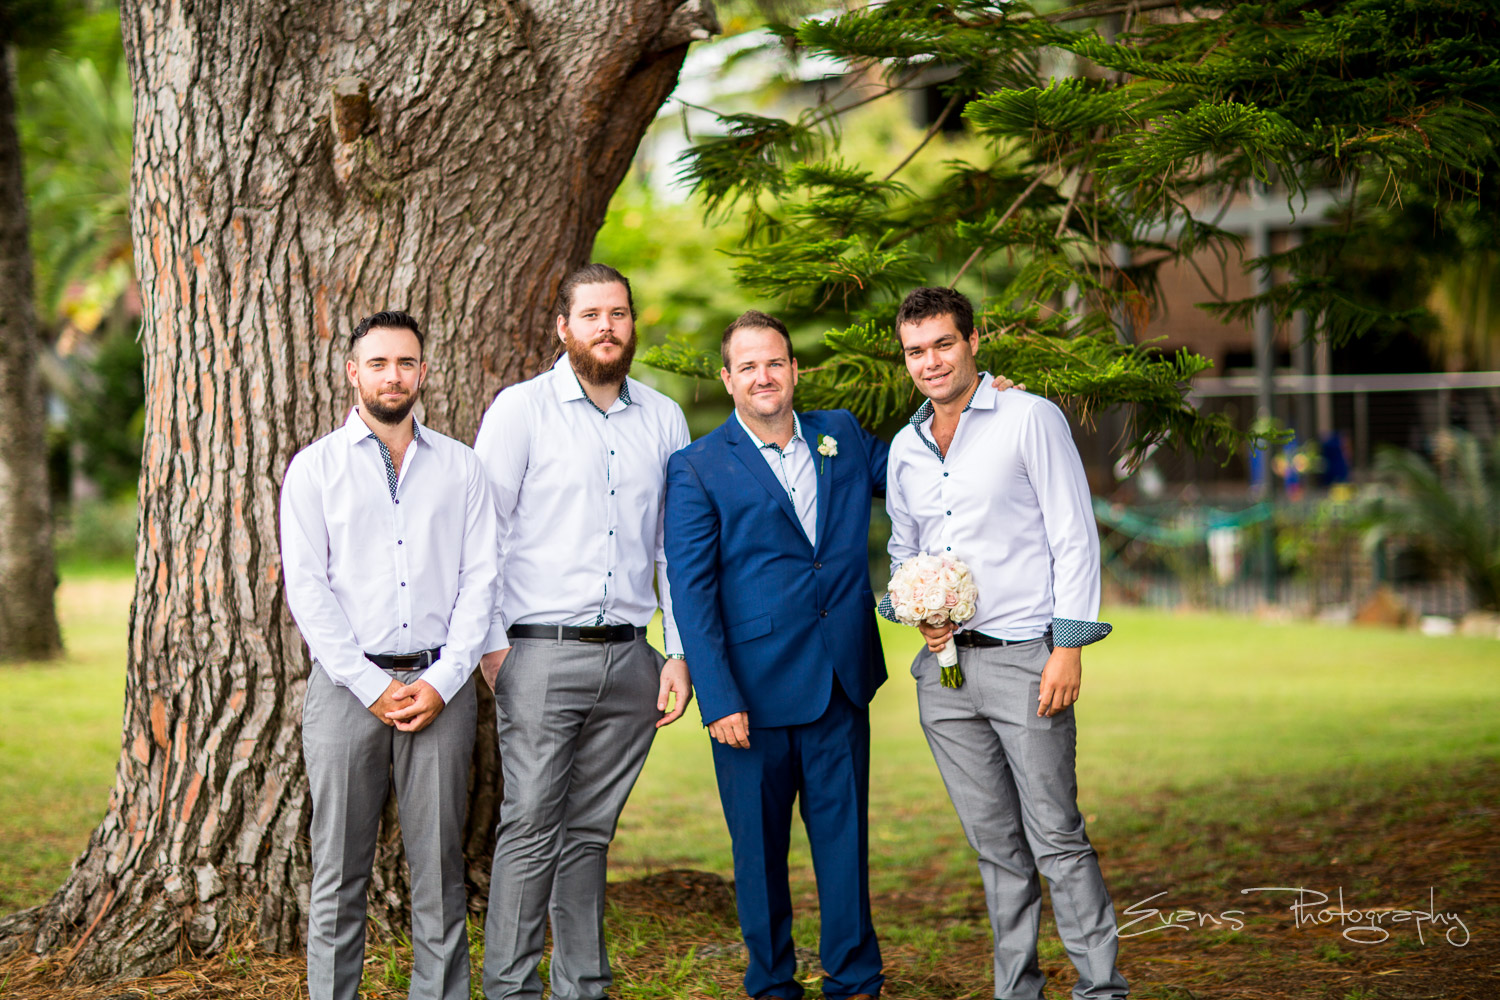
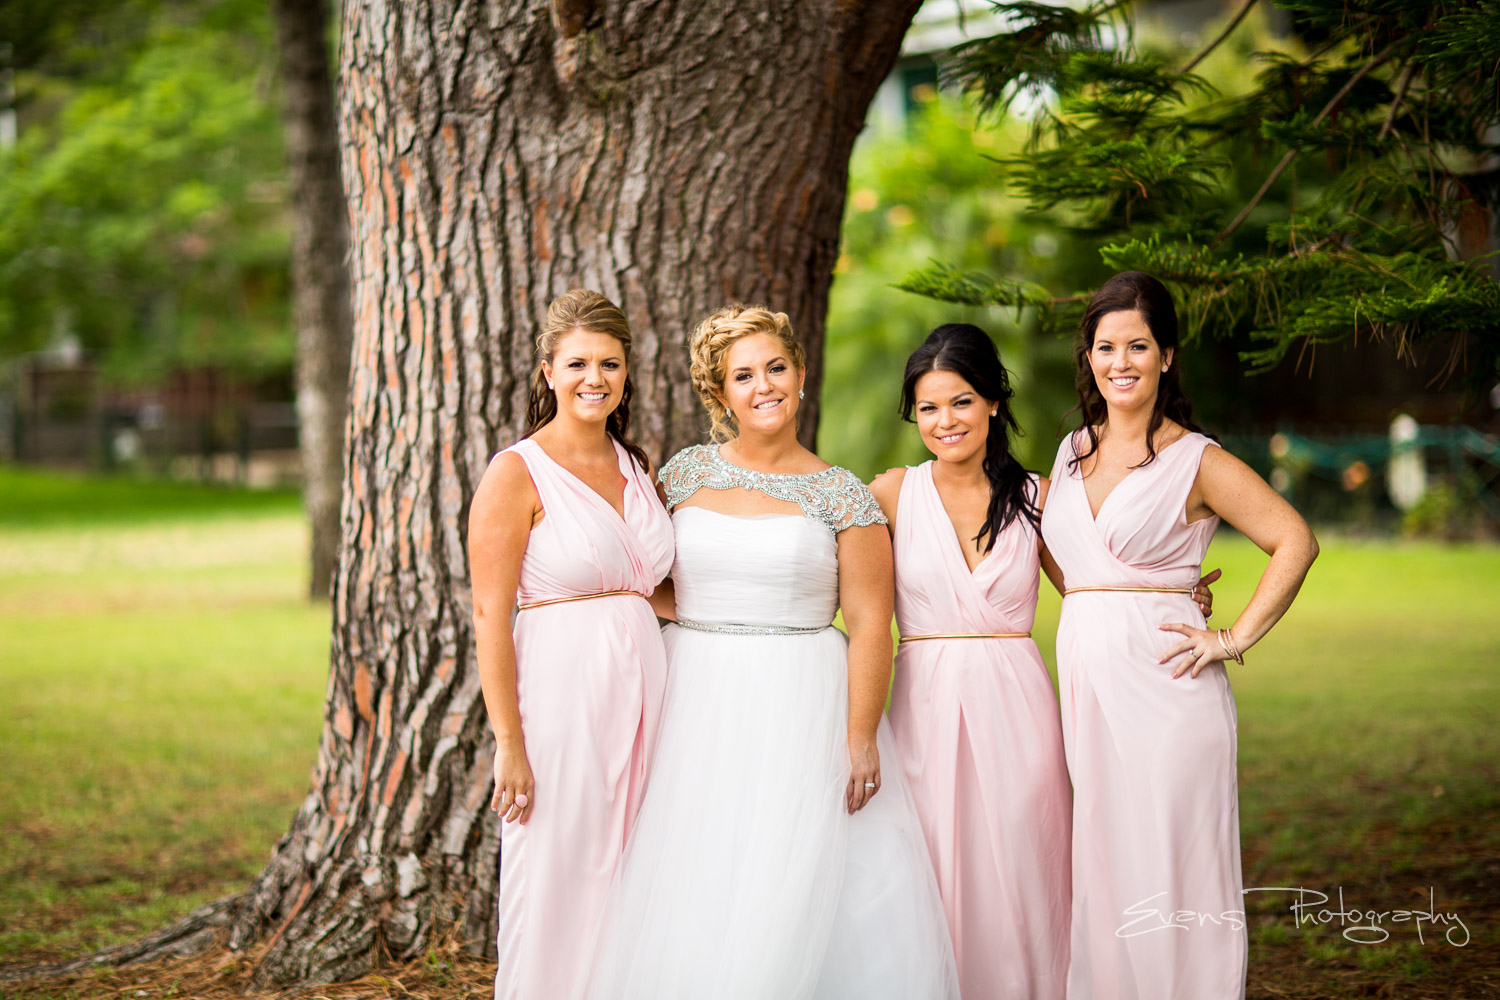
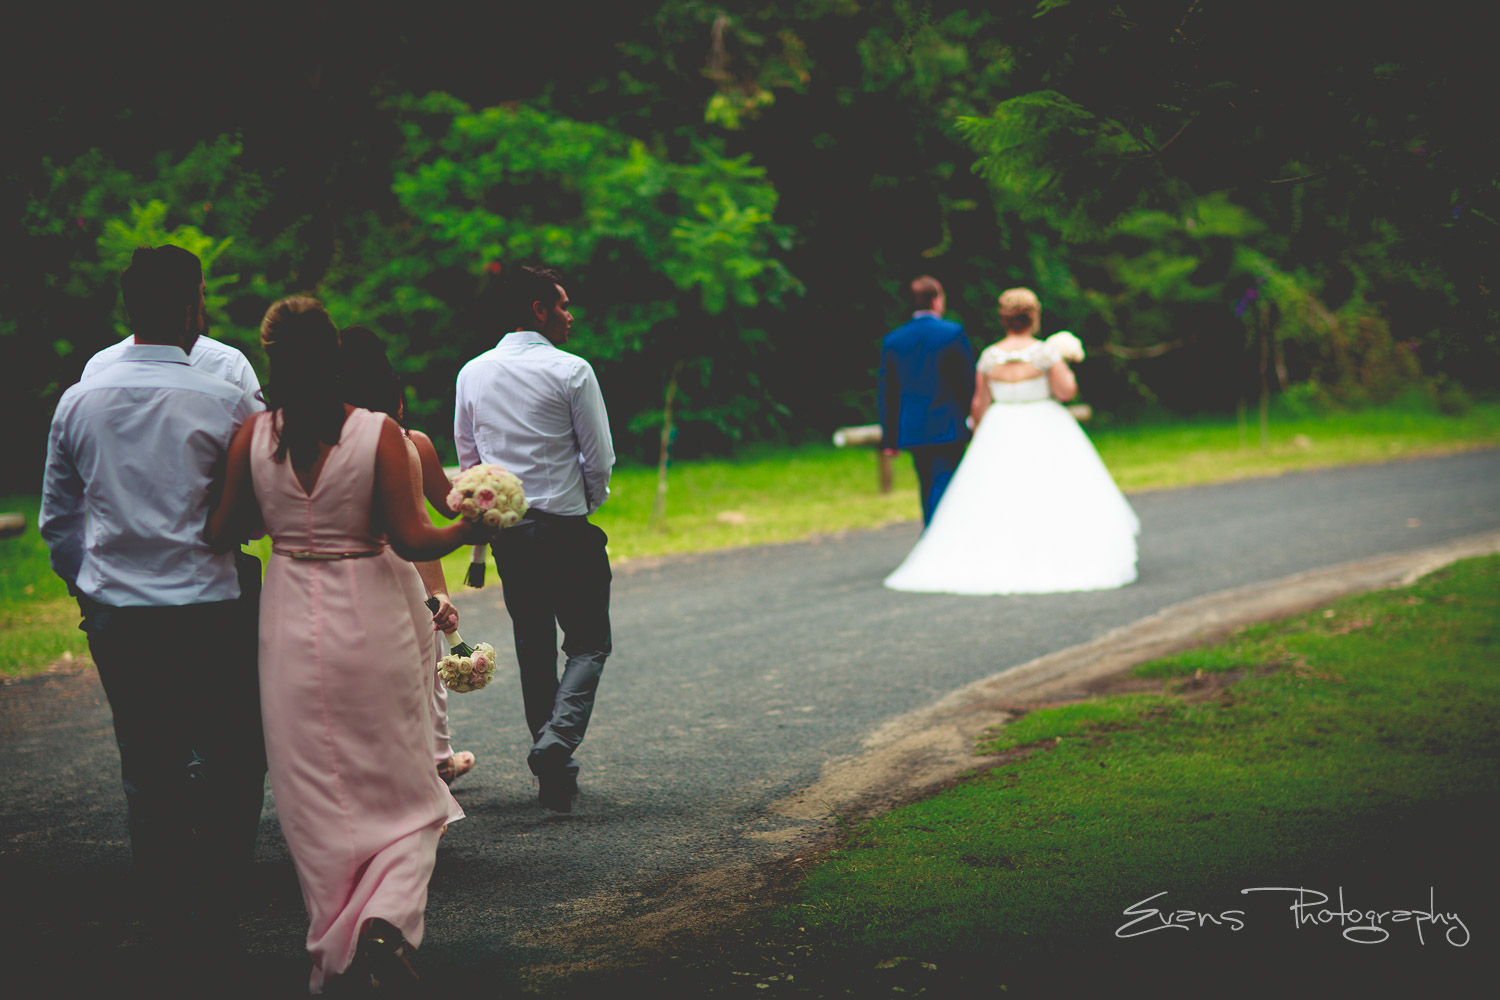
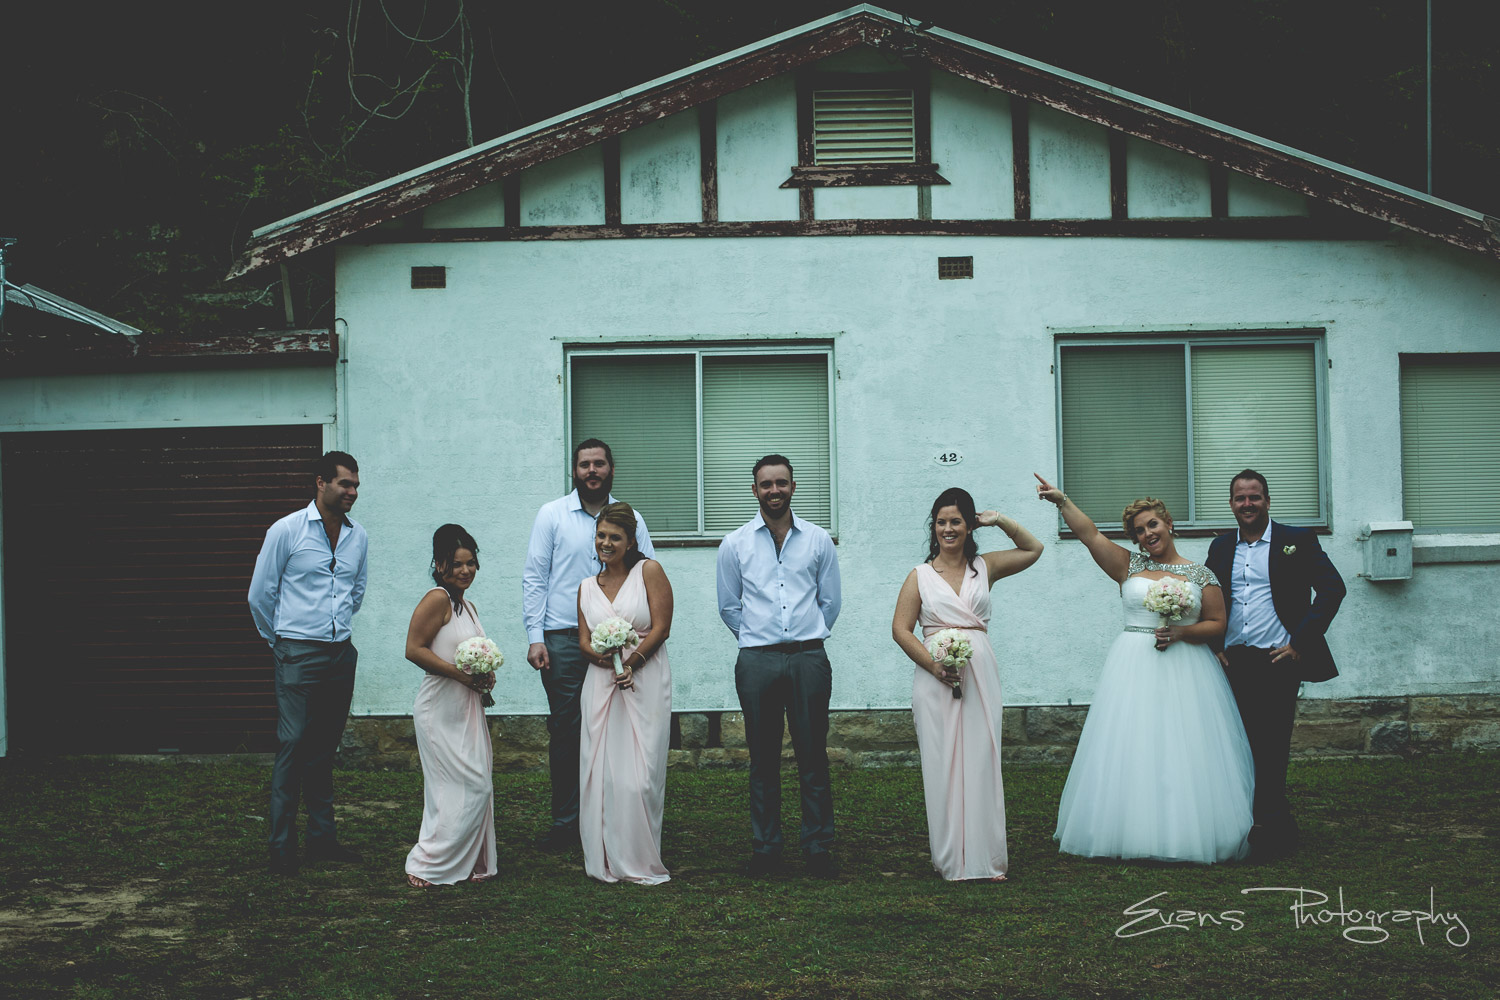
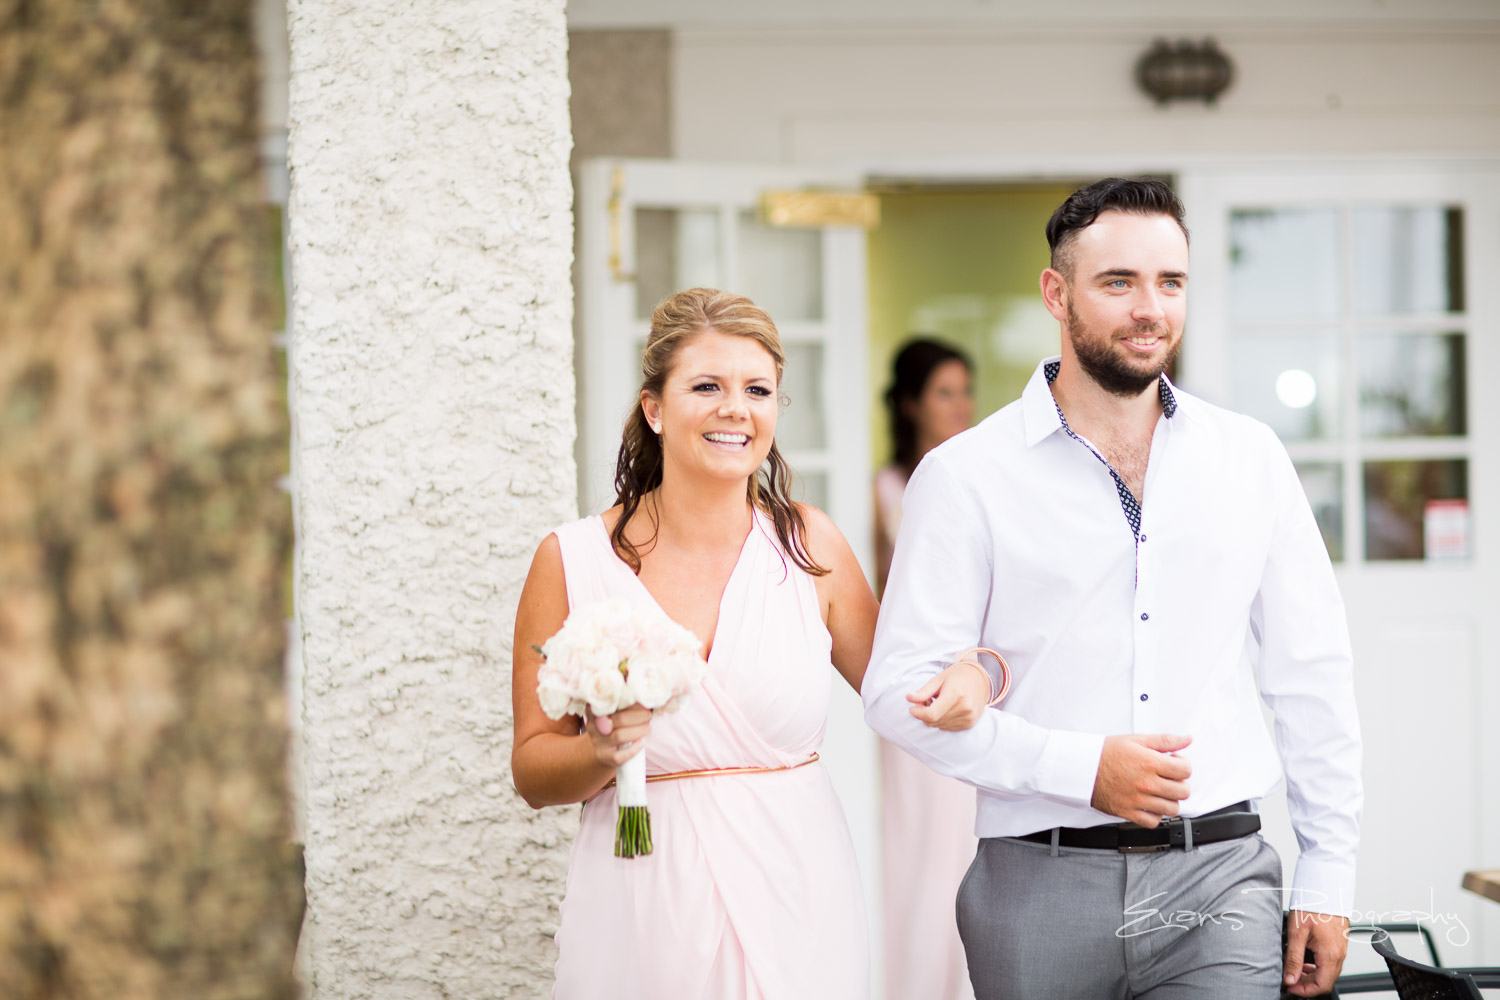
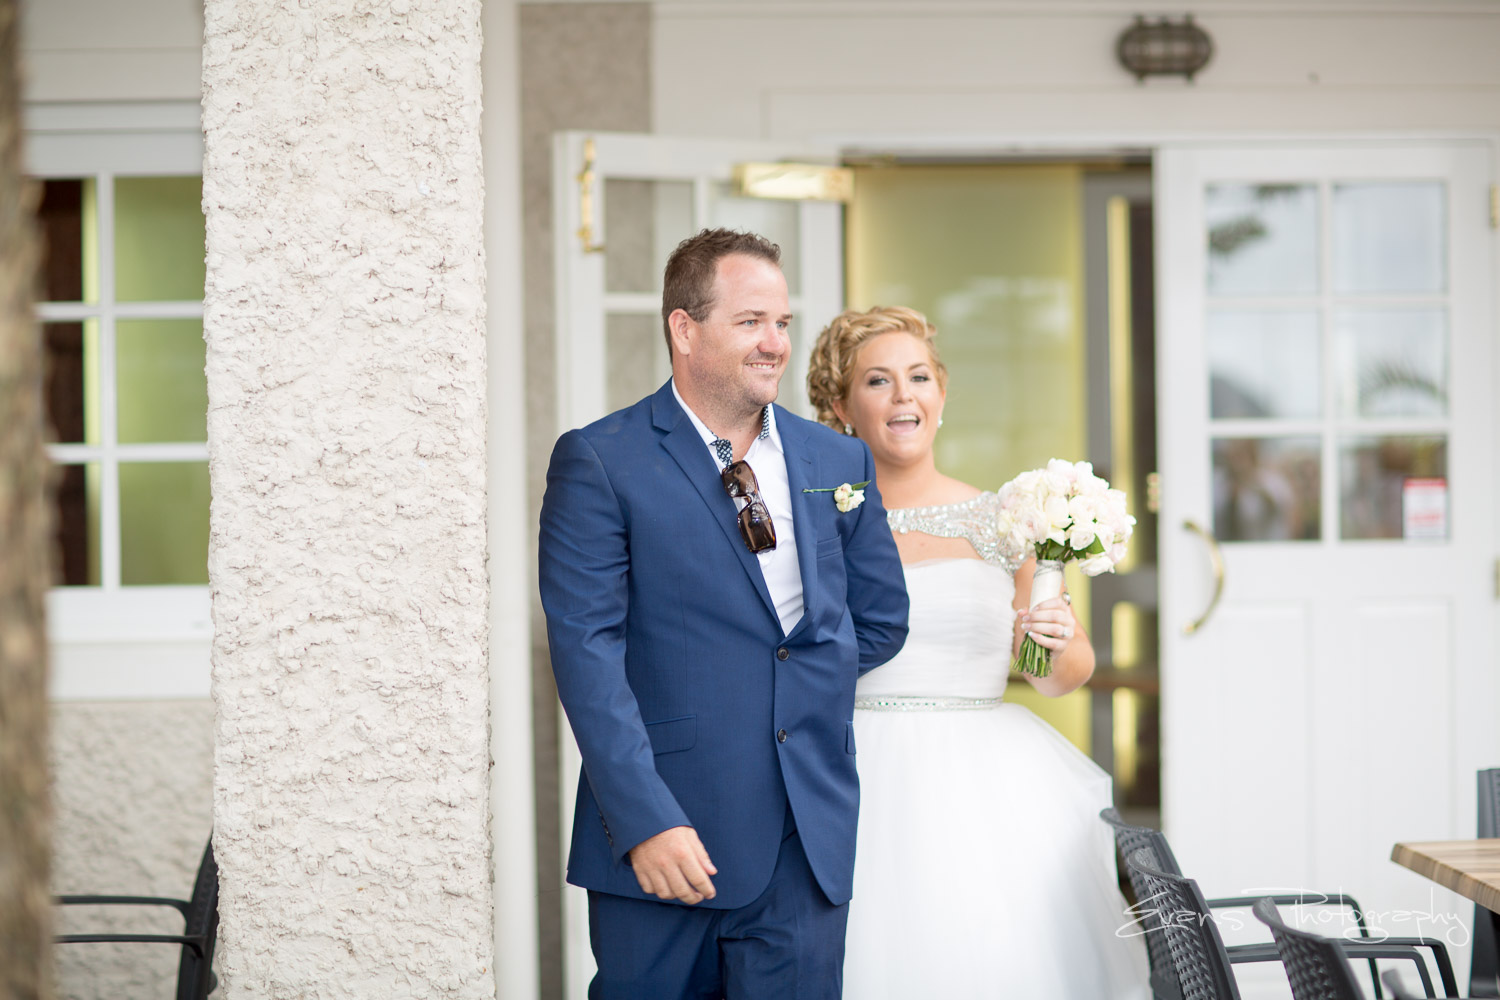
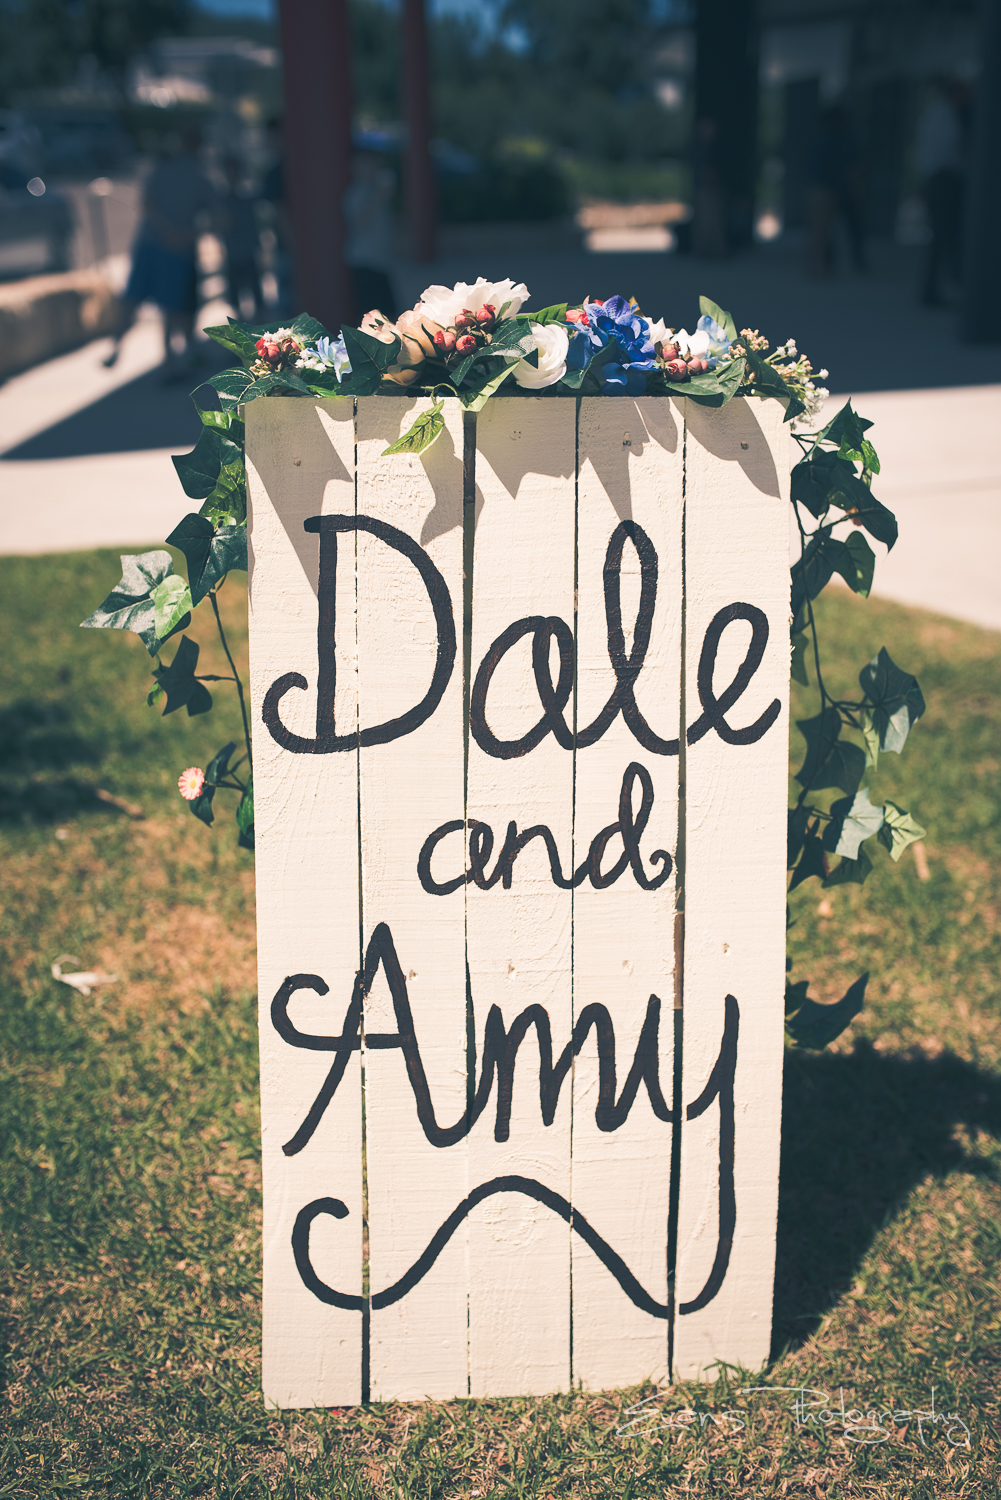
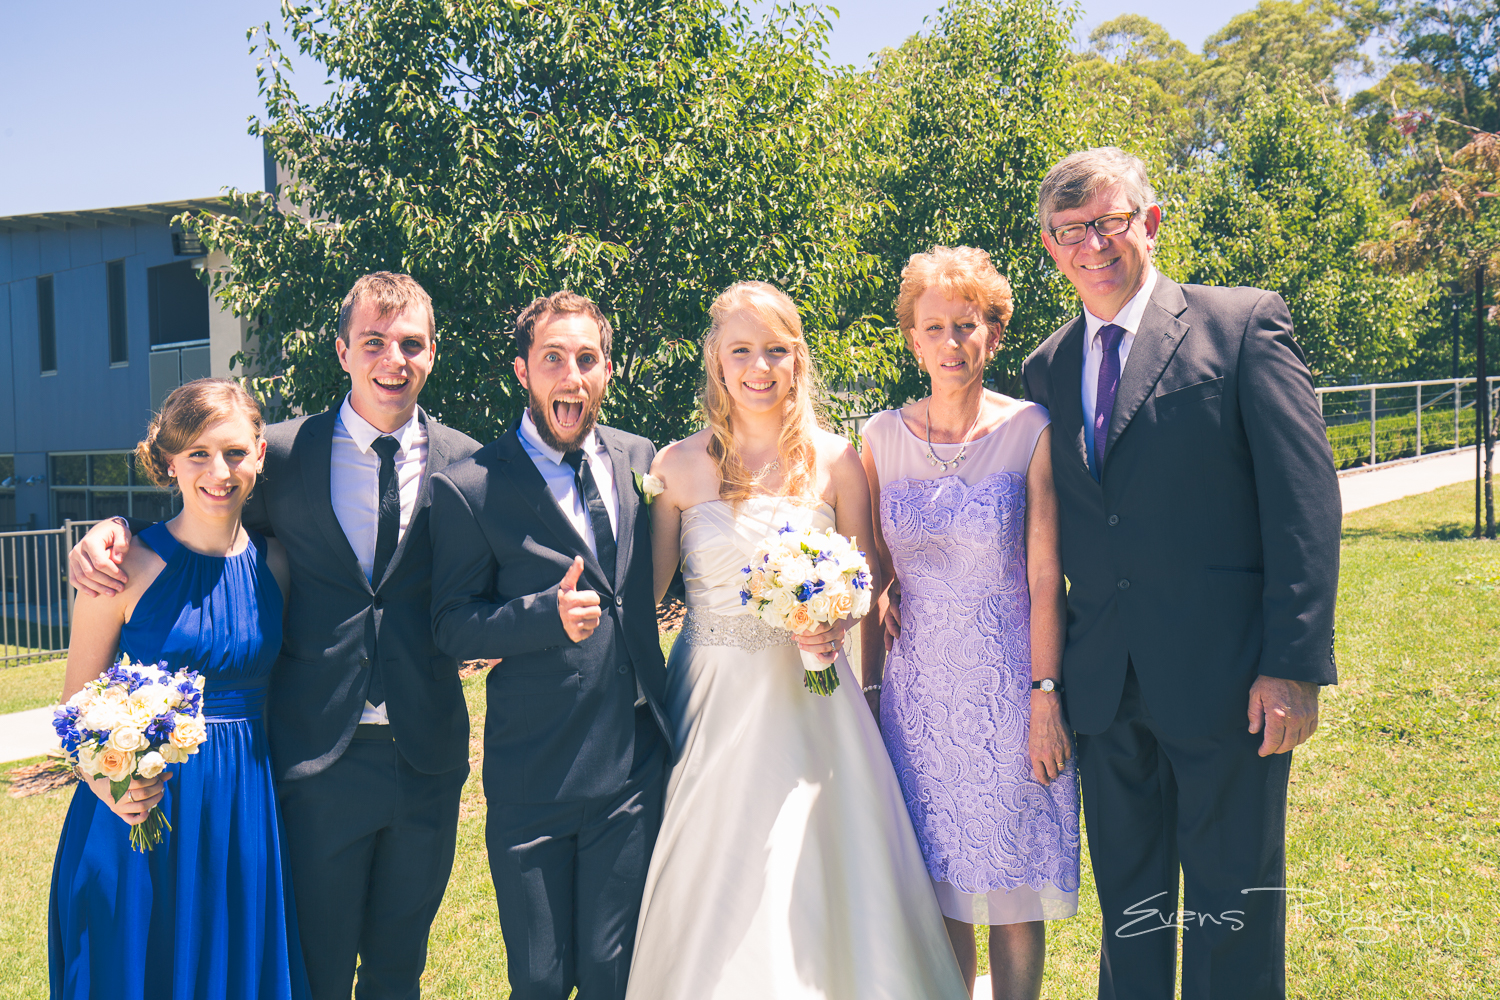
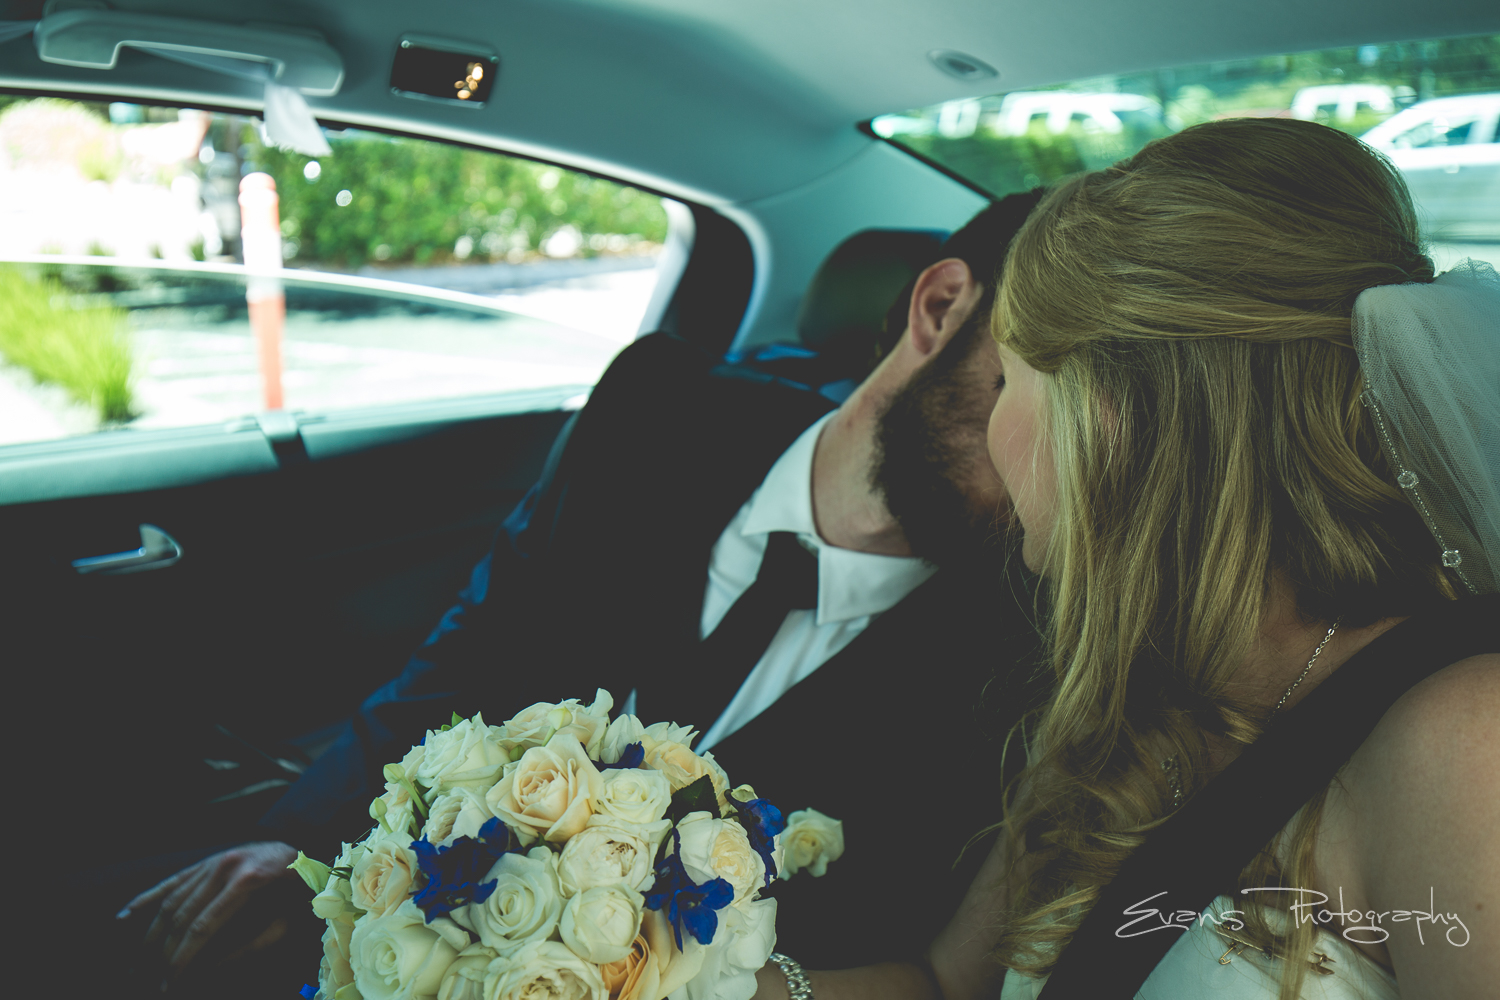
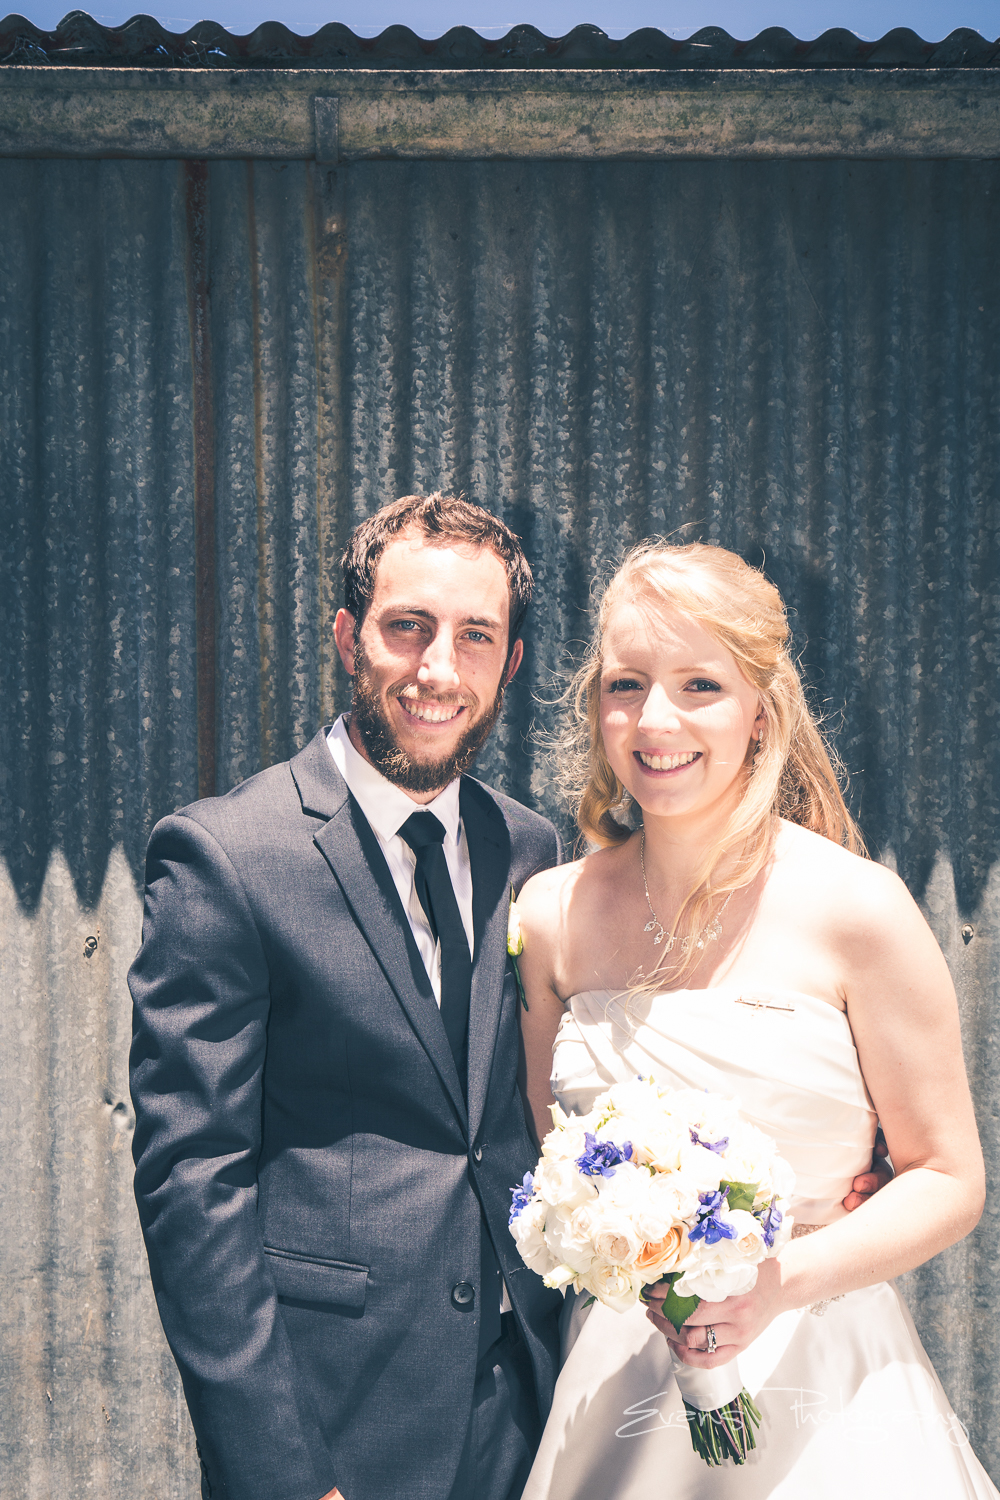
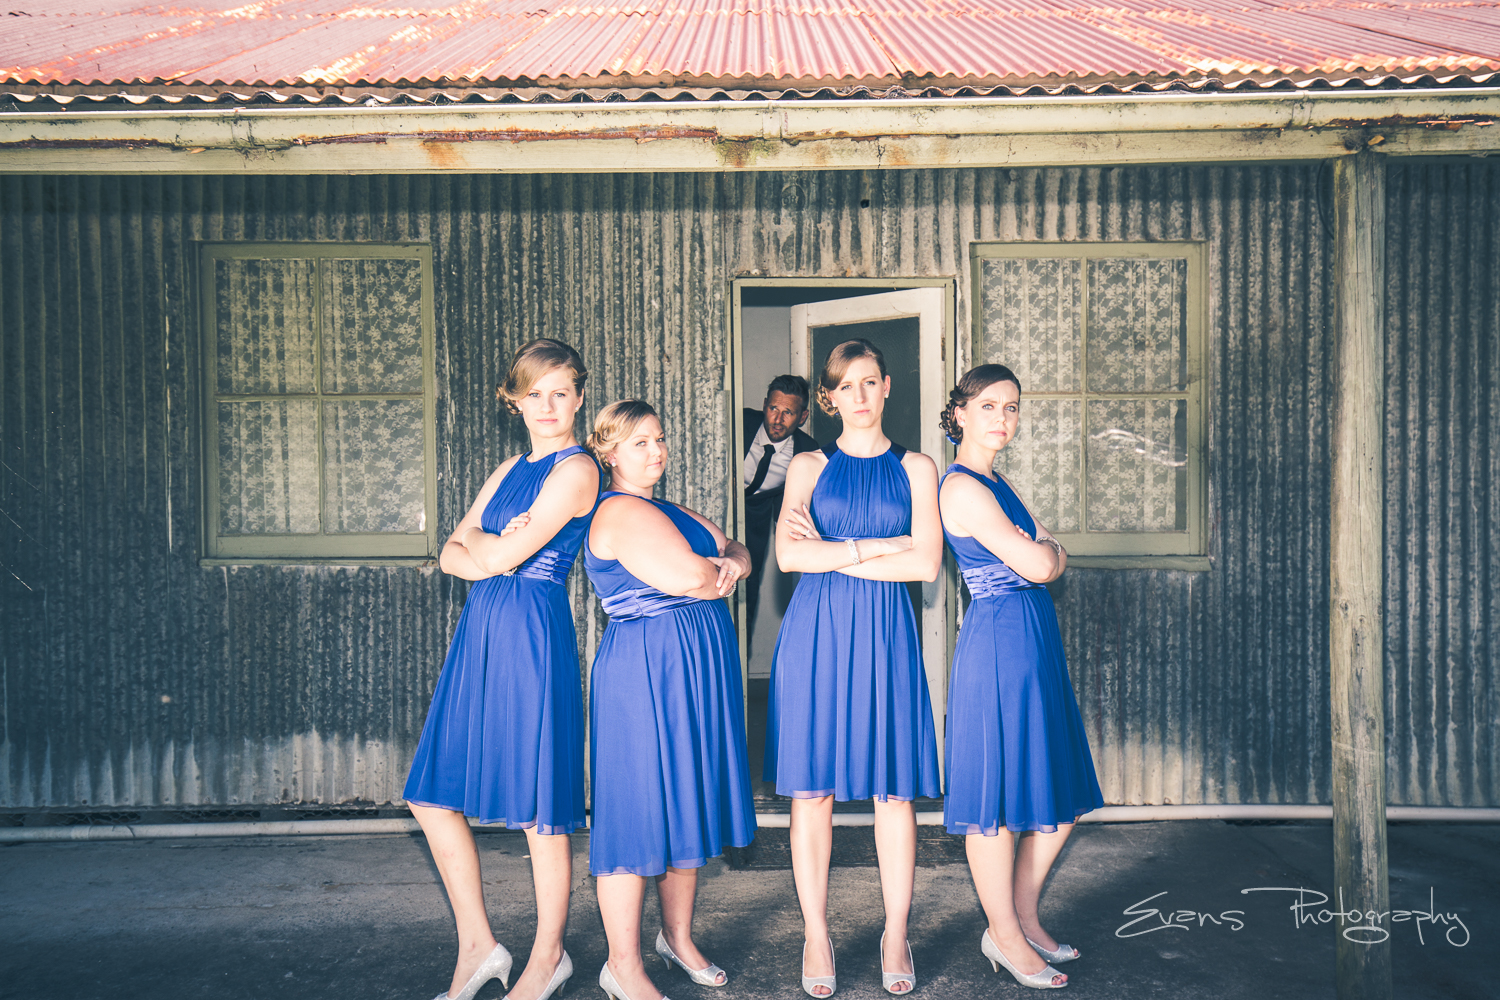
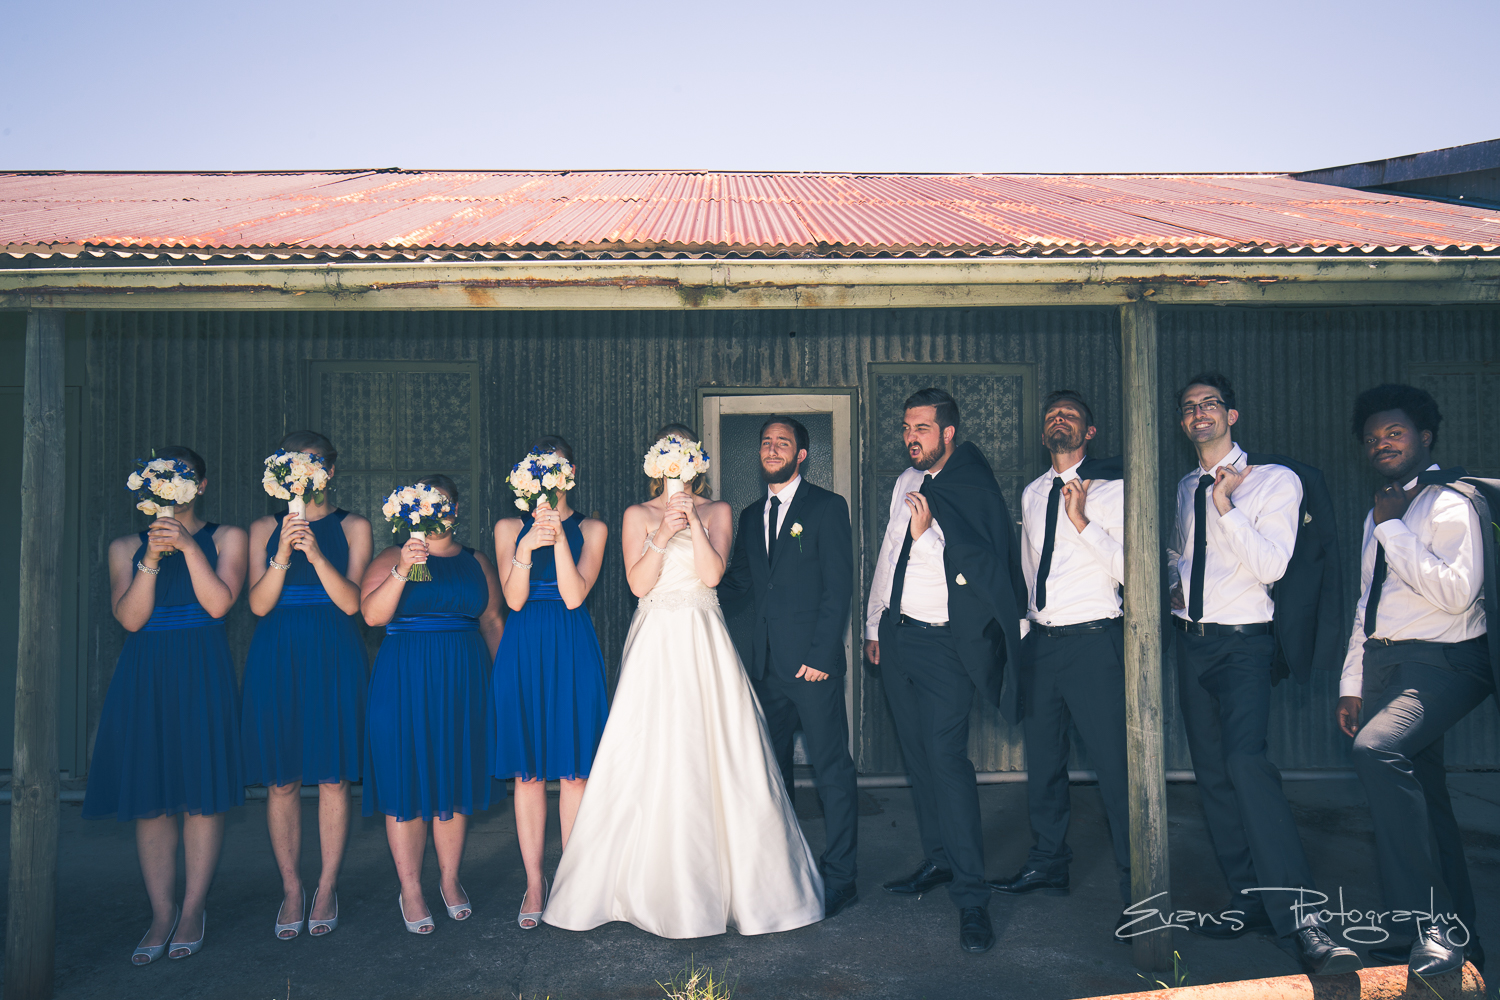
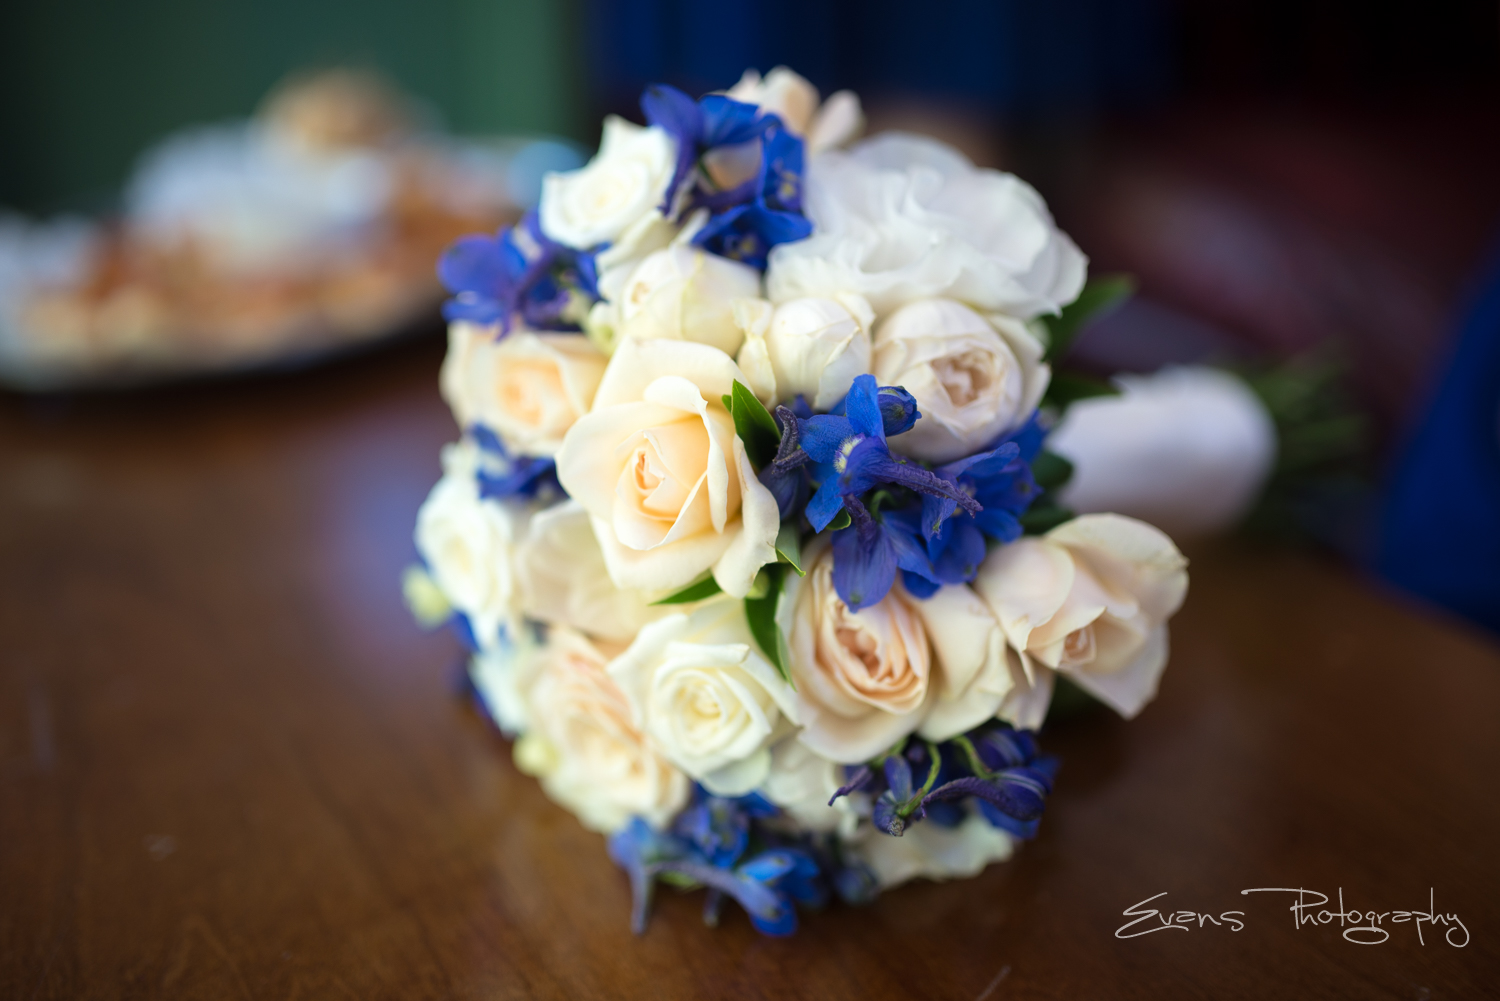
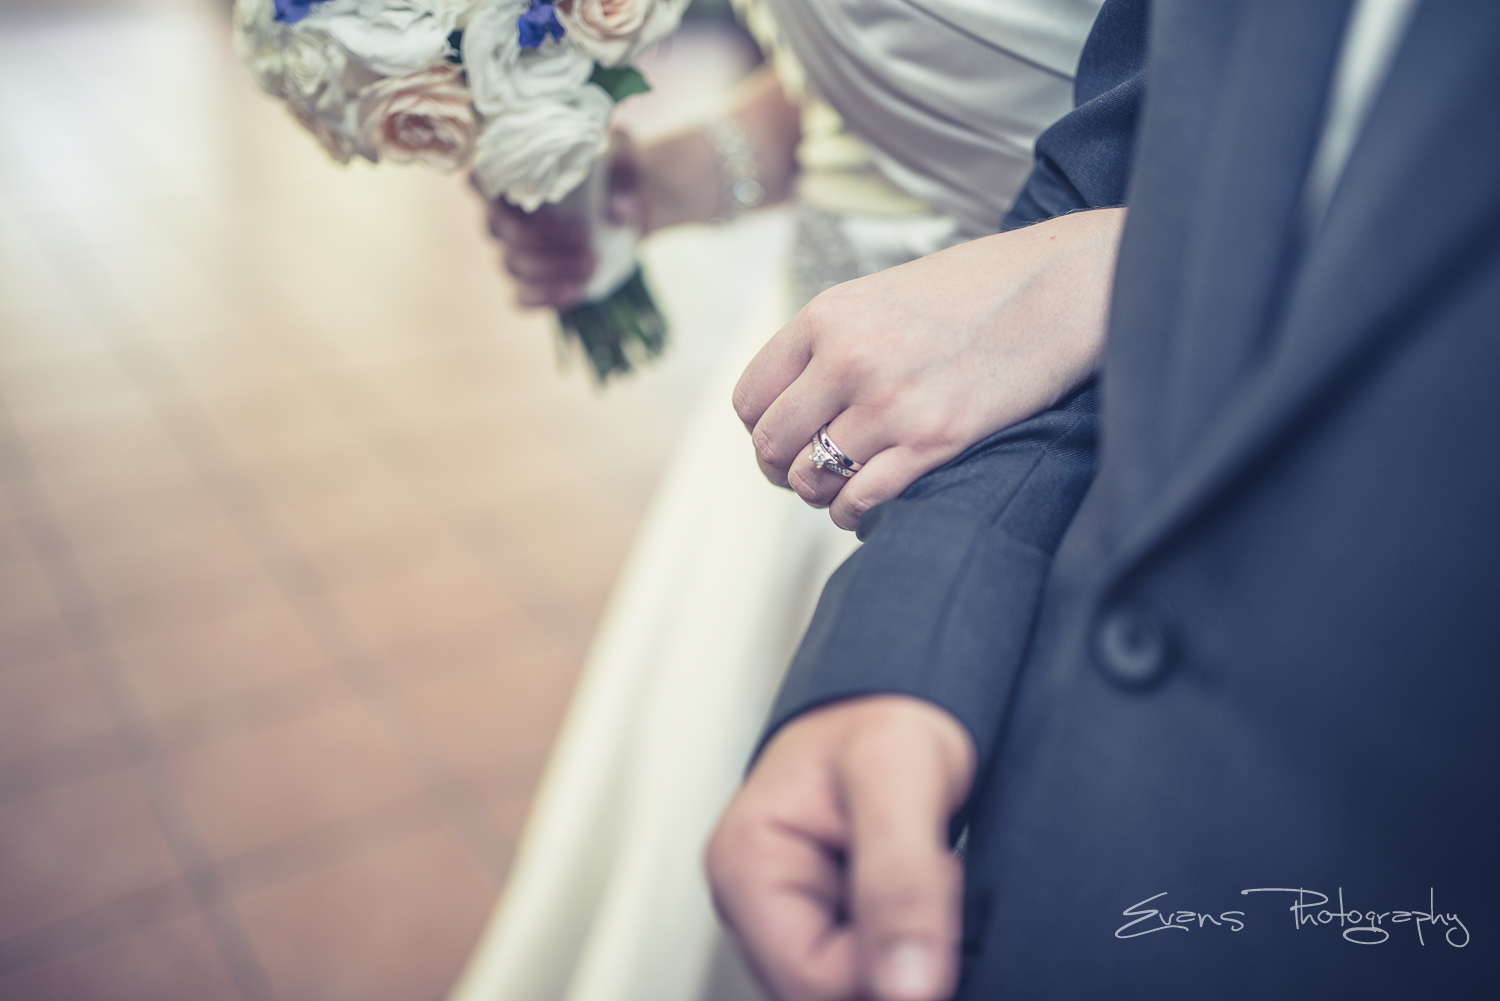
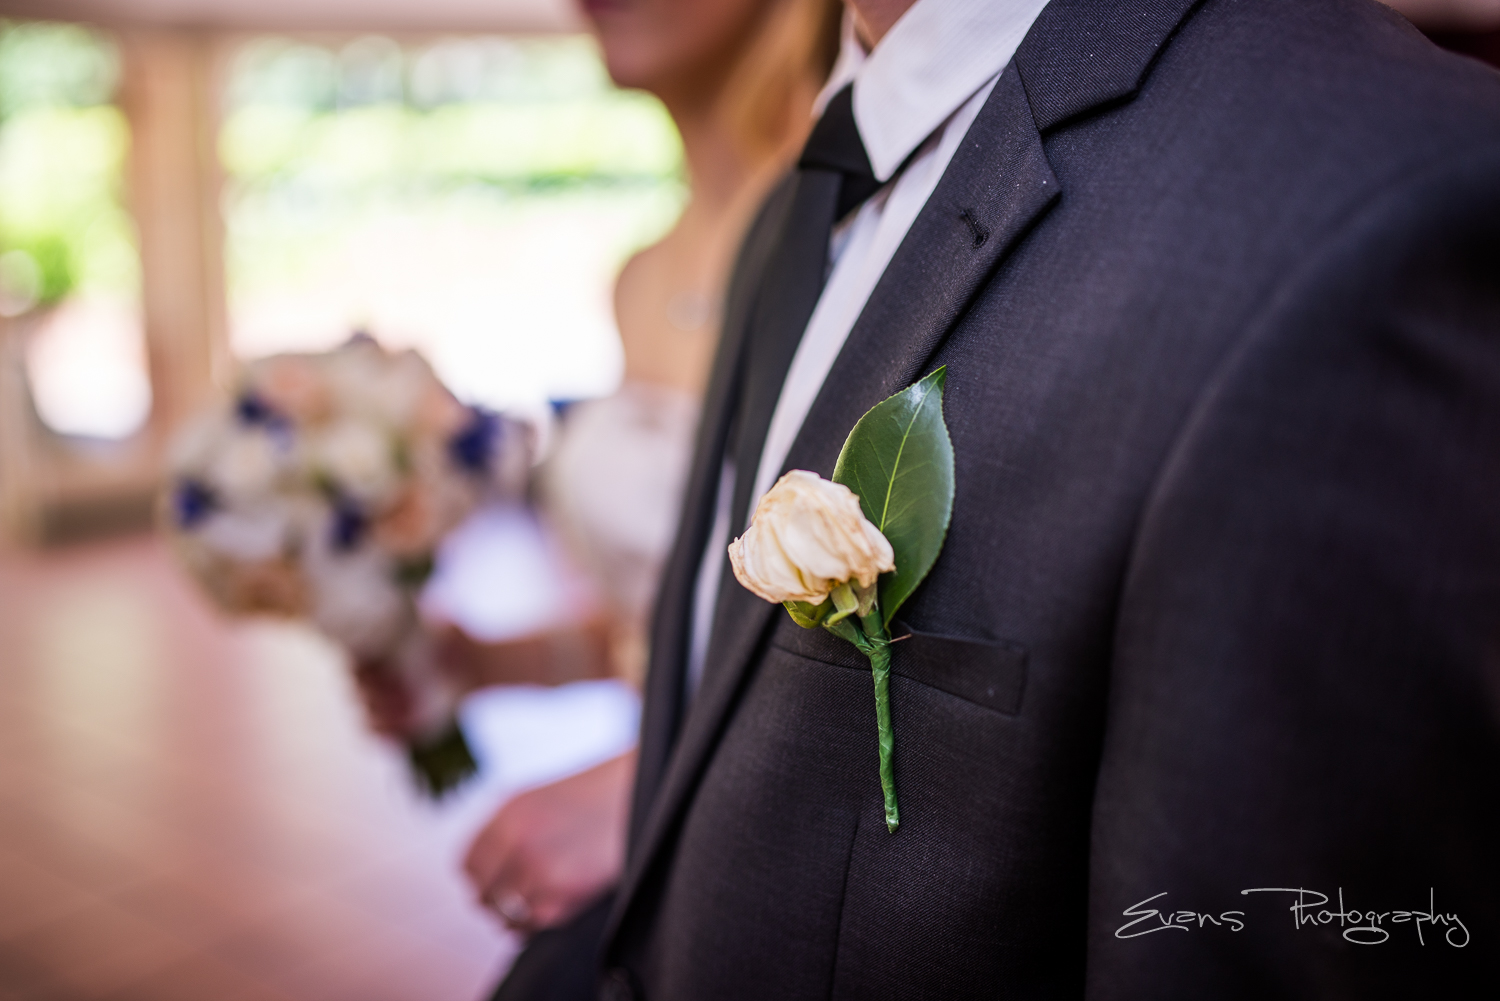
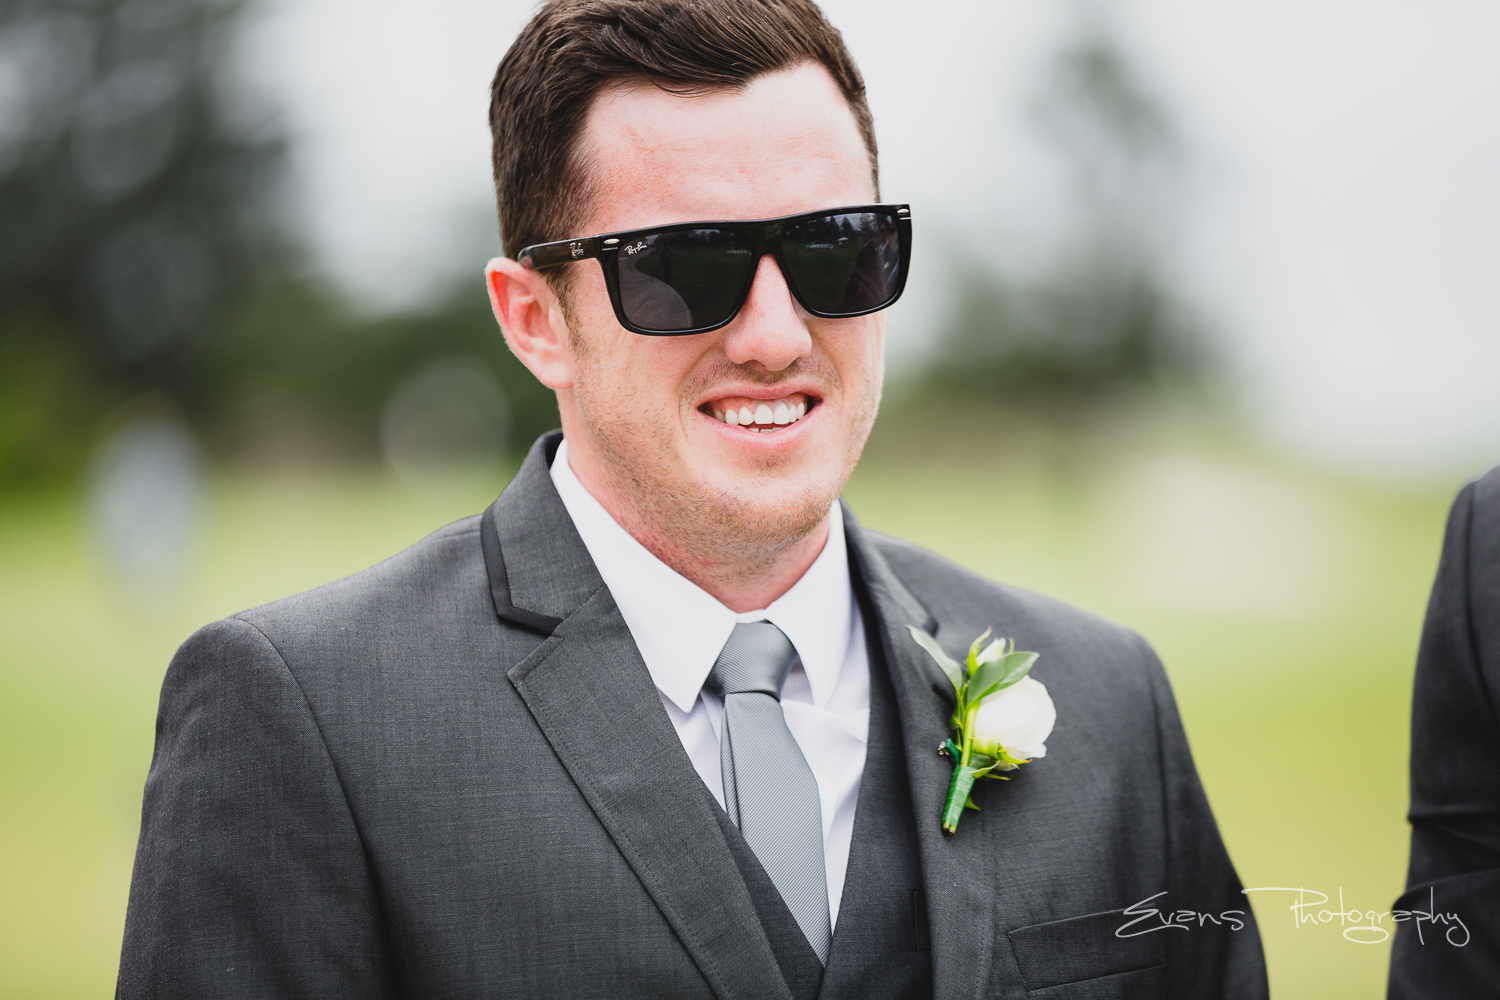
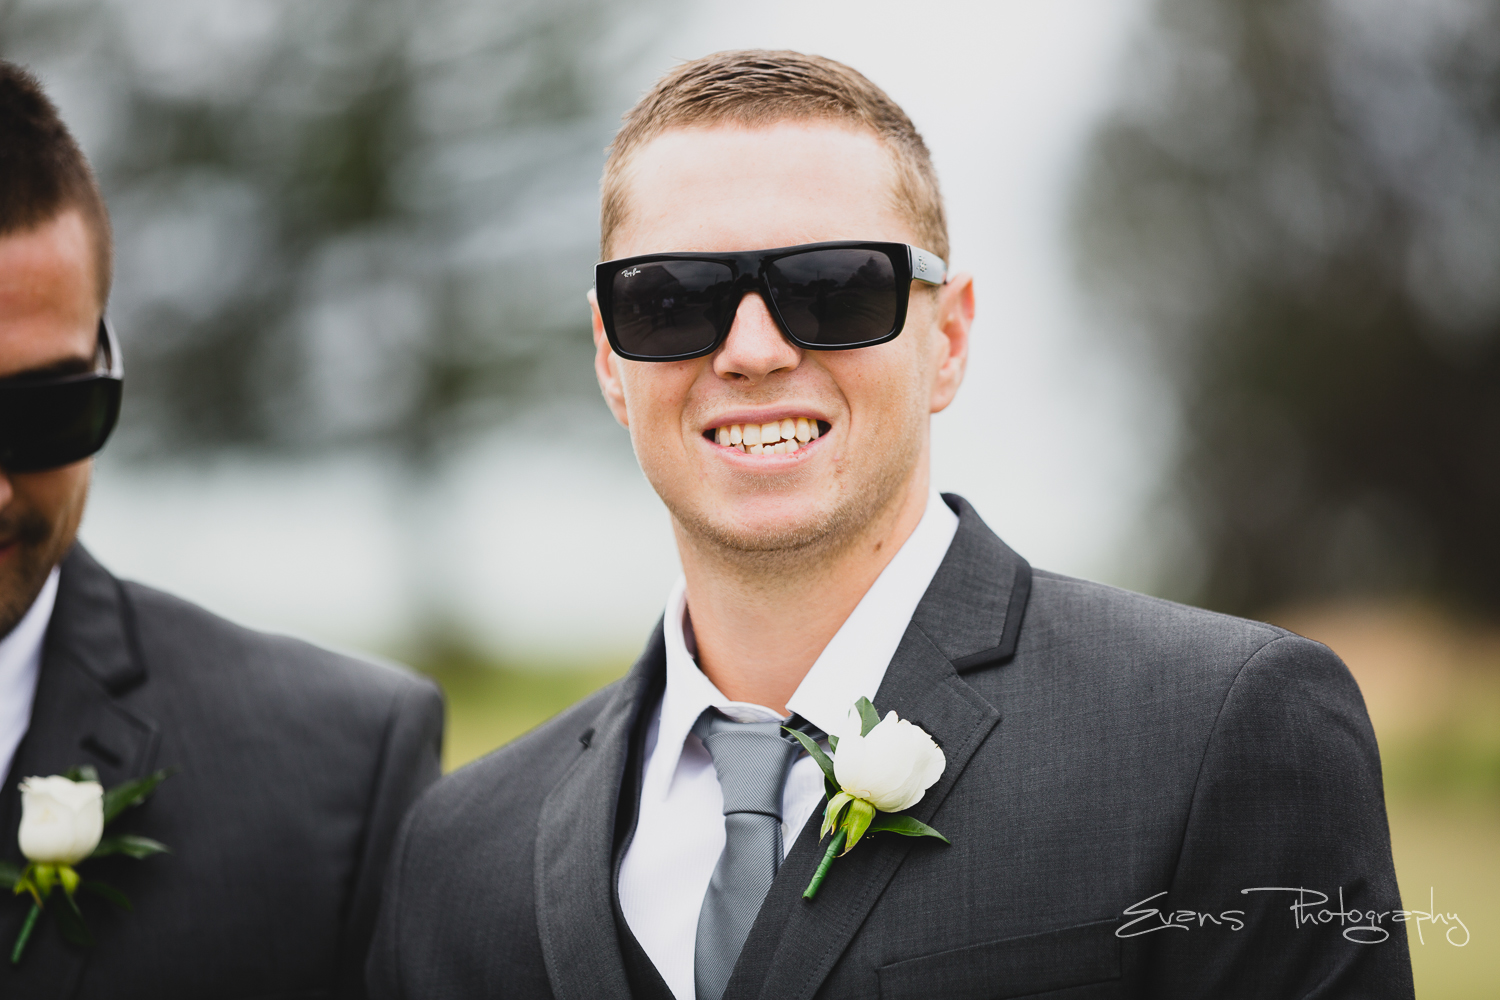
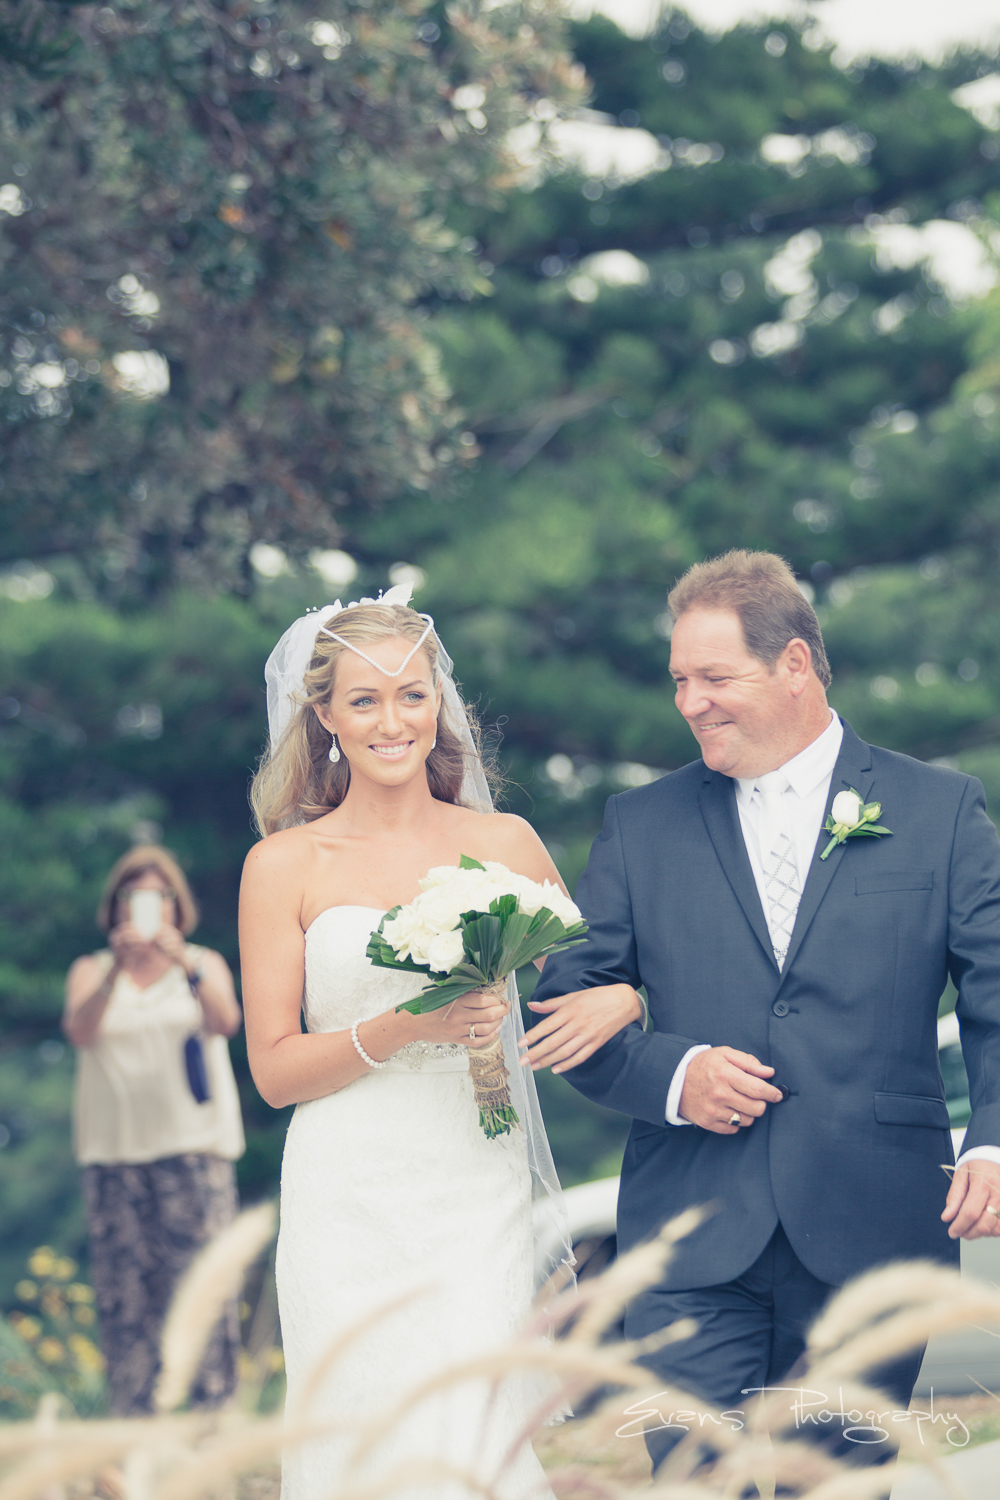
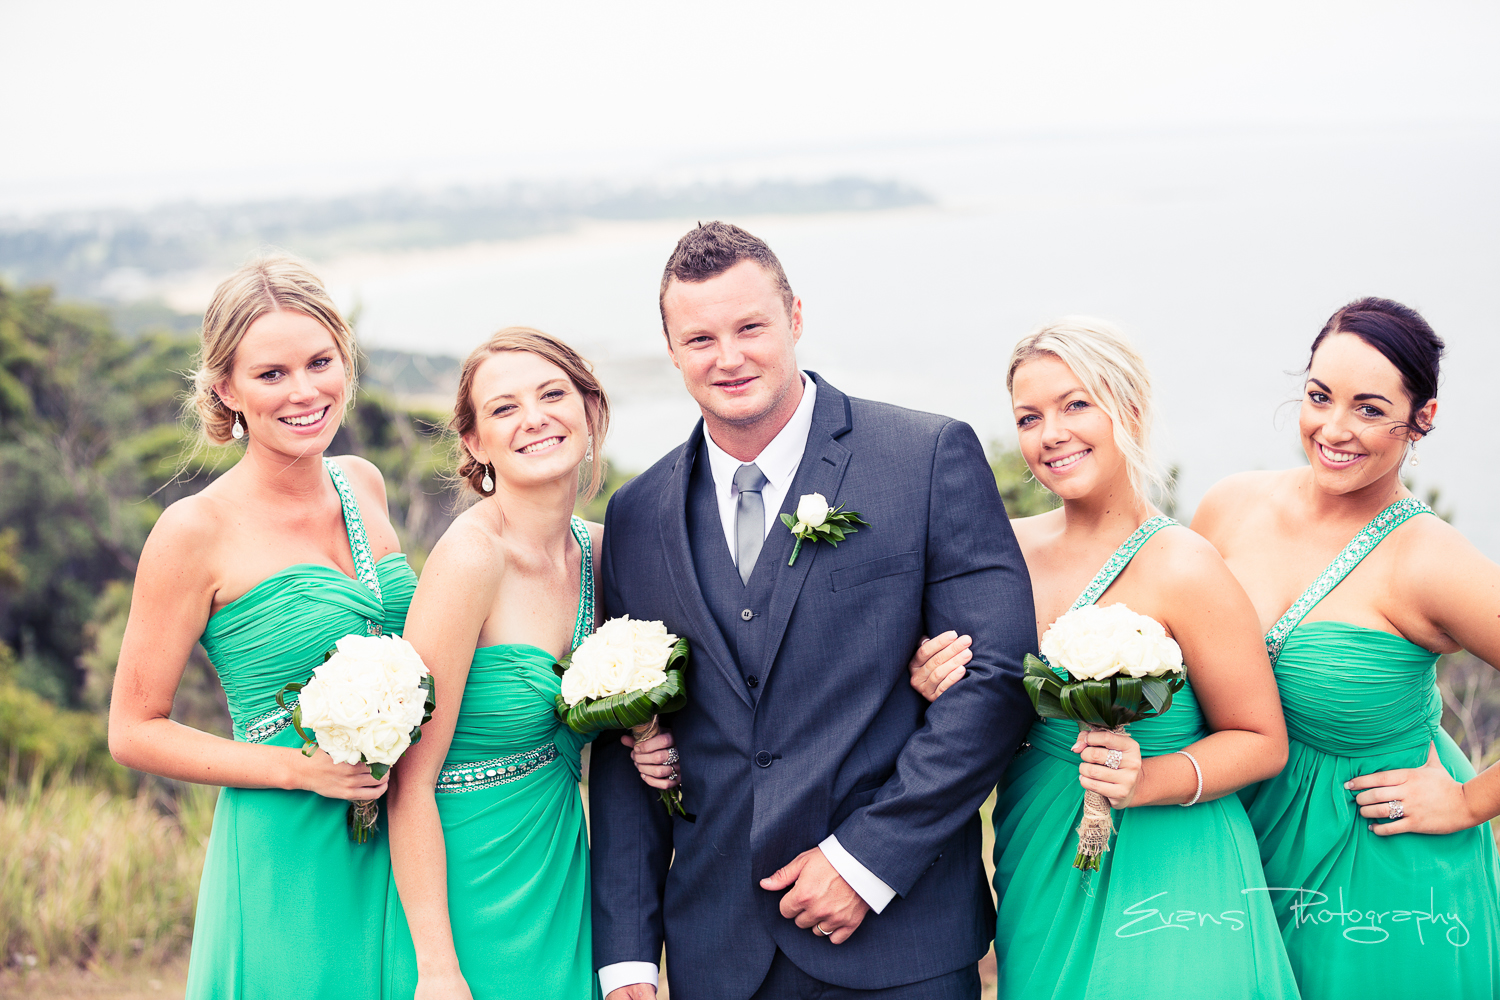
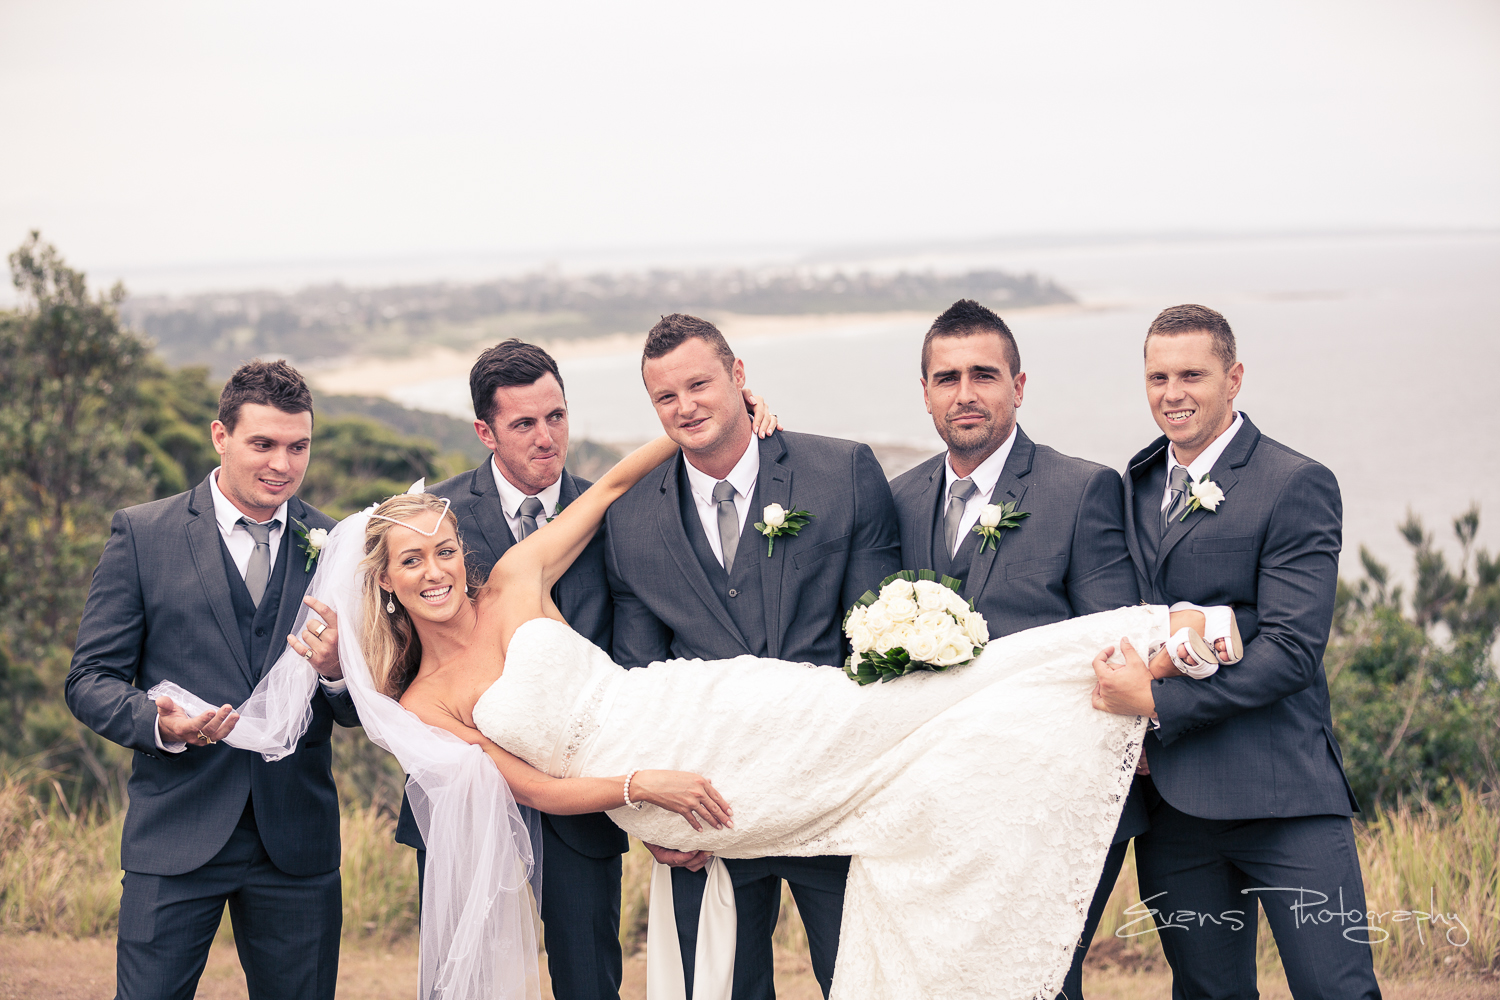
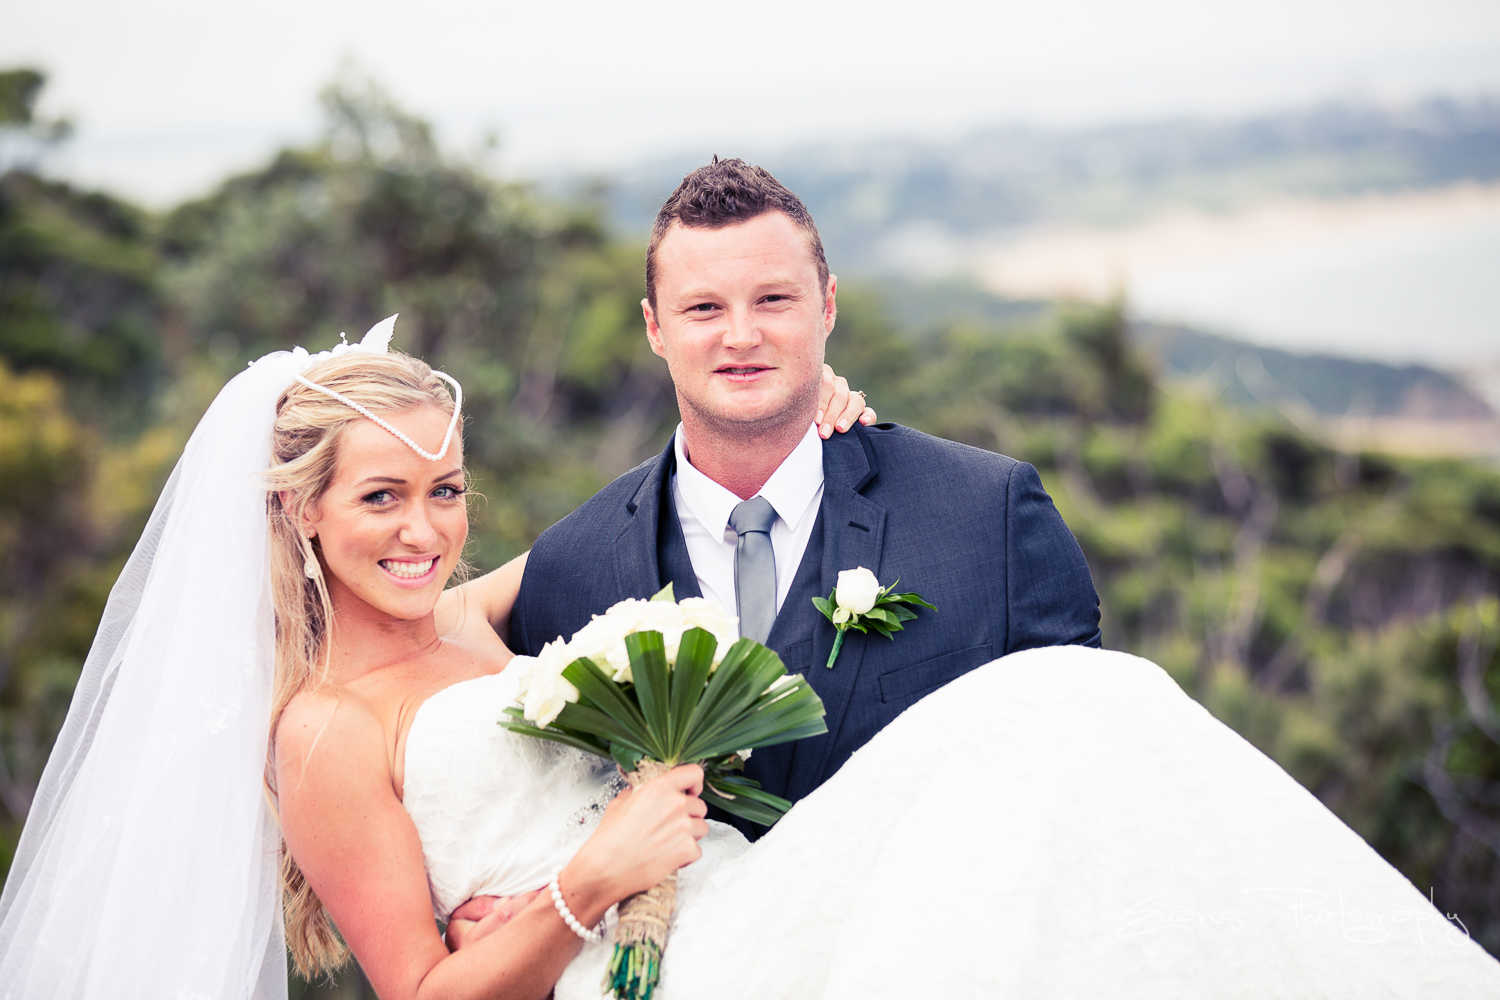
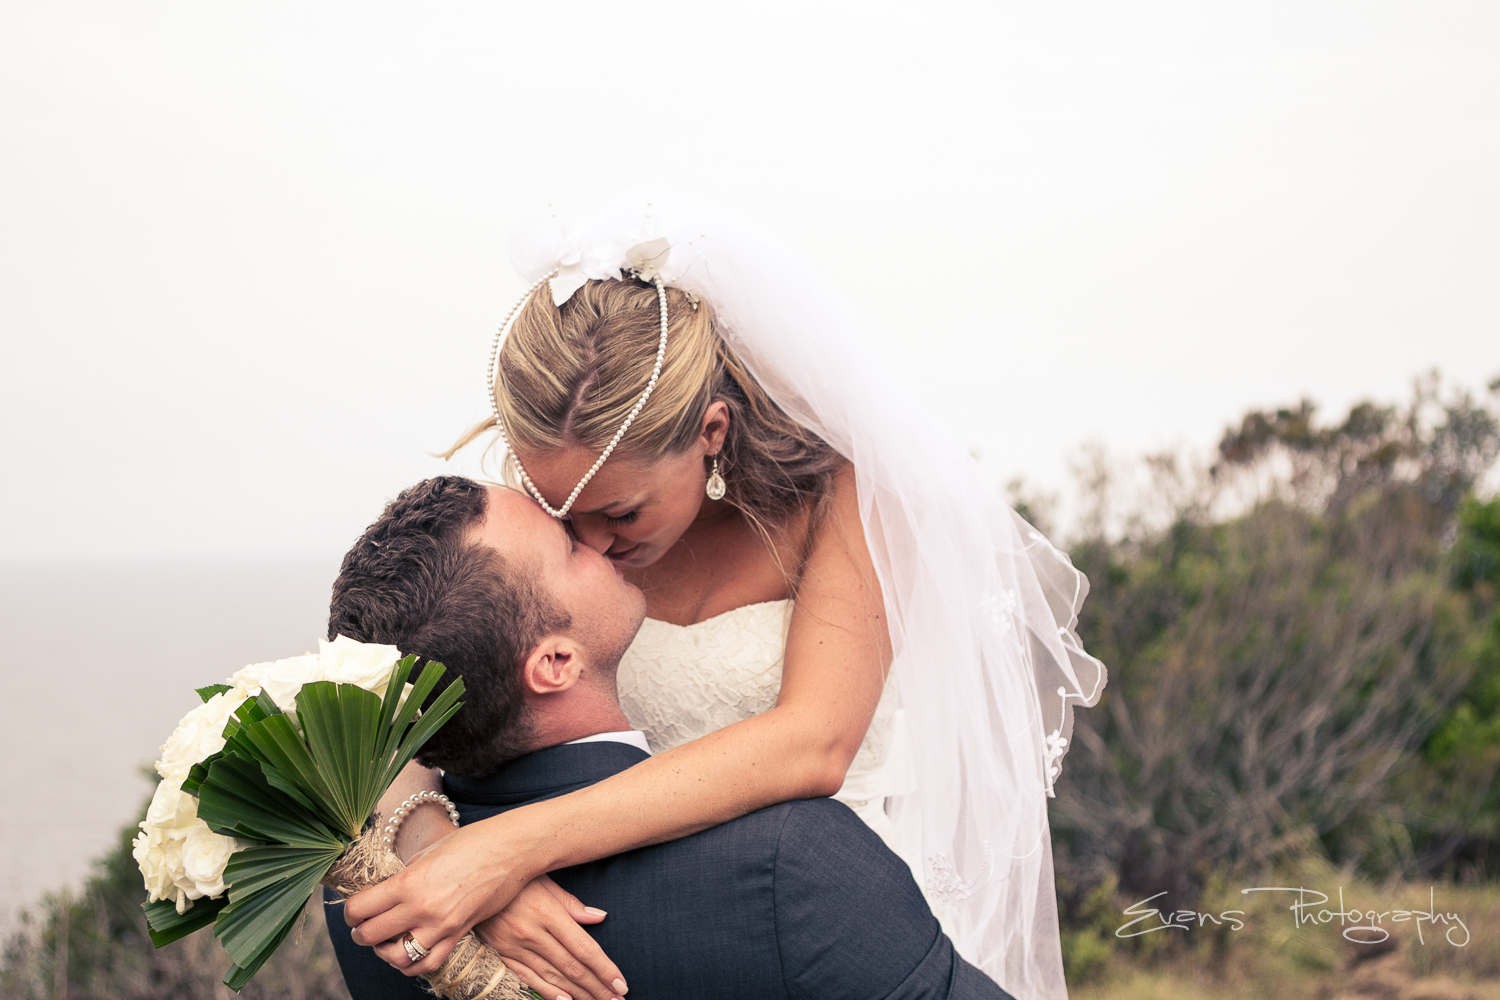
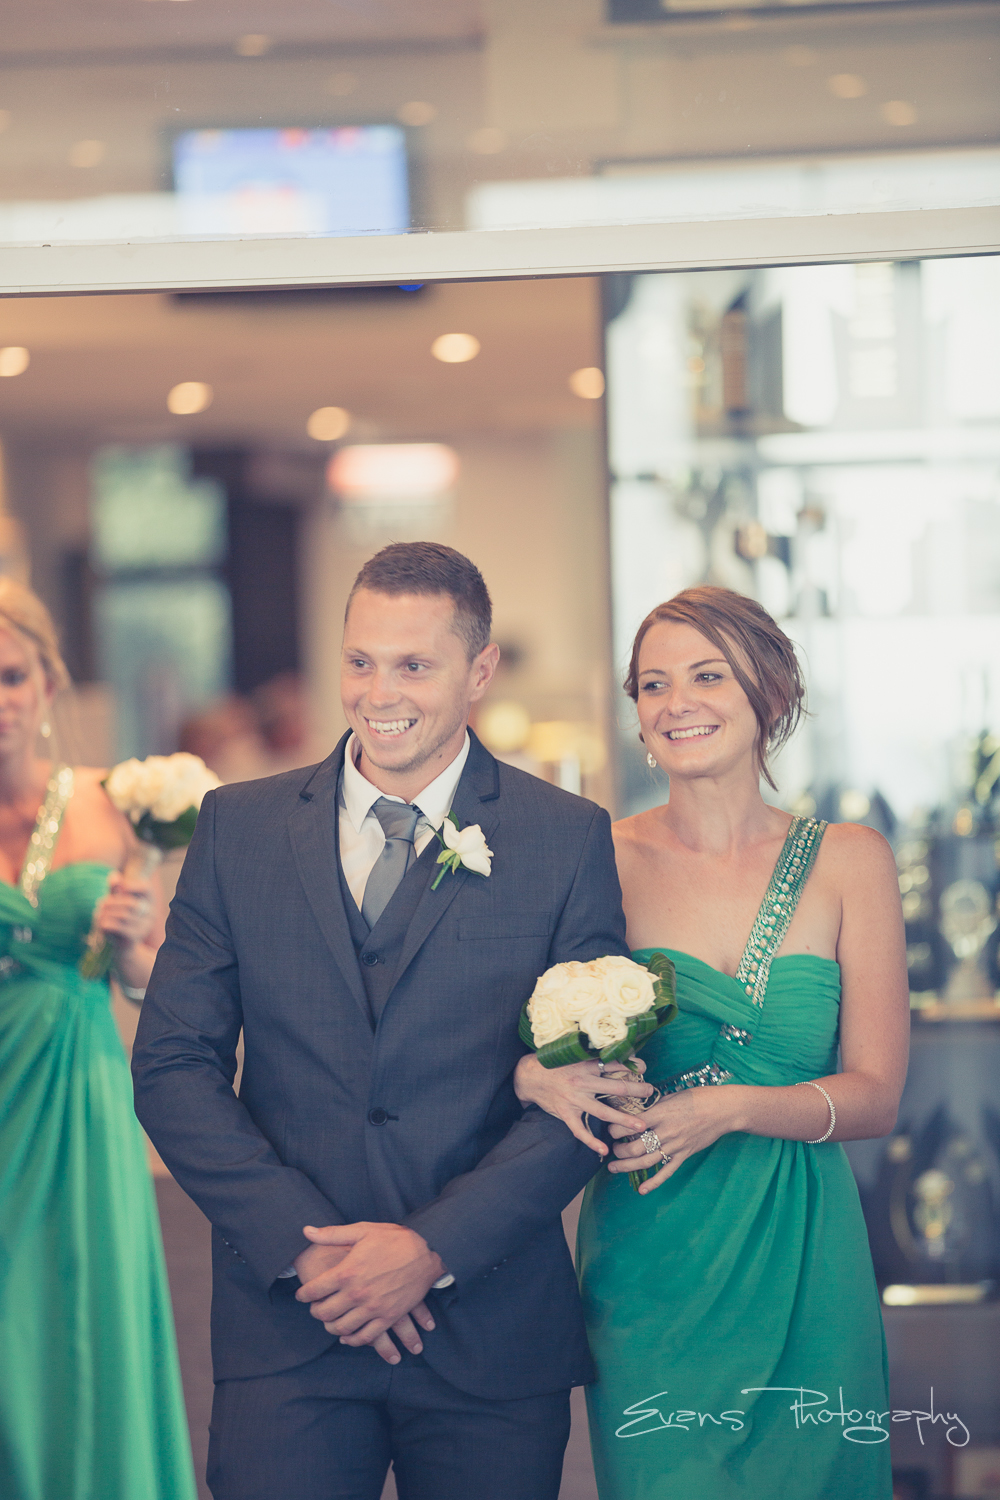
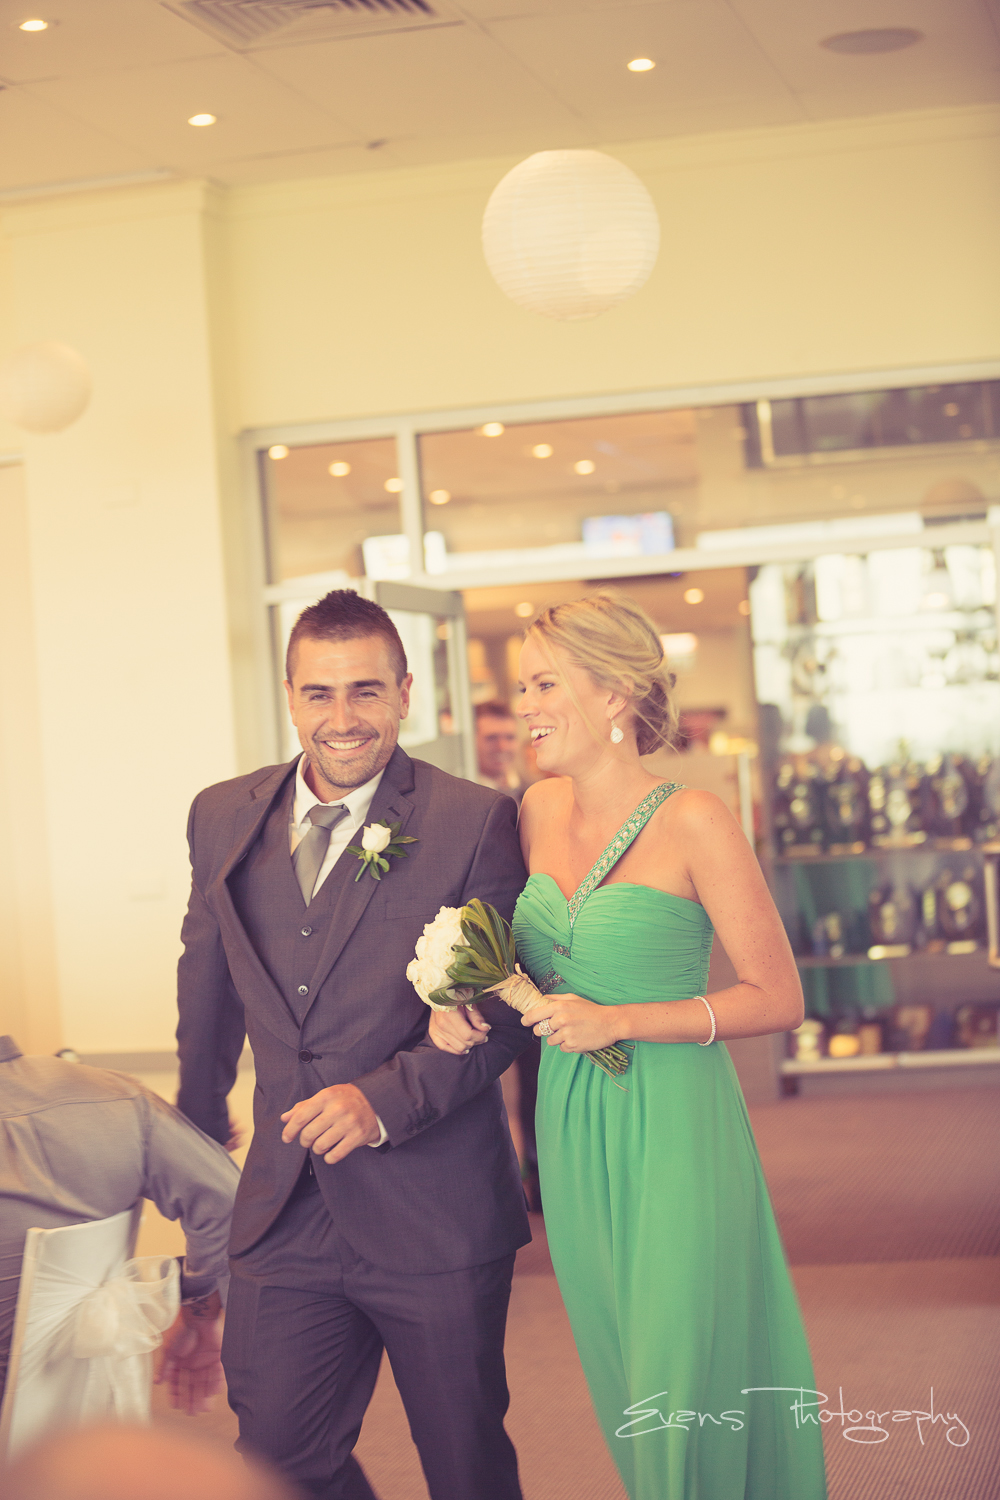
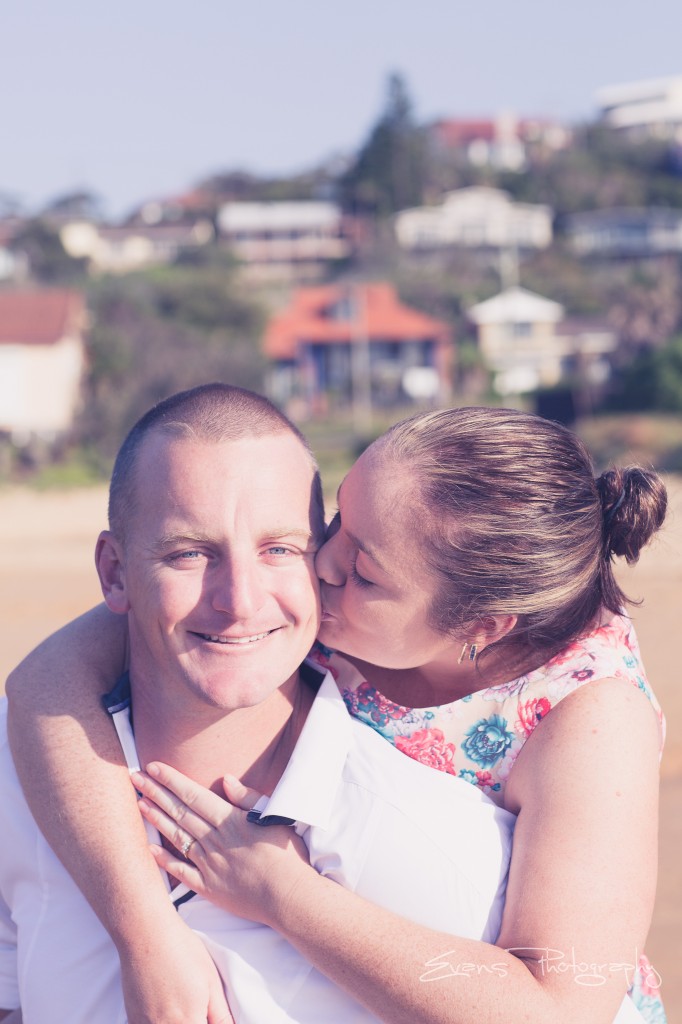
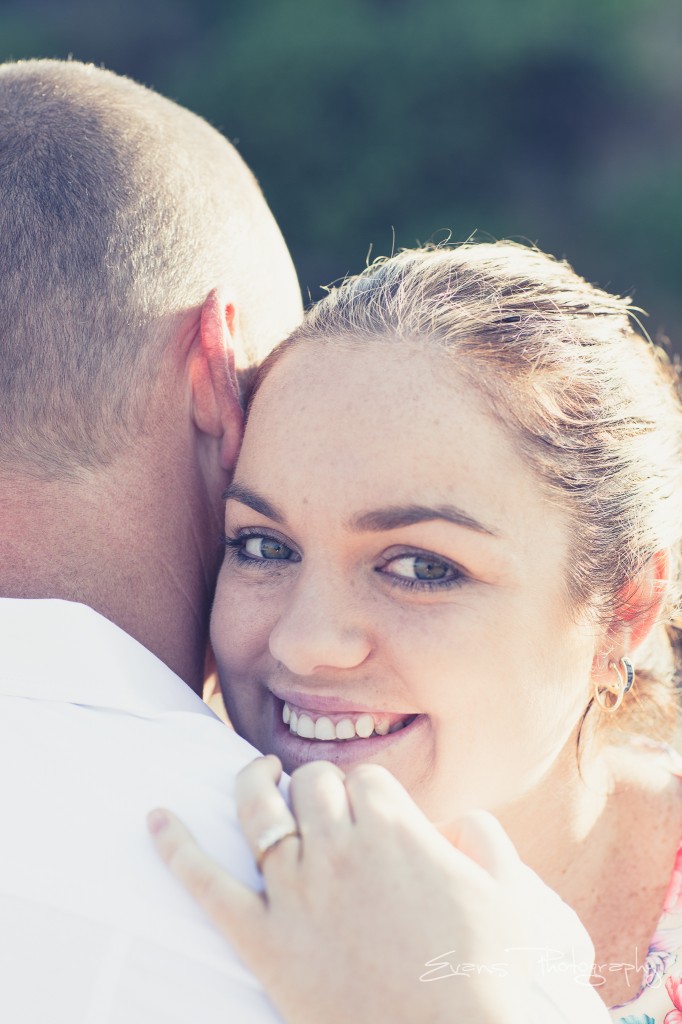
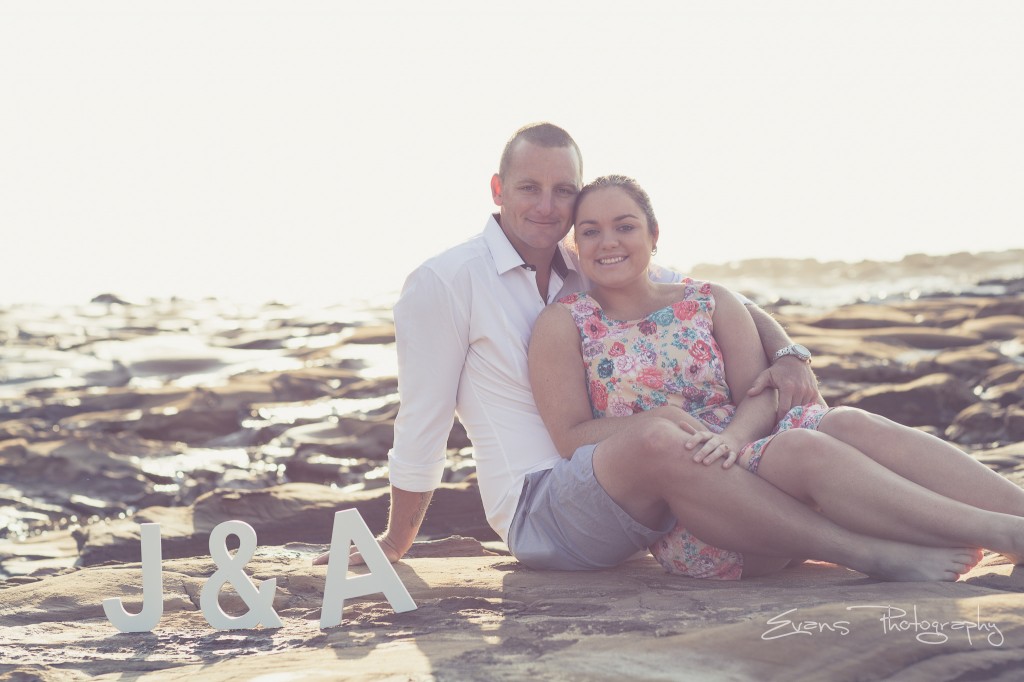
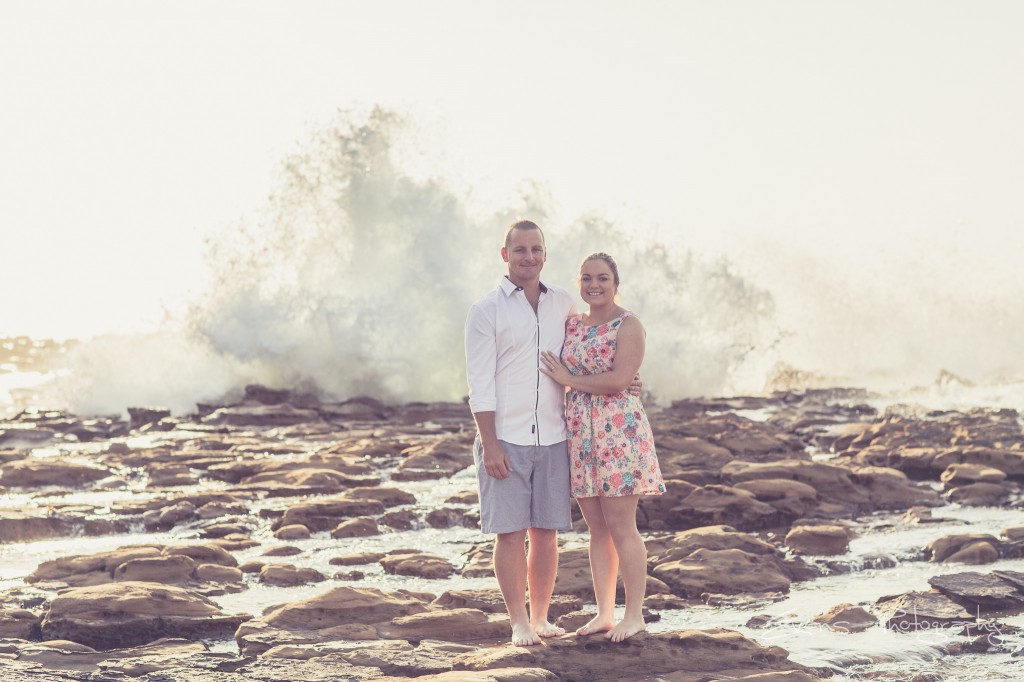
Dale has been a friend for a while ever since I started going to EV Church on the Central Coast.
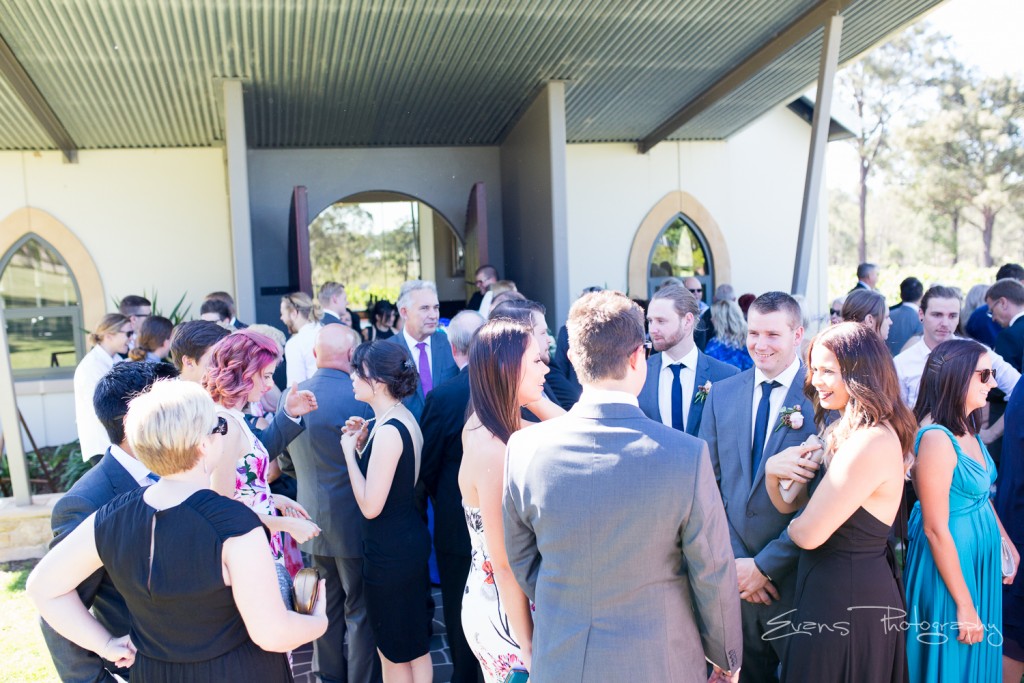
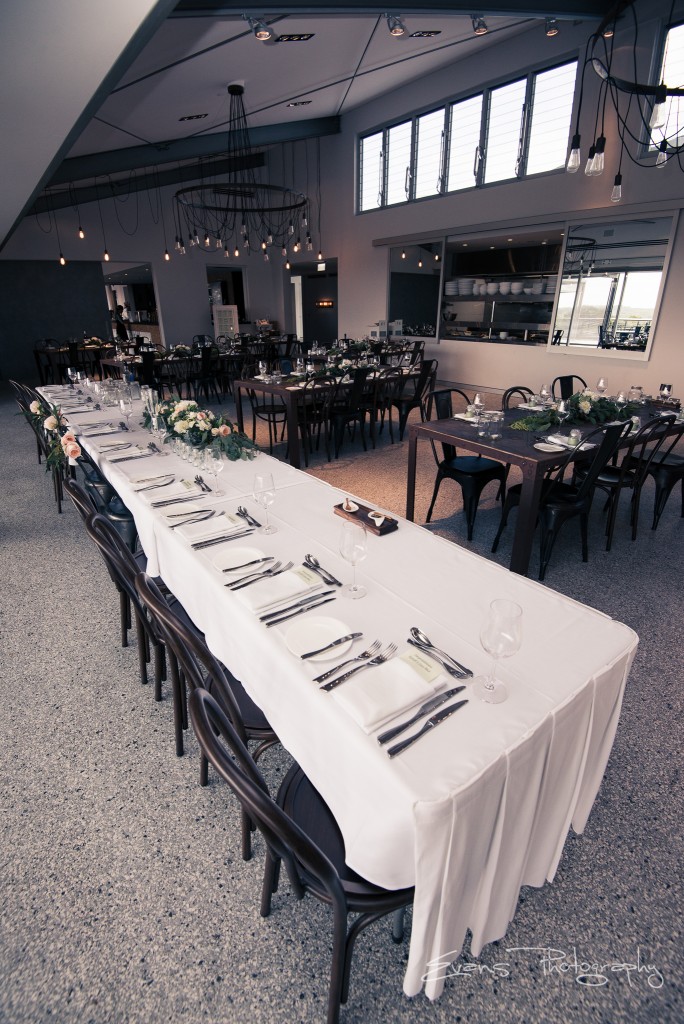
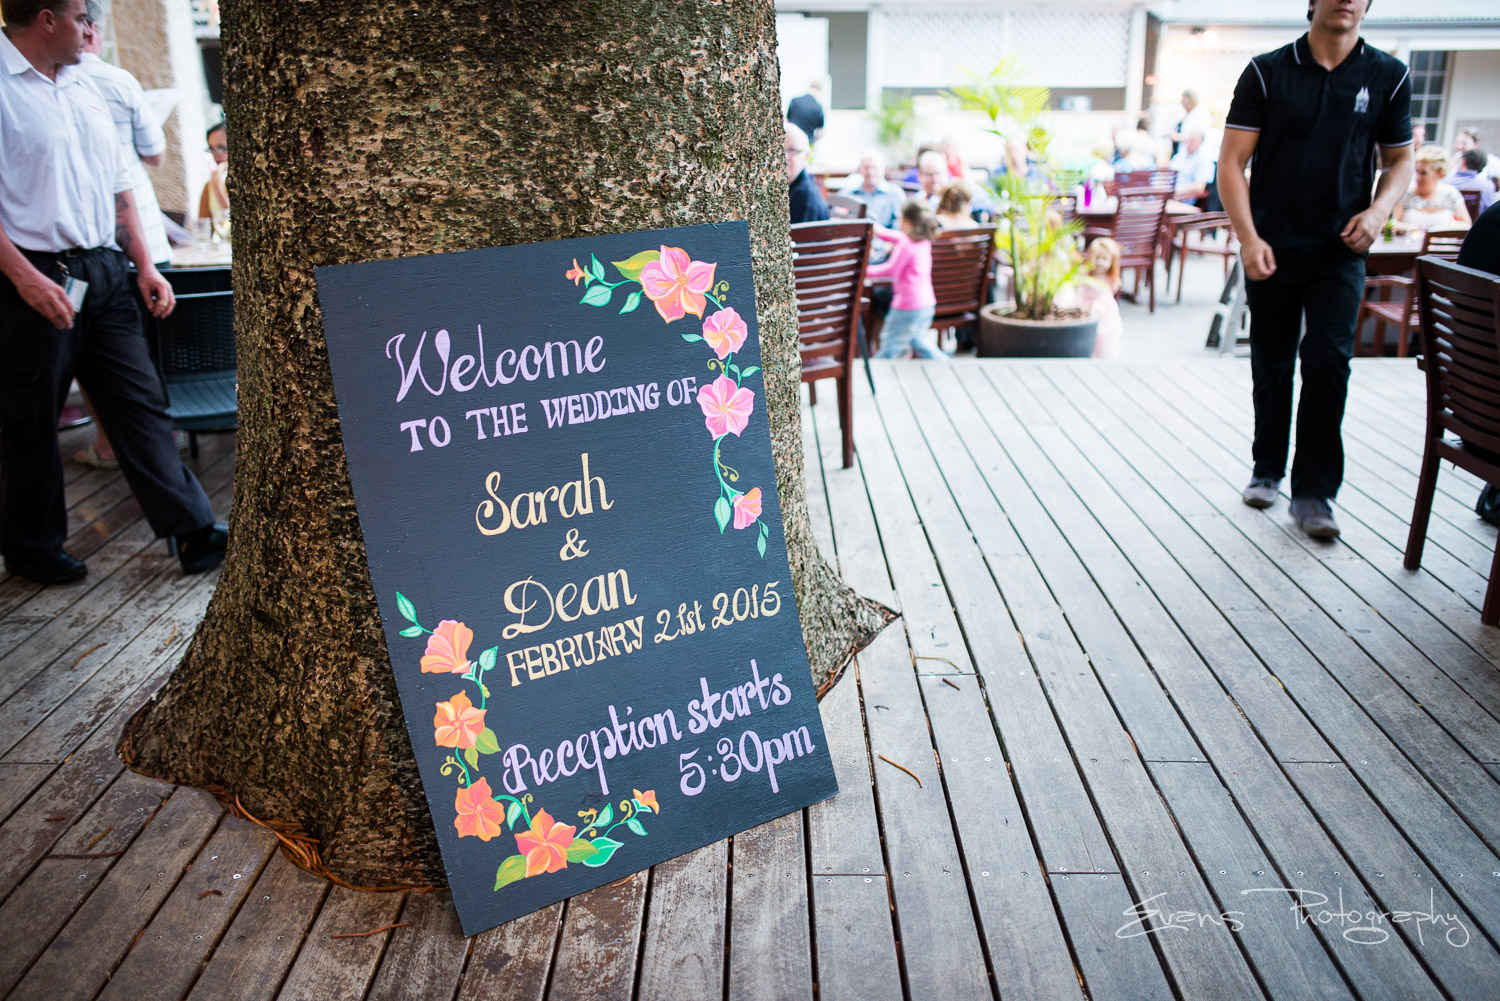
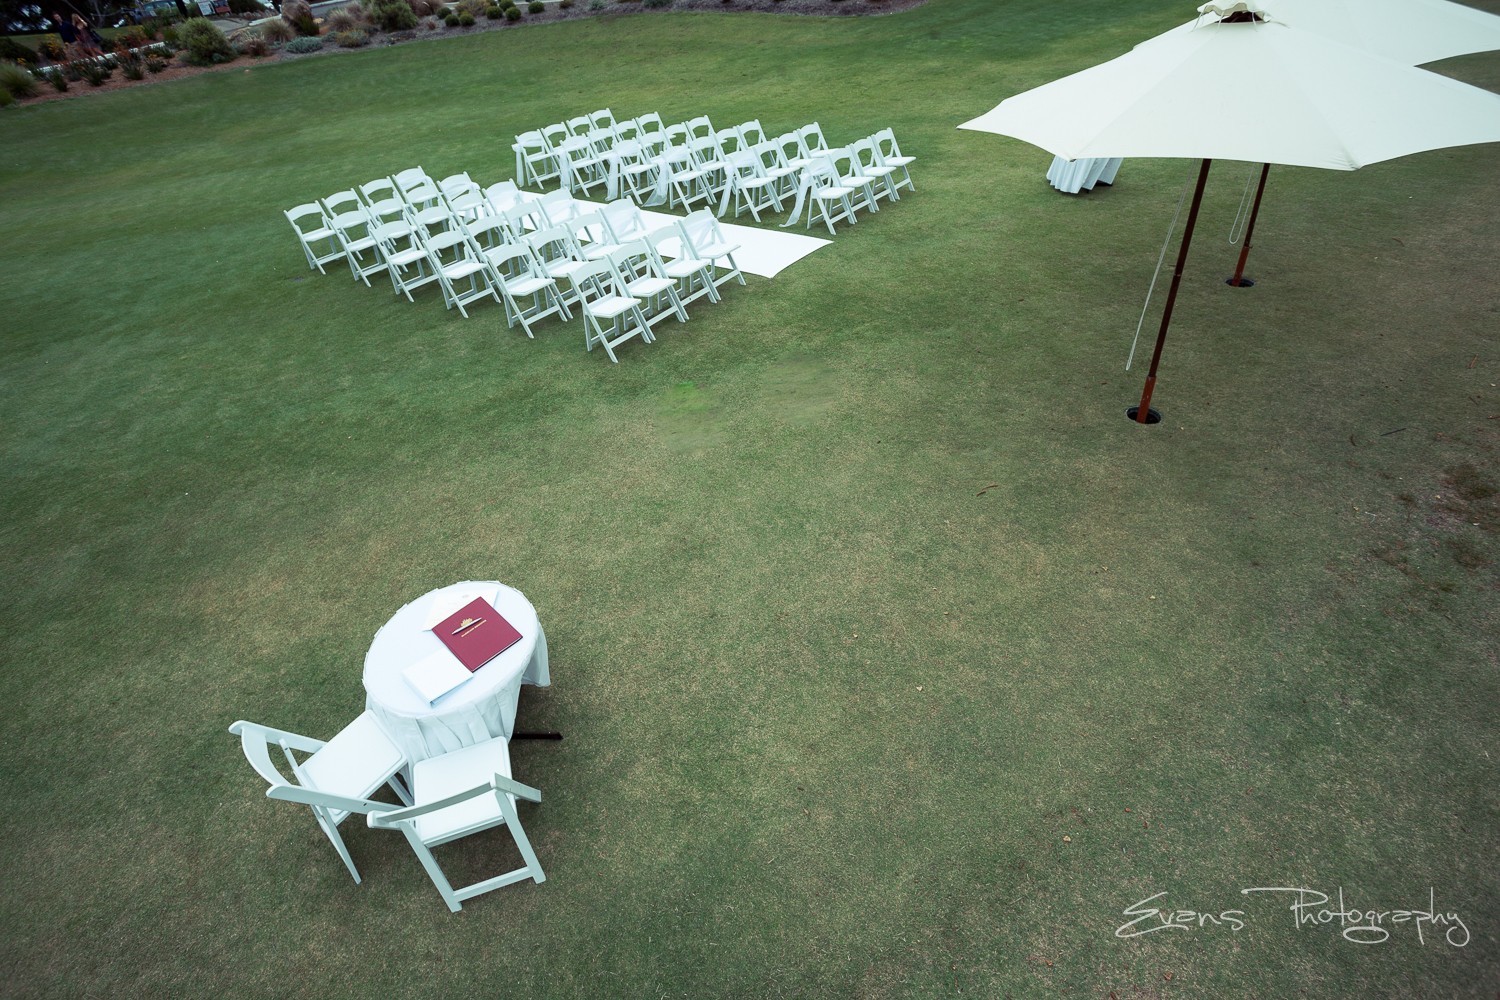
The reception was located at our home church, EV Church – 331 Terrigal Drive Erina
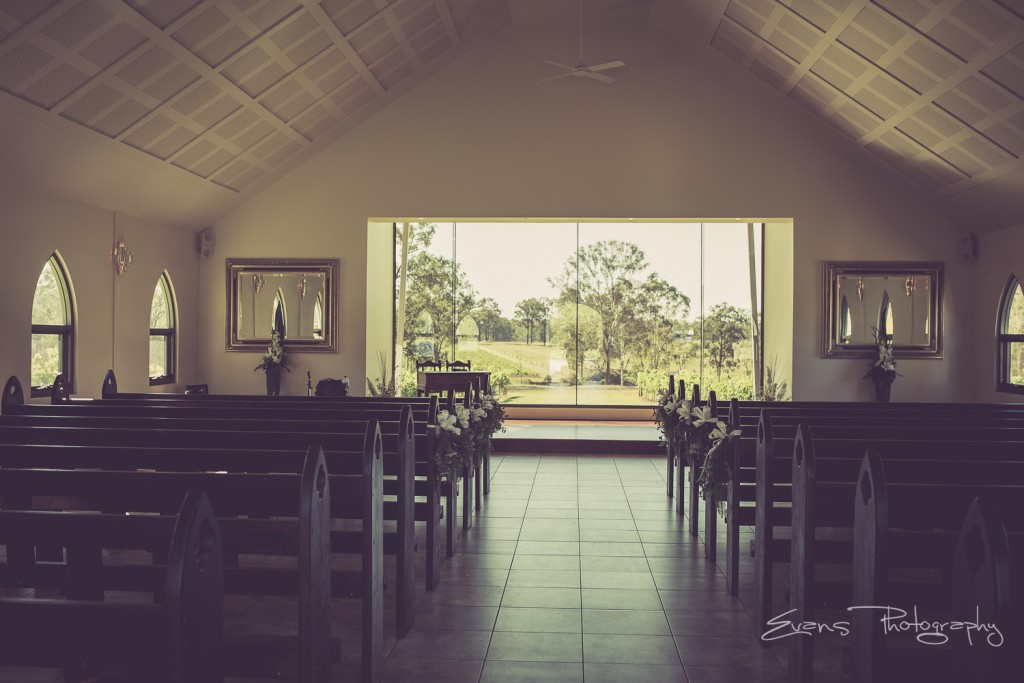
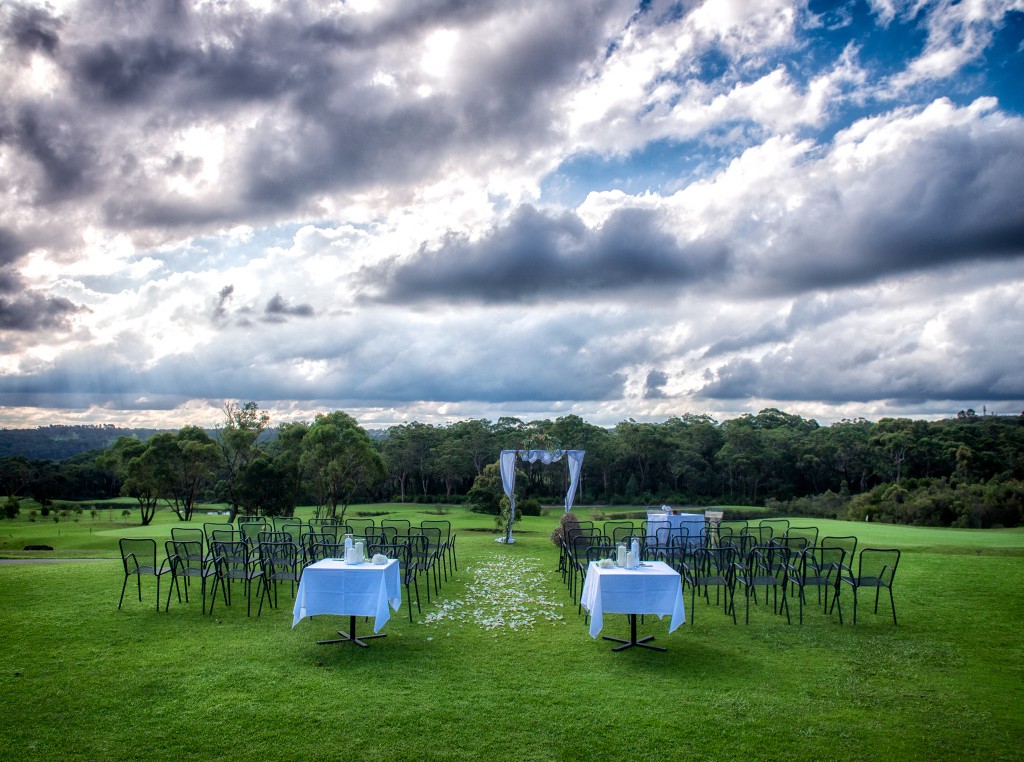
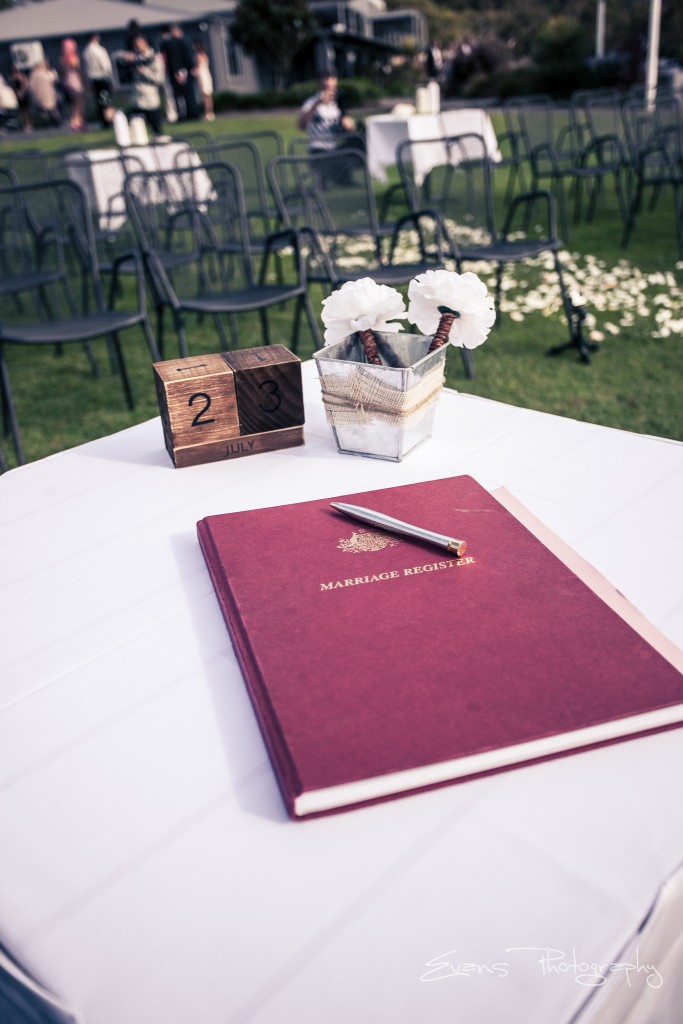
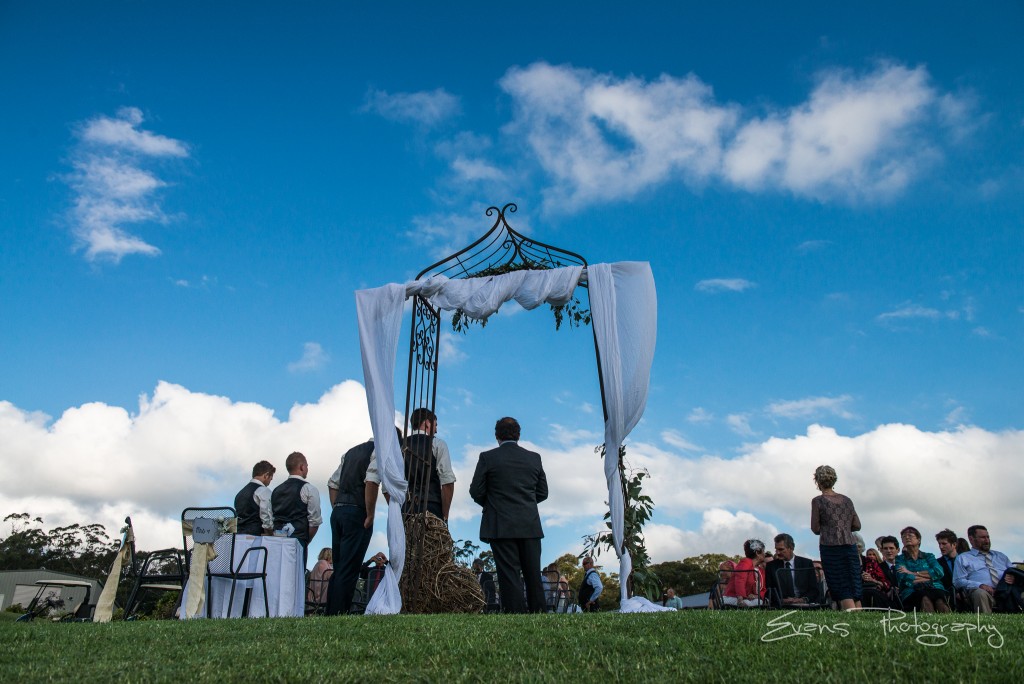
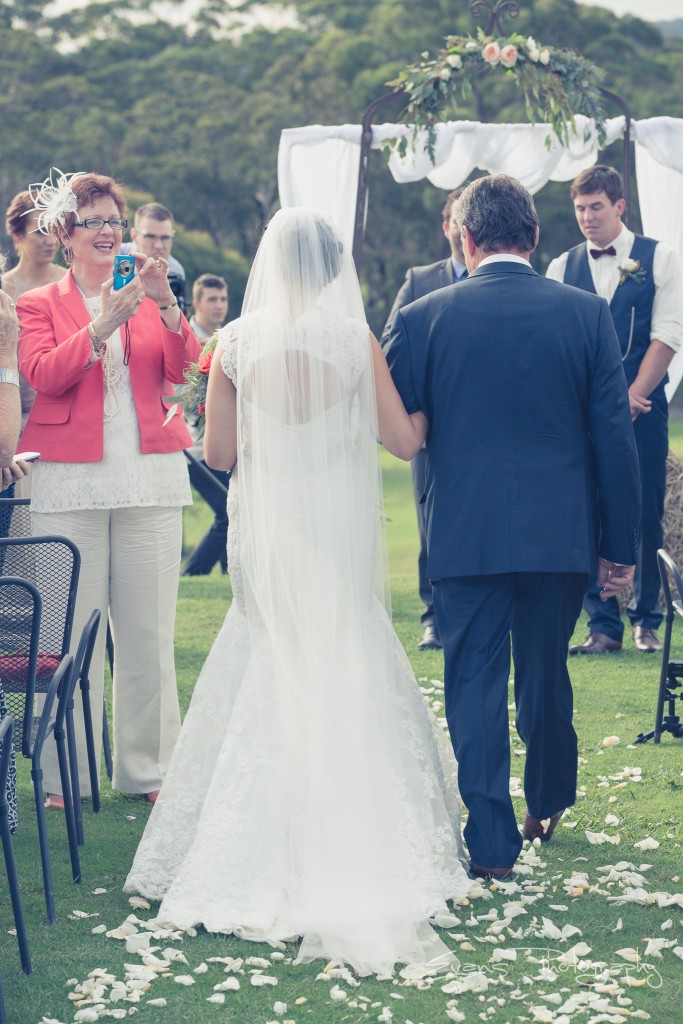
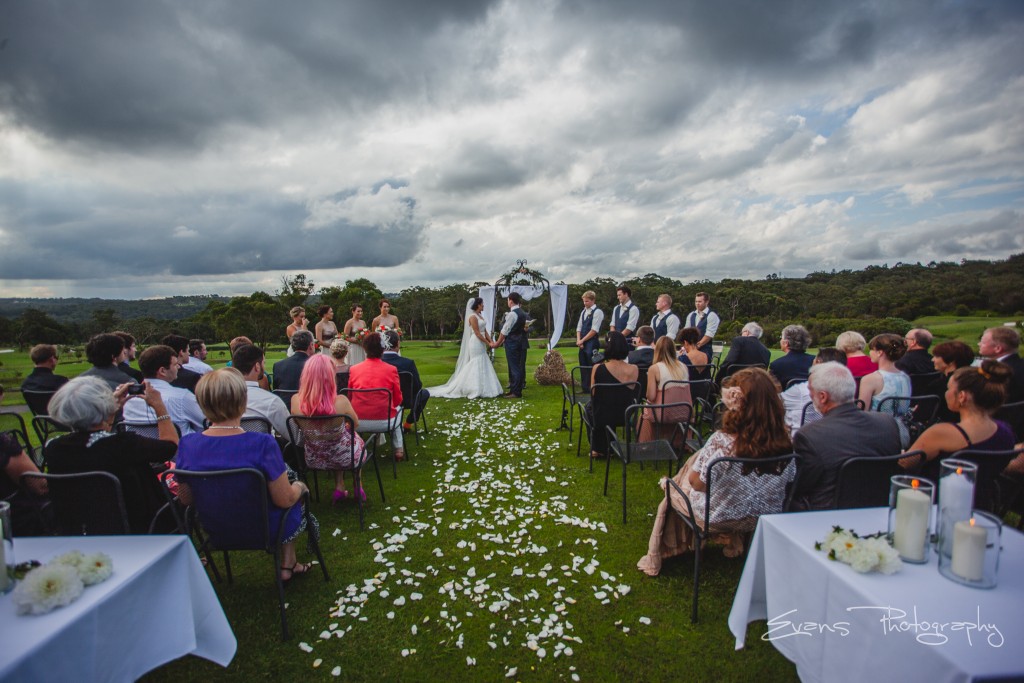
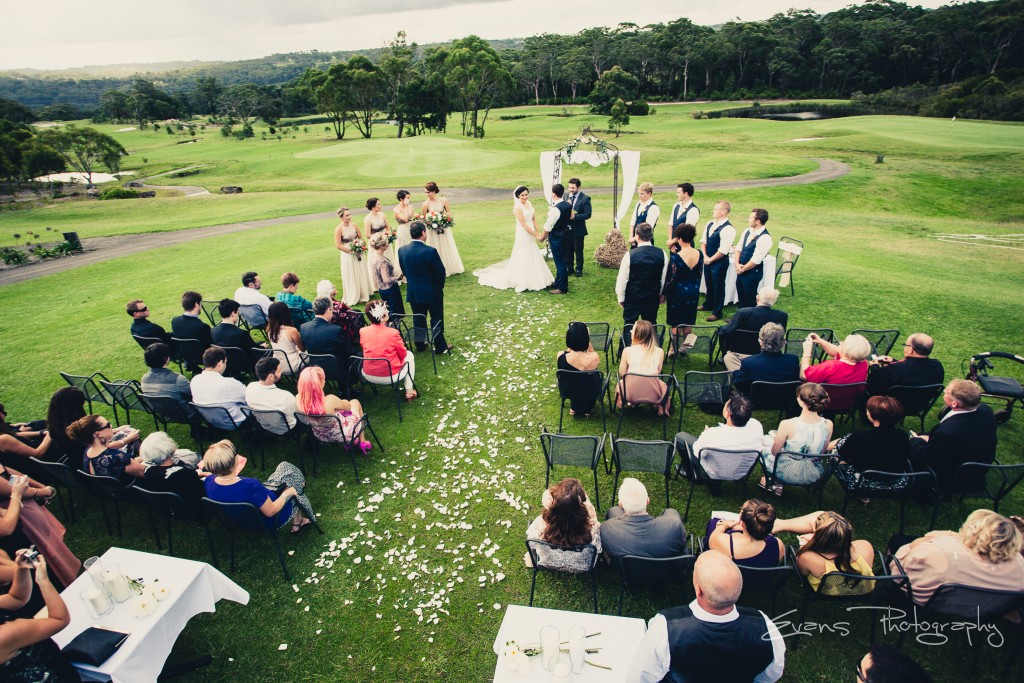
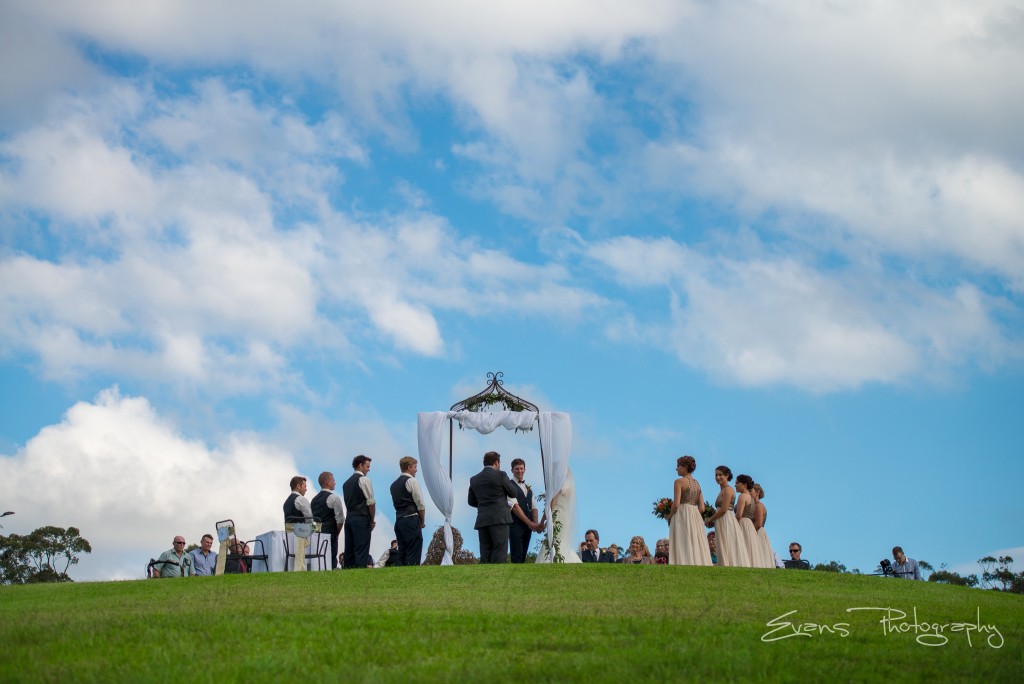
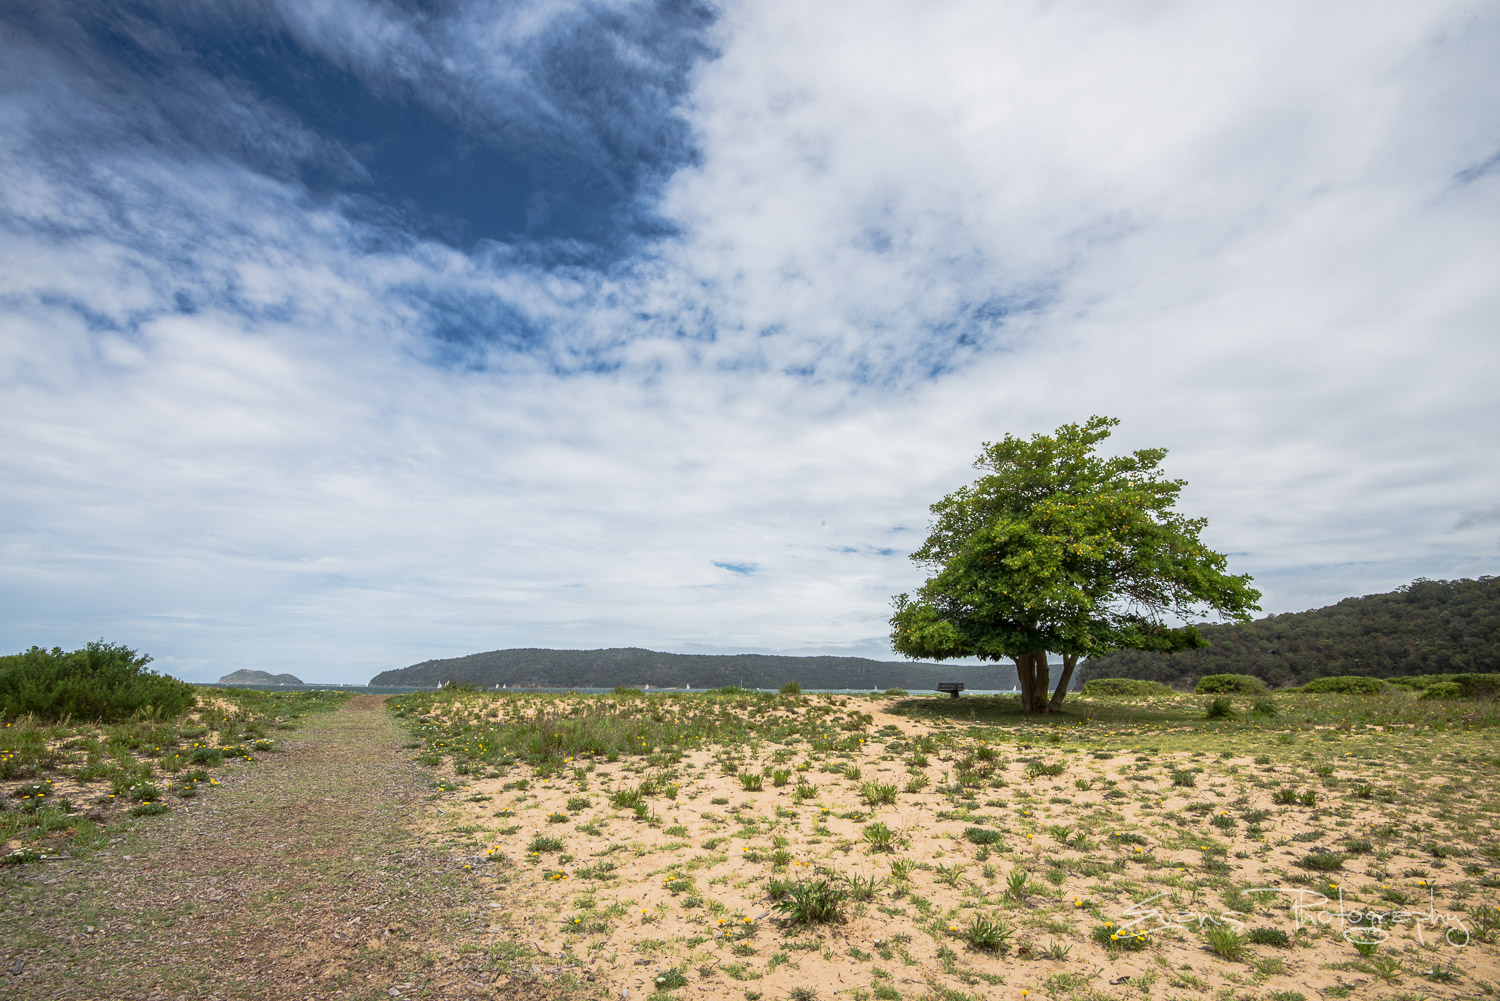
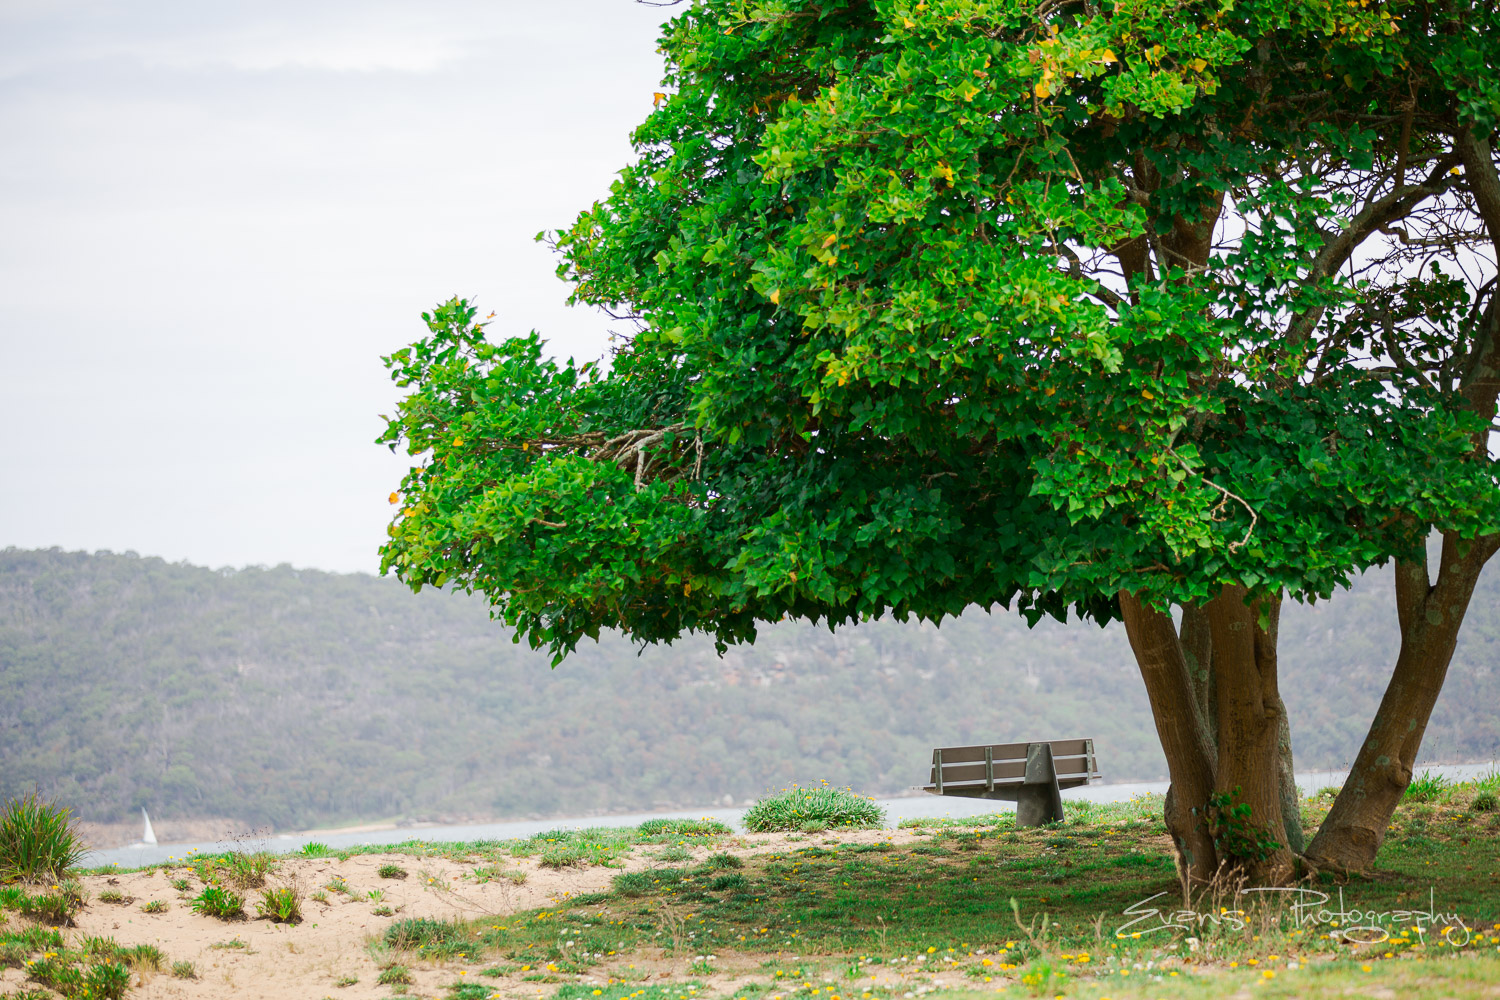
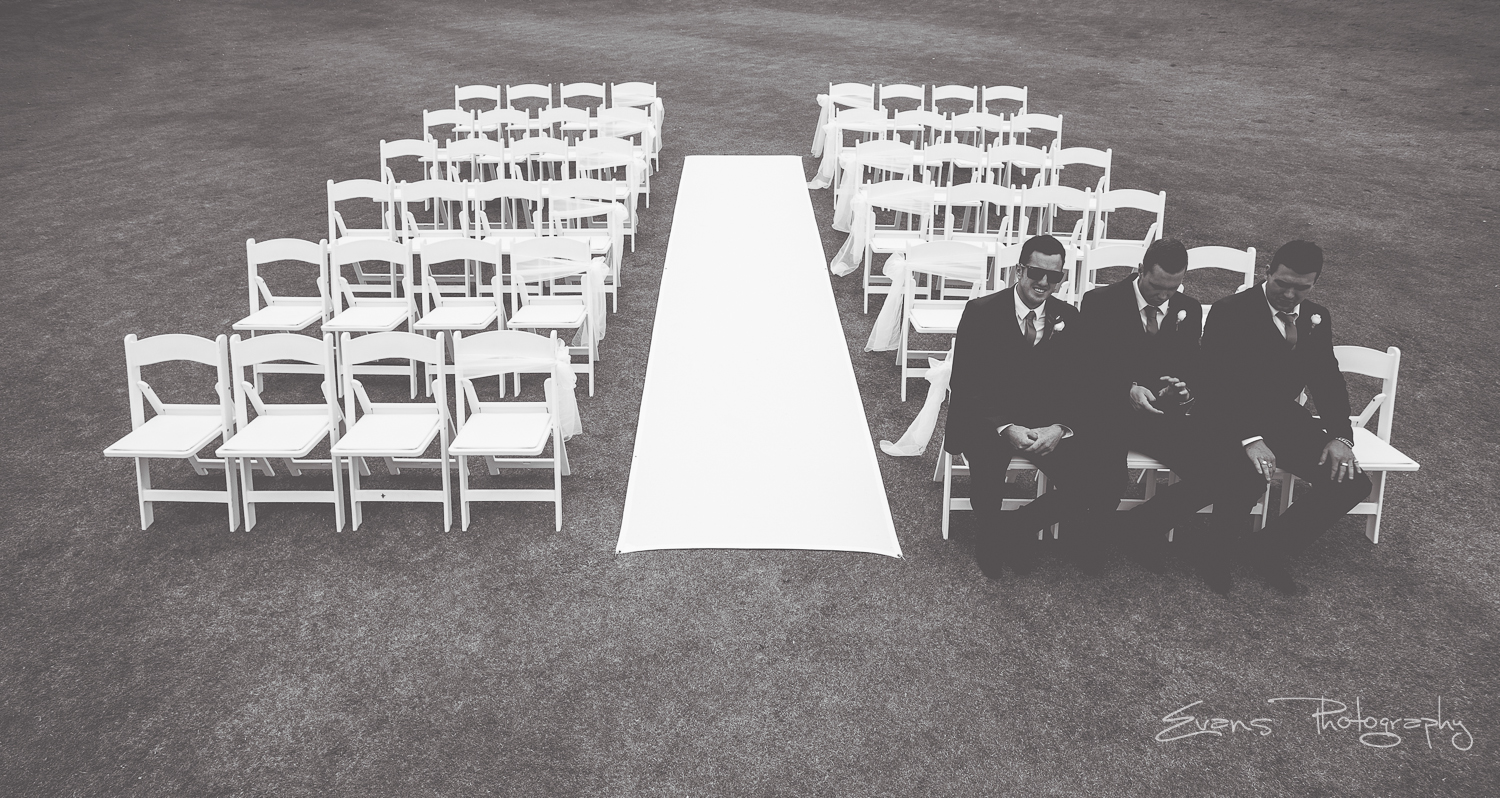
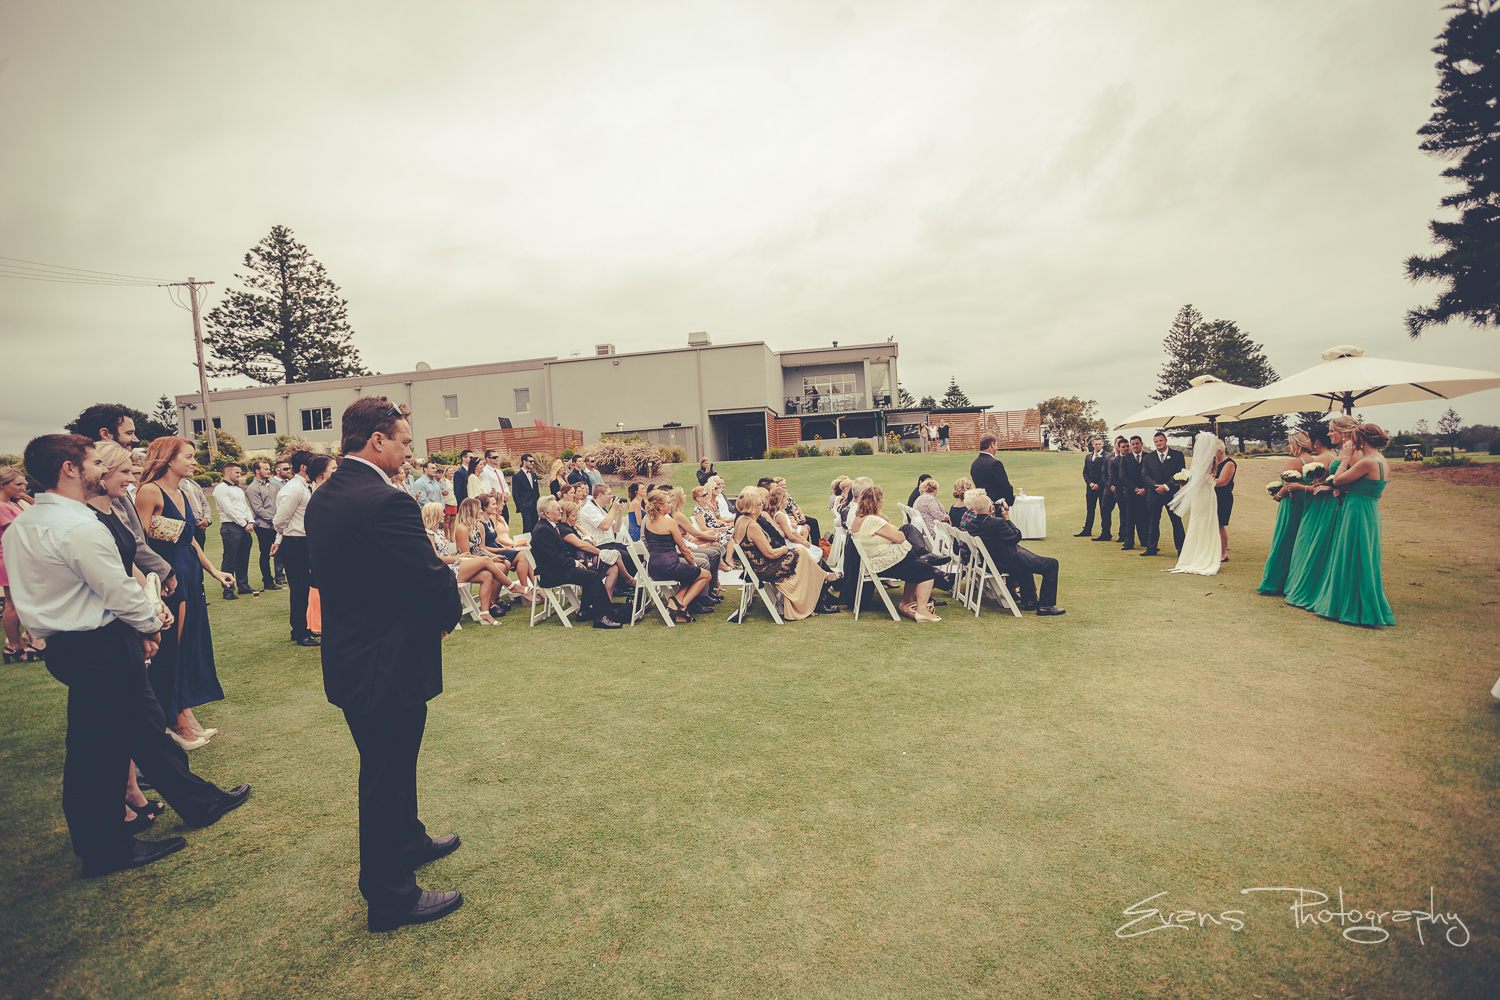
The ceremony was located at Linton Gardens – 611 Wisemans Ferry Road, Somersby NSW 2250
It was a pleasure working with Dale & Amy and I had a great day!


Dec
15
I wrote an article in 2012 that gave a guide on uploading photos to facebook.
Since then Facebook has changed the ways in how it compresses images and quality.
Below is the best options for uploading to facebook. Have a read of this article for more detailed reasoning on why.
- Upload to anywhere on your Profile: Facebook compresses and resizes your images. Bad.
- Upload to any Group: Facebook compresses and resizes your images. Bad.
- Upload to a Message you’re sending: Facebook compresses and resizes your images. Bad.
- Upload via any mobile device: Facebook compresses and resizes your images. Bad.
- Upload via any other site, app or platform into Facebook: Facebook compresses and resizes your images. Bad.
- Upload full resolution anywhere on Facebook at all: Facebook compresses and resizes your images. Bad.
For the best results (and the only way facebook does not compress)
- Create a new Album in your Page, and name it whatever you like (“Portfolio” is a common choice)
- Click to view the Album
- Click on “Add Photos”
- Select the horizontal or vertical photo (see below the settings)
- As it starts to upload, make sure the bottom left checkbox “High Quality” is checked
- Let the upload finish, then continue
If you did everything correctly, your image should have been accepted by the Facebook Page system and unchanged. As such, it should look amazing (or how it looked when you saved it on your drive, at the very least).
Horizontal Settings
- In photoshop…
- Resize image up to 2048px wide. This is the biggest Facebook supports, no point going any bigger.
- In the Image Size options, be sure that “Resample” is checked and “Bicubic (smooth gradients)” is selected in the pulldown
- Go to the Save For Web function (File/Save For Web)
- Select the format: JPEG
- Quality: 100- You can, however, use as low as 75-80 with no obvious quality difference)
- Blur: 0
- Uncheck “Progressive”
- Uncheck “Optimized”
- Check “Convert to sRGB” and use “Internet Standard (No Color Management)” from the pulldown
- Embed Metadata as you see fit in the next pulldown menu
- Save the file on computer somewhere.
- Upload to facebook (as stated at the top of this post)
- Revel in the epic quality of your images on Facebook
Portrait Settings
- In photoshop…
- Go to Image Size (Image/Image Size) and resize to 900 px tall
- In the Image Size options, be sure that “Resample” is checked and “Bicubic (smooth gradients)” is selected in the pulldown, click Ok
- Go to the Save For Web function (File/Save For Web)
- Select the format: PNG-24
- Uncheck “Transparency”
- Uncheck “Interlaced”
- Check “Embed Color Profile”
- Check “Convert to sRGB” and use “Internet Standard (No Color Management)” from the pulldown
- Embed Metadata as you see fit in the next pulldown menu
- Save the file on computer somewhere.
- Upload to facebook (as stated at the top of this post)
- Revel in the epic quality of your images on Facebook
Apr
08
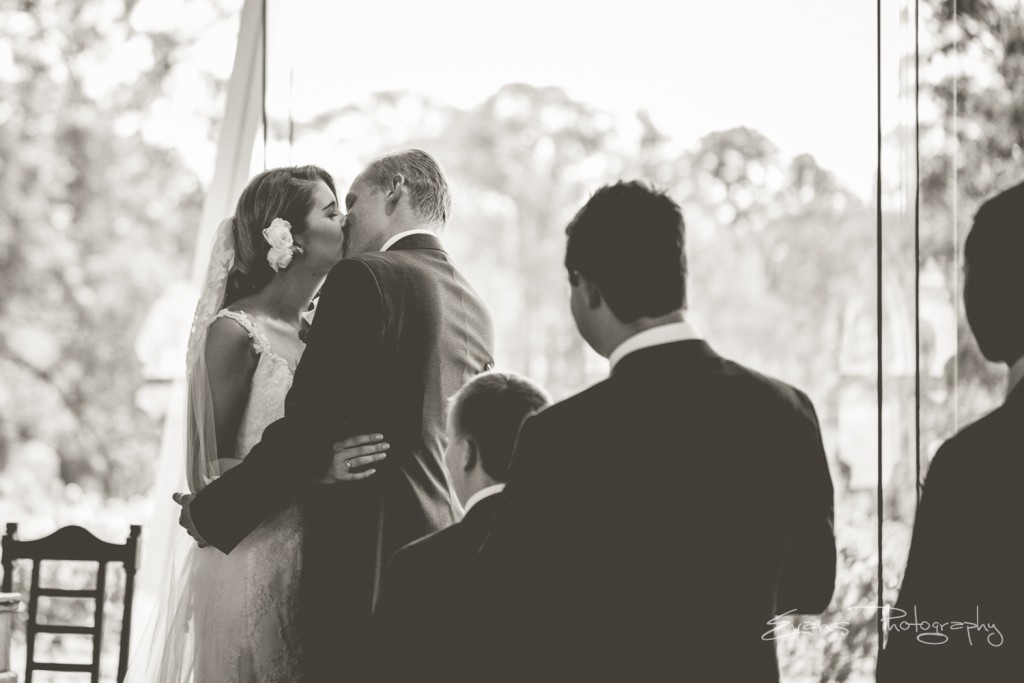
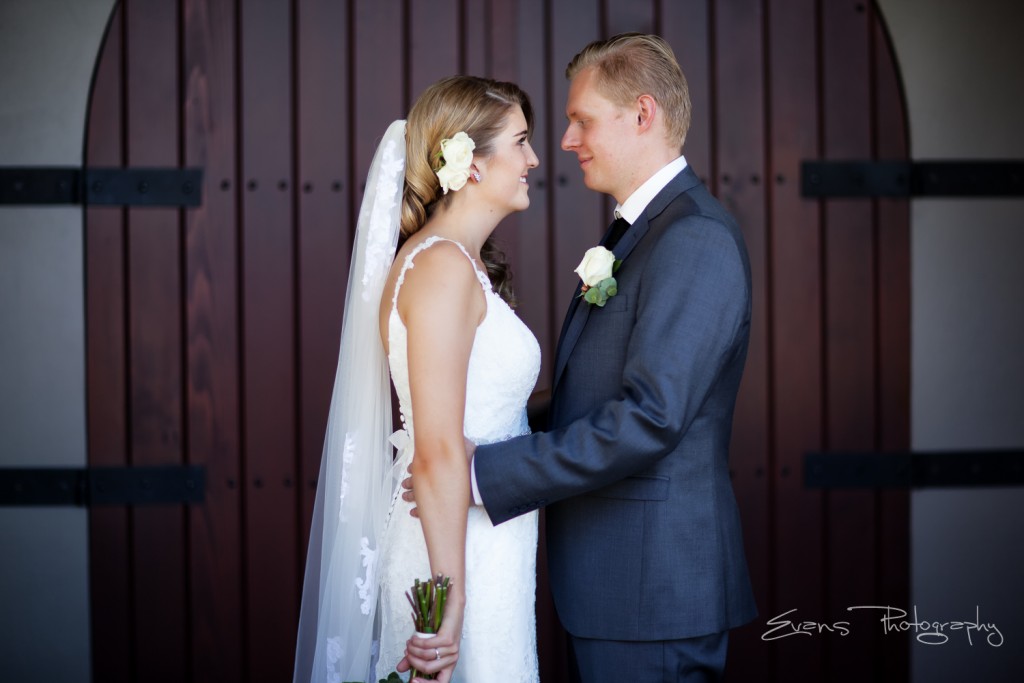
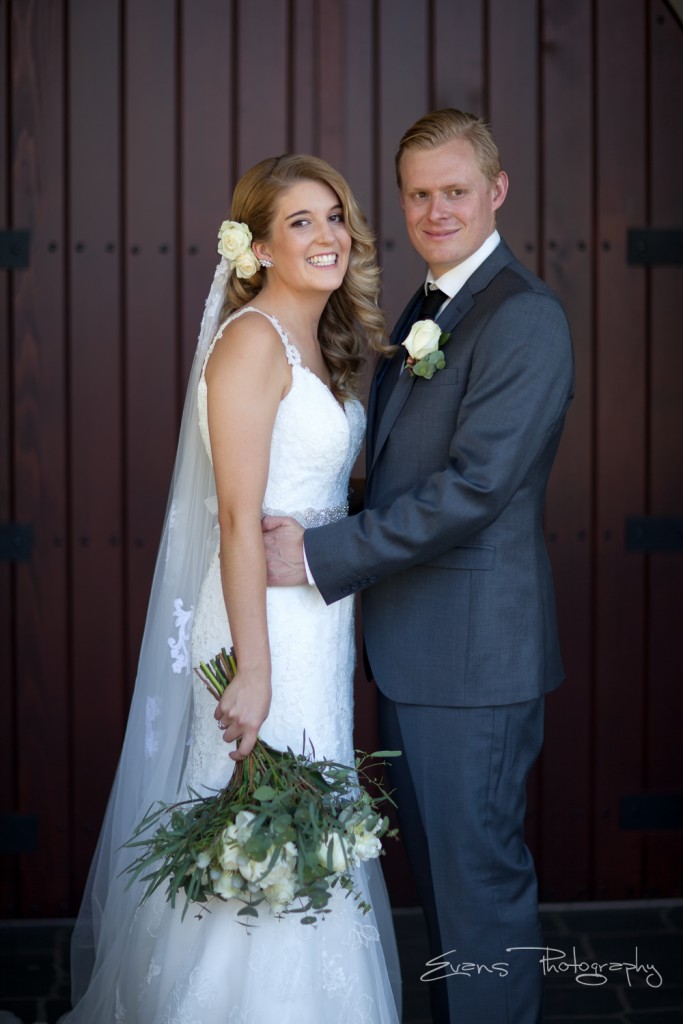
Valentines Day is quite a special day. In the year of 2014 I got to photograph


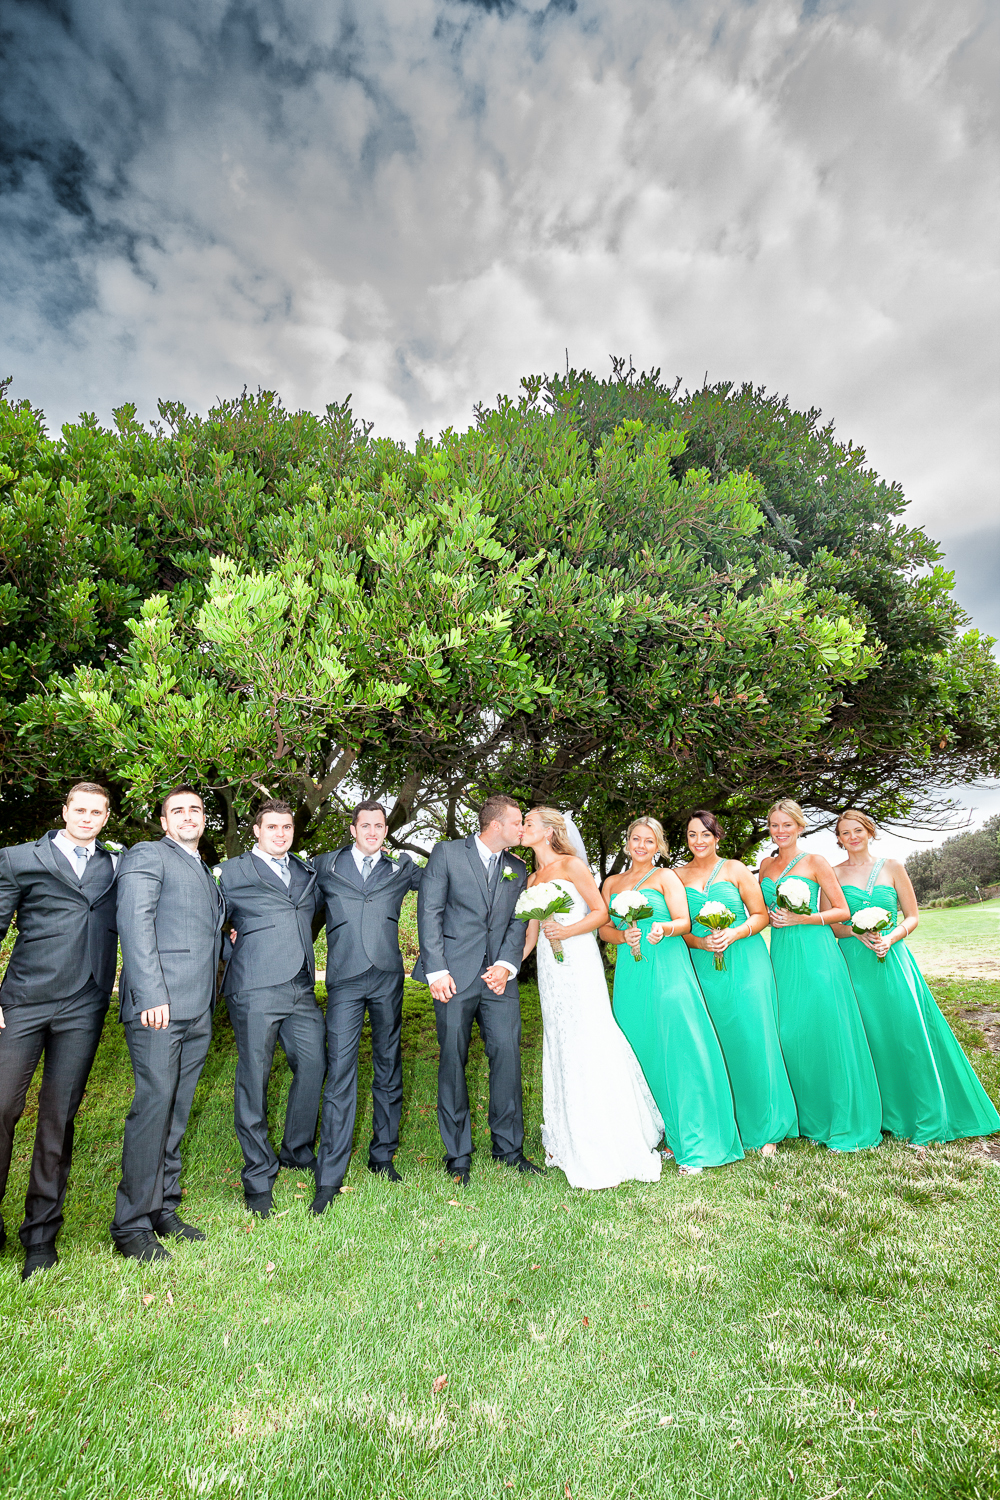

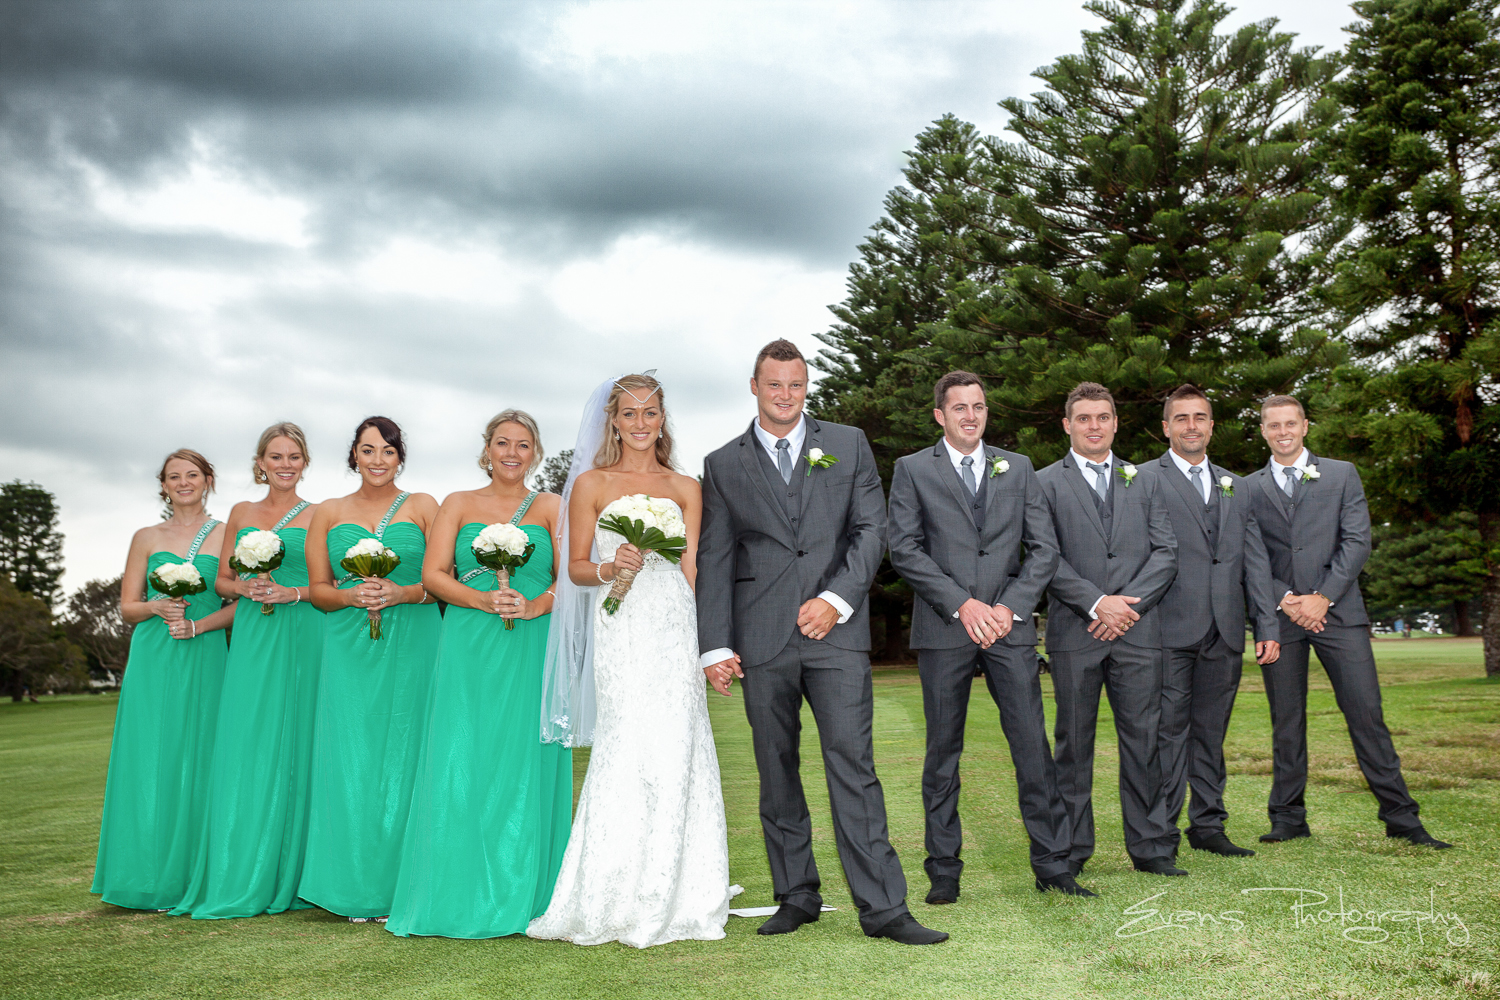


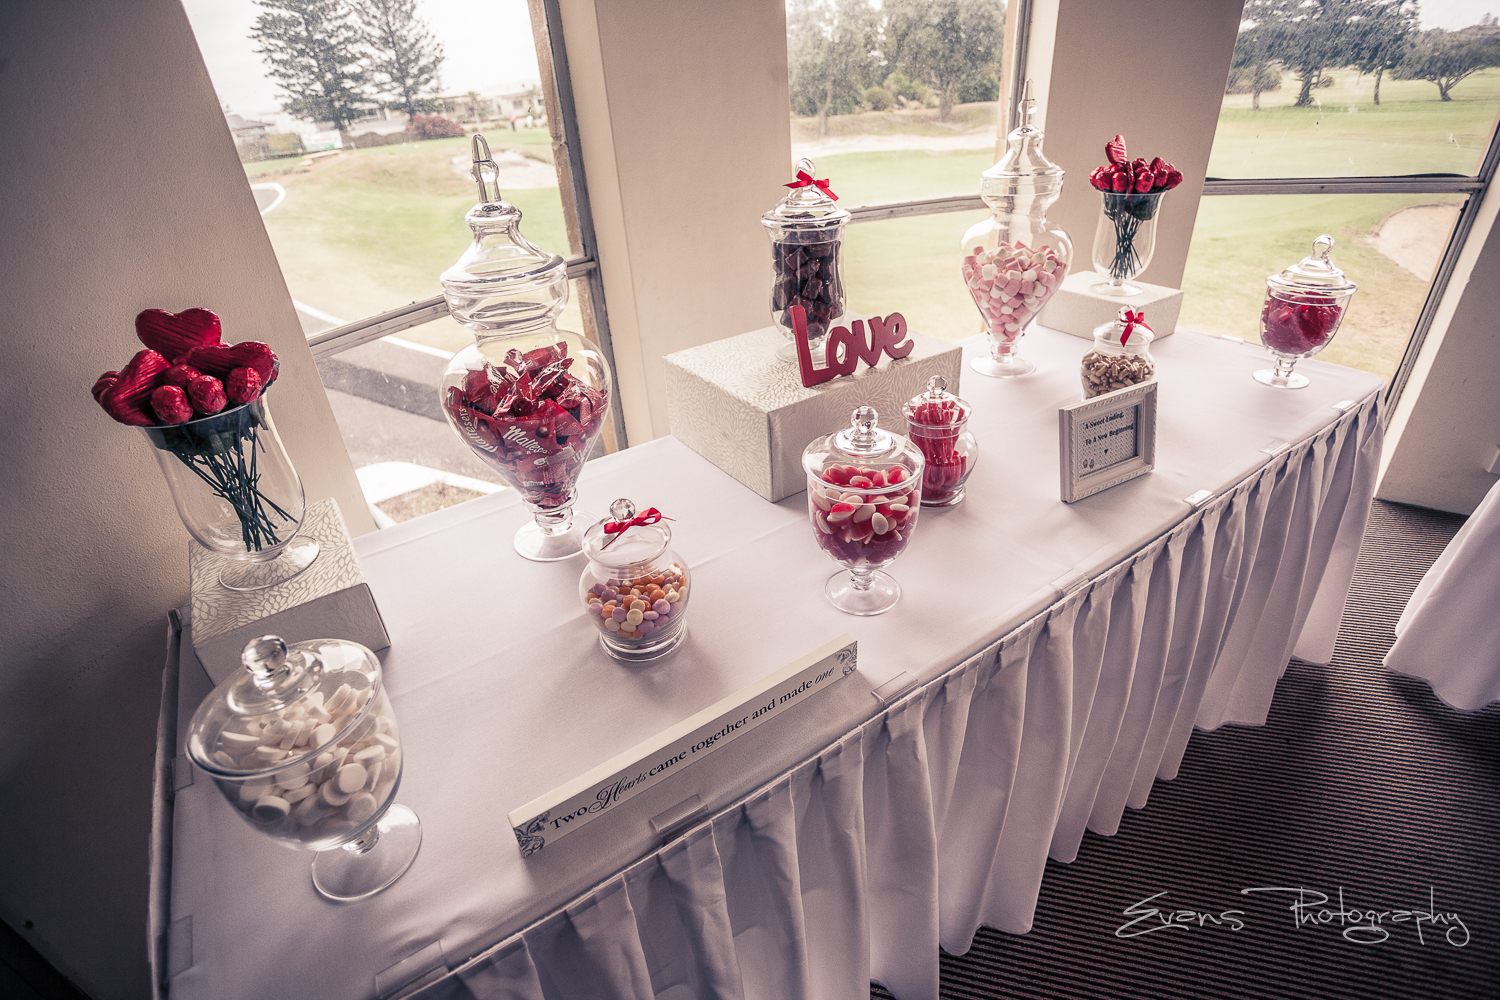
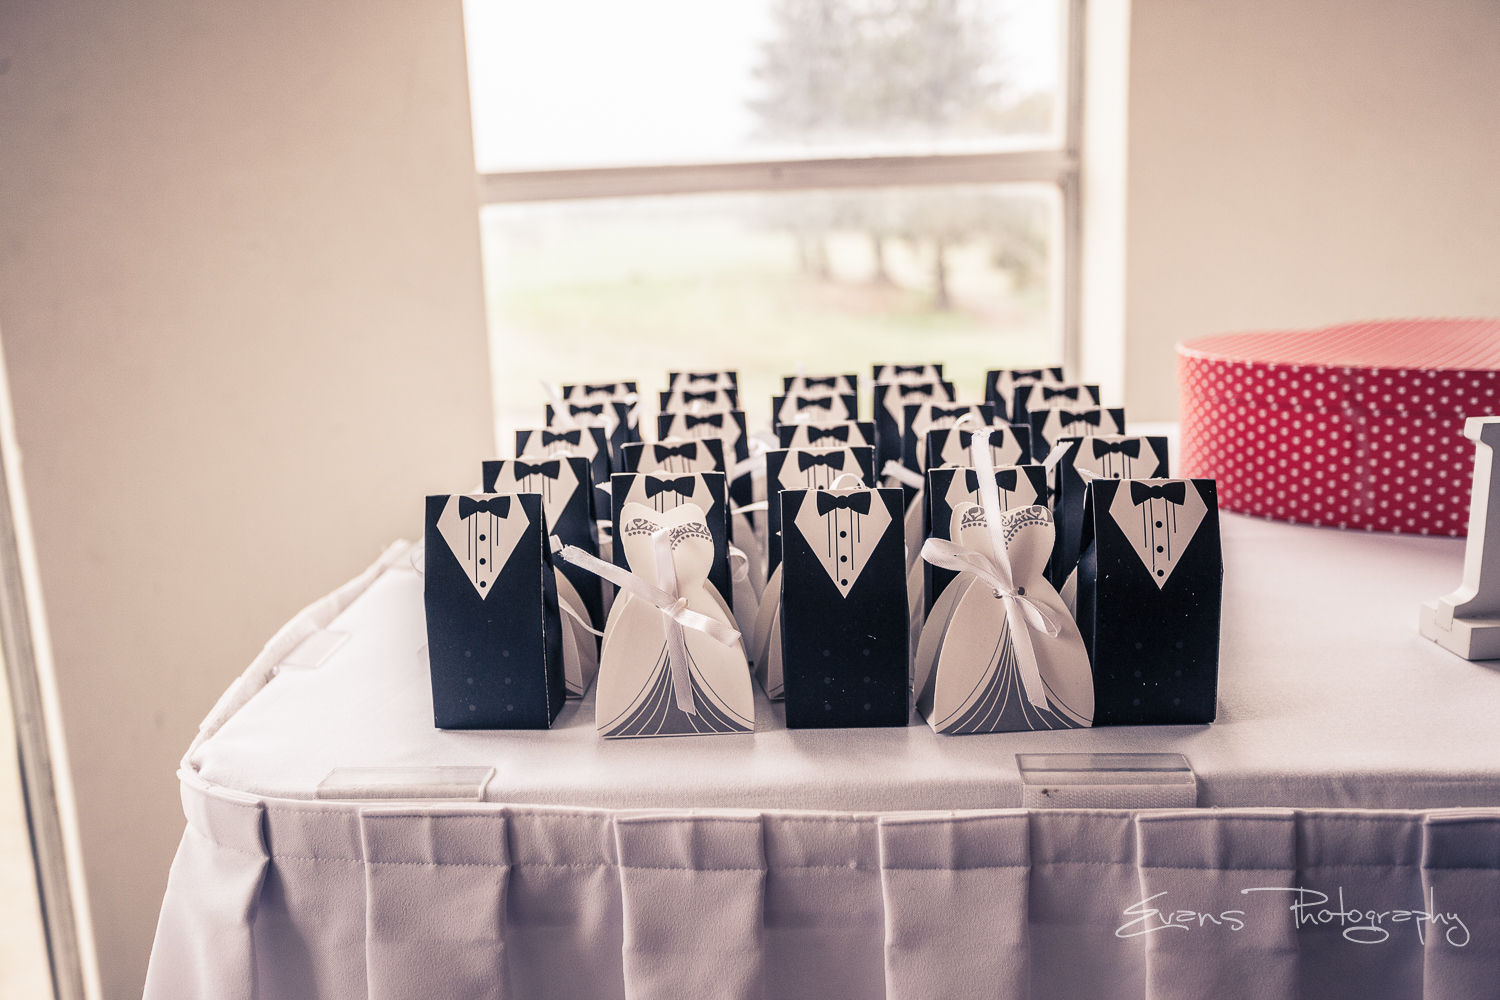
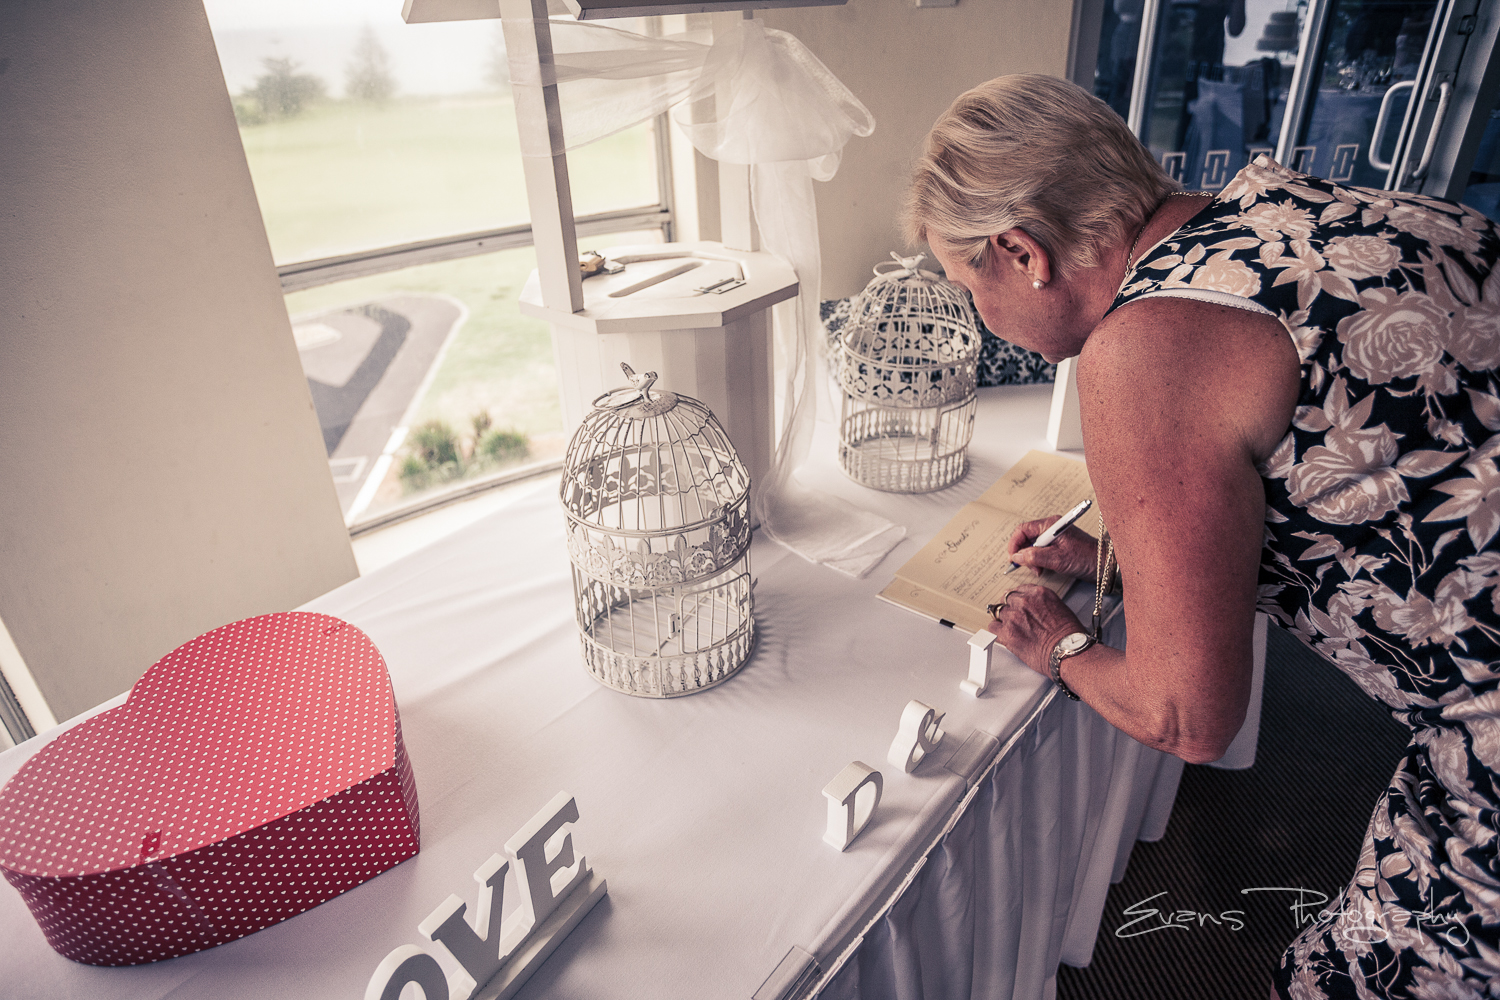
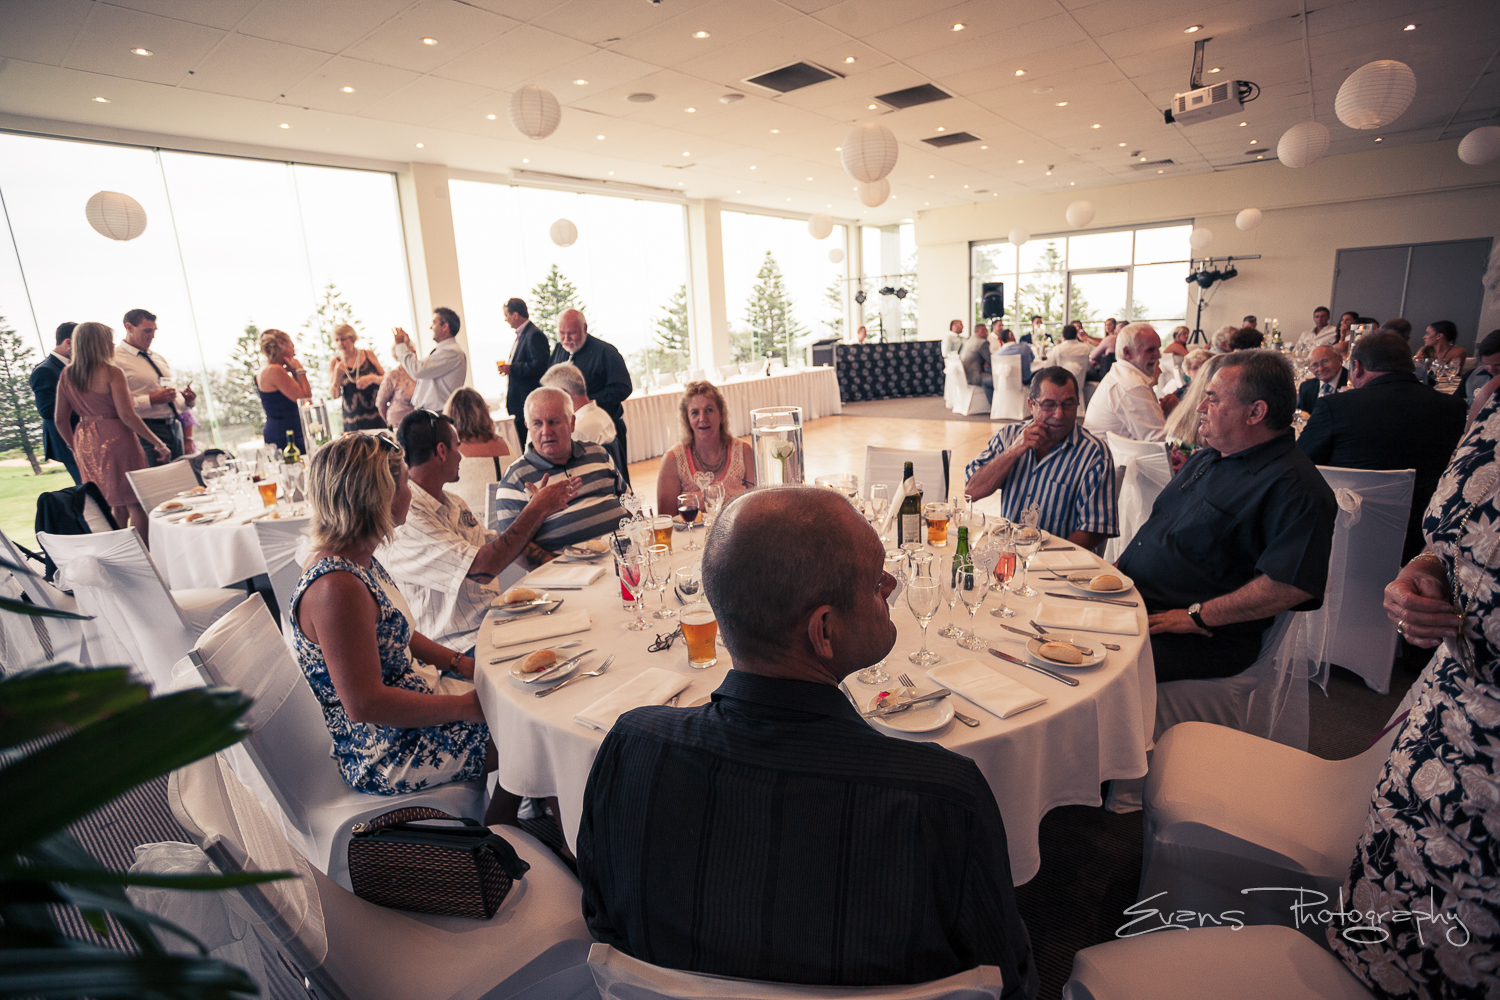
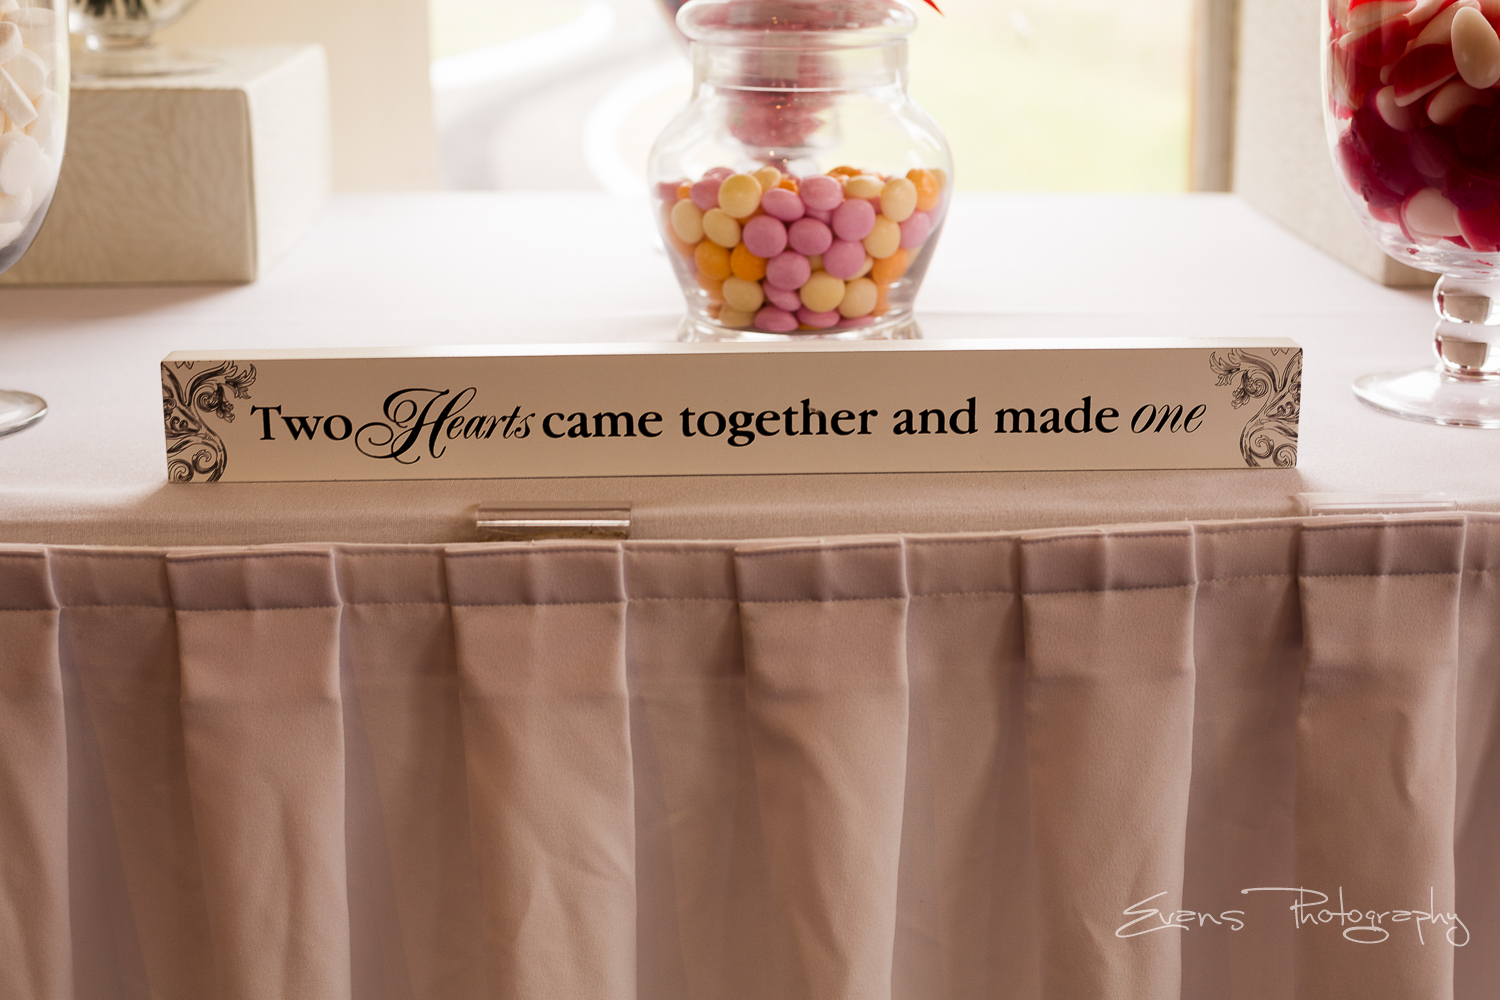
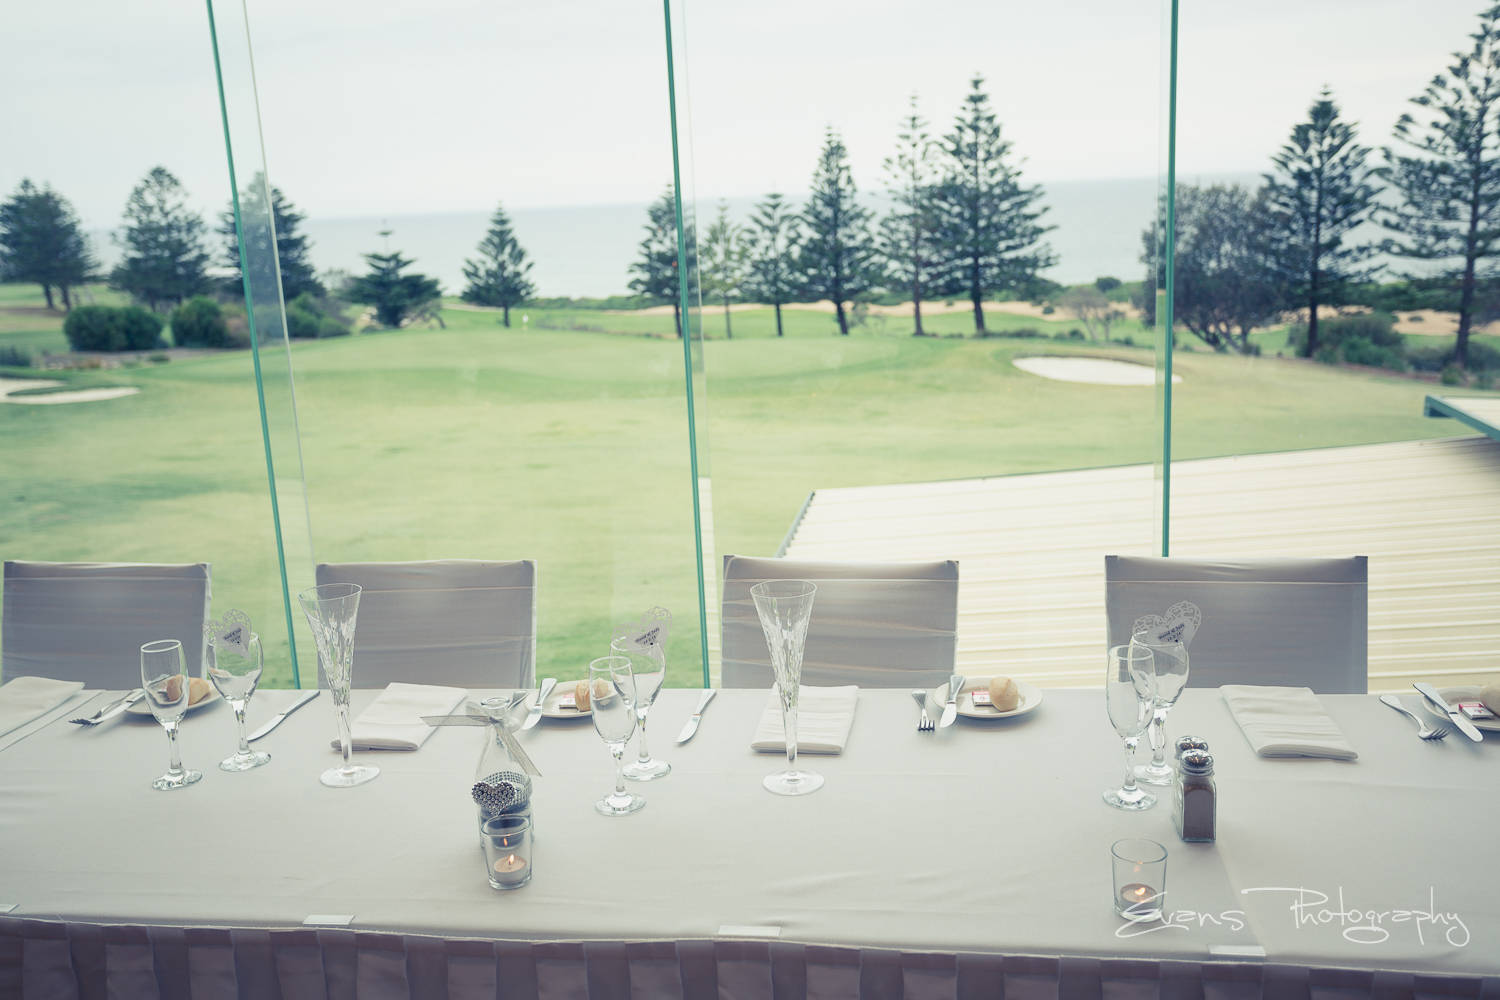

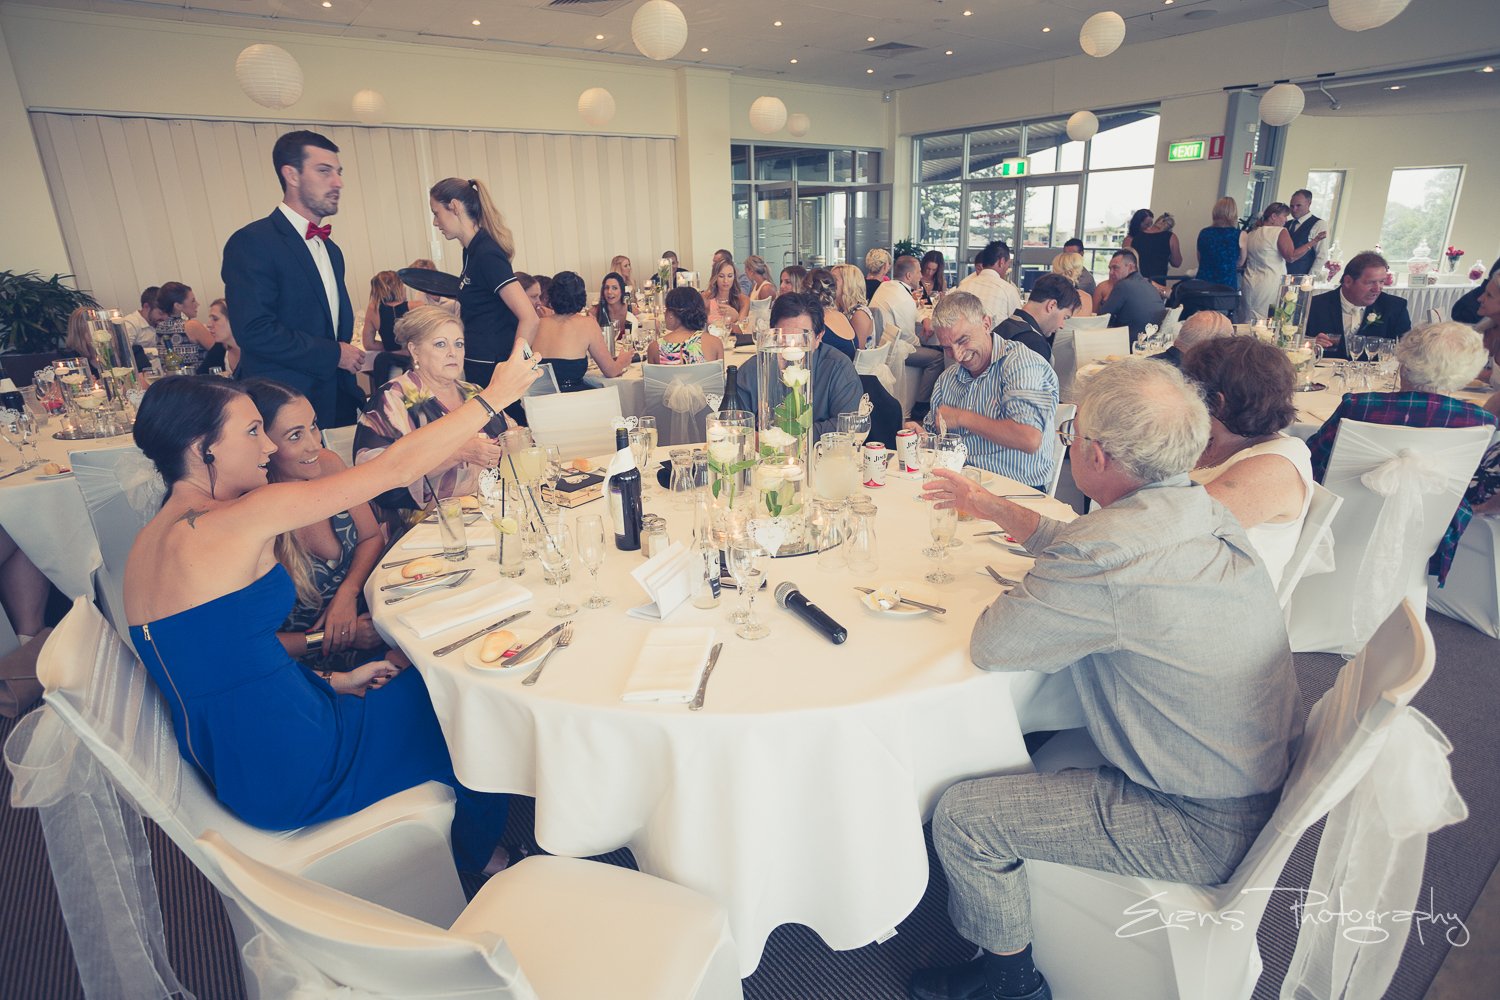
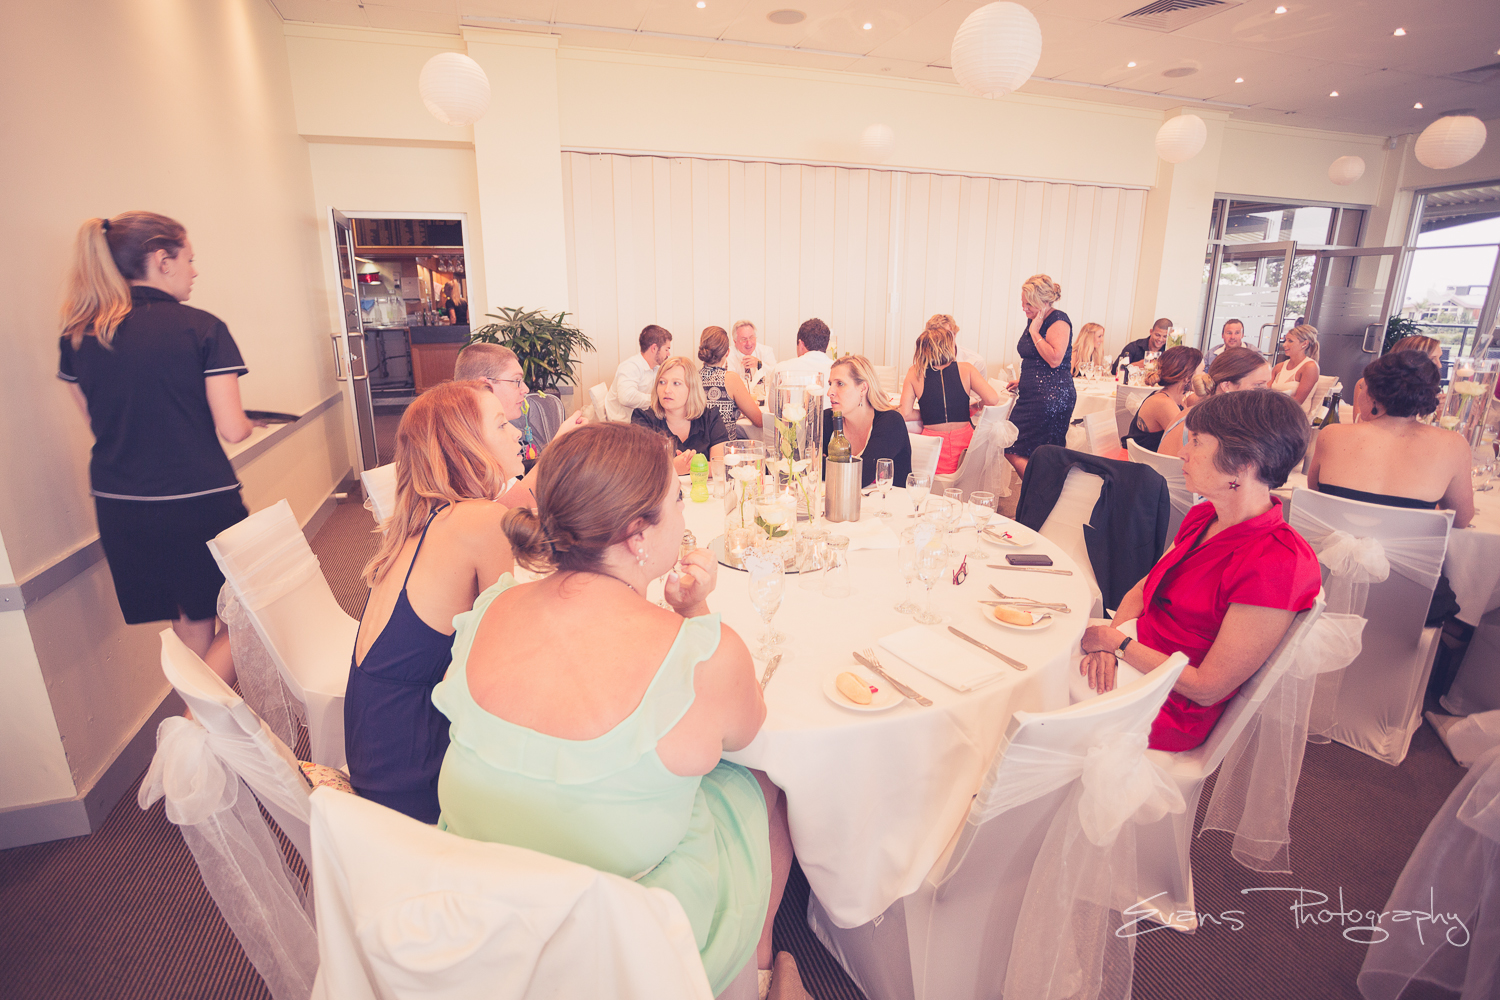

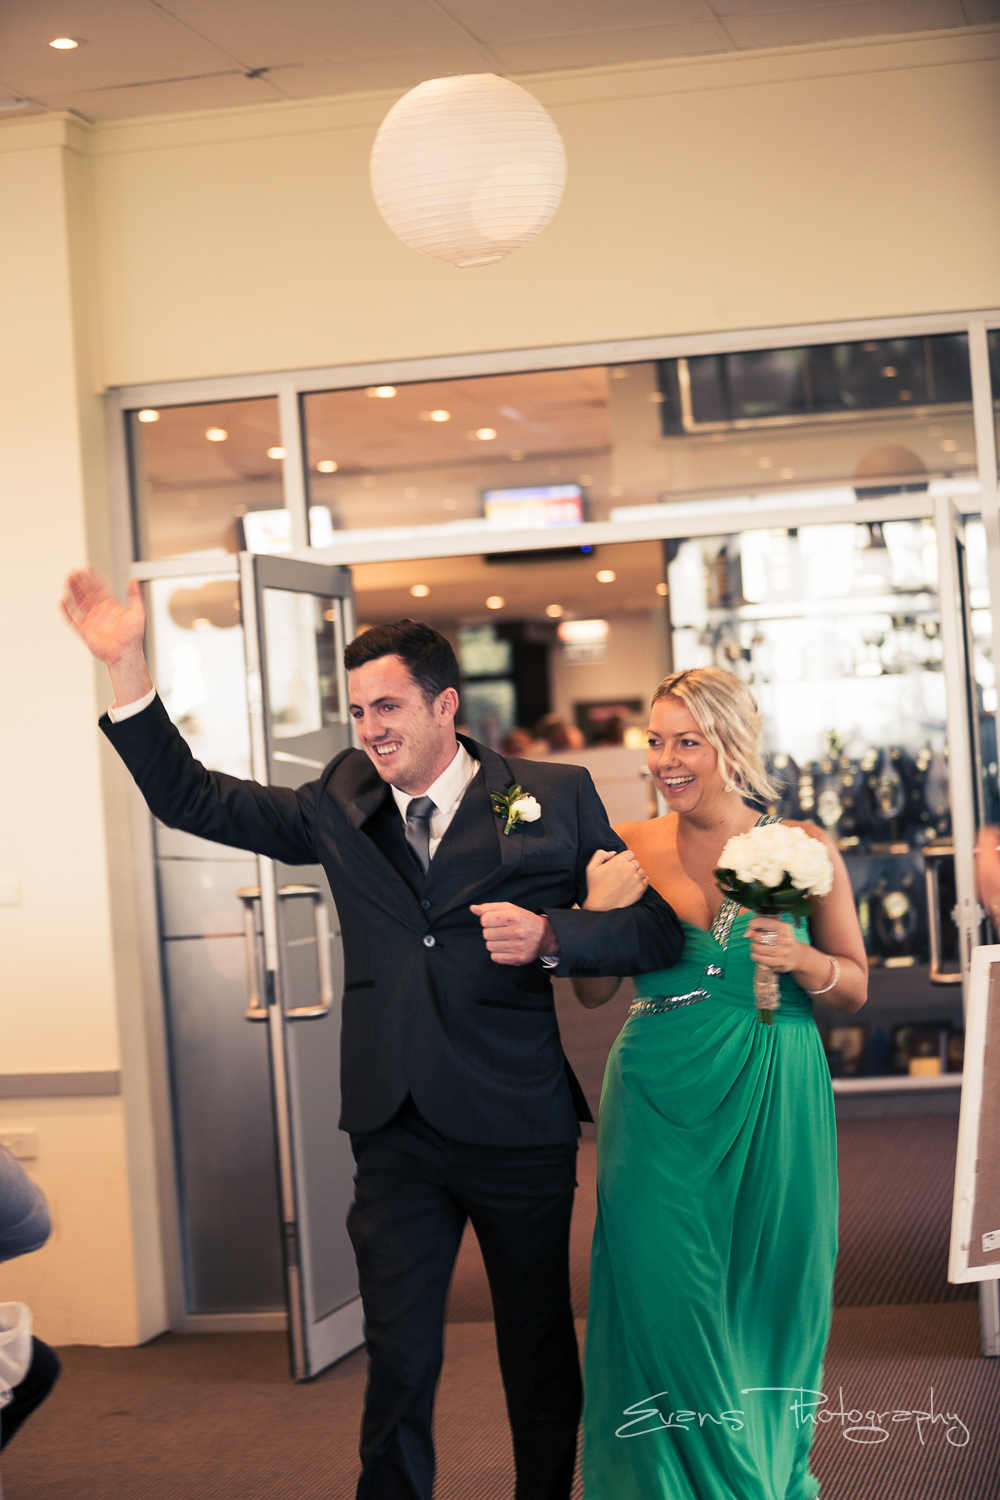
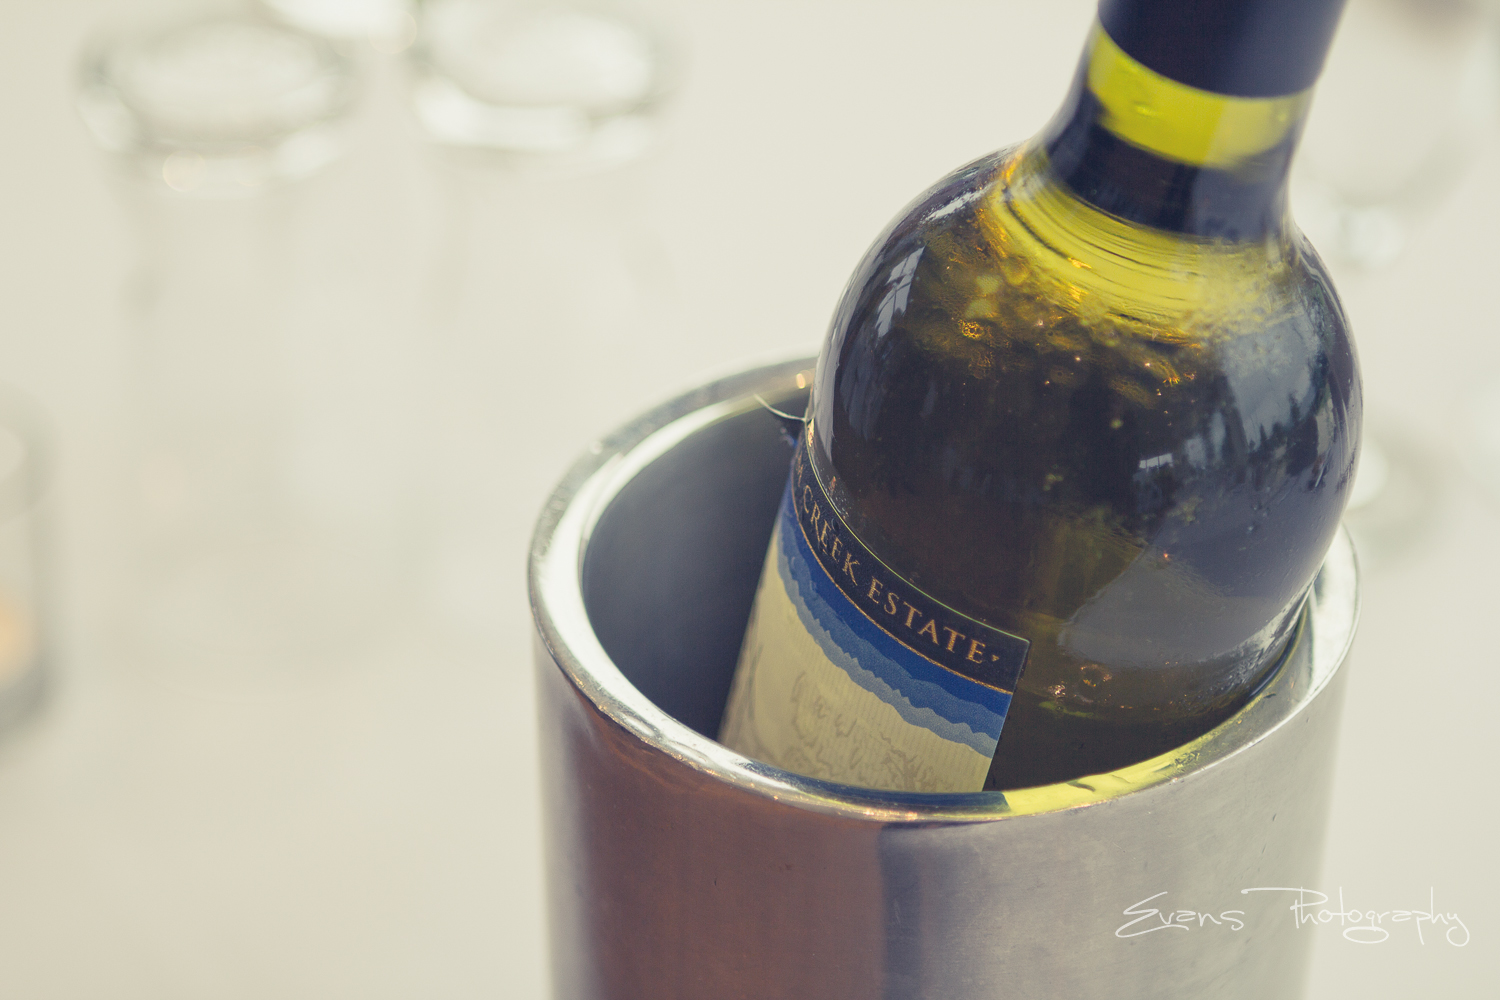
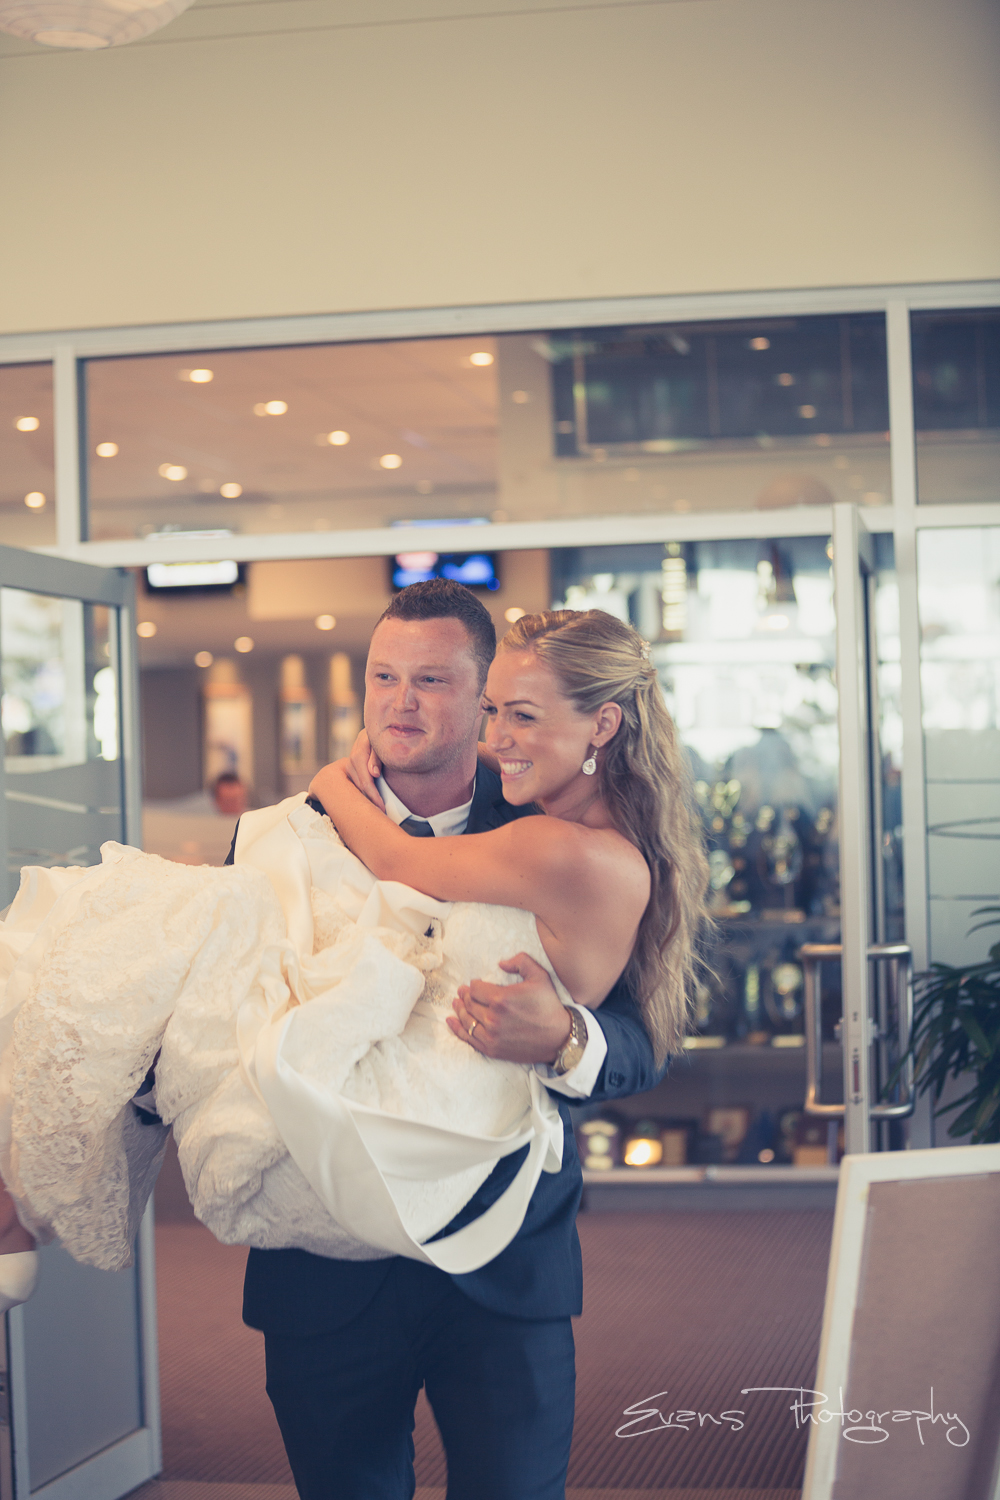
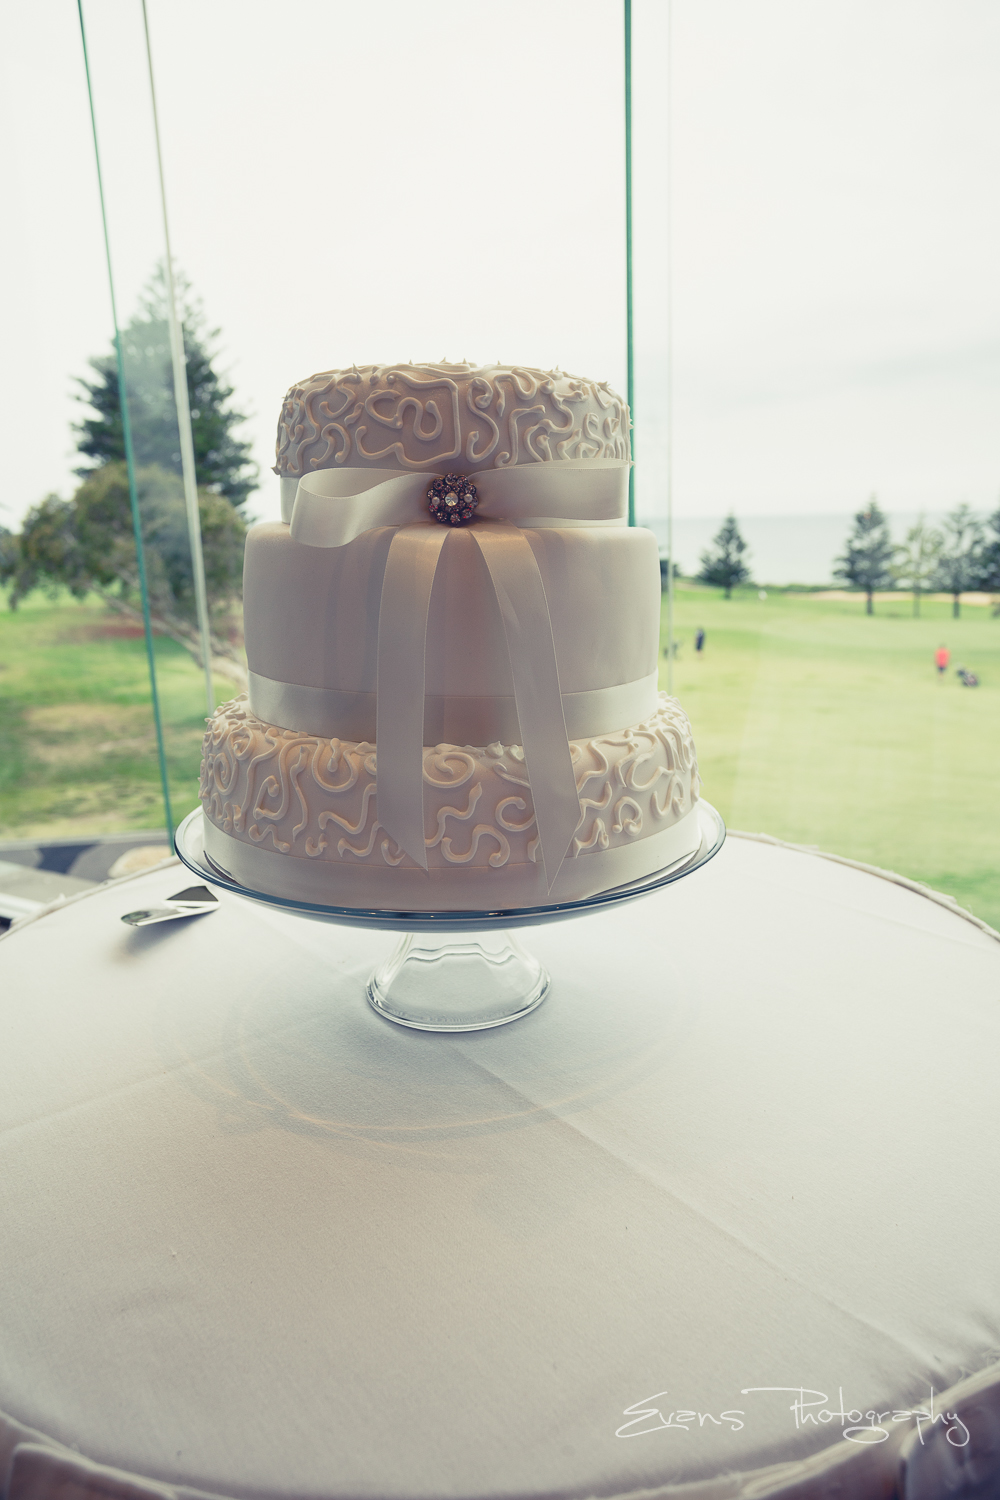


a beautiful couple, David & Jade. The ceremony and reception were both at Shelly Beach Golf Club.
Oct
20
Was a lovely morning at North Avoca this morning with Adam and Jess.
We met at 7am and the weather was so warm, even the water!


Aug
15
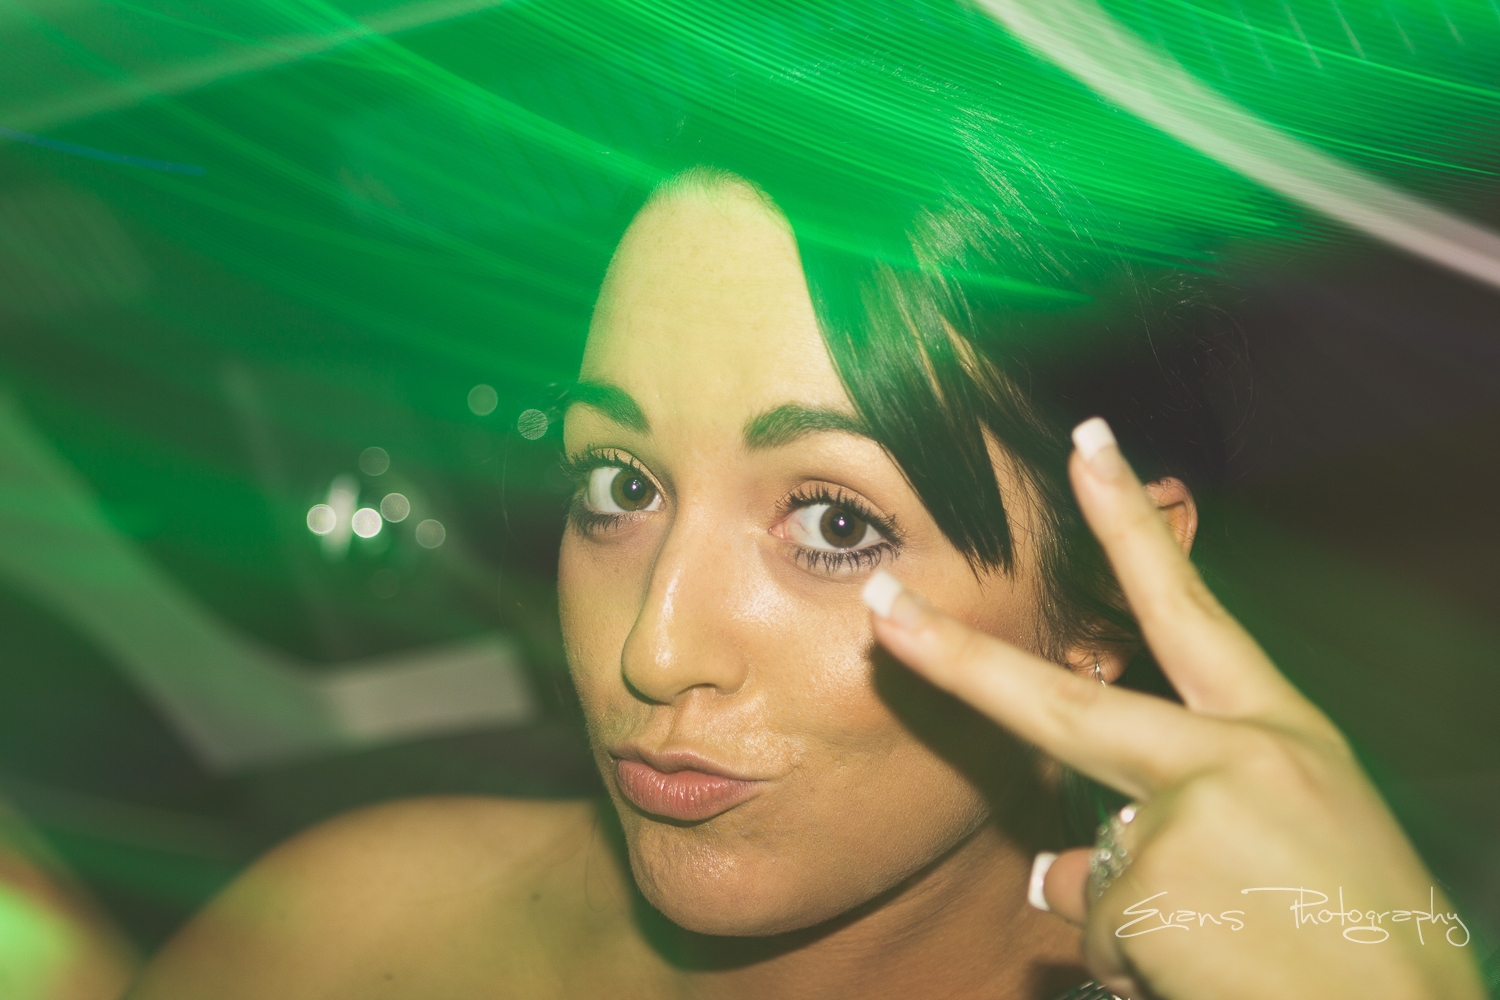
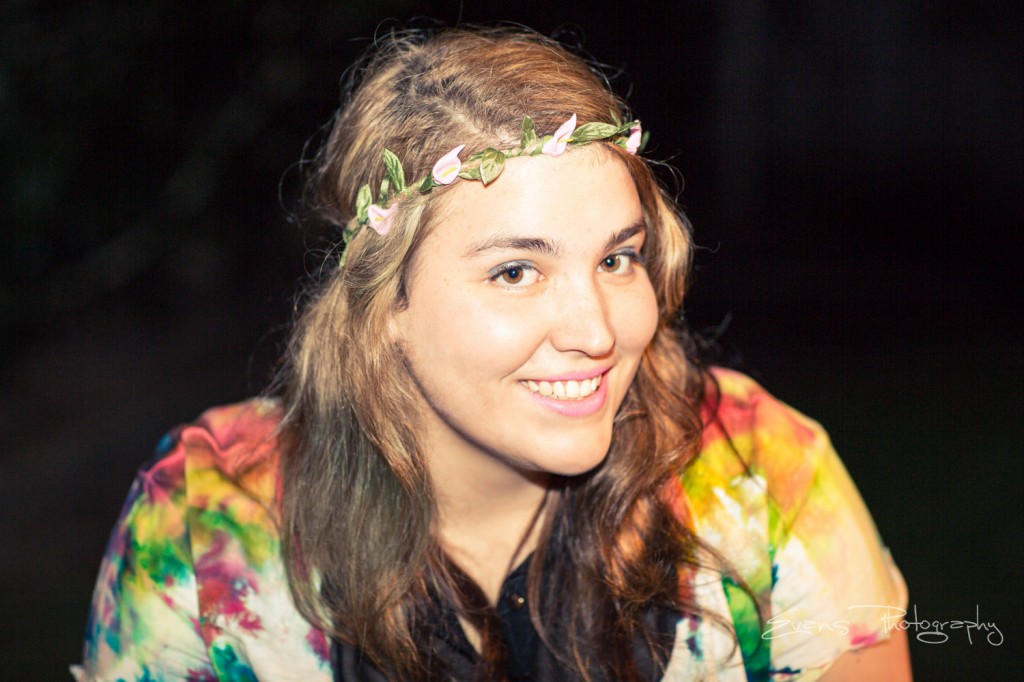
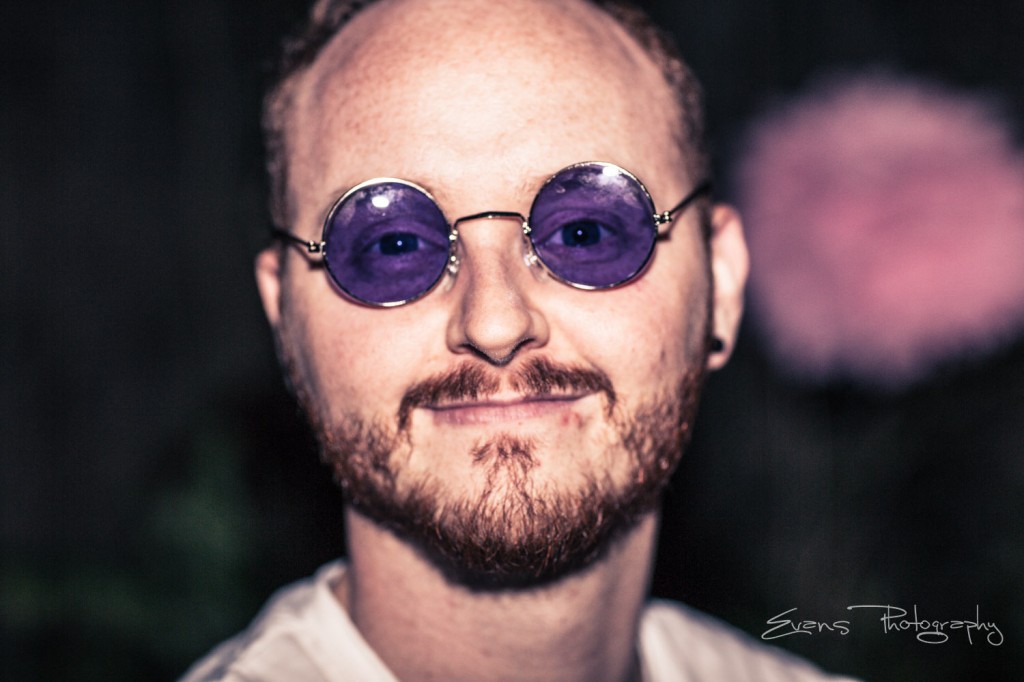
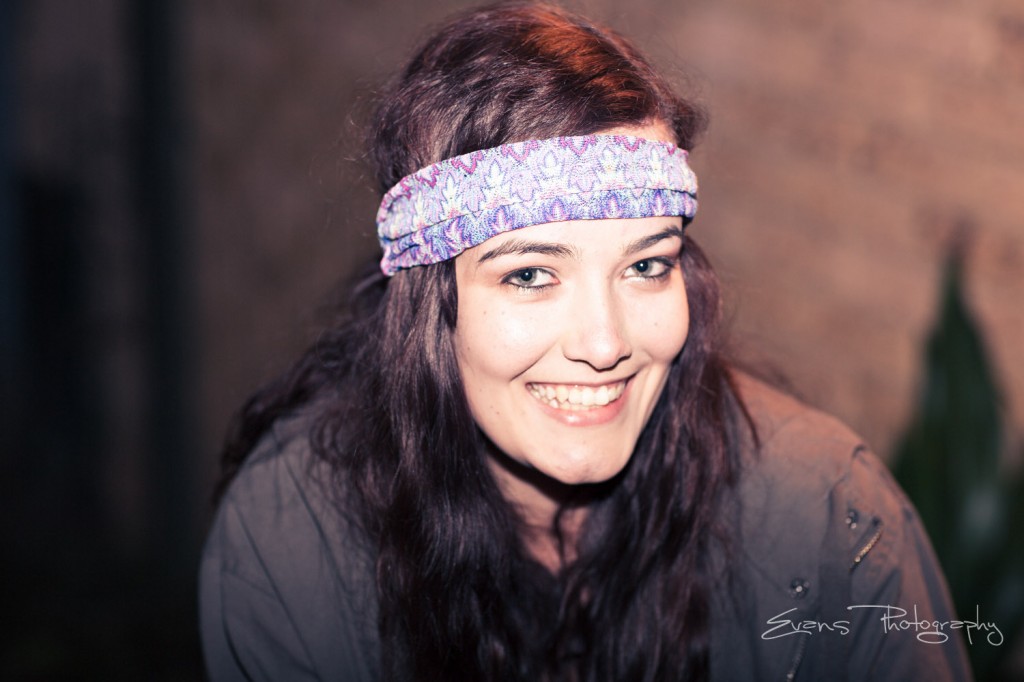
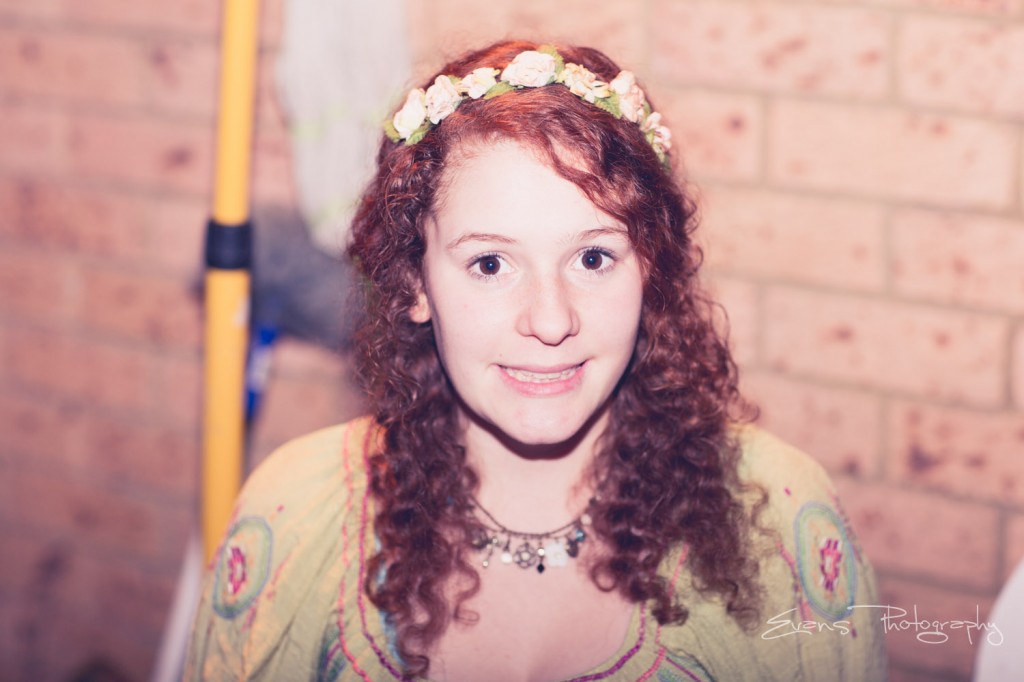
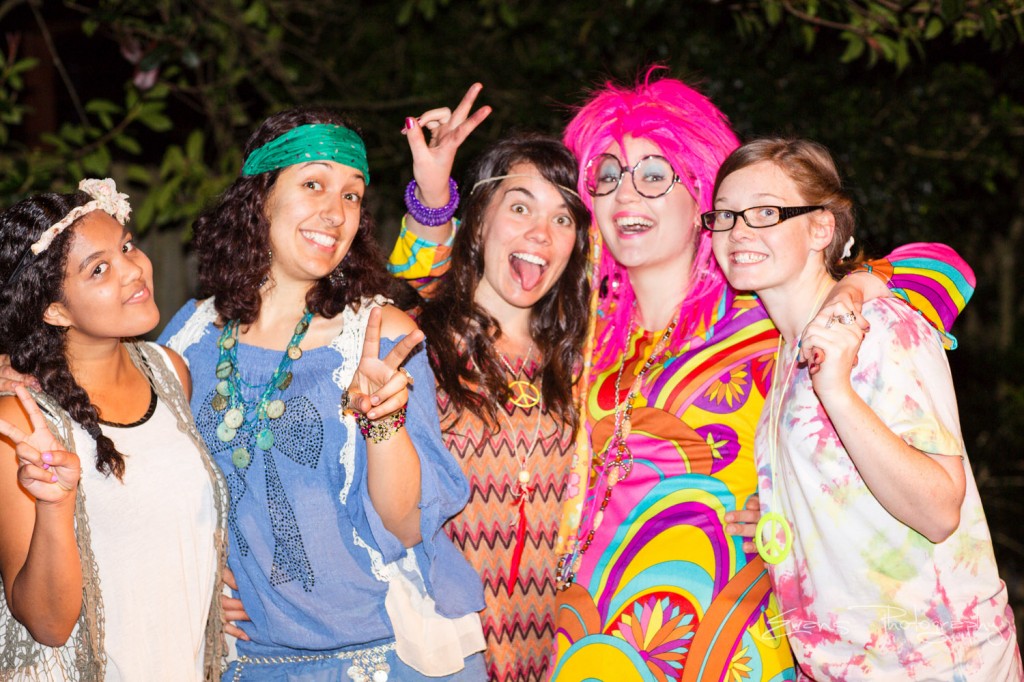
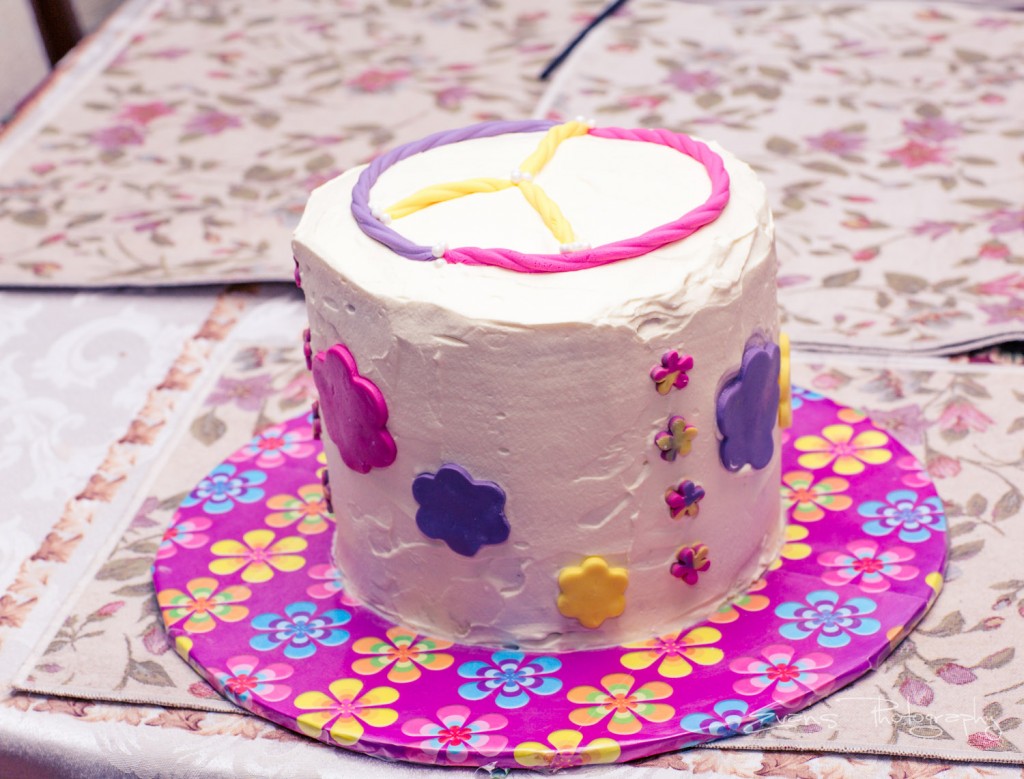
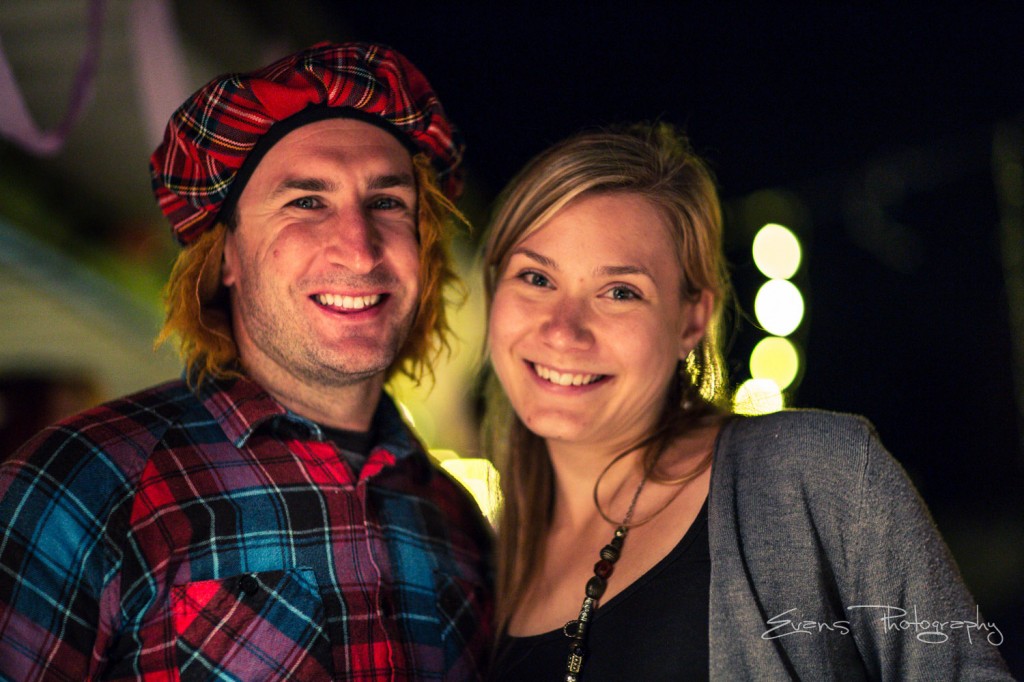
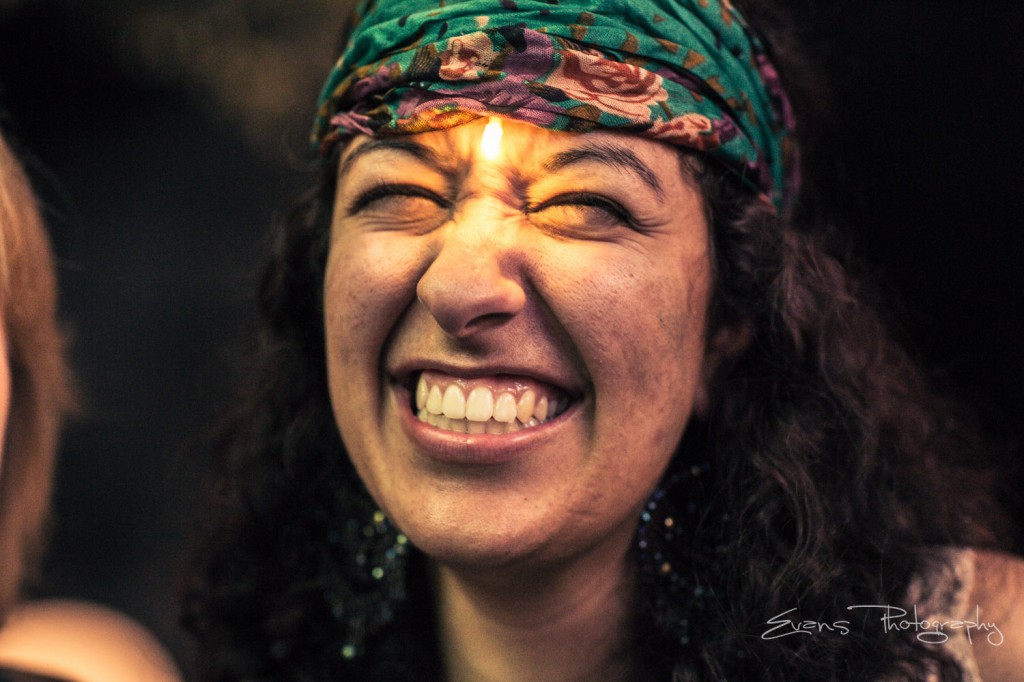
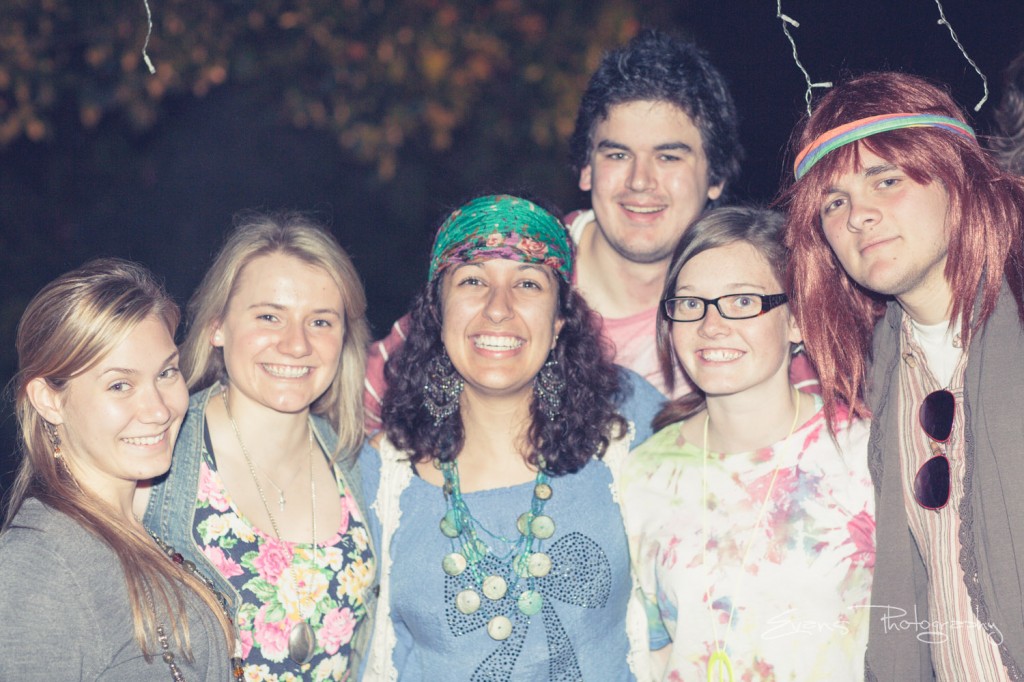
Last Saturday I went to a fantastic themed party. Hippies!
Four of my friends (one being my fiancé) had a combined birthday party.
Some of the costumes were awesome! Vibe was great, good food and a super yummy cake! Enjoy


Aug
03
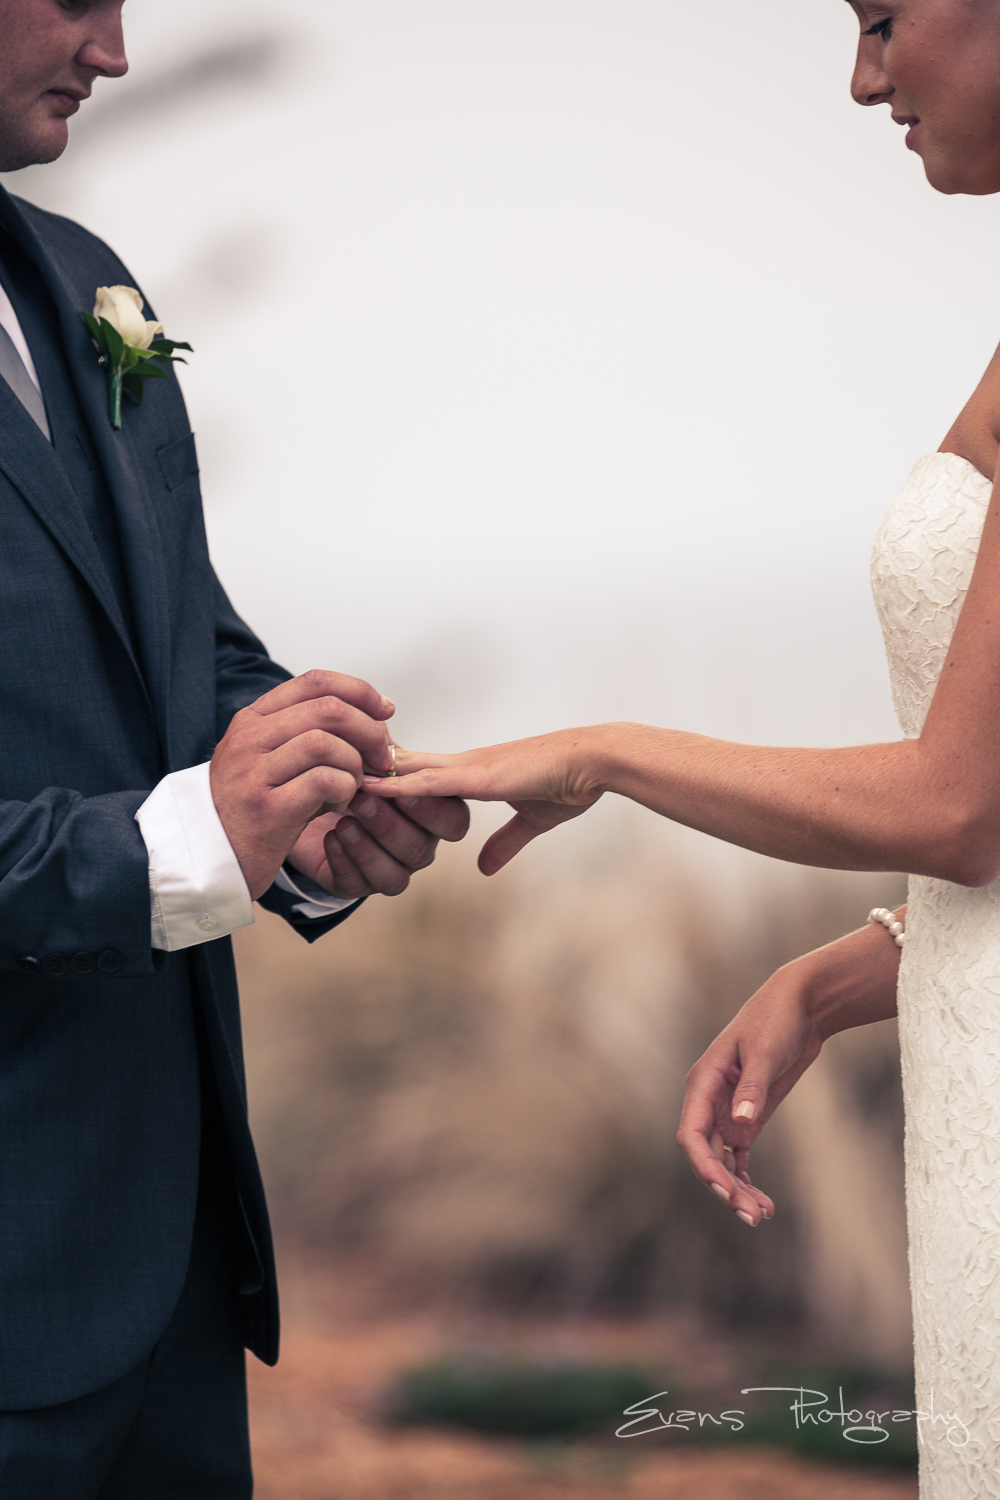
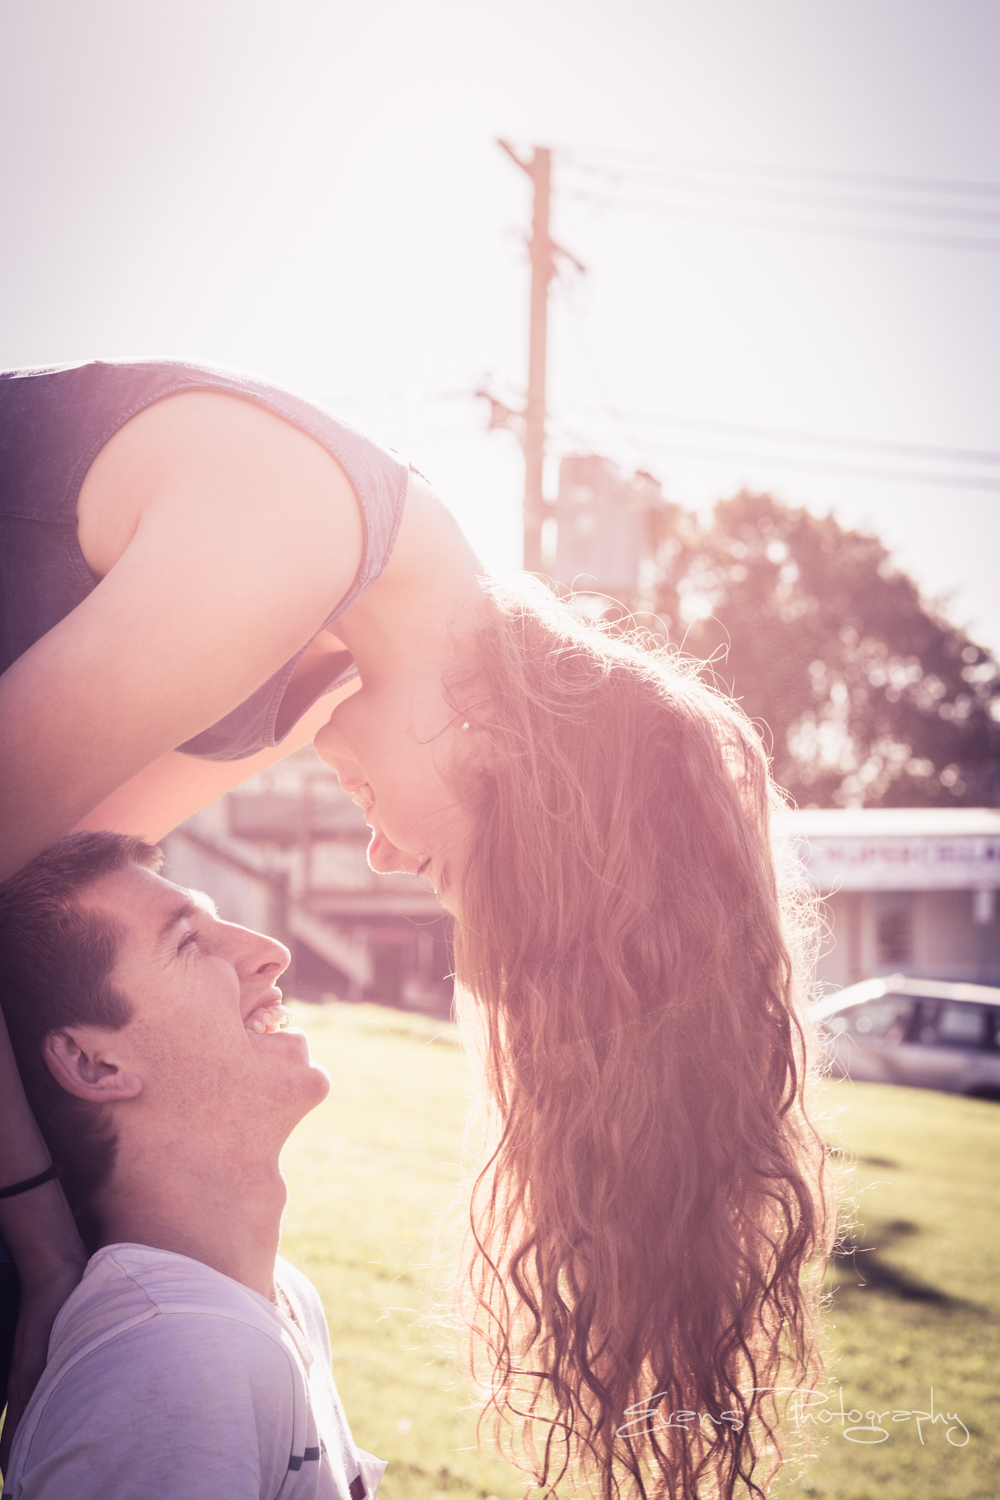
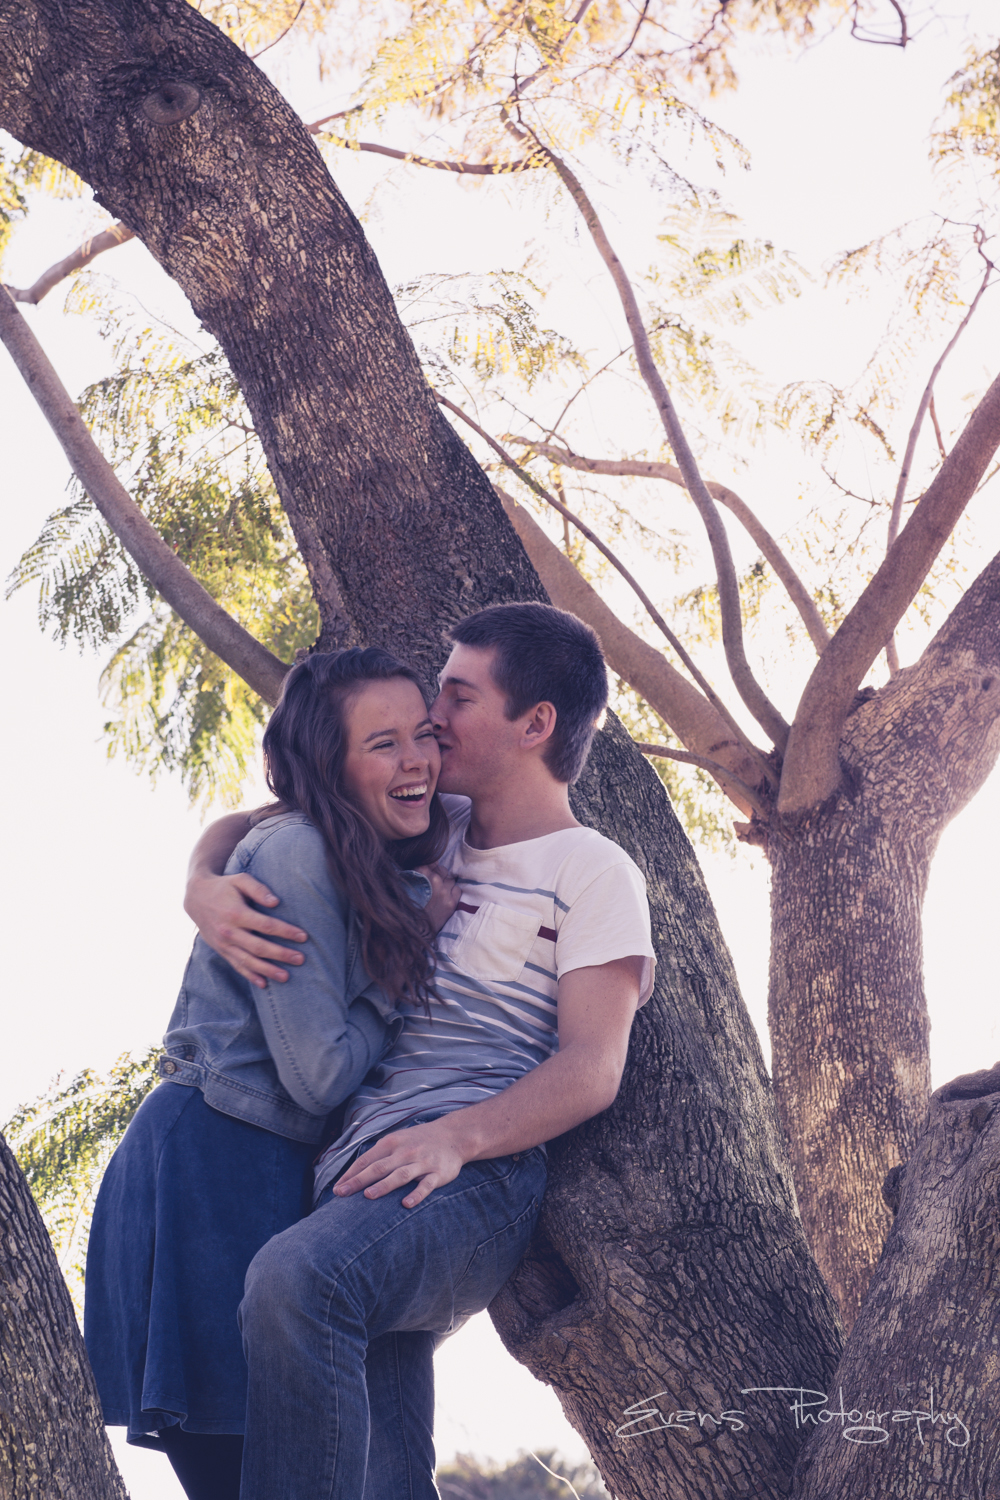
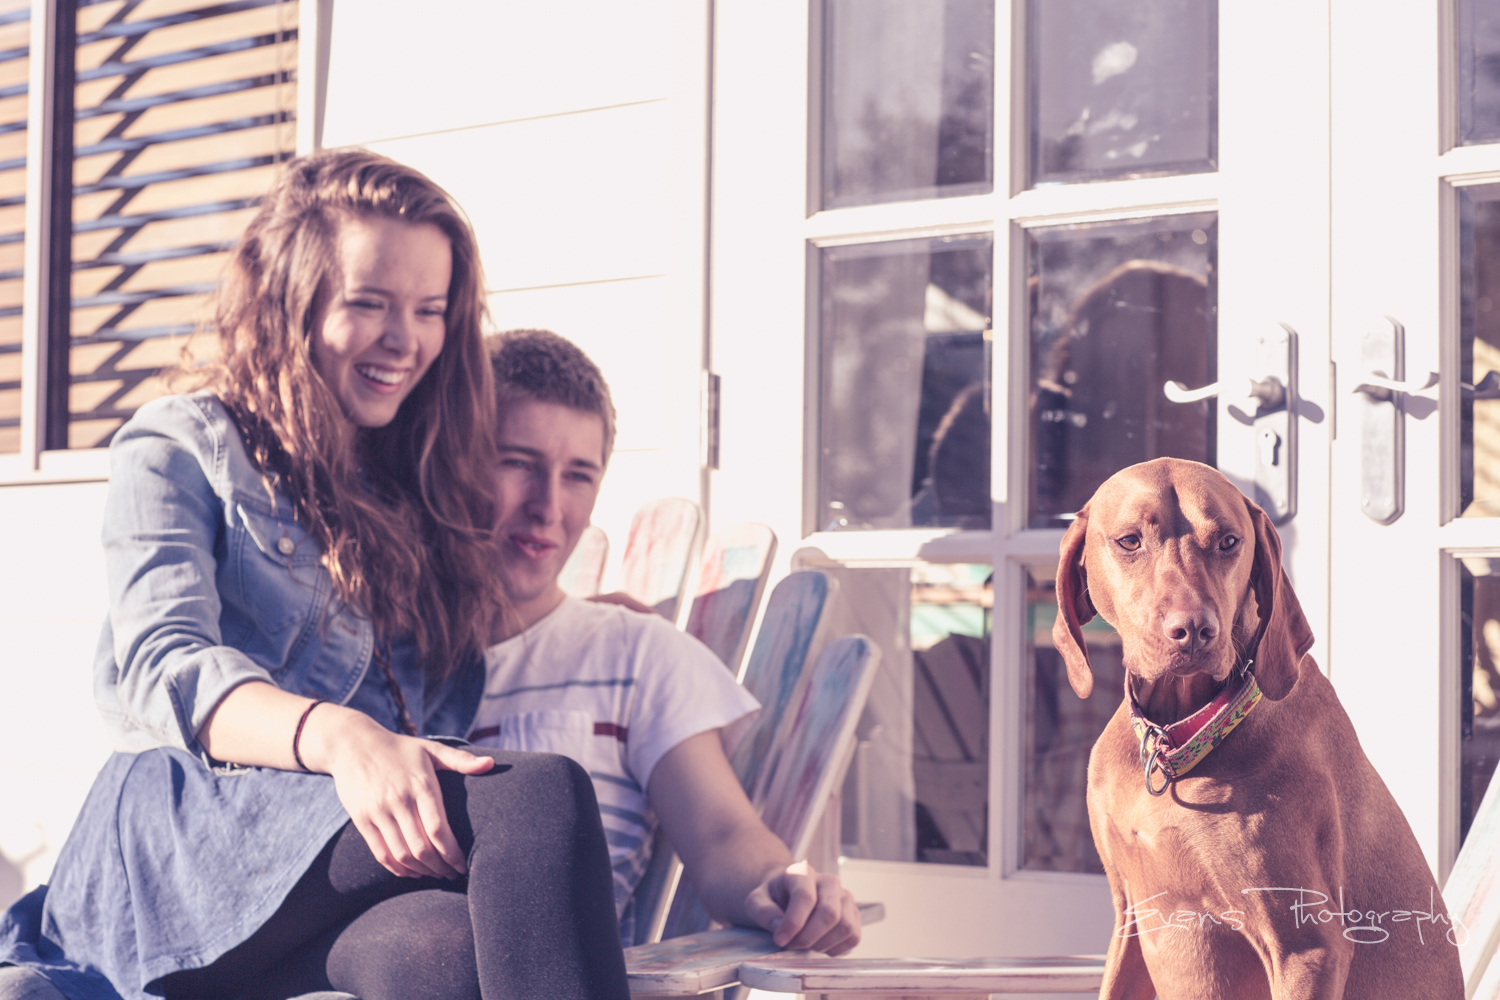
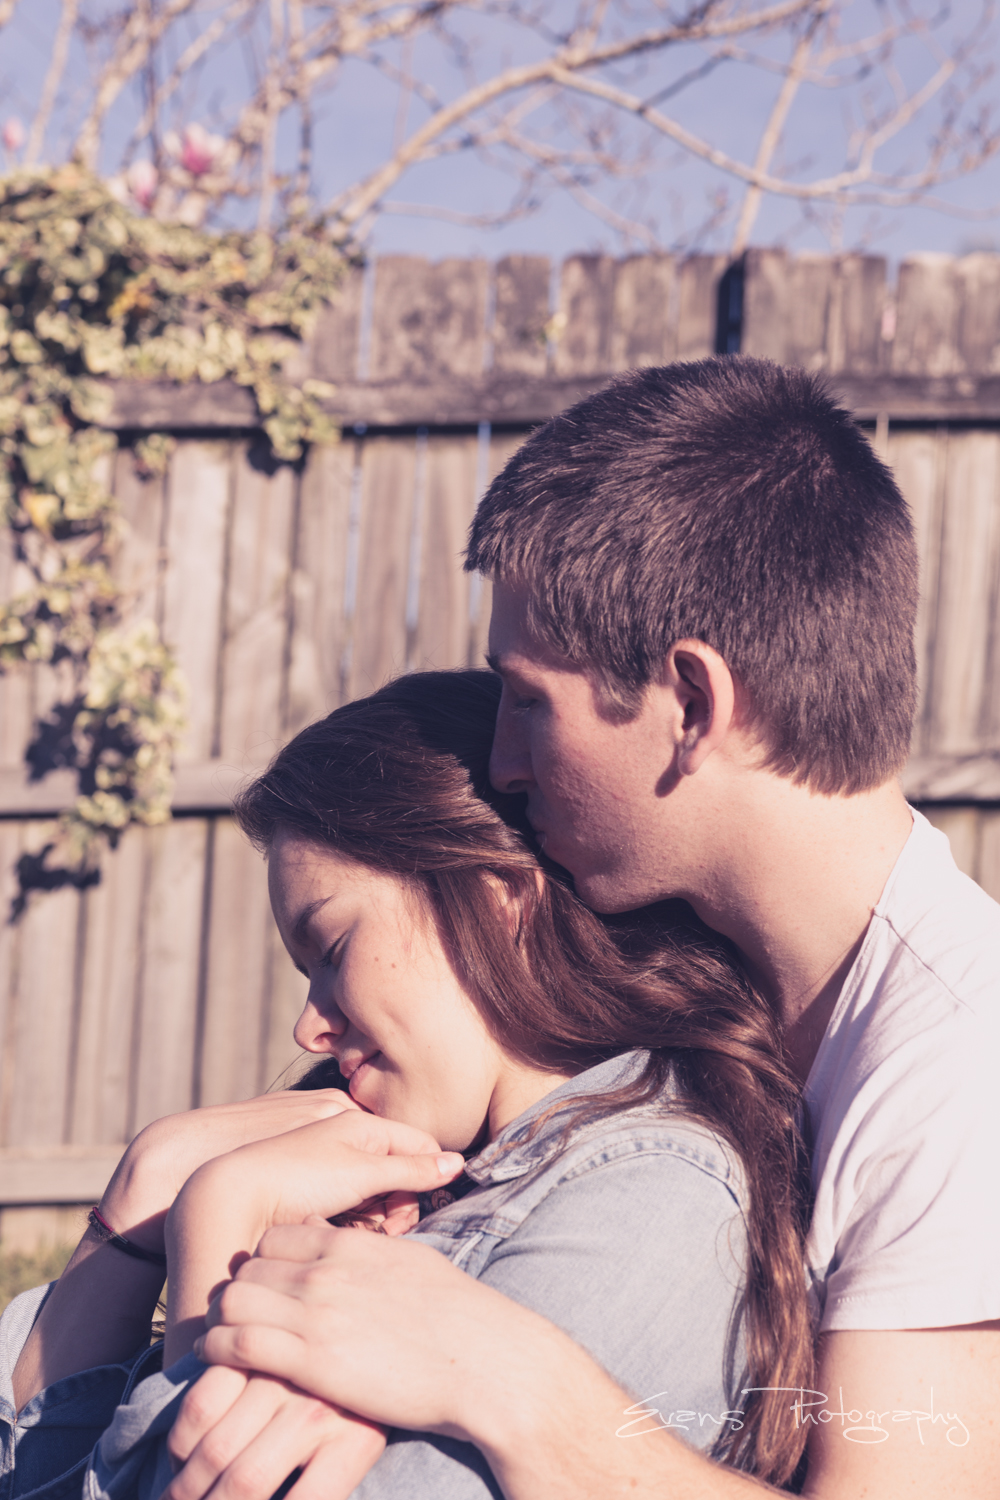
This morning I got up early to shoot the lovely couple, Kurtis & Jani. We started at around 8am, a great time for warm light and it paid off.
Kurtis & Jani were a pleasure to photograph and they had a few animals that joined in too! – Rhys


Sep
24
I currently am developing my own photo booth that can be used at parties and events.
It will look something like this but have a DSLR setup instead.

I cam across a problem that i couldnt get the end images to facebook or twitter easily without paying a subscription, so i went ahead and got my own Android App developed.
The Android app is an equivalent photo part upload for android.
The app is expensive at $30, but compared to photo party upload that charges $30 per event its a bargain.
The app allows you to share photos from any gallery on a android device to Facebook and Twitter, requesting Login details every time a photo is uploaded.
This is my current setup for my photo booth.
- 1x DSLR
- 1x Eye FI Wireless Card
- 1xComputer
- 1xScreen
- DSLR Booth Software
- Batch Photo Editor Software
- 2x Android Tablets
- CIFS Manager Android App
- QuickPic Android App
- Android App
My DSLR takes the photo, which then sends the jpg wirelessly to the computer.
DSLR booth software then displays the image on the screen for the client, and i have 4 images per client set up.
The Batch photo editor software takes each jpg image and makes the image a good size and jpg quality for facebook, then applies a watermark. (otherwise images take ages to load on tablet).
CIFSManager then mounts a share on windows that contains all these iamges which makes that folder on the computer appear like its a folder on the android device.
QuickPic is set to monitor that folder and all new images refresh on the device.
Customers can then share or email the photos using the Android App. Clients can then select a photo or multiple photos and upload them to their Facebook or twitter accounts.
If you have any questions please let me know 🙂